The easiest way to change any color in Photoshop

The easiest way to change any color in Photoshop

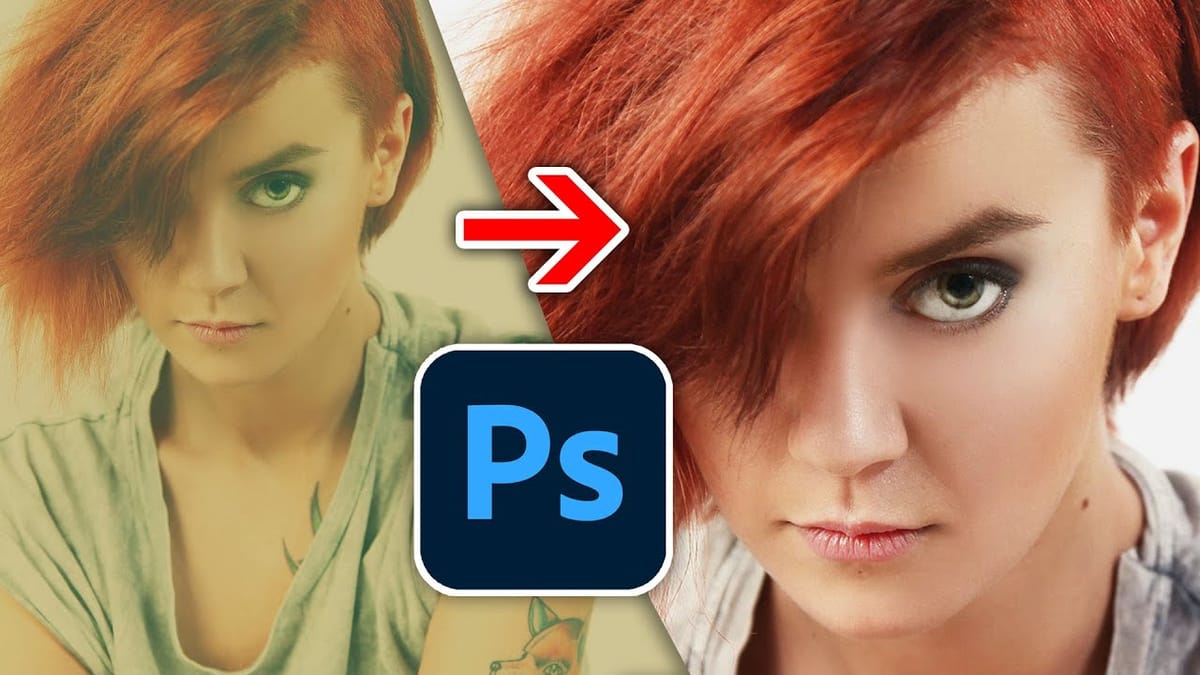
Changing the color of specific elements within an image can often be a frustrating challenge for designers and photographers. Achieving a precise color shift without affecting surrounding areas, or dealing with complex selections, often leads to a time-consuming and imperfect process.

This guide introduces a highly efficient method utilizing Photoshop's latest updates, specifically the "Adjust Colors" feature found in the contextual taskbar. This technique simplifies accurate color manipulation, significantly streamlining your workflow and enabling quick, professional results.

Watch the Tutorial

Any links or downloads mentioned by the creator are available only on YouTube

The Evolution of Color Adjustment Tools in Photoshop

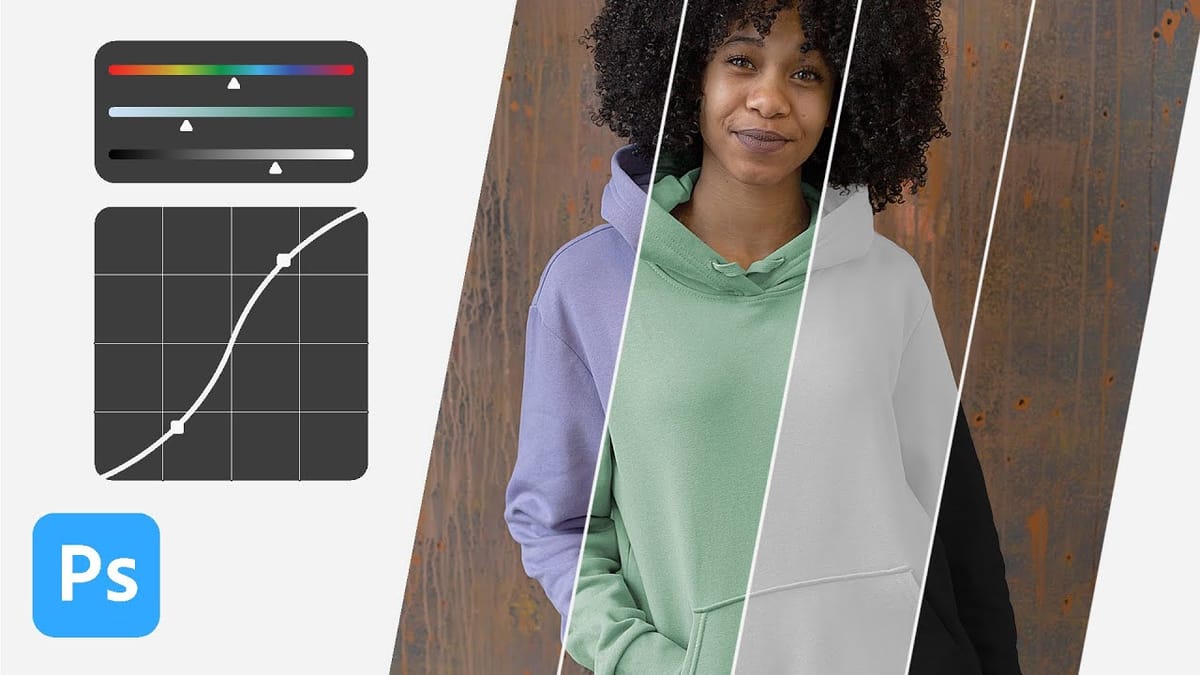
Photoshop consistently refines its toolkit to simplify complex editing processes, and the "Adjust Colors" feature is a prime example of this evolution. Integrated into the contextual taskbar, this intelligent tool automates the initial color identification and isolation, significantly reducing the manual effort traditionally required for targeted color changes. This reflects a broader trend in software design: leveraging AI and smart algorithms to make powerful capabilities more accessible, allowing creators to focus on artistic vision rather than tedious technical steps.

This automated approach not only accelerates the editing process but also minimizes the margin for error often associated with manual selections. While foundational non-destructive methods like Hue/Saturation adjustment layers remain crucial, contextual tools provide an intelligent starting point, adapting to the specific image content and guiding the user toward a more efficient and precise workflow.

Useful Tips for Changing Colors in Photoshop

  • Accessing Adjust Colors: To use this feature, ensure the contextual taskbar is visible. If it's not, right-click outside the canvas area and select Show Contextual Taskbar. Then, click on Adjust Colors.
  • Leverage Automatic Analysis: The Adjust Colors feature automatically analyzes your image and suggests dominant colors, providing a smart starting point for your color adjustment.
  • Refine Selection Range: If the initial automatic selection isn't entirely accurate, open the properties of the automatically created Hue/Saturation adjustment layer by double-clicking its symbol in the Layers panel. Then, expand the color range sliders to include all desired areas.
  • Non-Destructive Workflow: Utilizing Adjust Colors automatically creates a Hue/Saturation adjustment layer, ensuring that all your color modifications are non-destructive and can be easily edited or reverted at any time without affecting the original image pixels.
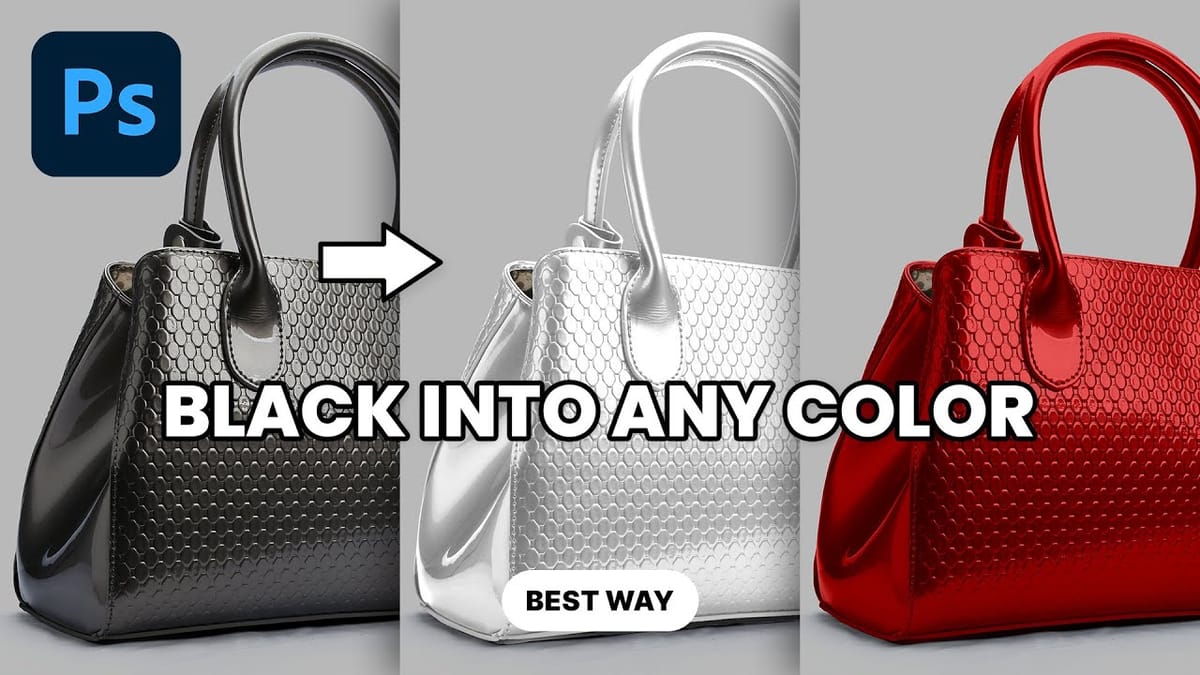
  • Adjust Hue and Saturation: Once a color is selected, use the Hue slider to cycle through different colors and the Saturation slider to control the intensity of the new color, from vibrant to desaturated (black and white).

More Tutorials about Color Adjustments in Photoshop

Explore further techniques and topics to enhance your Photoshop skills with these additional resources.

One click instantly fixes color in Photoshop
Colin Smith shows another tool that fixes the color of a photo instantly in a single click. This quick photoshop tutorial shows how to make the color natural in photoshop and Lightroom. More
Six easy ways to select colors in Photoshop
3, 2, 1… Photoshop! Learn Photoshop tips and tricks from longtime Adobe evangelist Julieanne Kost. In this episode, discover how to select color in Photoshop using the eyedropper tool, foreground, background and heads-up-display color picker. More
Transform Black to Any Color in Photoshop, Including White: Best Method
This tutorial explains how to change black to any color in Photoshop, including white. It offers a clear and easy step-by-step method that anyone can follow, regardless of their experience level. You will learn a straightforward technique to quickly modify black areas without losing detail or quality. The process is
How to change the color of clothing in Photoshop
Change clothing to any color in Photoshop—even black or white! Learn how to use Layer Masks, Curves Adjustment Layers, and Hue/Saturation Adjustment Layers to change the color of anything, all while maintaining perfect detail and realistic highlights and shadows. Download the Sample Image & PSD here… More

Get tutorials & freebies delivered to you.

Subscribe to the Photoshop Roadmap newsletter, a weekly roundup of new tutorials, insights and quality downloads, trusted by 6500+ readers.

You might also like

10 Photoshop Tricks You Probably Forgot Exist

There’s a funny pattern with Photoshop. The longer you use it, the more you rely on the same small set of tools… while some of the most powerful techniques quietly fade into the background. Not because they stopped working — but because they’re just a bit hidden, or not...

Add Floral Patterns to Black Dresses Using Brushes in Photoshop

Transform plain black clothing into vibrant, patterned garments using custom brushes and strategic layer blending. This non-destructive technique combines precise selections with clipping masks to paint realistic floral designs directly onto fabric while preserving the original photograph. The method works particularly well on black materials because the hard light blend...

How to Replace Objects Using Reference Images in Photoshop Generative Fill

Reference images transform Generative Fill from a text-based tool into a precise visual command system. Instead of describing what you want, you show the AI exactly which object to create, leading to more accurate and predictable results. This technique works by combining traditional selection tools with the new reference image...

How to Use Blend If Sliders for Pixel-Perfect Transparency in Photoshop

Blend If sliders control transparency based on brightness levels, making complex selections unnecessary. Understanding how these two simple sliders work with RGB channels opens up precise compositing possibilities that would otherwise require multiple masks and selections. The technique works by targeting specific brightness ranges from 0 to 255, allowing you...

How to Create a Double Exposure Effect in Photoshop Using Screen Blend Mode

Double exposure effects transform ordinary portraits into striking artistic compositions by blending two images seamlessly. This technique works best with high-contrast images—silhouettes against bright backgrounds paired with nature scenes or textures. The key to successful double exposures lies in the contrast between light and dark areas. When you combine...

You’ve successfully subscribed to Photoshop Roadmap
Welcome back! You’ve successfully signed in.
Great! You’ve successfully signed up.
Success! Your email is updated.
Your link has expired
Success! Check your email for magic link to sign-in.