Photoshop 2026 introduces built-in AI reflection removal for the first time, bringing a capability previously limited to Lightroom and Camera Raw directly into a layer-based workflow. The key advantage here is control: results appear on a separate layer, which means you can mask out problem areas where the AI misidentifies subject details as reflections and patch remaining issues with generative fill.
Watch the Video
Video by PHLEARN. Any links or downloads mentioned by the creator are available only on YouTube
Practical Tips
Key techniques to get the most out of the reflection removal workflow in Photoshop 2026:
- Enable "Create a separate reflection layer" and set quality to Best before running the tool, so you retain full control over the output.
- Add a black layer mask to the reflection removal layer, then paint white only over areas where the removal looks correct — this prevents unwanted changes to subject details the AI misread as reflections.
- Use a selection brush to isolate specific problem areas, such as a hairline or cheek, before applying generative fill to patch remaining reflections naturally.
- Avoid generating over facial features like eyes — limit generative fill to edges and skin areas where the result will blend without altering recognizable details.
- Check your generative credit usage per feature before running fills, as consumption varies by account plan and the reflection removal step itself uses no generative credits.
Related Articles and Tutorials
More tutorials covering reflection removal, glare reduction, and related retouching techniques.
How to Remove Reflections from Photos Using Photoshop's AI Tool
Glass surfaces create some of photography's most persistent challenges. Windows, storefronts, and displays often produce unwanted reflections that obscure subjects and compromise image clarity.
Photoshop's latest AI-powered reflection removal tool addresses this common problem with automated detection and removal capabilities. This video demonstrates the complete workflow for eliminating reflections while preserving underlying image details.
Watch the Tutorial
Understanding Reflection Remov
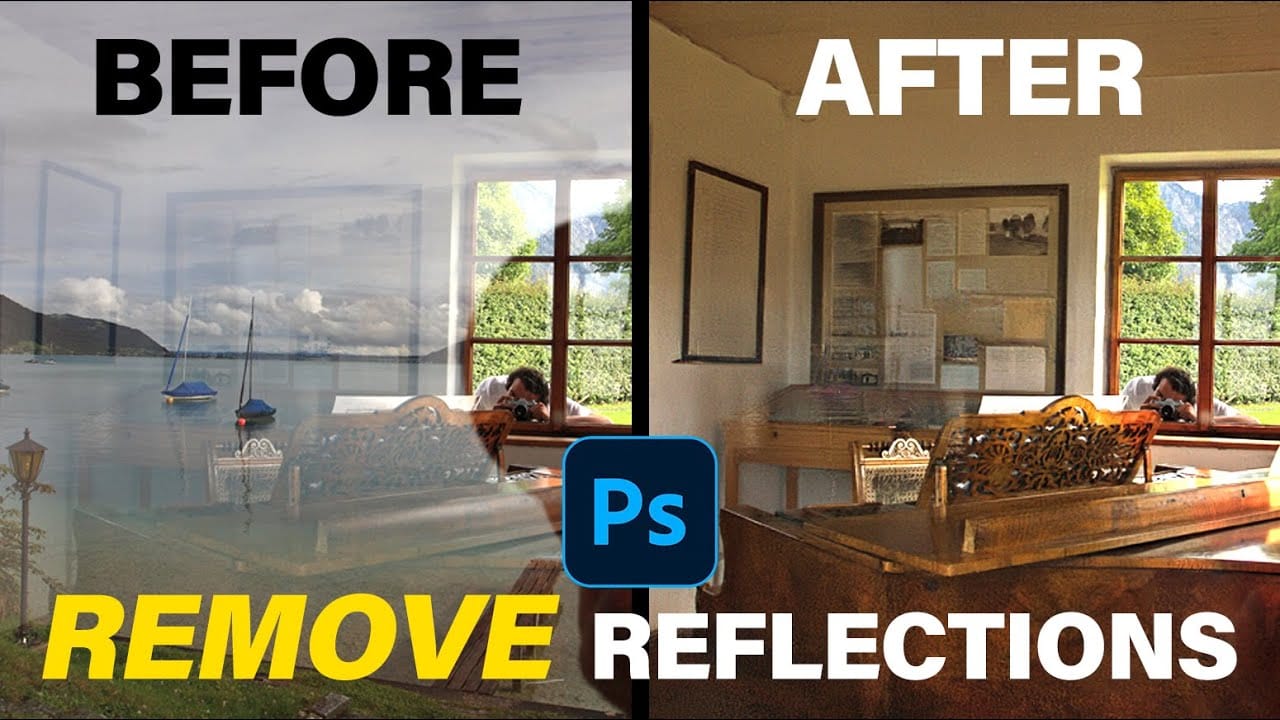
New Reflection Removal Tool in Photoshop
Capturing the perfect shot often means battling environmental challenges, and few are as persistent as unwanted reflections in windows or glass. These glare points can obscure subjects, distort details, and fundamentally compromise an image's impact.
Fortunately, Photoshop has introduced a new AI-powered feature designed to tackle this common photographic issue. This video demonstrates how to activate and effectively use this tool, showcasing its capabilities and outlining crucial workflow cons

Photoshop 27.6: Complete Guide to New Features and Tools
Photoshop 27.6 introduces several powerful features that streamline common editing tasks. From bringing reflection removal directly into the main interface to AI-powered distraction detection, these updates focus on making complex workflows more accessible and efficient.
The update also includes enhanced generative models, improved layer management tools, and a redesigned actions panel that provides visual previews before applying effects.
Watch the Video
Practical Tips
Key techniques to m
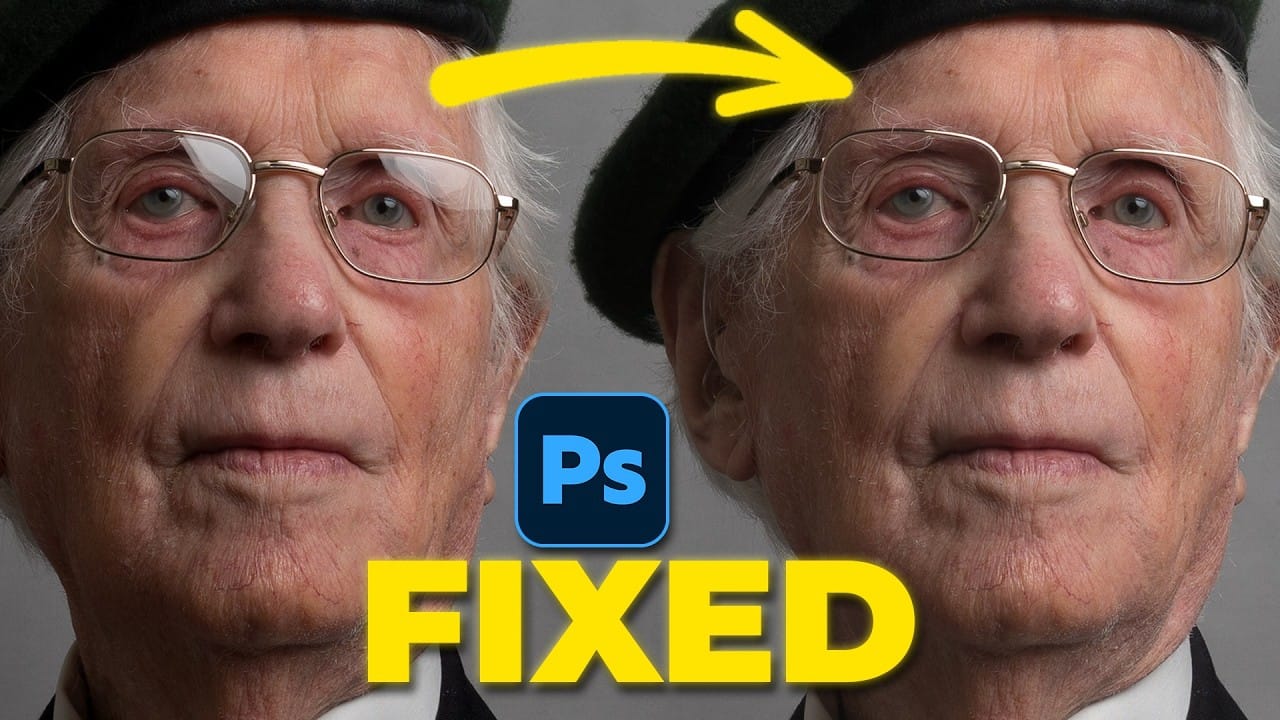
How to Remove Glasses Reflections with Firefly Image Model 5 in Photoshop
Glasses reflections can ruin otherwise perfect portraits, obscuring your subject's eyes and creating distracting bright spots. While traditional AI models can remove these reflections, they often alter facial features and frame details in the process.
Photoshop's new Firefly Image Model 5 changes this by preserving facial structure, eyebrow hairs, and glasses frames while seamlessly removing reflections. This advanced AI maintains image integrity while delivering superior results compared to ea
How to Remove Reflections and Glare from Glasses in Photoshop Using AI
Eyeglass glare can ruin an otherwise perfect portrait, obscuring the subject's eyes with bright reflections. Photoshop's AI tools now offer powerful solutions for removing even the most stubborn reflections while preserving natural eye details.
This tutorial demonstrates proven techniques using multiple AI models and strategic masking to tackle any glare situation professionally.
Watch the Tutorial
Essential Tips for Removing Glare with AI
* Use the Rectangular Marquee Tool for selections
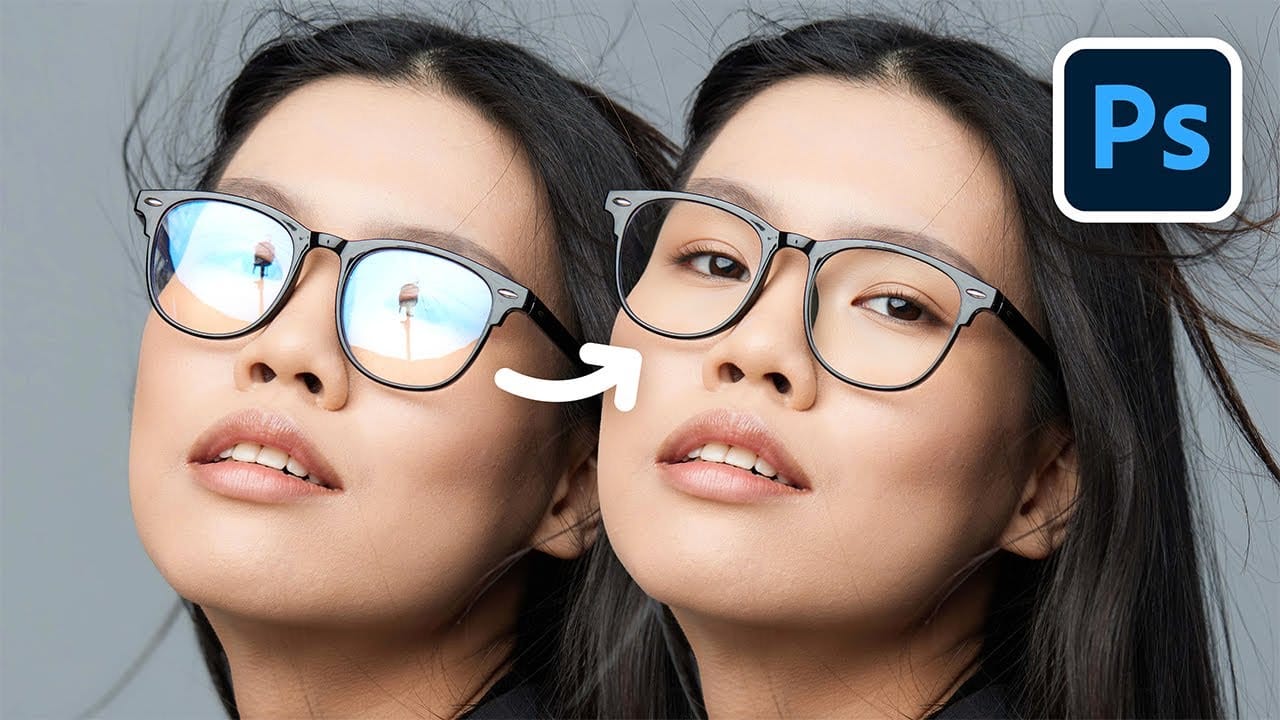
Magically remove glare from glasses in Photoshop
In this tutorial, authored by PiXimperfect, the viewer is presented with a straightforward, three-step process to remove complex glare from glasses in Photoshop. The guide promises to reveal the best method for avoiding and fixing glare or reflections on eyewear, utilizing advanced techniques such as dodging and burning to even out the brightness and achieve a transparent glass effect.
Furthermore, the tutorial delves into the use of blending modes to eliminate any color cast and ensure the acc
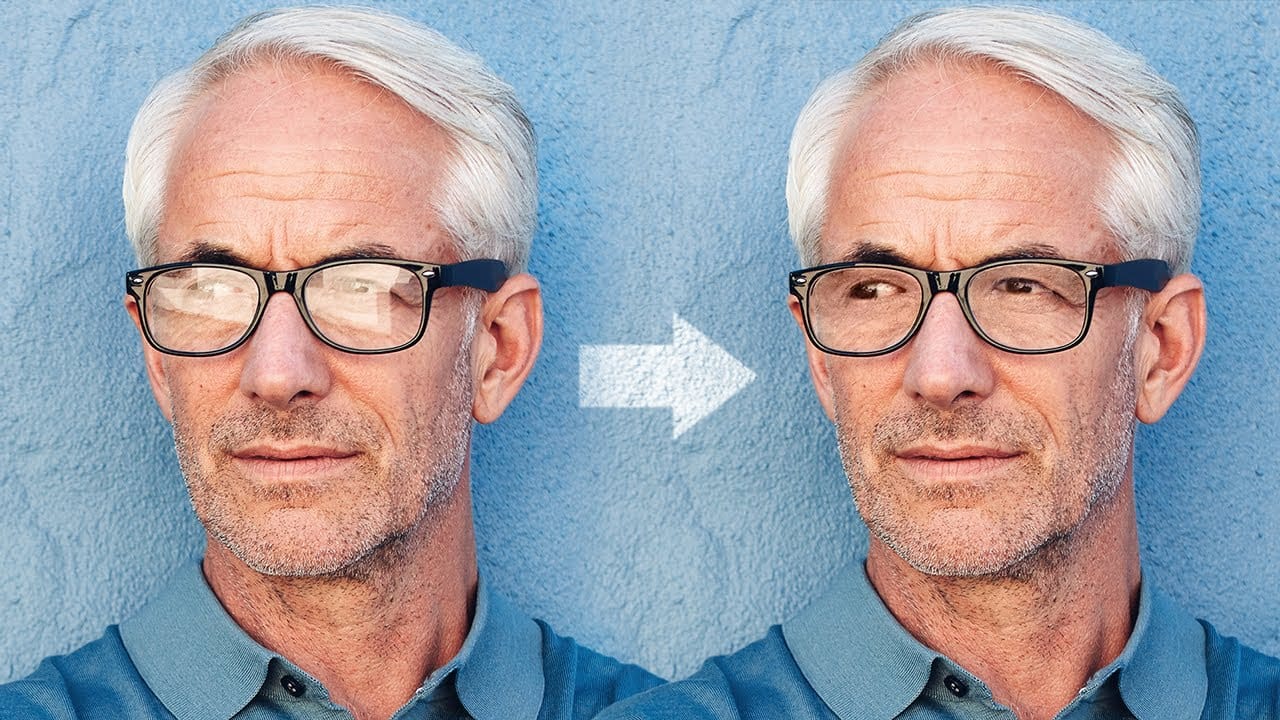
How to Remove Glare from Glasses in Photoshop
Studio lights and reflective surfaces create unwanted glare in portrait photography, particularly when subjects wear glasses. These bright reflections often obscure important facial details and can ruin an otherwise perfect shot.
The Clone Stamp tool offers a precise solution for removing eyeglass glare by copying clear eye details from one lens to replace reflections in the other. This technique works best when at least one eye remains free of reflections to serve as source material.
Watch t
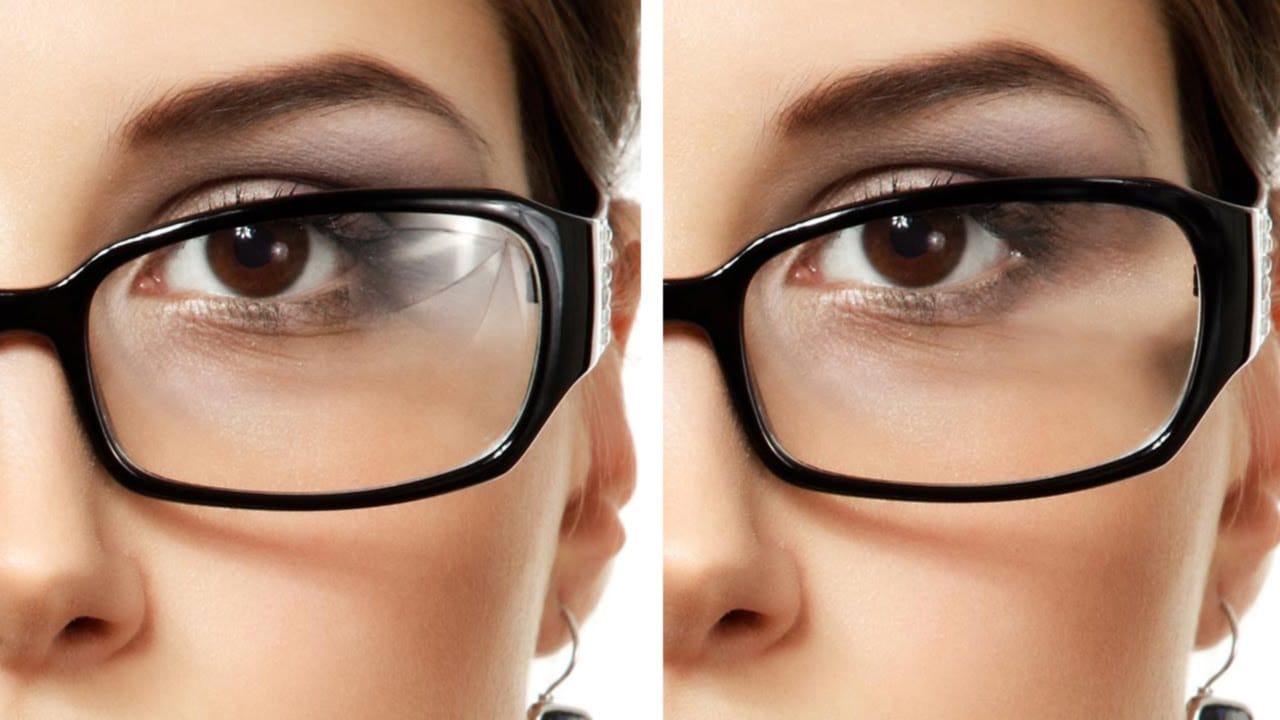
How to Professionally Remove Glare from Eyeglasses in Photoshop
Glare on eyeglasses is a persistent and frustrating problem in photography, often obscuring the subject's eyes and facial features. This common issue can detract from an otherwise perfectly composed portrait, making it appear unprofessional or distracting due to bright reflections.
This tutorial demonstrates a robust hybrid approach to tackling eyeglass glare in Photoshop, combining the efficiency of AI-powered Generative Fill for minor touch-ups with the precision of the classic Clone Stamp to
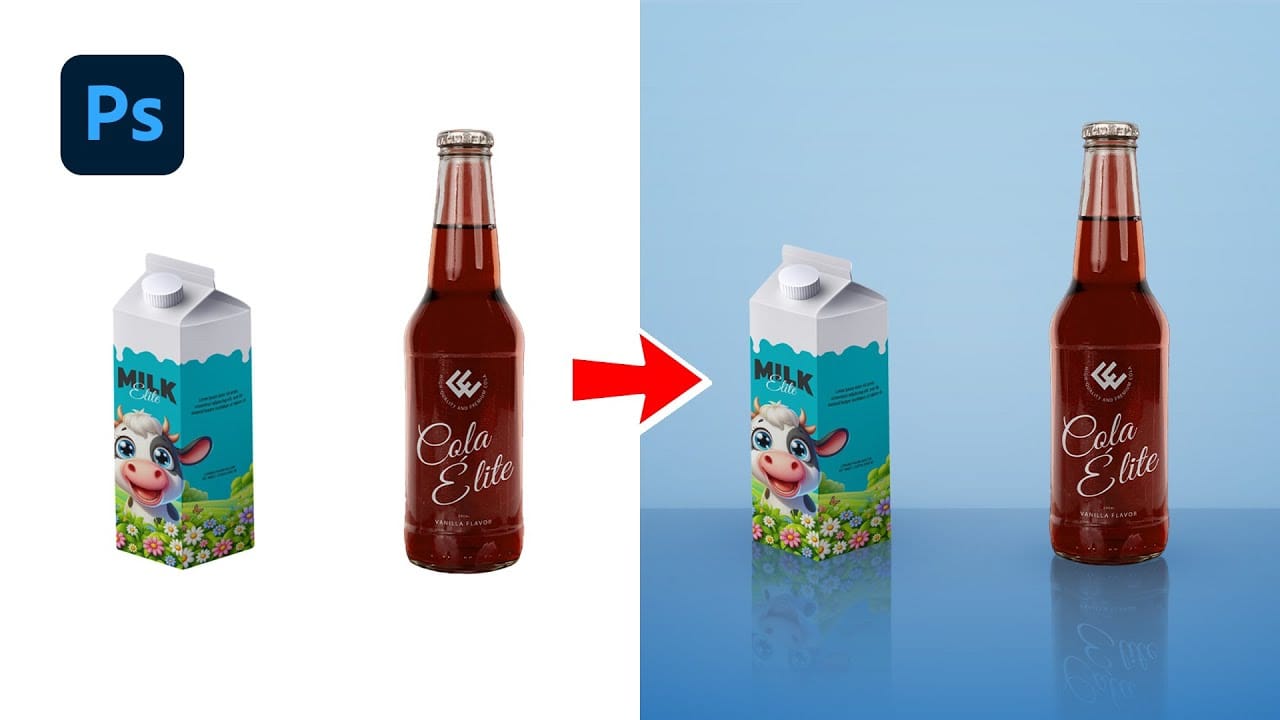
Create Realistic Reflections in Photoshop: Boxes and Cylinders
Creating convincing reflections in Photoshop requires different approaches depending on the shape of your object. While the basic concept remains the same—duplicating and flipping the original—the transformation techniques vary significantly between geometric shapes like boxes and curved forms like bottles or cylinders.
This tutorial demonstrates the specific methods needed to create realistic reflections for both box-shaped and cylindrical objects. You'll learn how to use perspective warp for
How to make epic reflections in Photoshop
This tutorial will teach you techniques to create captivating reflections and lifelike puddles in Photoshop. Renowned expert Colin Smith will guide you through the process, ensuring your images and designs achieve a heightened sense of realism and visual impact.
You'll learn tips and strategies to craft reflections that seamlessly blend with your photographic elements or design compositions, whether replicating the surface of a lake, the facade of a skyscraper, or the rippling effect of a puddl