High-resolution floral appliqué PNGs on transparent layers open up a straightforward path to fine art portrait compositing. By combining them with subject cutouts, blend modes, clipped adjustment layers, and foliage brushes, a standard photograph can take on the depth and texture of a painted piece.
Watch the Video
Video by Nikki Harrison's Fine Art Academy. Any links or downloads mentioned by the creator are available only on YouTube
Practical Tips
These techniques from the video will help you integrate floral appliqués naturally into portrait composites.
- Cut out your subject before placing appliqués so elements can sit cleanly in front of or behind them without manual masking later.
- Use clipped adjustment layers directly on each appliqué to control brightness and color independently — a Levels clip is enough for most corrections.
- Duplicate and transform a single appliqué using rotation and flipping rather than importing multiple files to build a full surround effect quickly.
- Match blend modes to intent: Multiply works for darker botanical shadows, Overlay or Hard Light works for highlighting sun-lit edges, and Normal at reduced opacity suits soft foreground placement.
- Sample existing colors from the image when painting foliage brush layers so added leaves read as part of the scene rather than a separate element.
Related Articles and Tutorials
These tutorials explore more ways to combine botanical elements and creative techniques with portrait photography.
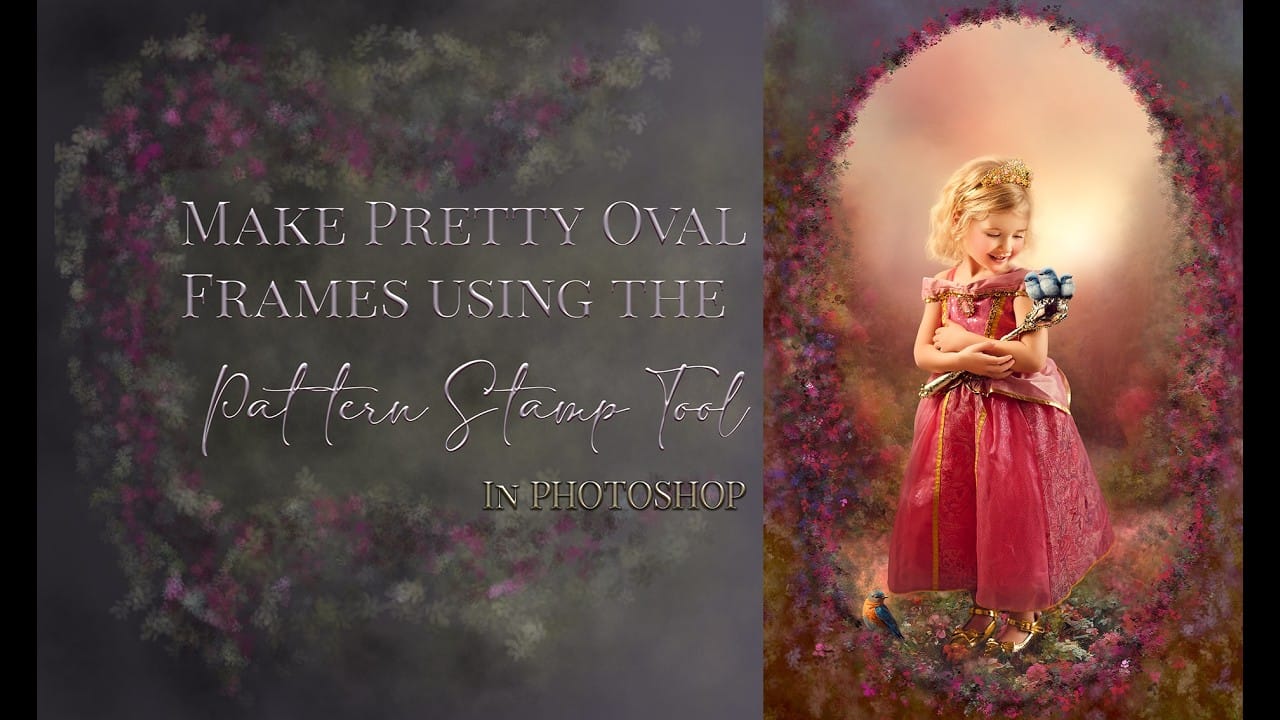
Create Beautiful Floral Oval Frames for Portraits in Photoshop
Transform ordinary portraits into elegant artwork with decorative floral oval frames that blend seamlessly with your subject. This technique combines traditional framing with digital floral elements, creating a painterly effect that's perfect for fine art prints and creative portraits.
The process involves creating an oval cutout, adding custom floral backgrounds, and using specialized brushes and pattern tools to extend florals naturally from the background into the portrait area.
Watch the
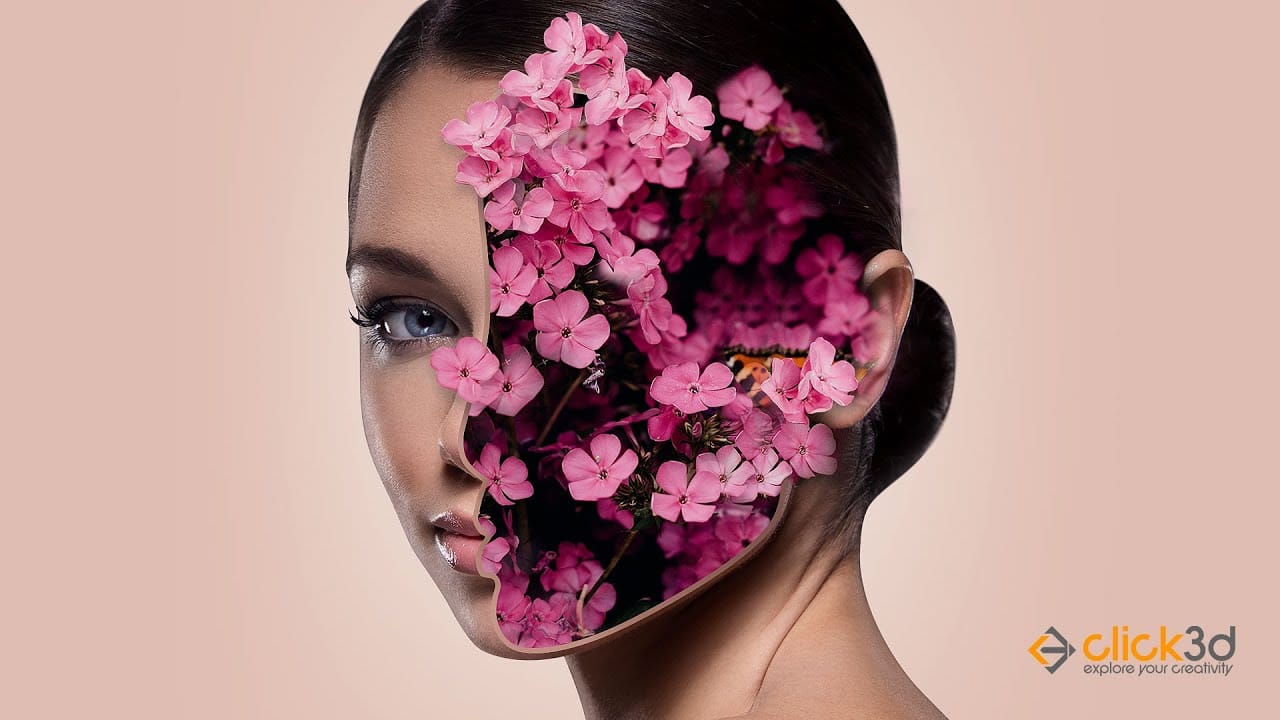
Surreal floral face photo manipulation in Photoshop
This captivating tutorial shows you how to create a surreal floral face photo manipulation. Learn how to seamlessly transform a portrait into a captivating floral composition. Half-human, half-bloom, this technique offers endless possibilities for book covers, posters, and truly unique artwork.
The video will guide you through utilizing layer masks, selection tools, and potentially even floral brushes to achieve this dreamlike effect. Unleash your creativity and create captivating portraits tha
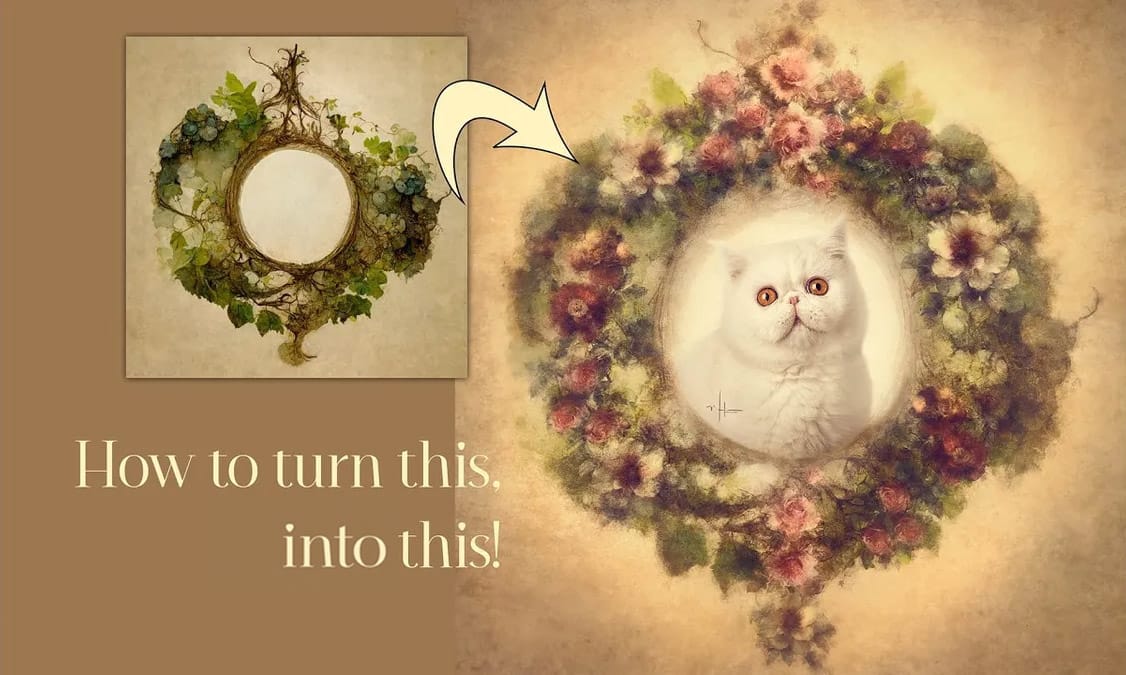
Creating Floral Wreath Overlays in Photoshop
Floral overlays transform ordinary portraits into magical compositions perfect for pet photography, baby portraits, and creative projects. This technique shows you how to build custom floral wreaths using AI-generated base elements and real floral PNG files, creating frames that can hold any subject in the center.
The process combines symmetry techniques, color matching, and brush effects to produce professional-looking floral frames with a dreamy, ethereal quality.
Watch the Video
Practica
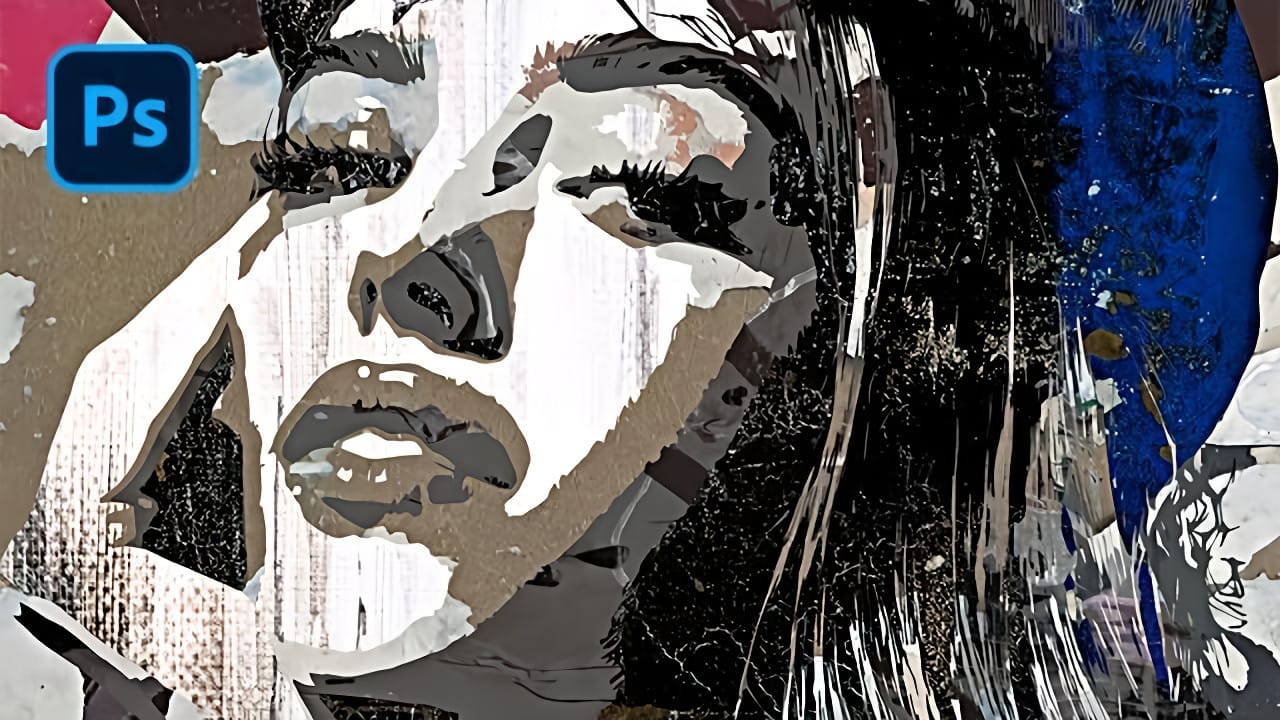
How to Create Textured Portrait Collages in Photoshop
Portrait collages open up creative possibilities that go far beyond traditional photo editing. By combining artistic filters, color manipulation, and texture mapping, you can transform ordinary portraits into striking visual compositions that blend photography with graphic design elements.
This technique breaks down complex imagery into simplified color zones, then maps different textures to each area. The result is a unique artistic effect that maintains the subject's recognizable features whi
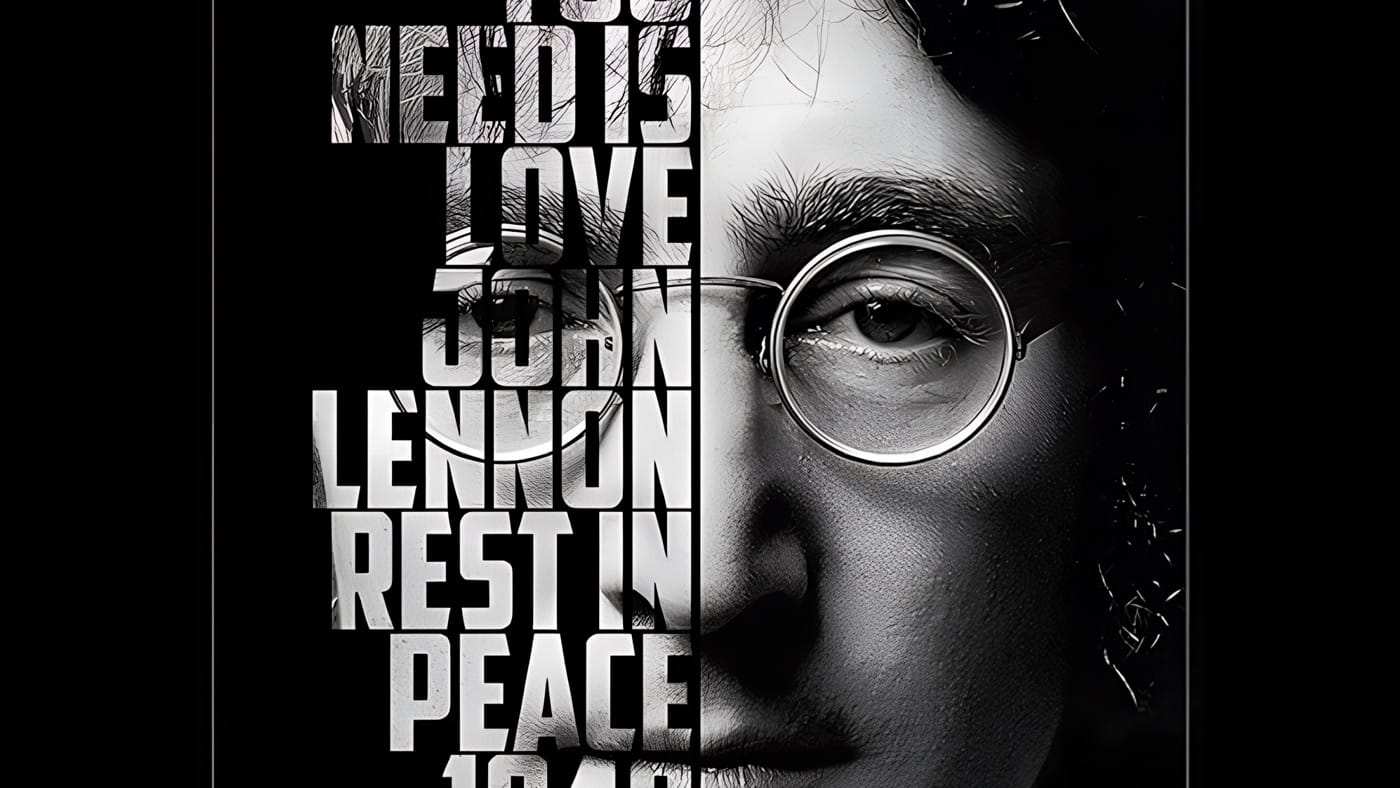
Create a Striking Text Portrait Poster in Photoshop
Transforming an ordinary portrait into a captivating text-based artwork presents a unique creative challenge in Photoshop. Often, the frustration lies in making text appear to organically wrap around a subject's contours rather than just sitting flat over the image. Achieving this seamless integration, especially when dealing with complex shapes, can feel like navigating an intricate technical puzzle.
This tutorial offers a clear pathway to mastering text portrait effects using advanced masking
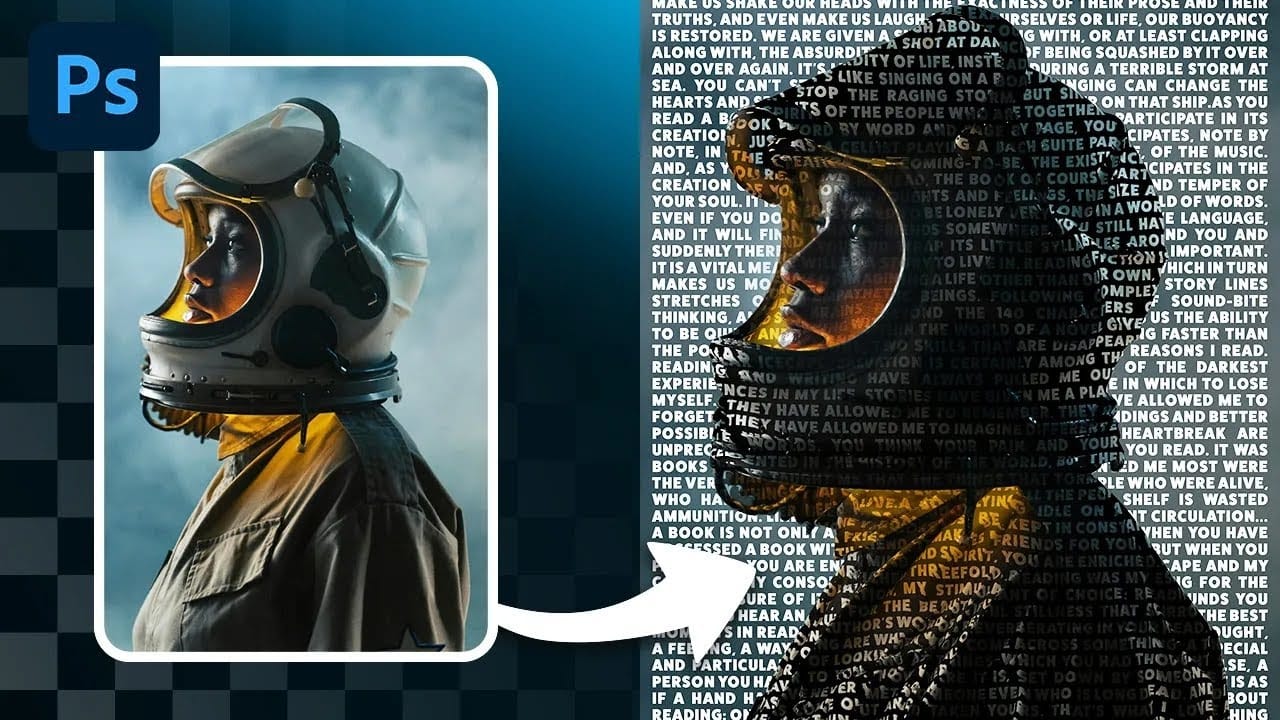
Create a cool text portrait in Photoshop
Learn how to create a striking typographic portrait poster in Adobe Photoshop, transforming a standard photo into an artwork where text defines the contours of the subject's face. You'll practice essential techniques: precise subject selection, background preparation, thoughtful text integration, and subtle refinements to enhance legibility and visual impact.
Watch the Video
Practical Tips for Text Portrait Posters in Photoshop
* Desaturate your base image to black and white early in the p