Building a hoodie mockup from a plain stock photo takes more than placing a graphic on top. This tutorial covers the full workflow: isolating and cleaning the garment, recoloring it with a gradient map, placing graphics with realistic shadow overlap, and finishing with embossed puff print and embroidery layer effects.
Watch the Video
Video by Adobe Photoshop. Any links or downloads mentioned by the creator are available only on YouTube
Practical Tips
These techniques apply to any apparel mockup, not just hoodies — keep them in mind as you build your own.
- Use the Remove tool to clean up pockets, seams, or existing logos before building your mockup — it saves time and produces a cleaner base.
- Create a midtones shadow layer using Select > Color Range, fill it with black, and lower its opacity so graphics placed beneath it inherit realistic fabric shadows.
- Use a gradient map as a clipping mask to recolor the garment — adjusting the dark and light endpoint colors lets you dial in any hue quickly.
- For an embossed or puff print effect, apply Bevel and Emboss with Inner Bevel, Smooth, and Direction Down, then add Contour to increase depth.
- For embroidery, switch to Pillow Emboss, reduce highlight intensity, and use the eyedropper to match the interior fill to the garment color so only the stitched edge reads.
Related Articles and Tutorials
Explore more tutorials covering mockup workflows, surface effects, and realistic graphic placement techniques.
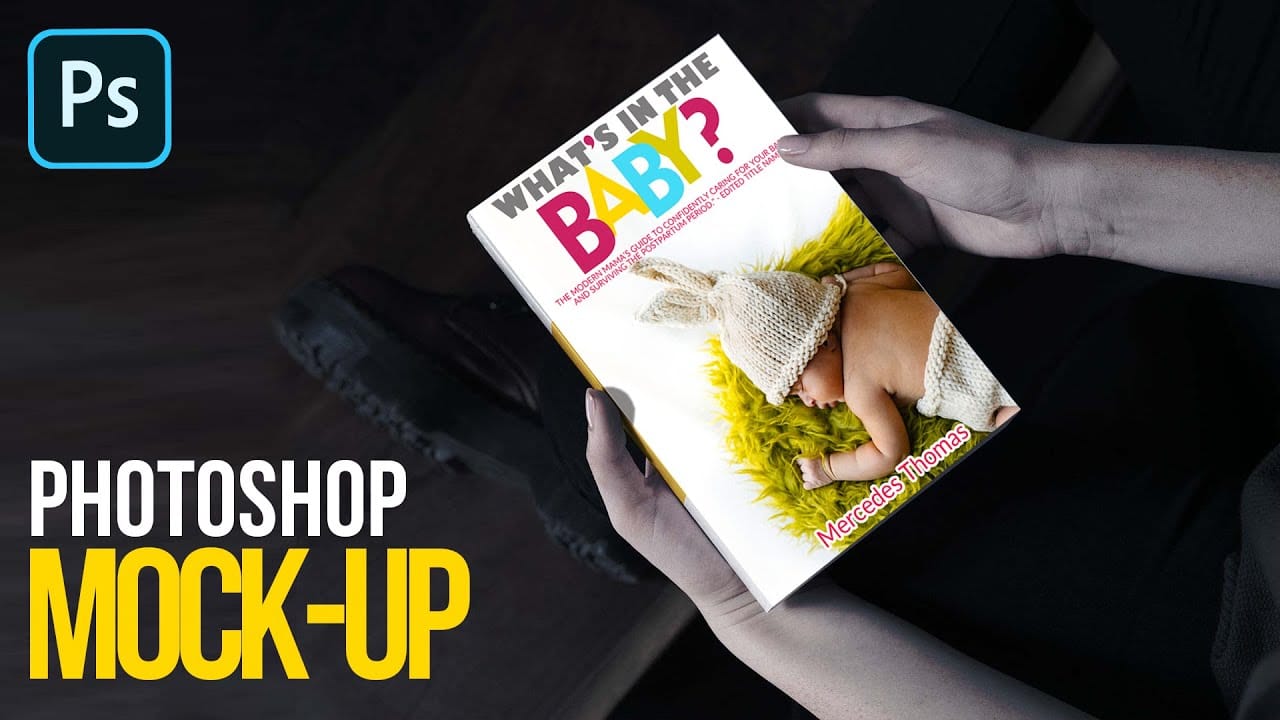
How to Create Realistic Design Mockups in Photoshop
Creating convincing product mockups requires more than simply placing a design onto a template. Real fabric surfaces have subtle color variations, texture bumps, and complex lighting that affect how printed designs actually appear.
This comprehensive tutorial demonstrates professional techniques for building realistic mockups from scratch. You'll learn to control surface preparation, blend modes, displacement mapping, and lighting effects to achieve results that match real-world printing condit
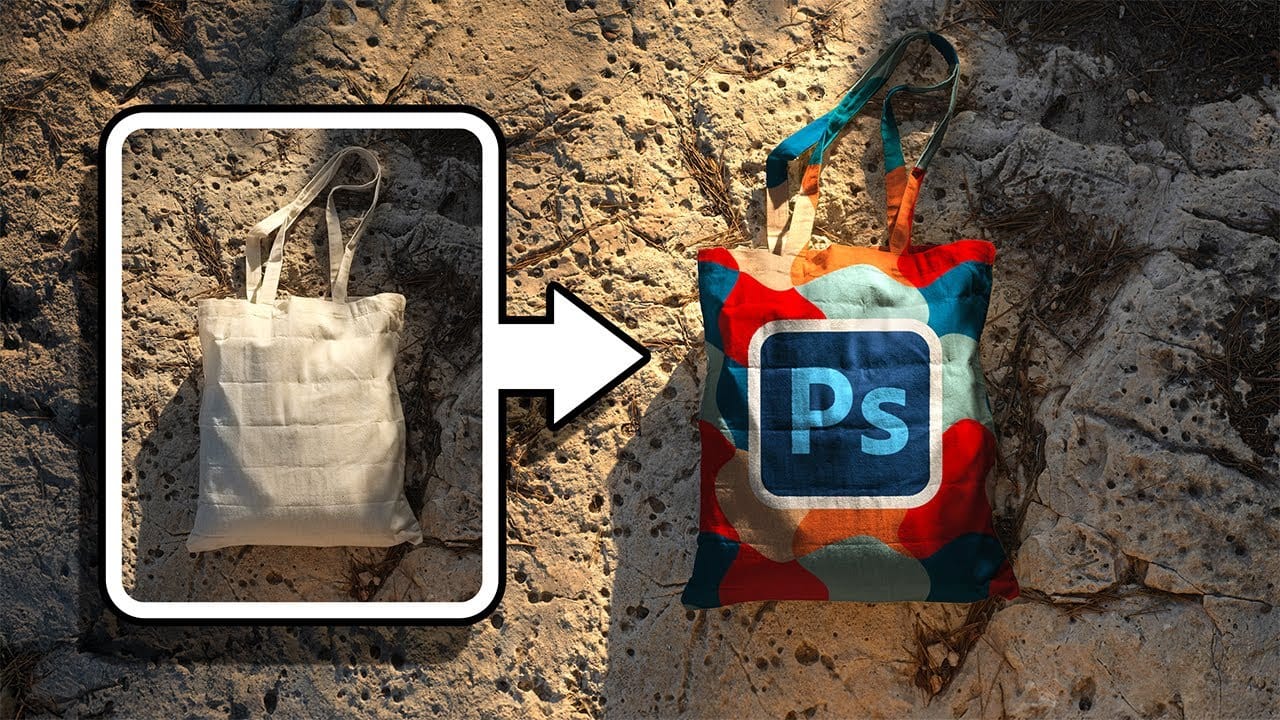
Easily create realistic mockups and templates in Photoshop
In this tutorial by Quistt, you'll discover how to craft realistic mockups and templates in Photoshop with ease. This comprehensive guide will walk you through the process of creating high-quality product showcases, whether you're designing for books, signs, t-shirts, or various other merchandise.
You'll learn to utilize Photoshop's powerful tools and features to produce mockups that look both professional and authentic. The tutorial covers techniques for adding realistic details and ensuring y
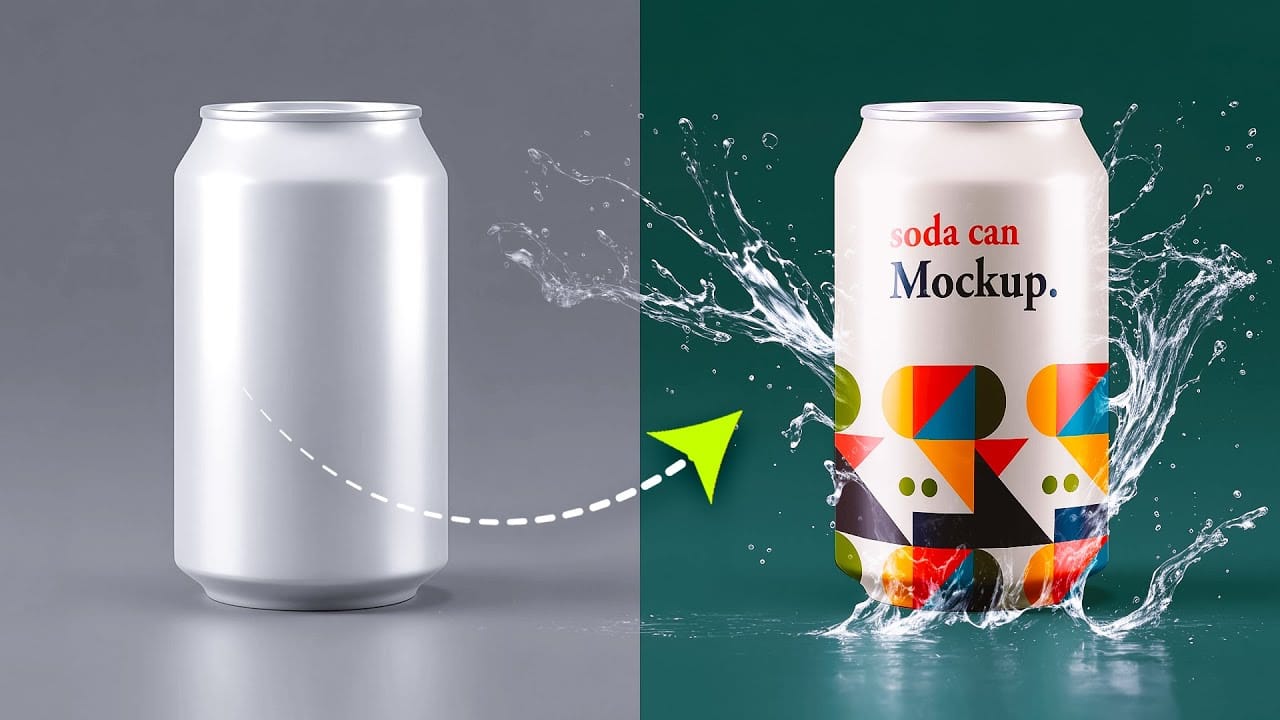
How to Create a Can Mockup in Photoshop Using Smart Objects and Masks
Professional can mockups transform flat designs into realistic product presentations that clients can instantly visualize. This technique combines precise measurement, smart object workflow, and blending modes to wrap your graphics seamlessly around curved surfaces.
The process creates reusable templates that automatically apply proper perspective and lighting effects to any design you place inside.
Watch the Tutorial
Essential Tips for Can Mockup Creation
* Measure your can dimensions fi
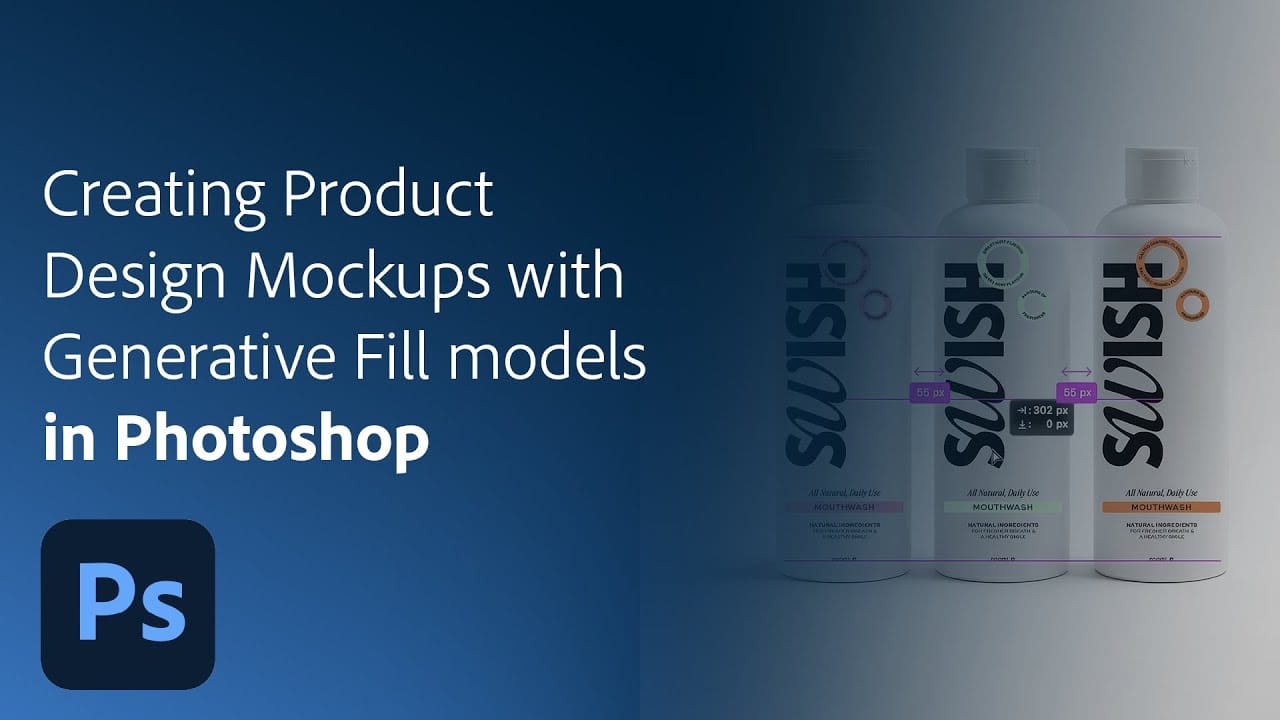
How to Create Product Mockups Using New Generative Fill Partner Models in Photoshop
Low-quality product photos from clients can make creating professional mockups challenging. With Photoshop's new Generative Fill partner models, you can transform rough sample images into polished product mockups in minutes rather than hours.
This workflow demonstrates how Nano Banana and Flux Context Pro streamline the entire process from background cleanup to multi-product arrangements, letting you focus on the detailed design work that matters most.
Watch the Video
Practical Tips
These
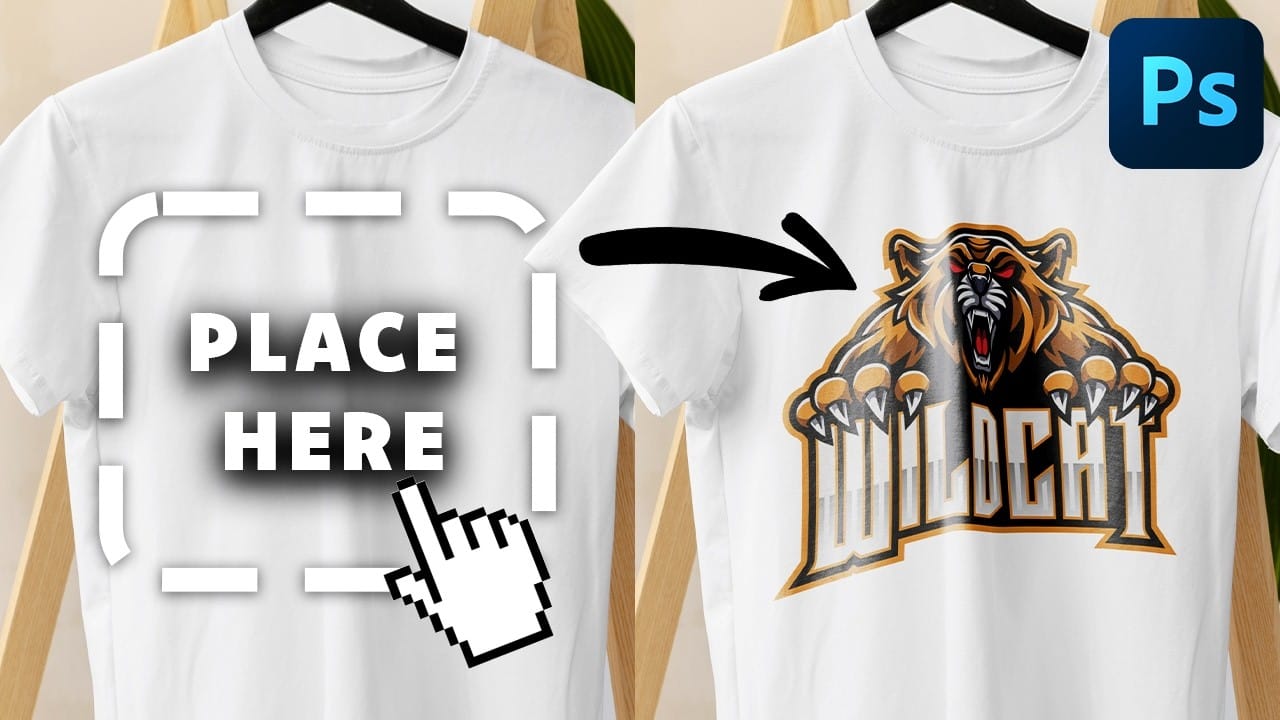
How to Create Reusable Drag & Drop Mockup Templates in Photoshop
Manually warping and blending logos onto product photos takes 15-30 minutes each time. Smart objects in Photoshop transform this repetitive process into a one-time setup that creates reusable templates.
This technique lets you drag and drop any design into a pre-configured mockup that automatically applies warping, blending, and lighting effects.
Watch the Tutorial
Essential Tips for Drag & Drop Mockups
* Create a rectangular shape layer as your container, then convert it to a smart objec
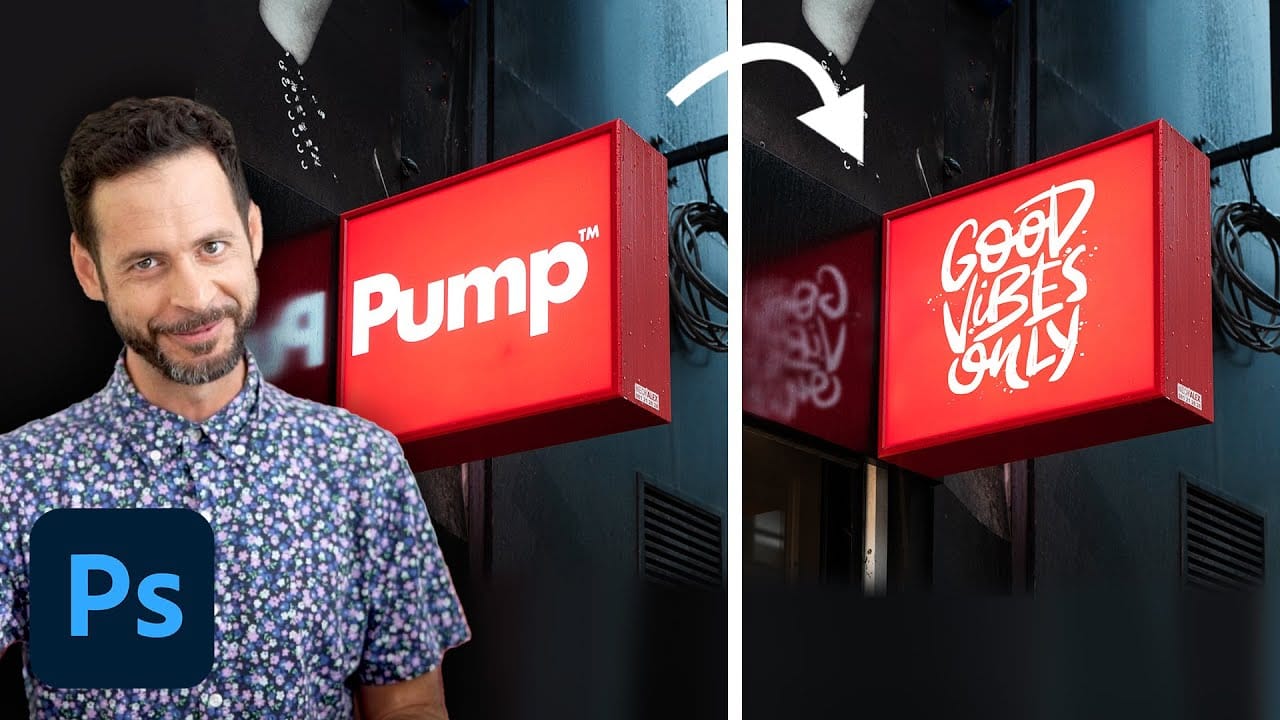
How to replace a sign for mockups in Photoshop
Professional sign mockups require more than just placing text on a surface. This technique combines content-aware fill, perspective correction, and smart object linking to create reusable templates that automatically update both signs and their reflections whenever you modify the source design.
The process creates a complete workflow where changes to a single PSD file instantly propagate through the entire mockup, including realistic perspective distortion, reflections, and environmental lighti
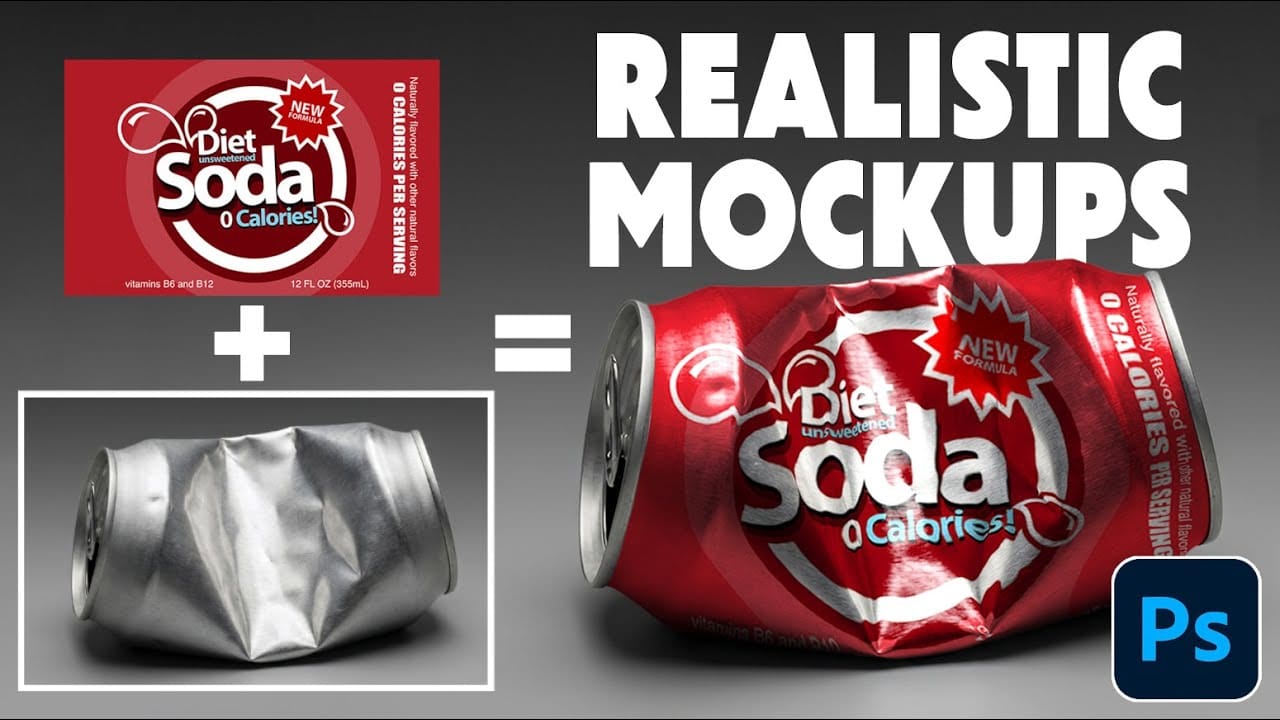
How to Wrap Designs Around Complex Objects Using Displacement Maps in Photoshop
Professional mockups require more than simply placing a design onto an object. Complex surfaces like crushed aluminum cans demand advanced techniques to achieve realistic wrapping that follows every contour and deformation.
This process combines displacement mapping, smart objects, and blending modes to create reusable templates that automatically conform any design to irregular surfaces while preserving authentic lighting and reflective highlights.
Watch the Video
Practical Tips
Master th
Realistic Blend Effect in Photoshop
In this advanced Photoshop tutorial, WebFlippy guides you through creating a realistic blend effect for text, graphics, or logos on any surface. This tutorial is designed to help you seamlessly integrate elements into various backgrounds, making them look like a natural part of the scene.
WebFlippy starts by demonstrating how to properly blend text or logos using Photoshop's powerful tools and techniques. You'll learn how to adjust and match the texture, lighting, and perspective of your surfac

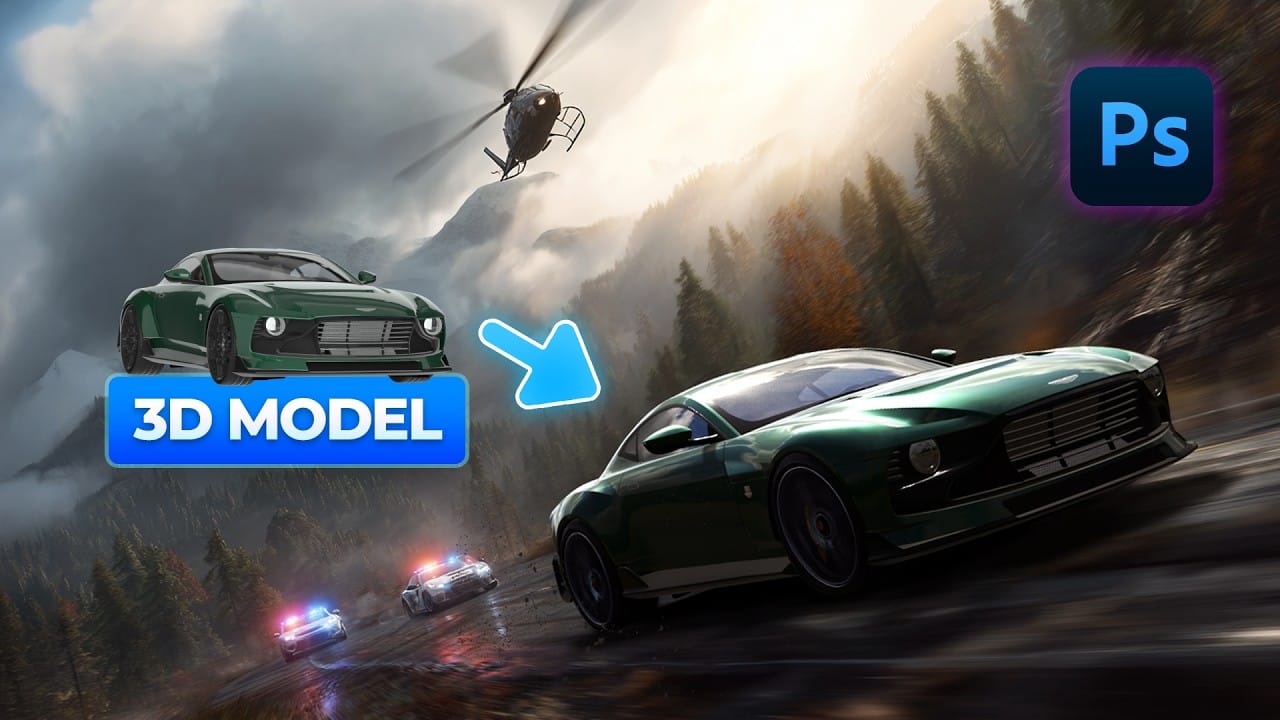
How to Add Realistic 3D Objects in Photoshop
Adding 3D objects to photos often results in fake-looking composites that scream "digital manipulation." The biggest challenge isn't importing the 3D model—it's making the lighting, shadows, and perspective match seamlessly with your background image.
This tutorial demonstrates how to use Photoshop Beta and Substance 3D Beta to create convincing 3D composites. You'll learn essential techniques for matching lighting direction, positioning objects accurately, and applying realistic shadows that i