How to Add Realistic 3D Objects in Photoshop

How to Add Realistic 3D Objects in Photoshop

Adding 3D objects to photos often results in fake-looking composites that scream "digital manipulation." The biggest challenge isn't importing the 3D model—it's making the lighting, shadows, and perspective match seamlessly with your background image.

This tutorial demonstrates how to use Photoshop Beta and Substance 3D Beta to create convincing 3D composites. You'll learn essential techniques for matching lighting direction, positioning objects accurately, and applying realistic shadows that integrate naturally with your scene.

Watch the Tutorial

Any links or downloads mentioned by the creator are available only on YouTube

The Evolution of 3D Integration in Digital Art

Traditional 3D rendering required expensive software and extensive technical knowledge. Modern tools like Substance 3D Viewer have democratized this process by providing intuitive controls and preset lighting environments that automatically handle complex calculations.

The key breakthrough is real-time preview capabilities. Artists can now see how lighting changes affect their 3D objects instantly, making it easier to match the lighting conditions of background images. This immediate feedback loop has transformed 3D compositing from a technical exercise into a creative process.

Professional compositors emphasize that successful 3D integration depends more on observation skills than technical prowess. Understanding how light behaves in your reference image—identifying shadow directions, highlight intensity, and ambient lighting—determines whether your composite looks believable or artificial.

Practical Tips for 3D Object Integration

  • Download GLB files from Sketchfab instead of other formats, as they include pre-applied textures and reduce setup time significantly
  • Use the rotation controls in Substance 3D Viewer when orbit controls don't provide enough precision for matching perspective angles
  • Enable the ground plane option to automatically generate realistic shadows, but disable it if you prefer manual shadow control in Photoshop
  • Apply Camera Raw filter to the final merged composition for unified color grading rather than adjusting individual layers separately
  • Add radial blur to wheels and rotating elements to suggest motion, even in static scenes

Explore more techniques for creating dimensional effects and realistic composites.

Turn Anything into Realistic 3D with Photoshop and Firefly
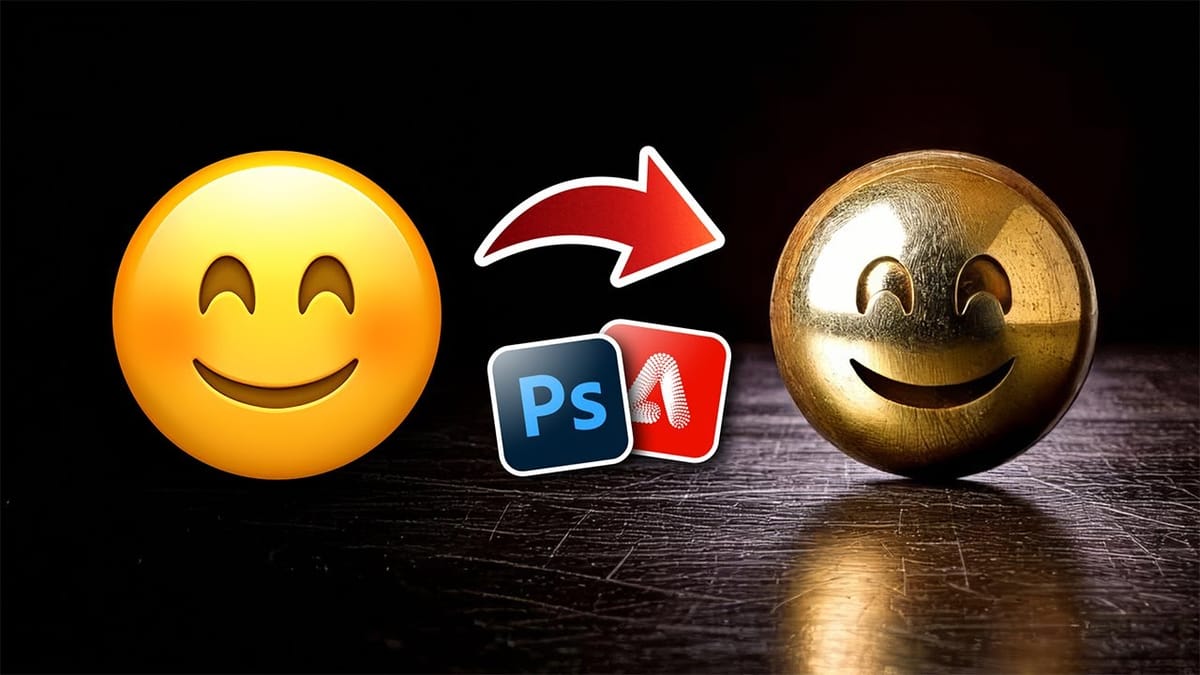
Explore the exciting world of transforming 2D graphics into stunningly realistic 3D images using Photoshop and Adobe Firefly. This tutorial provides a step-by-step guide on how to turn shapes, text, and images into captivating three-dimensional visuals. You will uncover the techniques necessary for creating the right blueprint in Photoshop. Once
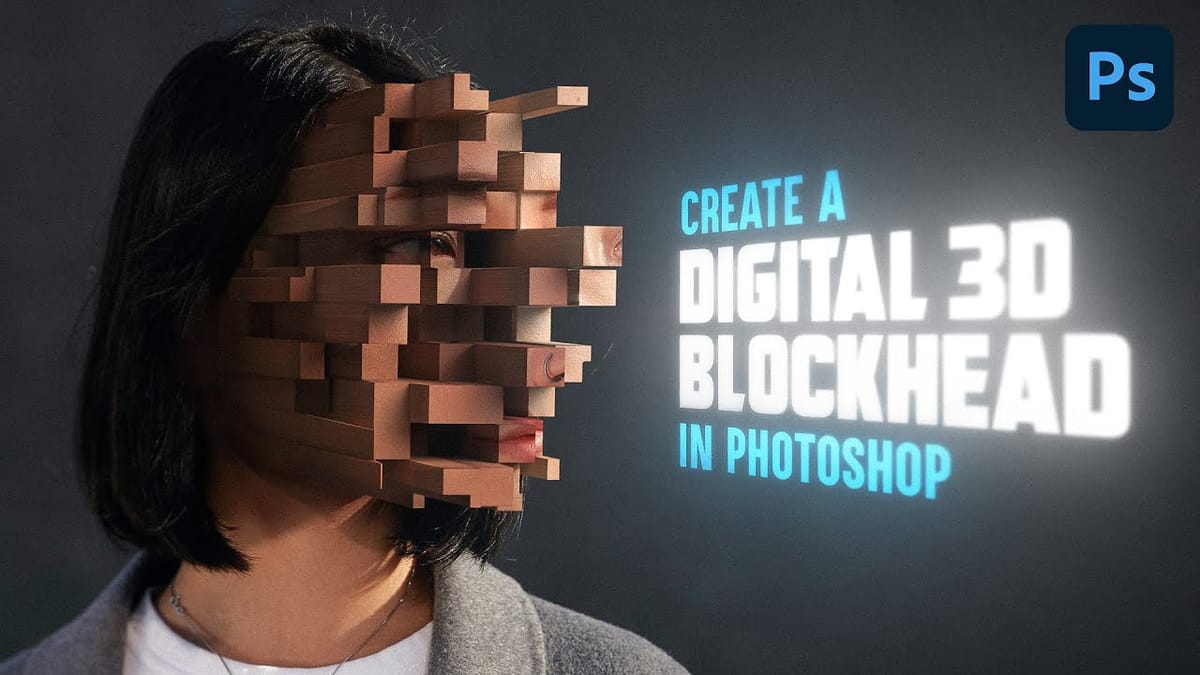
Create a gripping pixelated 3d blockhead effect
In this tutorial, we’ll check out a technique for creating this surreal pixelated blockhead portrait. This effect was inspired by a sequence in the film The Mandela effect, and by the incredible sculptures of Han Hsu-Tung. Tutorial by TextureLabs. More
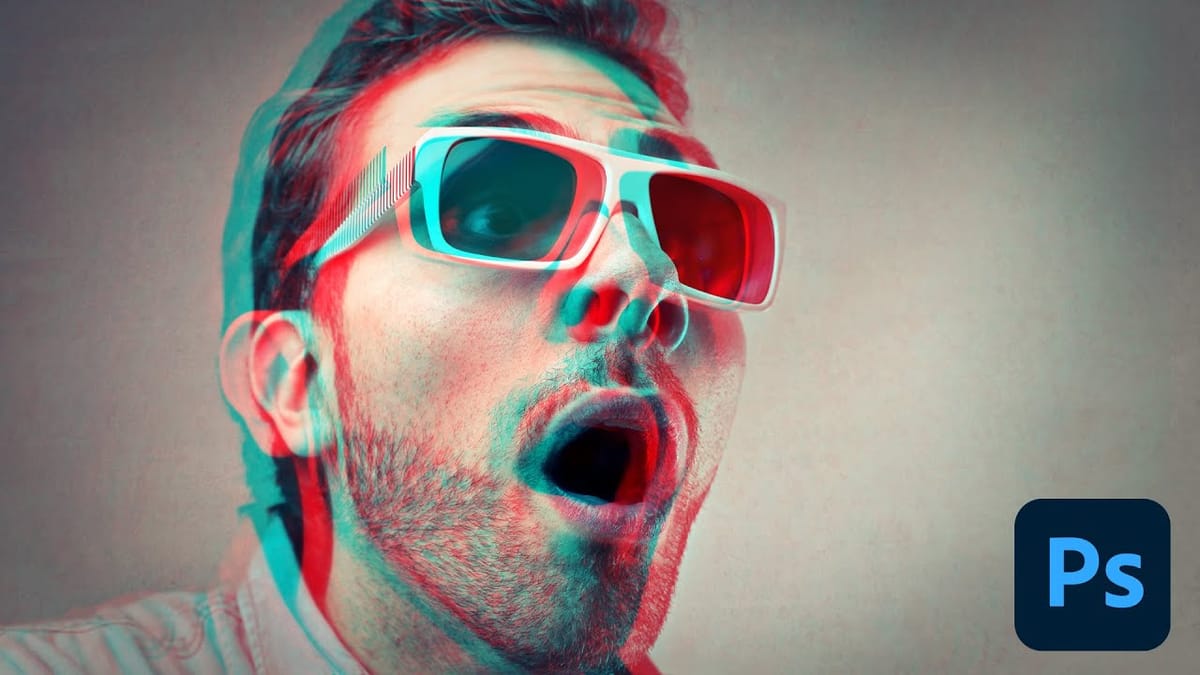
Photoshop Retro 3D Movie Effect Tutorial
Put on your old red and blue 3D glasses to revisit the classic style of 1950s 3D cinema. This tutorial offers a simple, step-by-step guide to achieving that retro look using Photoshop. In the 1950s, audiences were captivated by movie monsters that seemed to leap off the screen with their

Get tutorials & freebies delivered to you.

Subscribe to the Photoshop Roadmap newsletter, a weekly roundup of new tutorials, insights and quality downloads, trusted by 6500+ readers.

You might also like

Create an Old Masters Painting Effect from a Studio Portrait in Photoshop

Old Masters paintings capture drama and character through rich textures, dramatic lighting, and warm color palettes. By combining strategic dodging and burning with selective color adjustments and composite backgrounds, you can transform a simple studio portrait into a classical painterly masterpiece. This technique focuses on enhancing natural textures rather than...

How to Use AI Depth Masking in Photoshop for Targeted Subject and Background Editing

AI depth masking revolutionizes how you select and edit specific areas of your photos by analyzing three-dimensional space rather than shapes or colors. This powerful feature uses artificial intelligence to calculate depth layers, allowing you to brighten subjects while darkening backgrounds or apply targeted adjustments based on distance from the...

9 Lazy Photoshop Habits You Need to Break Right Now

Photoshop has added incredible AI features and smarter workflows over the last few years to save you time. Yet, you might still be stuck using clunky, manual workarounds you learned years ago. If you are constantly repeating tedious tasks, you are losing time and actively limiting the quality of your...

Professional Portrait Retouching with the B.S.T. Method in Photoshop

Professional portrait retouching requires artistic choices that automated tools can't make. The B.S.T. method breaks retouching into three focused steps: removing blemishes with precision, smoothing skin while preserving natural texture, and equalizing skin tones throughout the image. This systematic approach gives you complete control over every...

Create Motion Blur Light Effects in Photoshop

Transform ordinary portraits into dynamic, cinematic images by combining path blur effects with creative background textures. This technique creates the illusion of camera movement while maintaining focus on key elements like the subject's eyes, resulting in professional-looking motion blur effects that add energy and visual interest to static...

How to Paint Realistic Jewelry on Portraits in Photoshop

Adding painted jewelry to portraits transforms ordinary photos into fantasy portraits with ornate accessories that never existed. This digital painting technique uses careful layering, proper lighting, and realistic shadows to create convincing rings, earrings, and decorative headpieces. The method combines basic brush work with advanced blending techniques to build up...

You’ve successfully subscribed to Photoshop Roadmap
Welcome back! You’ve successfully signed in.
Great! You’ve successfully signed up.
Success! Your email is updated.
Your link has expired
Success! Check your email for magic link to sign-in.