A cluttered background, tight framing, and flat lighting can undermine an otherwise strong portrait. This workflow covers the full process of cleaning up a photo using Photoshop's AI-powered Remove Tool, extending the canvas with Generative Expand, replacing the sky, and finishing with Camera Raw adjustments for grain, vignetting, and background blur.
Watch the Video
Video by PHLEARN. Any links or downloads mentioned by the creator are available only on YouTube
Practical Tips
These techniques work together as a sequential editing workflow, each step building on the last to produce a clean, polished result.
- Use the Remove Tool's "Find Distractions" feature to automatically categorize and color-code visual clutter, then paint over anything it missed — or hold Alt/Option to exclude areas you want to keep.
- Run wires and cables removal separately from general distractions, as Photoshop treats them as a distinct category with its own detection pass.
- When expanding the canvas with the Crop Tool, use the rule of thirds grid to position your subject at a horizontal-vertical intersection before generating new pixels.
- After any AI-based removal or expansion, add a small amount of film grain in Camera Raw to unify the image texture and make generated areas less detectable.
- In Camera Raw, use a radial gradient mask over your subject to raise exposure selectively, then lower saturation slightly to keep skin tones looking natural under the increased light.
Related Articles and Tutorials
Explore more techniques for cleaning up, retouching, and refining photos at every stage of the editing process.
Complete Photoshop Editing Workflow: 5 Steps from Raw to Polished
Photoshop offers endless possibilities for photo enhancement, but many photographers never move beyond basic adjustments because the software feels overwhelming. This comprehensive workflow breaks down photo editing into five manageable stages that work consistently across different photography styles.
The systematic approach covers everything from initial raw processing to advanced lighting techniques, providing a reliable framework for transforming any photograph into a polished final image.

How to Transform Photos into Digital Paintings Using Photoshop Brushes
Busy backgrounds and photographic detail can overwhelm your artistic vision. This technique shows how to prepare photos for digital painting by strategically overpainting backgrounds and replacing photographic elements with painterly textures. The approach combines subject isolation, textured brush work, and color sampling to create a foundation that bridges photography and fine art.
Rather than simply filtering a photo, this method involves actually painting new elements while using the origin

How to Remove Objects from Photos Using Photoshop's Remove Tool and Clean Plate Technique
Professional photo editing often requires removing unwanted objects while maintaining natural-looking results. The challenge lies in creating seamless edges and realistic backgrounds, especially around complex subjects like hair or intricate details.
This tutorial demonstrates both basic object removal using Photoshop's Remove Tool and an advanced "clean plate" technique used in professional TV and movie poster production.
Watch the Tutorial
Essential Tips for Object Removal
* Create a ne
How to Use Photoshop's Layer Cleanup Tool to Organize Messy Projects
Complex editing projects with Generative Fill and Expand often result in dozens of unnamed layers cluttering your workspace. The new Layer Cleanup tool automates the tedious process of renaming layers and removing empty ones, transforming chaotic layer panels into organized, manageable structures.
This workflow improvement saves significant time during post-production and makes it easier to navigate complex documents without manual reorganization.
Watch the Video
Practical Tips
These strat

Cutting Out Complex Images in Photoshop: 3 Professional Refinement Techniques
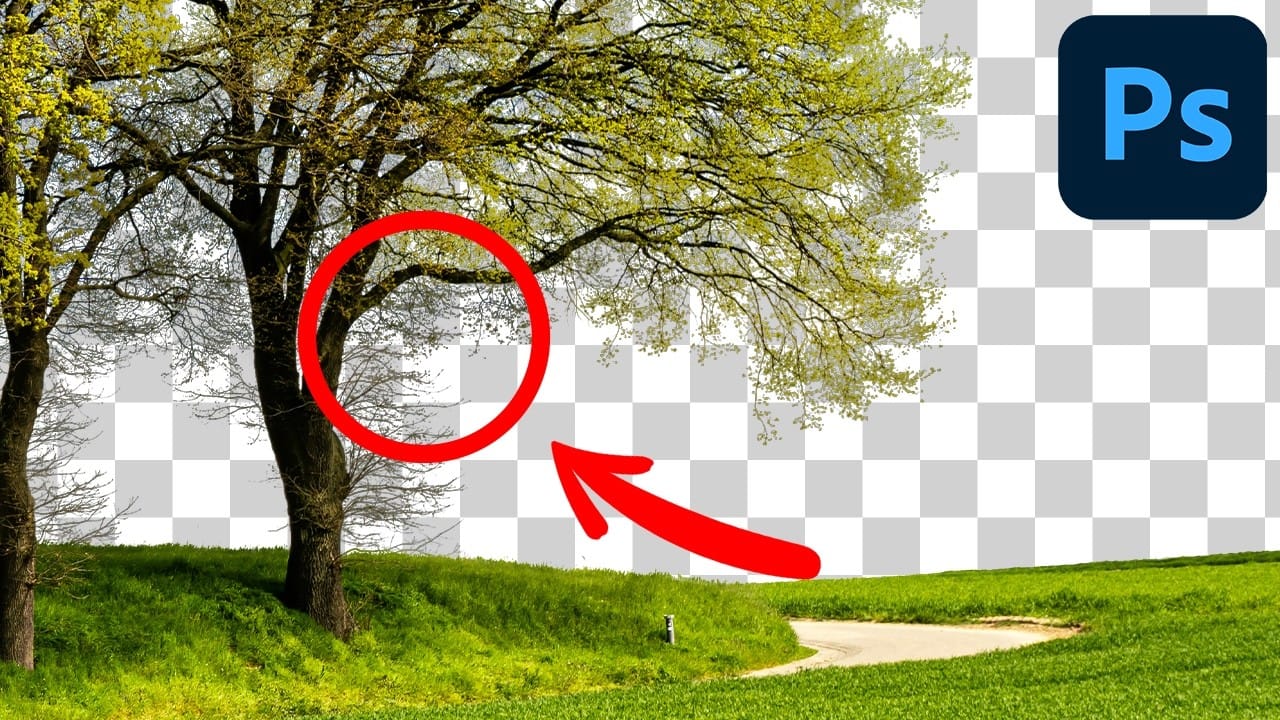
Complex cutouts with intricate details like tree branches or hair often suffer from visible fringing and rough edges that make them look unprofessional. These three refinement techniques transform basic channel selections into clean, realistic cutouts.
Master these methods to eliminate fringing, restore natural colors, and achieve seamless integration with any background.
Watch the Video
Practical Tips for Complex Cutout Refinement
* Use the blue channel for maximum contrast when selectin
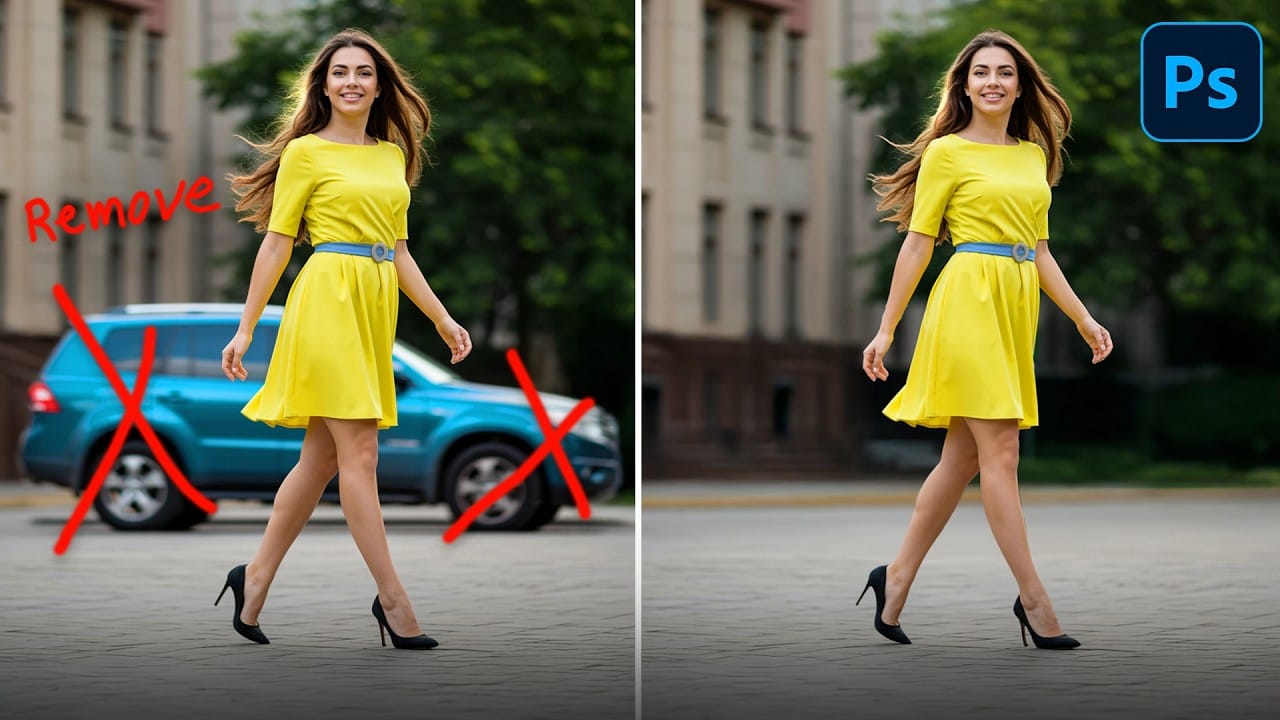
Remove All Distractions From a Photo in One Click using Adobe Photoshop
This tutorial by PiXimperfect introduces an impressive new feature in Adobe Photoshop Beta that simplifies photo editing. By utilizing the updated Remove Tool, users can effortlessly eliminate distractions from their images with just one click.
The tutorial highlights how this feature can efficiently remove unwanted elements such as people, power lines, and various other distractions that can detract from the overall quality of a photograph. Ideal for photographers and graphic designers alike,

How to Remove Dust and Sensor Spots Using Photoshop Tools
Dust spots and sensor particles are inevitable challenges in digital photography, appearing as dark specks that distract from otherwise clean images. Camera sensors collect dust over time, creating consistent spots that show up across multiple photos, particularly in bright sky areas or uniform backgrounds.
Both Lightroom and Photoshop offer specialized tools designed to tackle these imperfections efficiently. Understanding when to use each application's strengths can streamline your workflow a

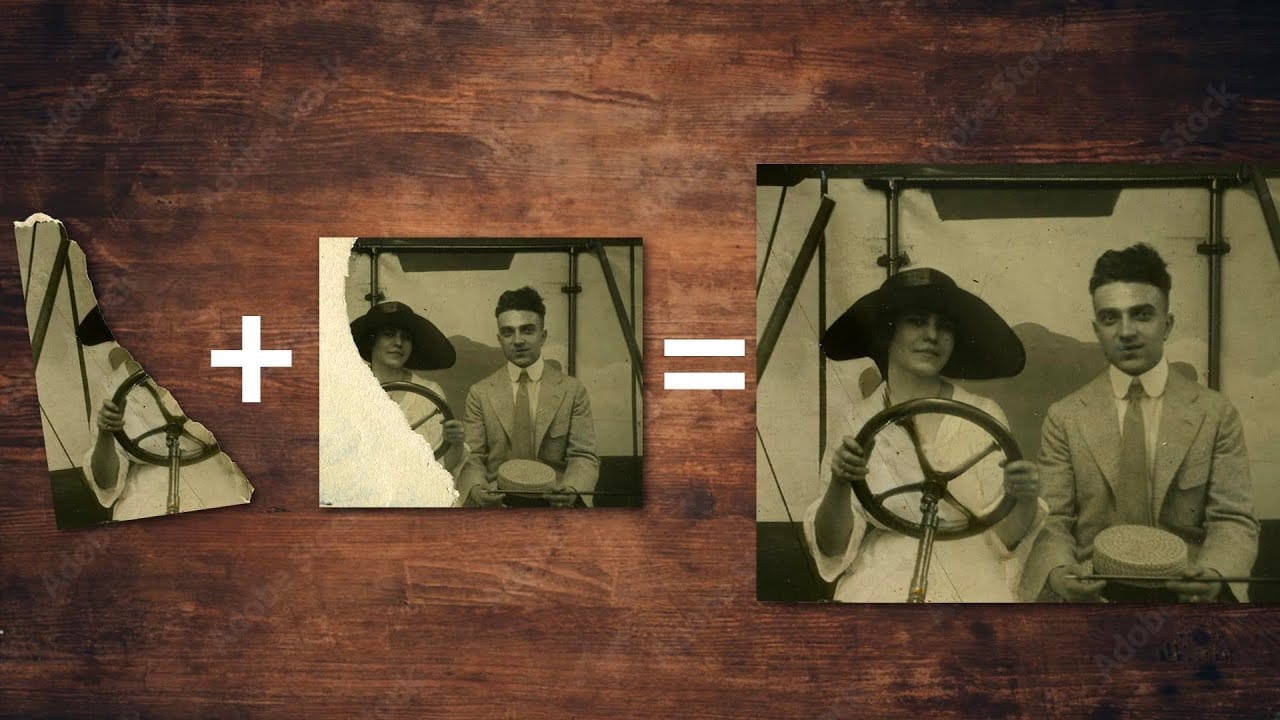
How Photoshop Photo Restoration Got Better Than Ever
This tutorial by Matt Kloskowski on Photoshop photo restoration reveals an impressive evolution in photo editing technology over the past few years. Many tasks that once required extensive time and complex processes can now be completed in just minutes. This is especially relevant after recent storms, which emphasized the need for restoring valuable family memories.
Photoshop's new tools and techniques make it easier than ever to tackle damaged images. Kloskowski emphasizes that achieving perfe