Photoshop offers endless possibilities for photo enhancement, but many photographers never move beyond basic adjustments because the software feels overwhelming. This comprehensive workflow breaks down photo editing into five manageable stages that work consistently across different photography styles.
The systematic approach covers everything from initial raw processing to advanced lighting techniques, providing a reliable framework for transforming any photograph into a polished final image.
Watch the Complete Workflow Tutorial
Video by Brendan Williams. Any links or downloads mentioned by the creator are available only on YouTube
Essential Tips for Photoshop Photo Editing
- Always open RAW files as Smart Objects to preserve editing flexibility and allow adjustments to Camera Raw settings throughout the workflow
- Create dedicated layers for object removal with "Sample All Layers" enabled to maintain non-destructive editing capabilities
- Use Apply Image on adjustment layer masks to create luminosity-based effects that blend more naturally with the underlying photograph
- Follow the color adjustment sequence of Hue/Saturation, Color Balance, then Selective Color for comprehensive color grading control
- Paint with sampled light colors on Overlay blend mode to enhance existing illumination and create realistic lighting effects in your images
More Tutorials about Photoshop Photo Editing
Explore additional techniques for improving your photo editing skills in Photoshop.
10 Critical Photoshop Mistakes You Must Stop Making
Stop making these 10 critical Photoshop mistakes that damage your images. 2025 guide covers AI tools, Smart Objects, and more.

5 Essential Photoshop Techniques for Better Portrait Editing
Portrait editing often feels overwhelming, especially when trying to balance natural-looking results with professional polish. Many photographers struggle with where to start and which adjustments will have the biggest impact on their images without making them look over-processed.
This tutorial covers five fundamental Photoshop techniques that will immediately improve any portrait. From creating better subject focus to color correction and skin retouching, these methods provide a solid foundat

5 tips to make your photos better in Photoshop
Colin Smith from Photoshop Cafe shares a comprehensive tutorial on five essential tips to rapidly enhance your photos using Photoshop. These tips are designed to help both beginners and experienced users elevate the quality of their images with ease.
One key aspect Smith covers is improving exposure. He demonstrates how to adjust brightness and contrast effectively to bring out the best in your photos, ensuring they are well-lit and visually appealing. Sharpening details is another crucial tip,
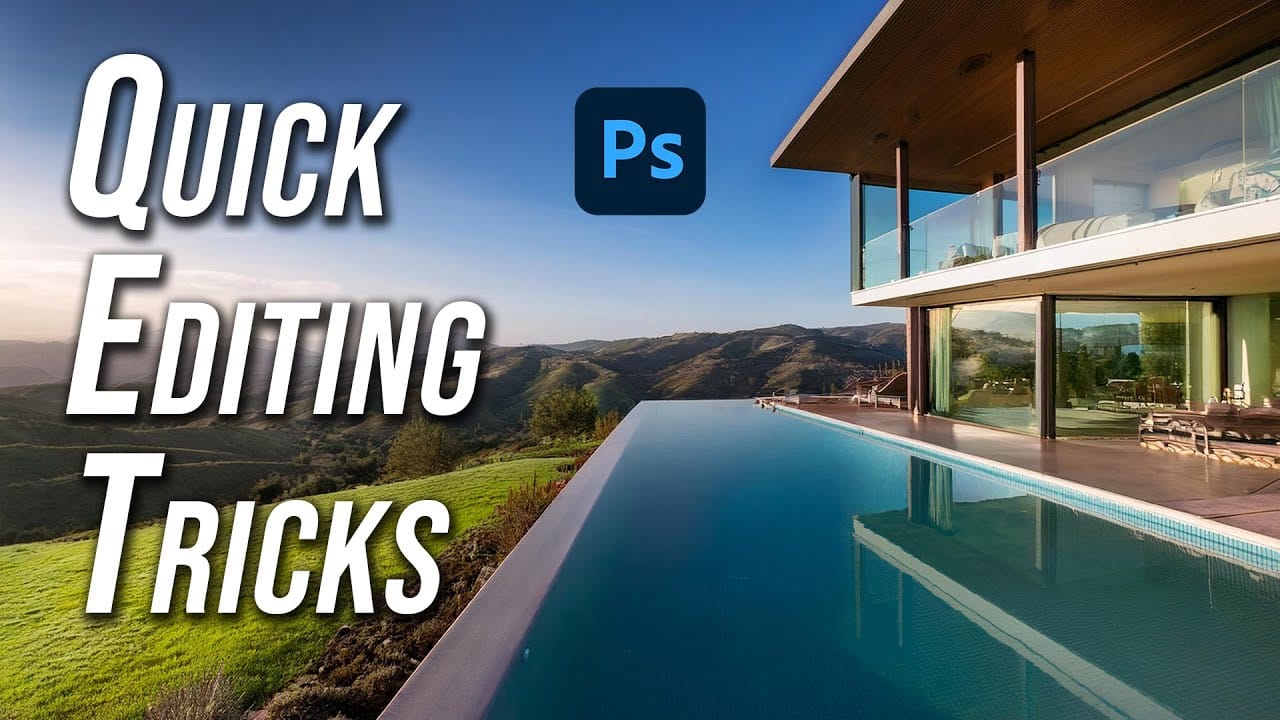
5 Hidden Photoshop Tips for Real Estate Photography Editing
Elevating real estate photography requires precision in post-production. Applying specific Photoshop techniques can dramatically improve image quality and accelerate your editing process. Many powerful features remain underutilized, yet offer significant benefits for property visuals.
This tutorial highlights five key Photoshop techniques, often overlooked, that are particularly effective for real estate images. Learn how to achieve a polished look and enhance critical details, ensuring your ph