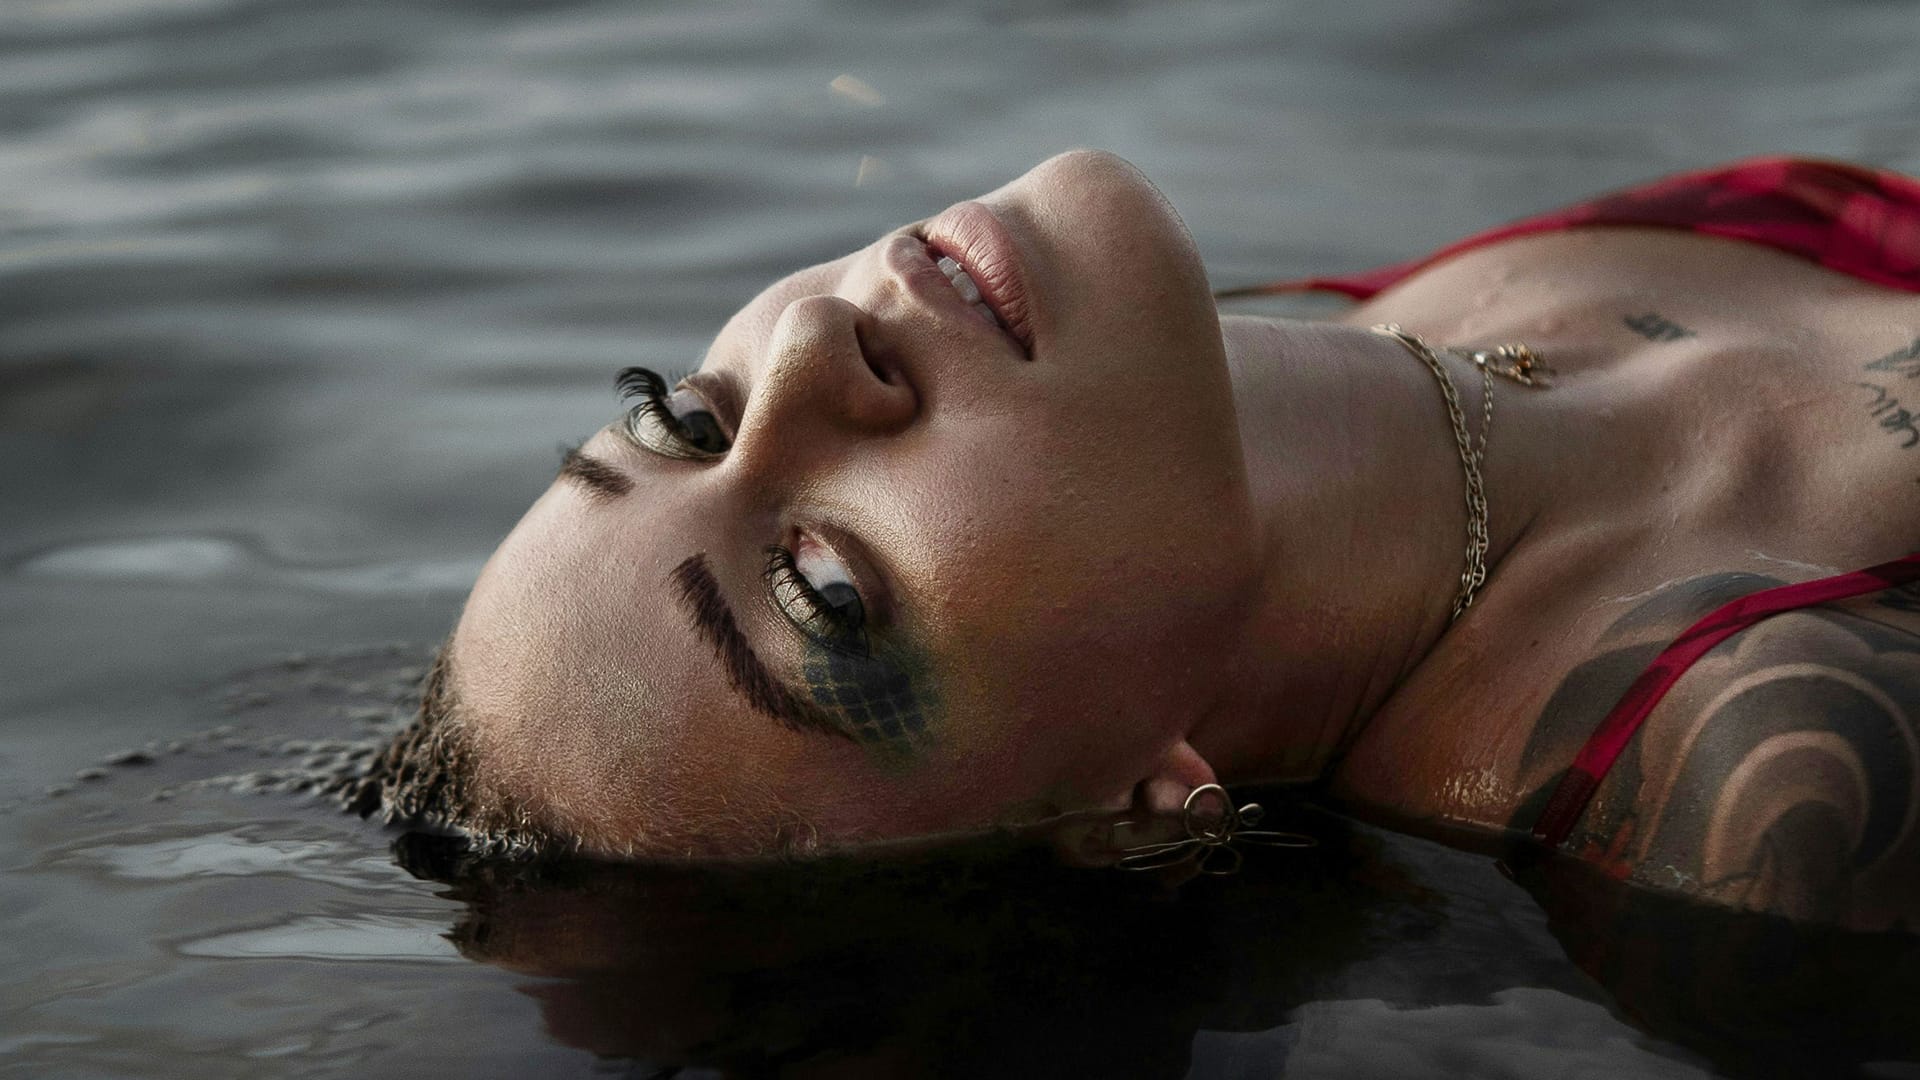
Photoshop's new Light adjustment layer brings Camera Raw controls — exposure, contrast, highlights, shadows, whites, and blacks — directly into the layers panel as a fully non-destructive, maskable layer. This means you can stack multiple light adjustments, target specific subjects, and combine them with Blend If and other adjustment layers without ever flattening your file.
Watch the Video
Video by PiXimperfect. Any links or downloads mentioned by the creator are available only on YouTube
Practical Tips
Key techniques covered in this tutorial for working with the Light adjustment layer effectively:
- Use Select Subject with "Sample All Layers" enabled, then add a Light adjustment layer to apply tonal changes to the subject and background independently.
- Combine Blend If with a Light adjustment layer to restrict the effect to highlights or shadows — hold Alt/Option to split the slider and create a smoother transition.
- Stack multiple Light adjustment layers freely, since each one supports its own mask and can be adjusted or toggled without affecting the others permanently.
- Be aware that while editing a layer beneath a Light adjustment layer, that Light layer temporarily pauses — this is by design to maintain performance, and the effect returns as soon as you finish.
- Use the Light adjustment layer instead of Camera Raw when your document contains text or other editable layers, so you can modify those elements at any time without reapplying adjustments.
Related Articles and Tutorials
Explore more tutorials on light, layer controls, and non-destructive editing techniques.
Create a dual lighting effect with just 2 layers in Photoshop
The author, PixImperfect, presents a straightforward technique to create the dual color lighting effect in Photoshop. Using the power of Gradient Maps, this tutorial demonstrates how to color multiple lights from different directions. Viewers also learn to utilize the "Blend If" feature to make the light more realistic. Optionally, the video explores techniques to add and modify interesting light elements to the image.
This concise yet informative tutorial guides viewers through the process ste
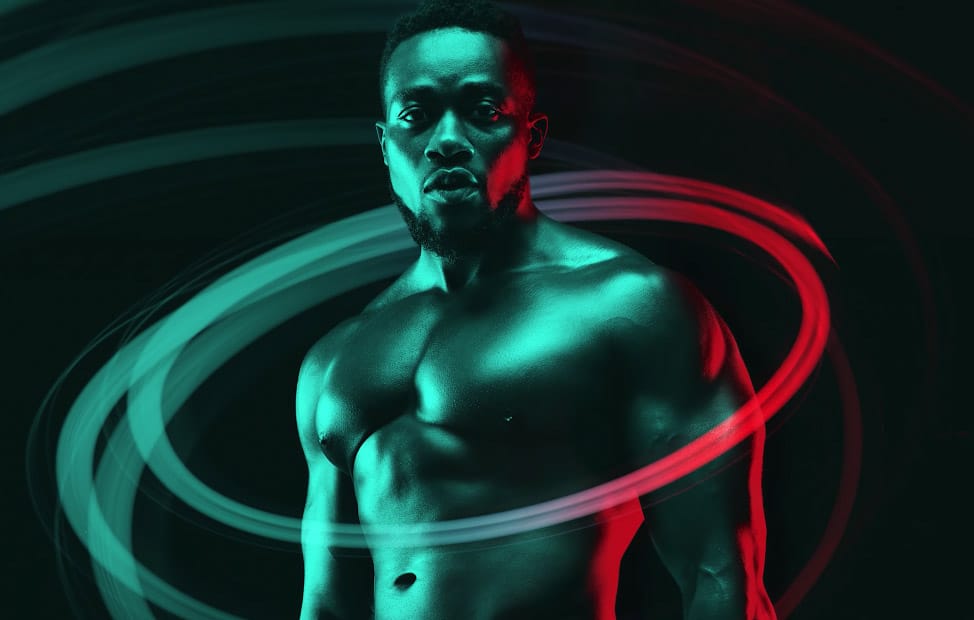
TOP New Features in Photoshop – May 2025 Update
Many Photoshop users frequently encounter common challenges such as time-consuming manual selections for complex objects, difficulties in achieving precise color adjustments across an image, or struggling with inconsistent results when removing unwanted elements like reflections. These hurdles often slow down the creative process, making it frustrating to achieve a desired professional look efficiently.
This guide explains how Photoshop's latest updates introduce powerful new functionalities, i
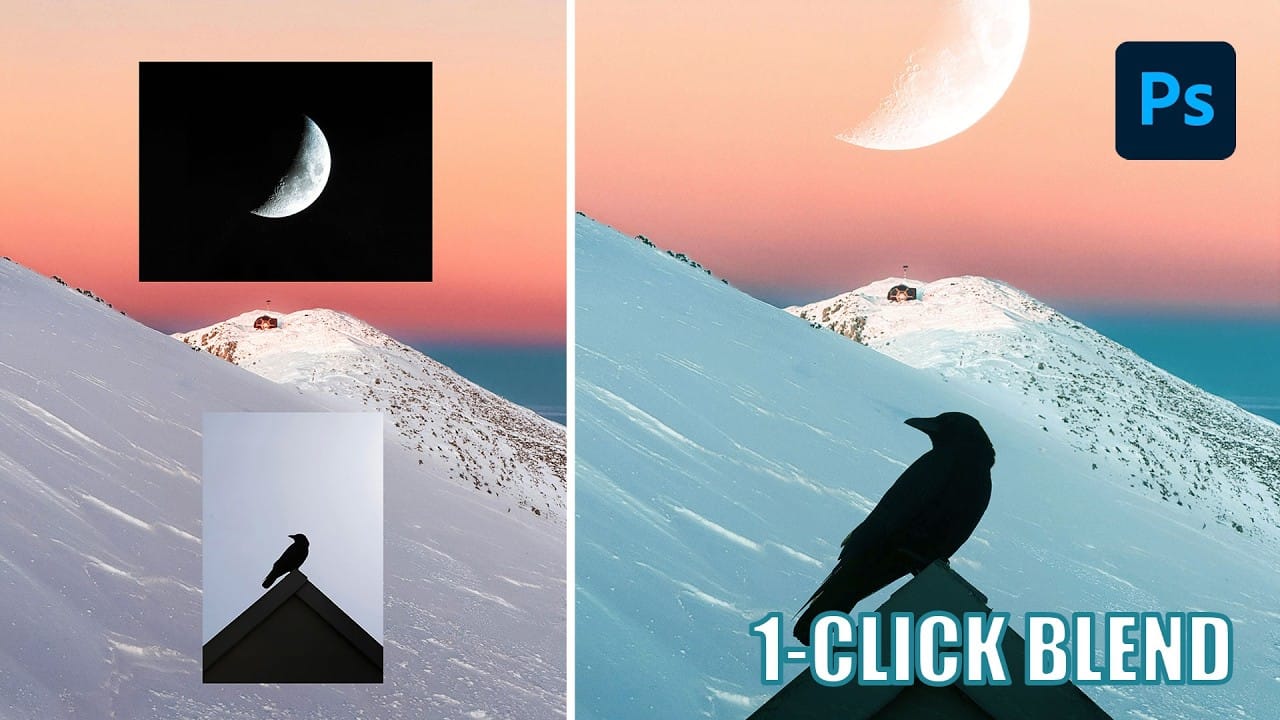
Understanding Photoshop Blending Modes: A Complete Guide to Layer Blending
Blending modes transform how layers interact in Photoshop, letting you seamlessly combine images without complex masking. This technique reveals only light areas, dark areas, or specific colors from each layer.
Master these essential blending groups to create professional composites and artistic effects with just a few clicks.
Watch the Tutorial
Essential Blending Mode Tips
* Use Screen or Lighten modes to make dark backgrounds disappear while keeping bright elements visible
* Apply Mult
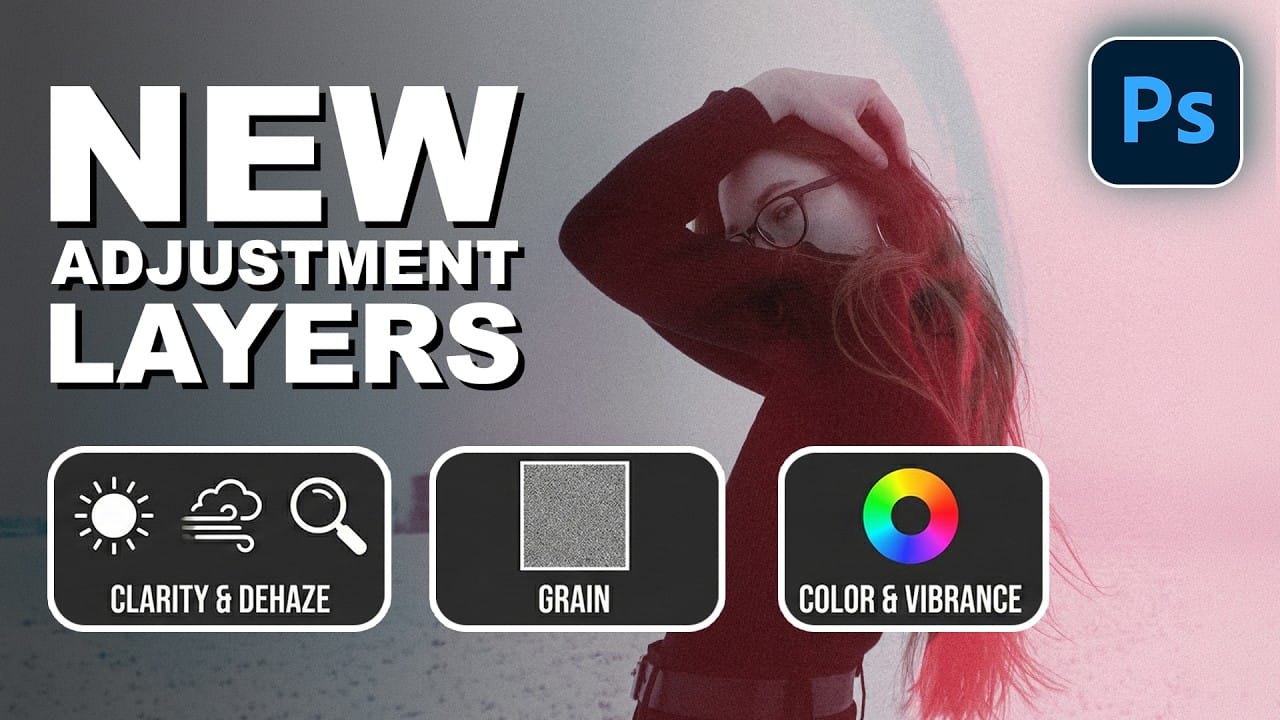
How to Use the New Color, Clarity, Dehaze, and Grain Adjustment Layers in Photoshop
Three powerful new adjustment layers bring Camera Raw's most popular tools directly into your layers panel. Color and Vibrance, Clarity and Dehaze, and Grain adjustments now work as standard adjustment layers with full masking capabilities and non-destructive editing.
These tools eliminate the need for smart objects when applying these specific adjustments, creating cleaner workflows while maintaining the precision control photographers expect from professional editing software.
Watch the Vid
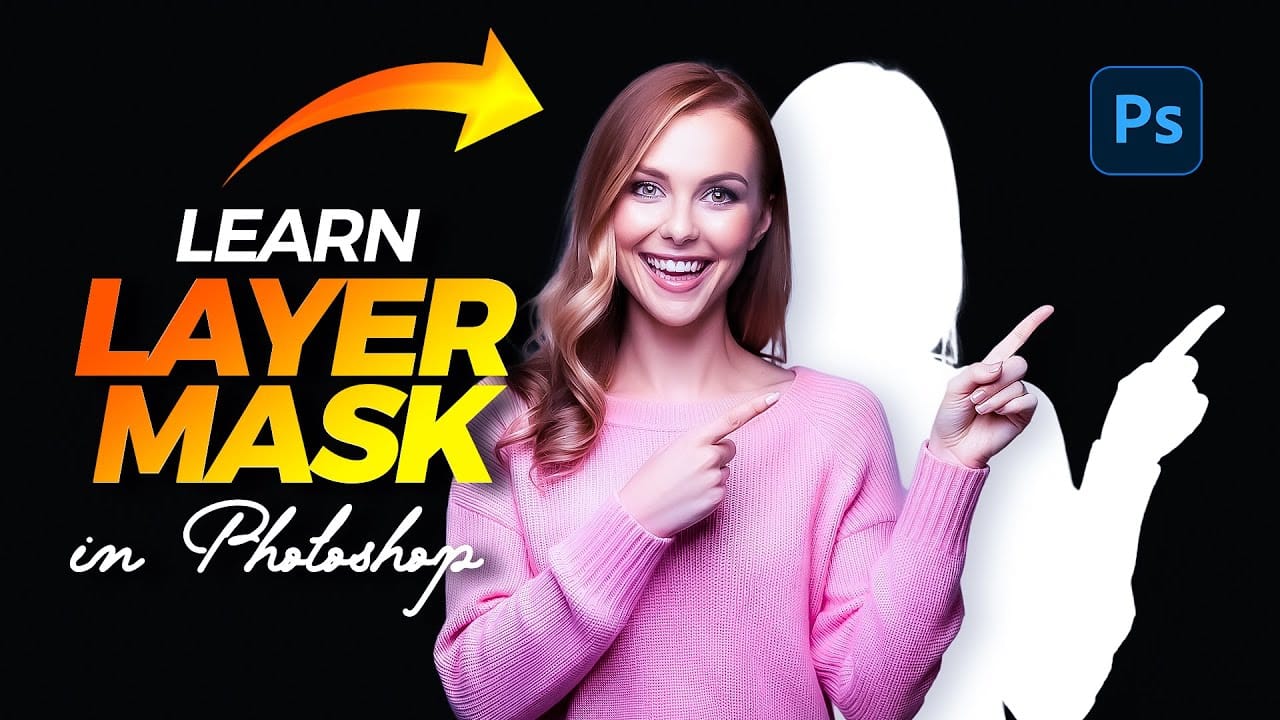
Unlocking the Power of Layer Masks in Photoshop
Layer masks are a fundamental feature in Photoshop that allow for greater control over images. They enable you to hide or reveal portions of a layer without permanently altering the original content. This non-destructive editing approach is beneficial for making precise adjustments to your designs.
You can use layer masks in various ways. For example, they help blend multiple images, create seamless transitions, or apply effects to specific areas. By painting on the mask with black or white, yo
How to Sculpt Light and Add Atmosphere in Photoshop
Light transforms a flat image into something with depth, mood, and visual interest. The ability to enhance existing light sources or create entirely new ones opens up creative possibilities that go far beyond what the camera originally captured.
This tutorial demonstrates how to sculpt light using adjustment layers, selection tools, and atmospheric brushes to create convincing light effects that work naturally with your image's existing lighting conditions.
Watch the Video
Understanding Lig
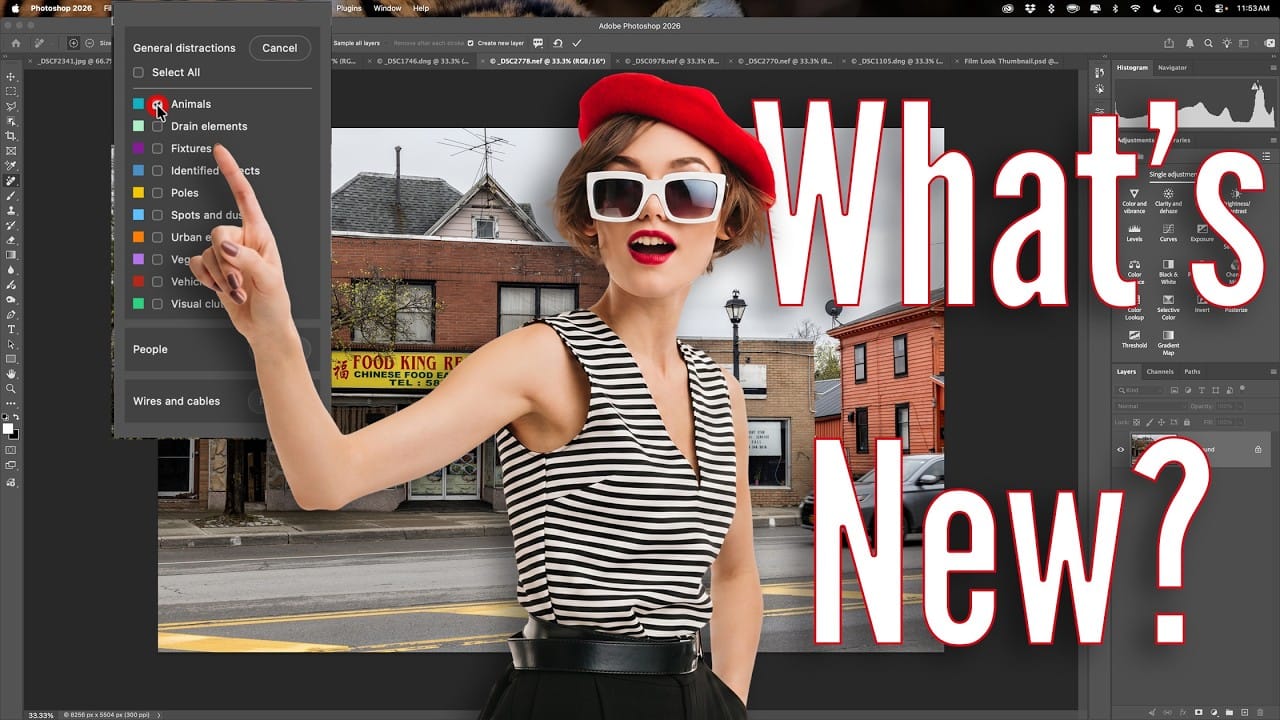
Photoshop 27.6: Complete Guide to New Features and Tools
Photoshop 27.6 introduces several powerful features that streamline common editing tasks. From bringing reflection removal directly into the main interface to AI-powered distraction detection, these updates focus on making complex workflows more accessible and efficient.
The update also includes enhanced generative models, improved layer management tools, and a redesigned actions panel that provides visual previews before applying effects.
Watch the Video
Practical Tips
Key techniques to m
Learn how to use lighting effects in Photoshop
Bringing different elements together in Photoshop requires more than just careful selection and placement; it demands mastery of lighting to achieve true realism. When composing an image, the way light interacts with each object determines its perceived depth, form, and how seamlessly it integrates into the scene. Neglecting proper lighting can make even the most detailed composite look flat and artificial.
This tutorial demystifies Photoshop's powerful lighting effects, showing how to transfor
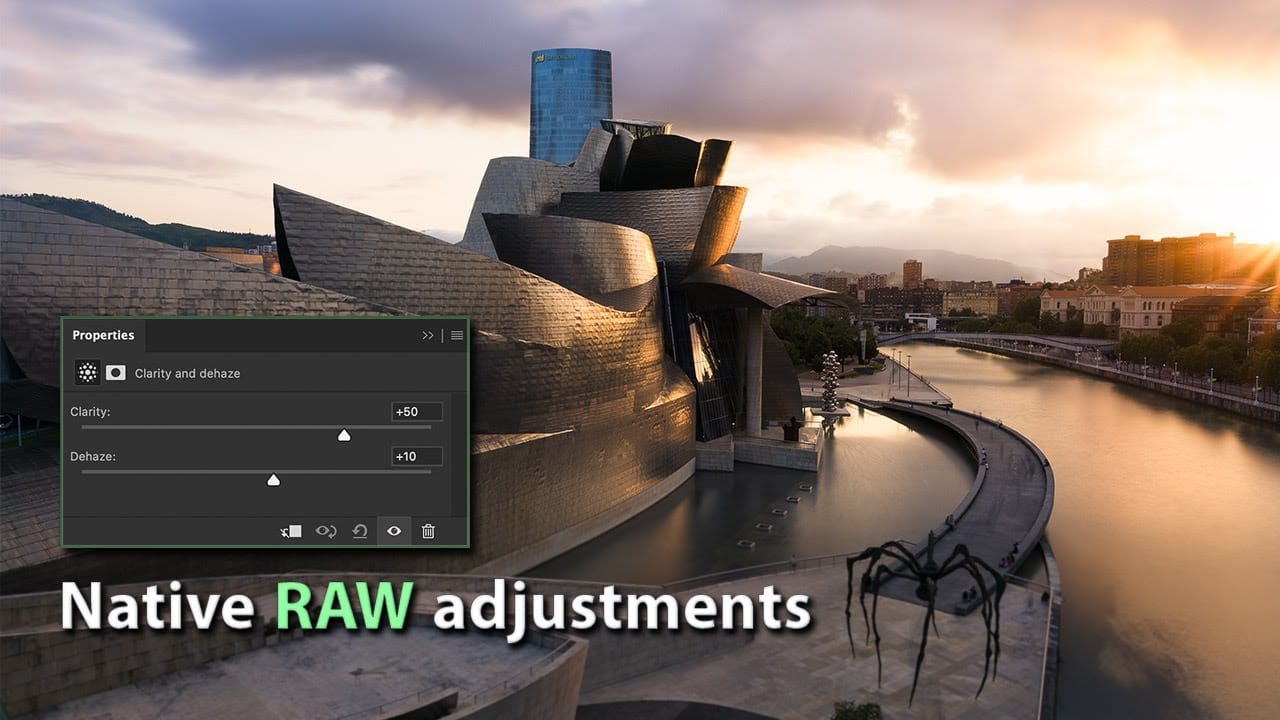
How to Use New Camera Raw Adjustment Layers in Photoshop Beta
Three new adjustment layers in Photoshop beta bring Camera Raw's most powerful tools directly into your layers panel. Color and Vibrance, Clarity and Dehaze, and Grain adjustments now work as standard adjustment layers, eliminating the need for smart objects while maintaining all the precision masking and blending capabilities you expect.
This breakthrough allows photographers to apply global-quality Camera Raw adjustments with local control, creating more efficient workflows without file bloat
How to Dodge and Burn in Photoshop
Curves adjustment layers offer far more flexibility and control than traditional dodge and burn tools in Photoshop. This non-destructive method allows you to selectively lighten and darken areas while maintaining the ability to adjust intensity and modify your edits at any time.
The technique uses layer masks with soft brushes and low flow settings to build up gradual lighting effects. You can enhance natural highlights and shadows to create three-dimensional depth, or use blend modes to automa