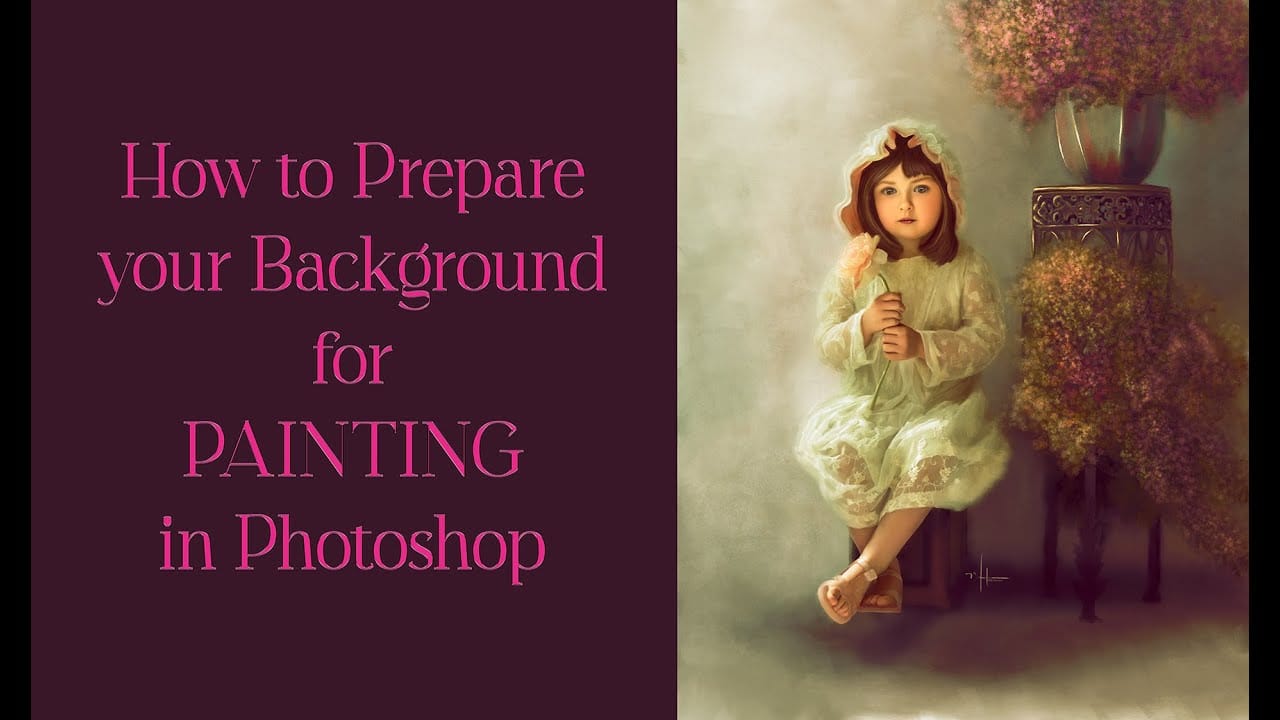
Building a painted digital background from scratch gives you full control over color, mood, and composition before a single wildlife photo is placed. This walkthrough covers the complete process: blocking in shadows on a black canvas, layering foliage with textured brushes, positioning bird subjects on hand-painted stones, and using a mixer brush to blend photographic edges into the painted scene.
Watch the Video
Video by Nikki Harrison. Any links or downloads mentioned by the creator are available only on YouTube
Practical Tips
These techniques from the video will help you build a more cohesive and convincing wildlife composite.
- Start on a black background so your shadows are already in place, letting you focus immediately on midtones and highlights.
- Work your flow setting well below 100% when blocking in color — full flow reads as too heavy and harder to correct later.
- Mix cool and warm tones across your background to create depth; a flat single-temperature background will look artificial behind any subject.
- Use a mixer brush lightly over the edges of placed wildlife photos so the subjects blend into the painted environment rather than reading as cutouts.
- Add foliage or PNG elements after placing your animals, not before — subject position determines where environmental detail actually needs to go.
Related Articles and Tutorials
Explore more tutorials on digital painting, compositing, and creative wildlife editing.
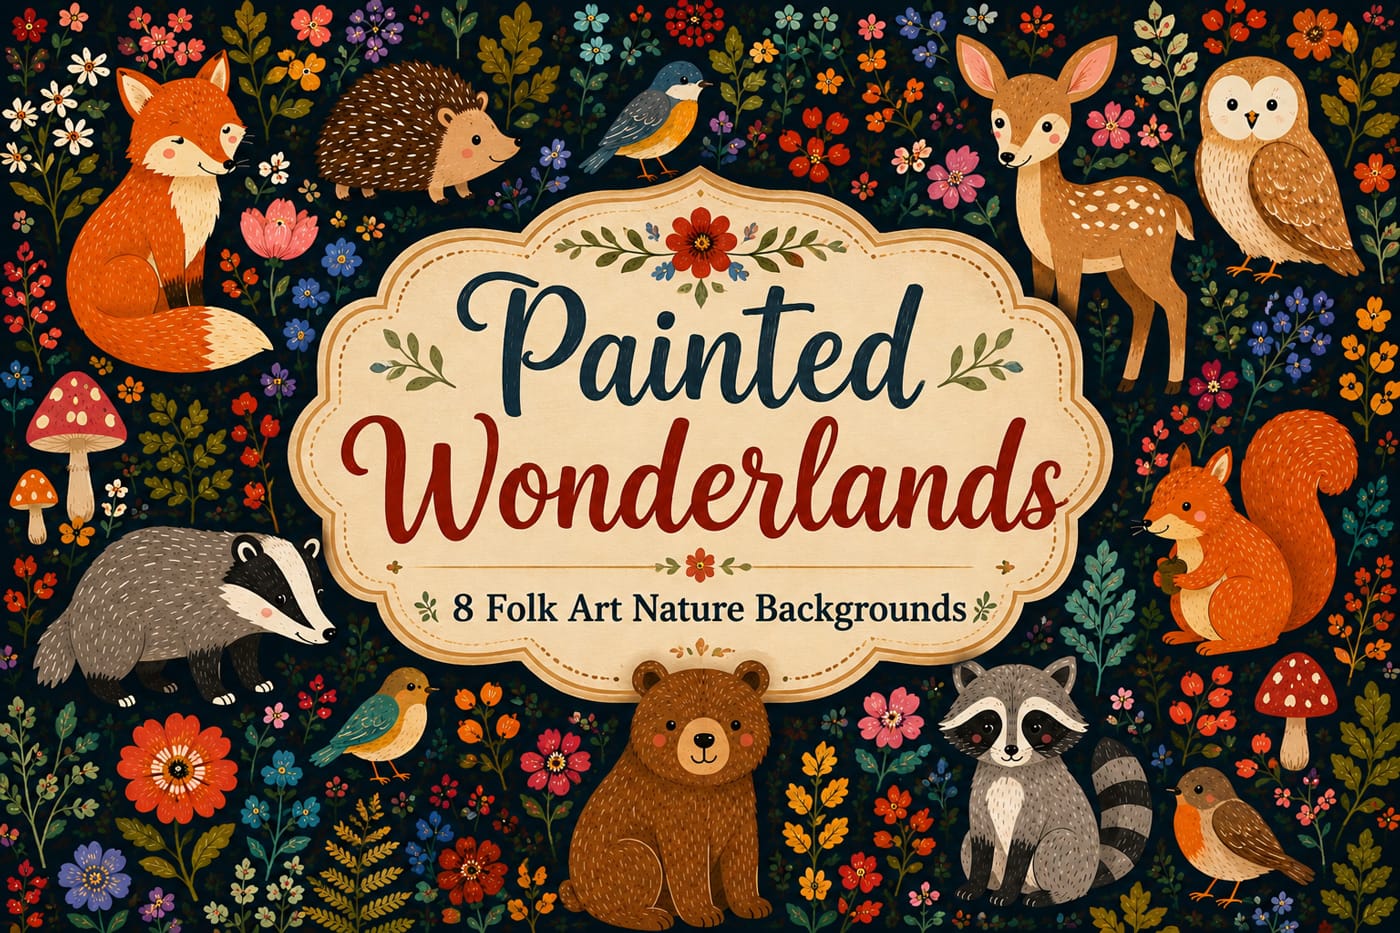
Painted Wonderlands: Folk Art Nature Backgrounds
Painted Wonderlands is a collection of 8 free AI-generated folk art nature backgrounds featuring whimsical animals, decorative florals, woodland elements, tropical wildlife, ocean creatures, and enchanting storybook scenes.
Each artwork combines rich colors, detailed folk art textures, and charming hand-painted aesthetics, creating magical nature-inspired worlds filled with character and imagination.
Perfect for junk journals, scrapbooking, printable crafts, sublimation projects, wall art, boo
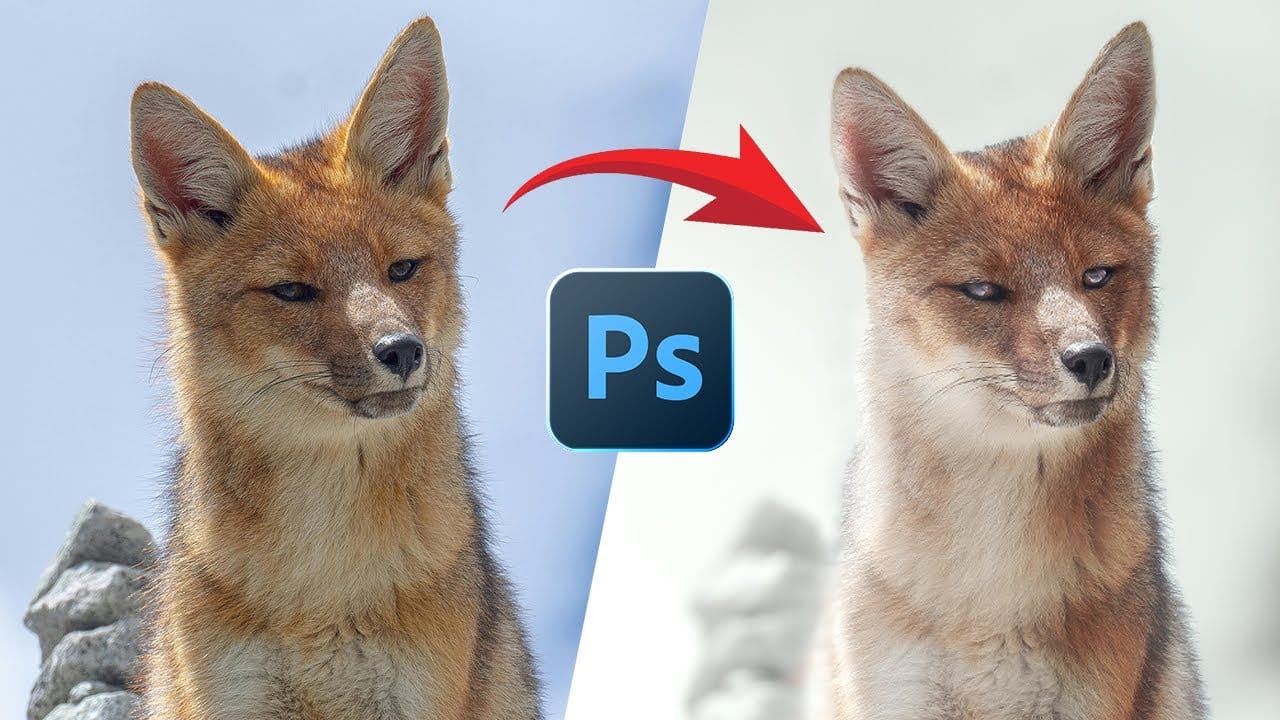
Turn a Wildlife Photo Into a Creative Piece of Fine Art
This video provides a comprehensive guide on transforming wildlife photos into creative works of art using Adobe Photoshop. If you're looking to enhance your wildlife photography but feel stuck, this tutorial is perfect for you.
It walks through the process of editing a wildlife photo, showcasing techniques that can significantly elevate the visual impact of your images. The tutorial begins with duplicating the original photo and creating a smart object. It demonstrates how to select the subjec
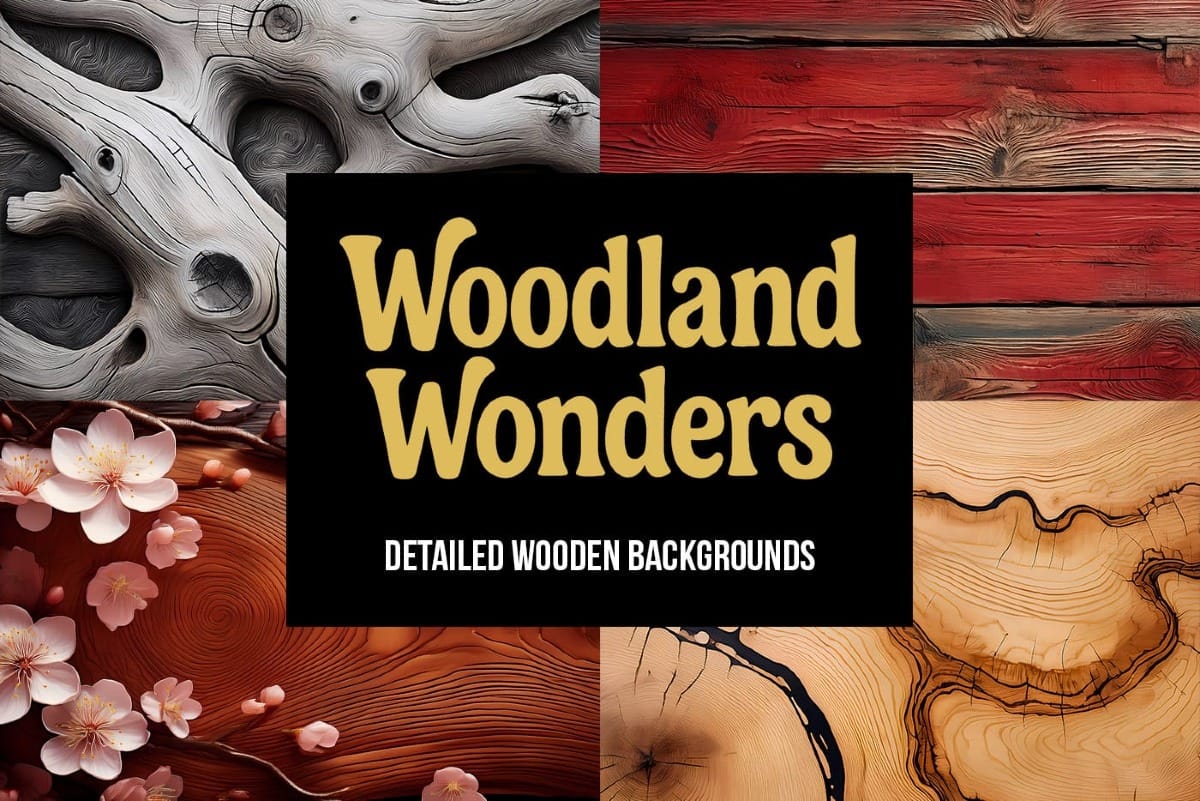
Woodland Wonders: 70 Detailed Wooden Backgrounds
Introducing Woodland Wonders — a curated collection of 70 wooden backgrounds designed to bring warmth, texture, and natural character into your creative work. This pack features high-resolution wooden surfaces enriched with organic details, ranging from smooth cherry planks and scorched oak to bark covered with moss, ivy-wrapped panels, and flower-scattered textures. Every background is crafted with visual storytelling in mind, making it easy to add an earthy, handmade feel to any project.
Wood
Complete Guide to Digital Photo Compositing in Photoshop
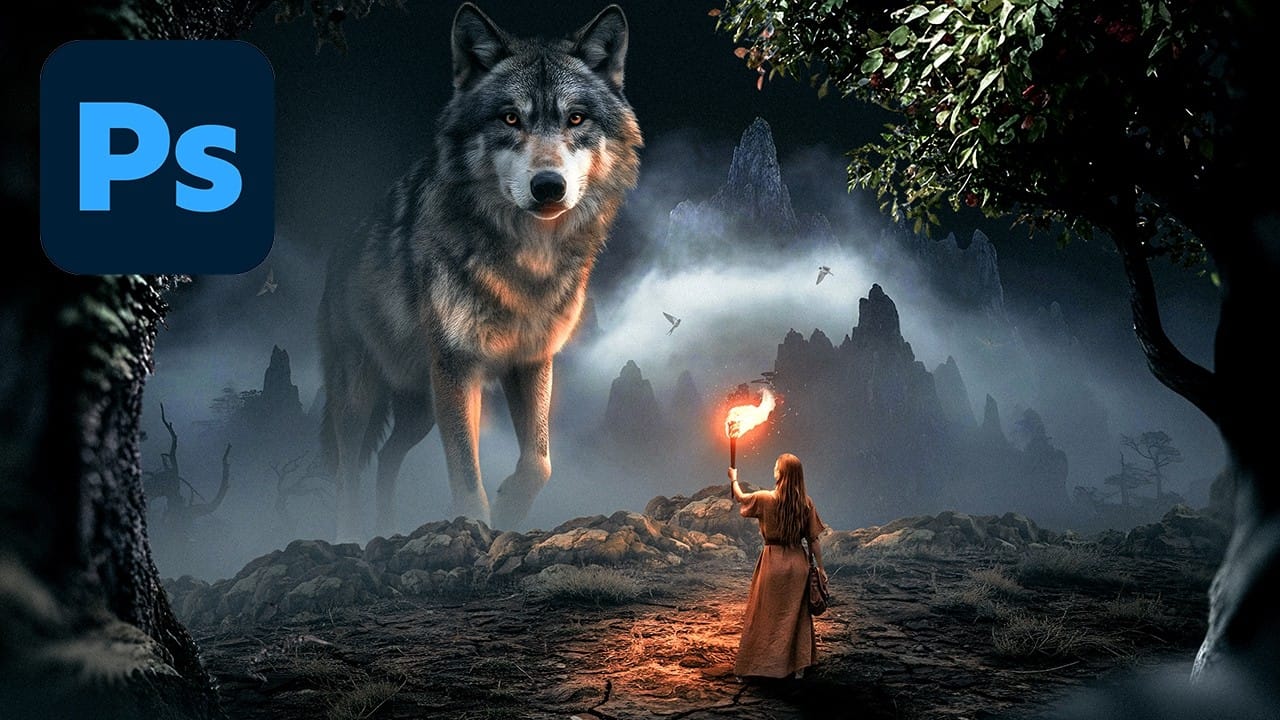
Creating fantasy digital artwork requires mastering the art of photo compositing, where multiple elements come together to form a cohesive scene. This comprehensive tutorial demonstrates how to build a dramatic composition featuring a wolf and human figure in a mystical nighttime setting.
The process covers every aspect of professional compositing, from background removal and lighting techniques to color grading and atmospheric effects. You'll learn to create realistic shadows, add depth with b
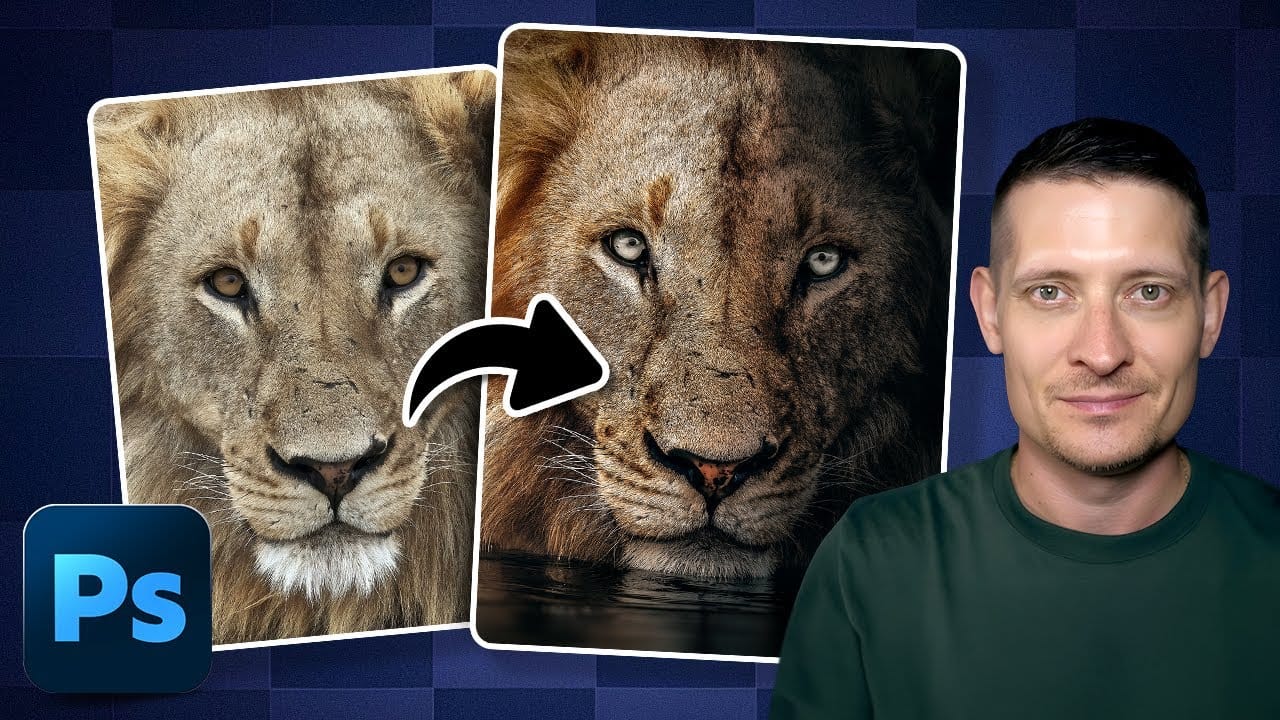
Creating Dark Moody Wildlife Photo Edits in Photoshop
Dark, moody wildlife photography transforms ordinary animal portraits into dramatic, atmospheric pieces that capture the mystery and power of nature. This editing approach combines strategic lighting placement, careful color grading, and atmospheric effects to create compelling images that draw viewers into the scene.
The workflow begins with essential noise reduction and proceeds through selective dodging and burning, custom lighting effects, and atmospheric enhancements to achieve that cinema
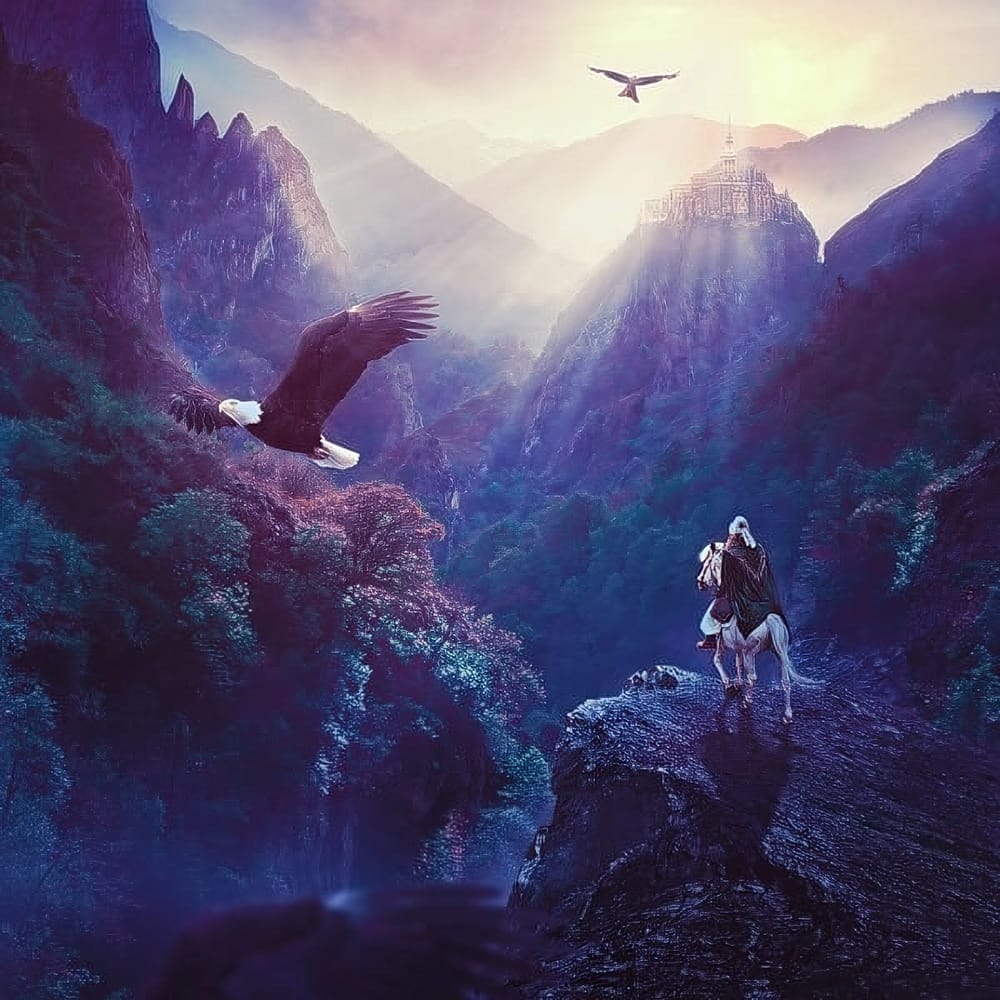
Create a Fantasy Landscape Matte Painting in Adobe Photoshop
In this tutorial, you will learn how to create a stunning fantasy landscape matte painting called "Eagle's Land." It begins with sketching out your concept, which sets a solid foundation for the project. By incorporating stock photo references, you can enhance the visual elements and bring your vision to life.
As you progress, you will discover how to effectively use adjustment layers and masking techniques. These tools are essential for managing the color and atmosphere, allowing you to achiev
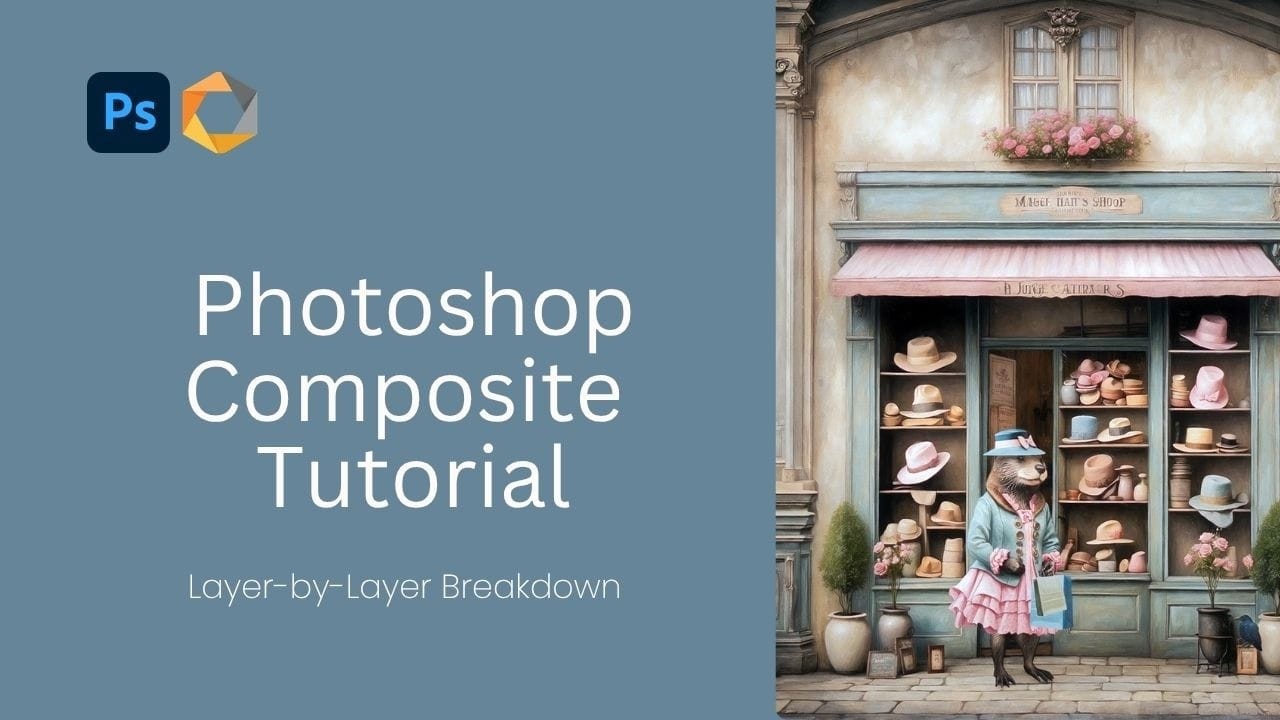
Creating Whimsical AI Composites with New Photoshop Tools
AI-generated imagery becomes truly compelling when combined with traditional compositing techniques. This behind-the-scenes look explores how to transform AI-created elements into cohesive, whimsical scenes using both classic methods and Photoshop's newest features.
The tutorial demonstrates a complete workflow from background extension to character integration, showcasing how multiple adjustment layers, color matching tools, and creative problem-solving come together to build a charming narrat
Building Complex Composites Using Generative Fill and Layer Blending
Complex surreal composites require more than just combining random images. The key to professional results lies in systematic layering, consistent masking techniques, and building a reusable library of generated elements. This approach transforms scattered AI-generated content into cohesive artistic visions.
The tutorial demonstrates how to deconstruct an existing composite to understand its structure, then shows the complete process of building similar effects from scratch while preserving val
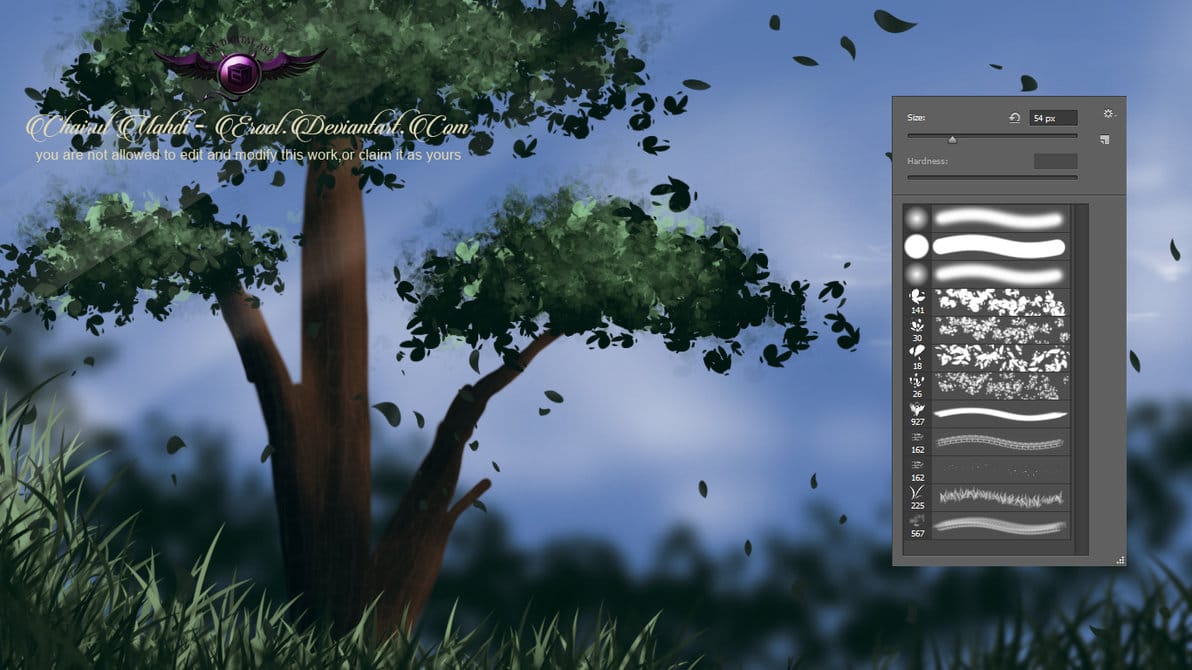
Nature painting Photoshop brushes
This collection includes a variety of grass and foliage brushes, perfect for painting lush landscapes and other natural scenes.
These brushes are designed to provide users with a versatile tool for their creative projects. Whether you're working on a digital painting, a photo manipulation, or a graphic design, these brushes can help you bring your vision to life.
The brushes are high-quality and easy to use, allowing you to add depth and texture to your work with just a few brushstrokes. The s
How to Transform Photos into Digital Paintings Using Photoshop Brushes
Busy backgrounds and photographic detail can overwhelm your artistic vision. This technique shows how to prepare photos for digital painting by strategically overpainting backgrounds and replacing photographic elements with painterly textures. The approach combines subject isolation, textured brush work, and color sampling to create a foundation that bridges photography and fine art.
Rather than simply filtering a photo, this method involves actually painting new elements while using the origin