Creating Dark Moody Wildlife Photo Edits in Photoshop

Creating Dark Moody Wildlife Photo Edits in Photoshop

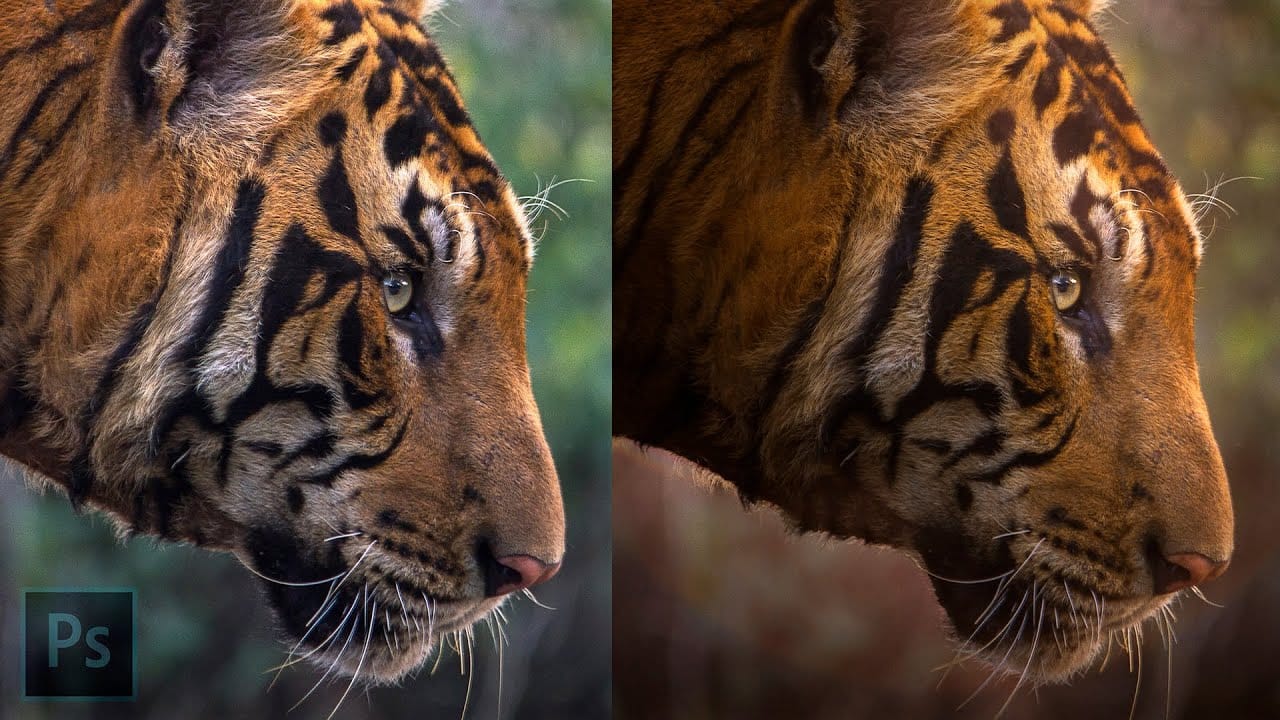
Dark, moody wildlife photography transforms ordinary animal portraits into dramatic, atmospheric pieces that capture the mystery and power of nature. This editing approach combines strategic lighting placement, careful color grading, and atmospheric effects to create compelling images that draw viewers into the scene.

The workflow begins with essential noise reduction and proceeds through selective dodging and burning, custom lighting effects, and atmospheric enhancements to achieve that cinematic wildlife look.

Watch the Video

Video by Zenzdesign. Any links or downloads mentioned by the creator are available only on YouTube

Practical Tips

These key techniques will help you achieve professional dark moody edits:

  • Start with noise reduction before any other edits to ensure clean shadows and highlights throughout your workflow
  • Use burn tool for darkening and dodge tool for lighting rather than global adjustments to maintain realistic contrast
  • Create directional lighting with curves adjustment layers and masks to establish a clear light source
  • Desaturate colors slightly using hue/saturation layers to enhance the moody atmosphere
  • Finish with Camera Raw filter adjustments to fine-tune the overall tone and contrast balance

Explore more advanced color grading and atmospheric lighting techniques for dramatic photo effects.
Black Moody Color Grading in Photoshop
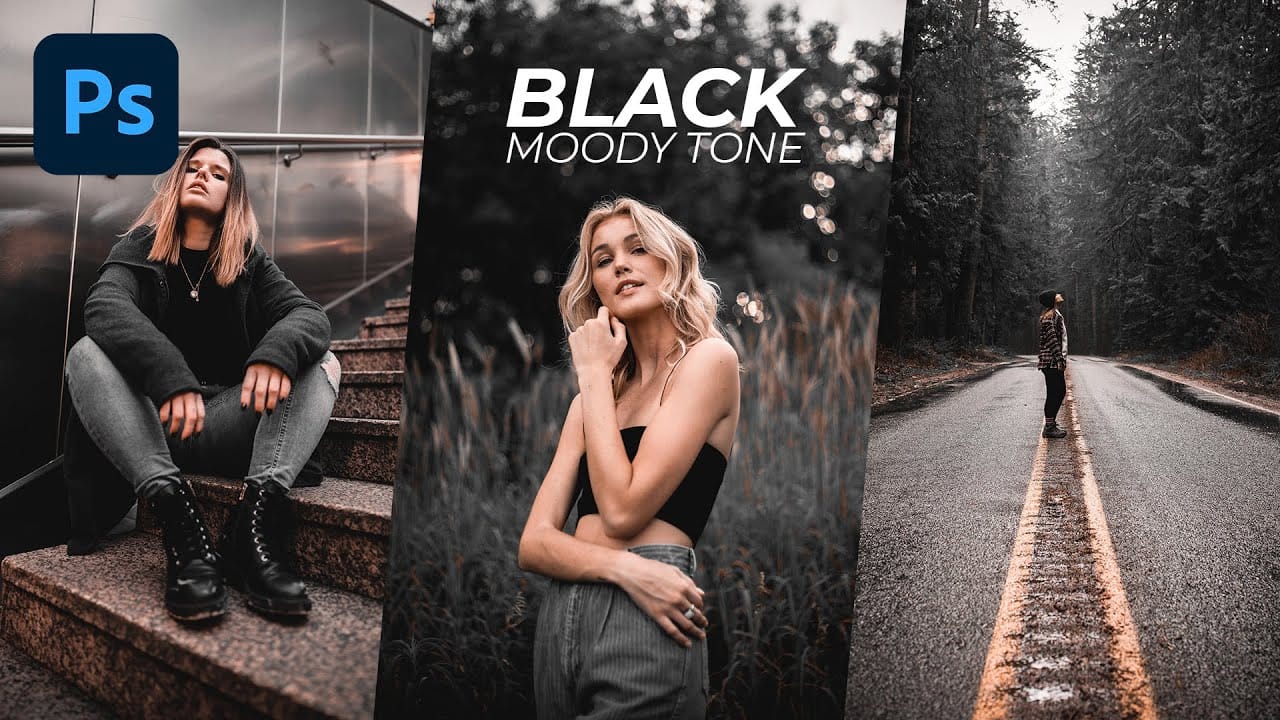
In this comprehensive Photoshop tutorial from WebFlippy, you'll learn how to create a stunning black tone moody color grading effect. This technique is perfect for adding depth and atmosphere to your photos, giving them a dramatic and sophisticated look. The tutorial provides a detailed, step-by-step guide on how to achieve this effect, making it accessible even for those new to Photoshop. You'll also discover how to save your adjustments as a preset, which allows you to quickly apply the same
Advanced Black and White Photo Editing with Selective Masking in Photoshop
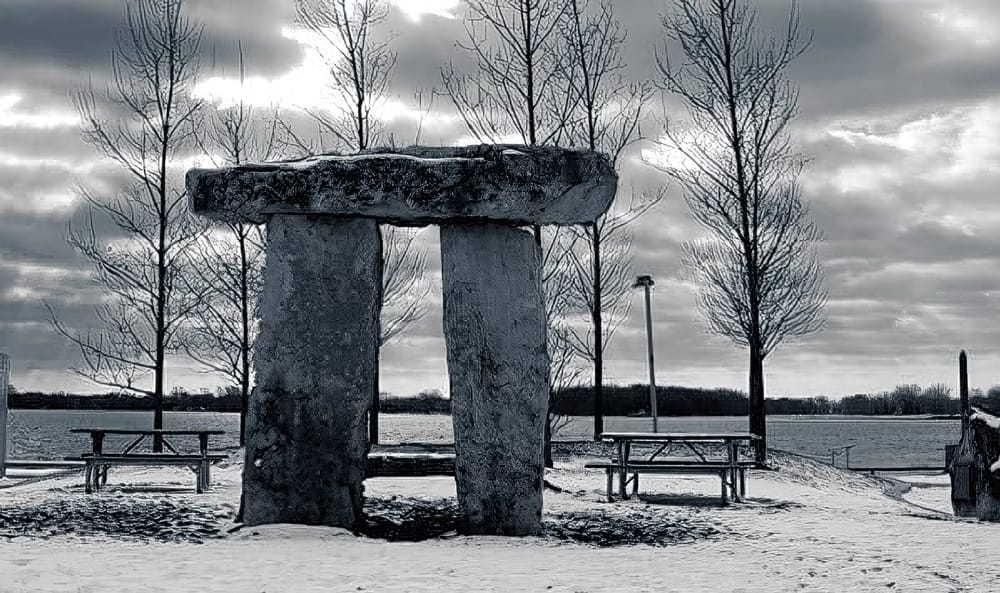
Most black and white conversions fall flat because they rely on simple global adjustments that treat the entire image uniformly. Professional-level dramatic black and white photos require selective contrast adjustments that target specific areas like skies, foregrounds, and tonal ranges independently. This approach transforms ordinary monochrome images into compelling, high-contrast photographs with depth and visual impact. Watch the Full Tutorial Essential Tips for Advanced Black and White
How to Color Correct Photos in Adobe Camera Raw
Color toning in Photoshop is an essential skill for anyone looking to enhance their images. With the Camera Raw Filter, you can easily adjust the warmth and coolness of your photos, bringing out the desired mood and atmosphere. This feature allows you to go beyond basic edits and introduce a dynamic range of tones that can transform your work. In addition, creating custom presets can simplify your editing process significantly. By saving your favorite adjustments, you can apply them to future p
Create a Sunset in Photoshop
This tutorial by Phlearn teaches how to add a warm "sunset style" to your images using Photoshop. The key is selecting a photo shot later in the day with visible light sources, ideally backlit or side-lit. The process involves using Levels and the Gradient Tool to darken details and add red to shadows, then warming up the highlights. The Gradient Tool centers the effect over the light source. Additionally, to add a sense of motion, the Radial Blur filter is used, set to "Zoom" to create moveme
Add Creamy Tones to a Photo for a Vintage Look in Photoshop
This Photoshop tutorial by JustThisGood teaches you how to add creamy tones to your photos, achieving a vintage aesthetic that many find appealing. With clear and simple steps, you'll be guided through the process, making it easy for anyone to follow along. You will explore various techniques for adjusting color balance and applying soft filters to create that perfect aged look. The tutorial emphasizes accessibility, allowing even beginners to achieve stunning results without extensive experien
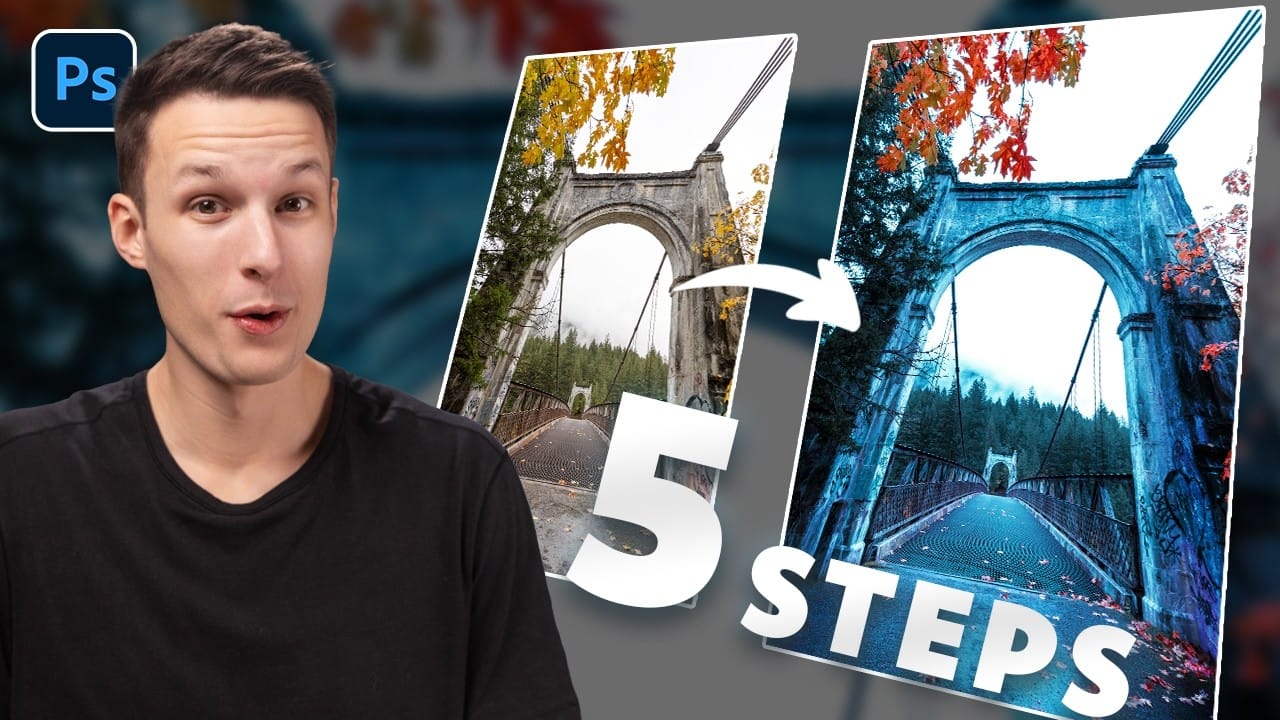
How to Create Dramatic Colors in Photoshop: A 5-Step Color Grading Process
Photography often captures moments in natural tones, but sometimes an image calls for something bolder. Dramatic color grading transforms ordinary photos into striking visual statements that grab attention and evoke emotion. This comprehensive approach combines Camera Raw adjustments with Photoshop's powerful color tools to create rich, cinematic looks. The process works especially well for outdoor scenes where you can push blues, oranges, and complementary colors to their limits. Watch the T
Lighting Effects to Create Drama in Photoshop
In this tutorial, John Whitehead demonstrates how to add dramatic lighting effects in Photoshop to transform flat lighting into something much more dynamic. You'll learn how to use various tools such as lighting effects filters, lens flare, smart objects, and LUTs to completely alter the mood and appearance of your image. If you want to follow along with the tutorial, you can download the provided image and apply the same techniques. This guide is perfect for photographers and digital artists l
Create Creepy Lighting and Mysterious Atmosphere Effects in Photoshop
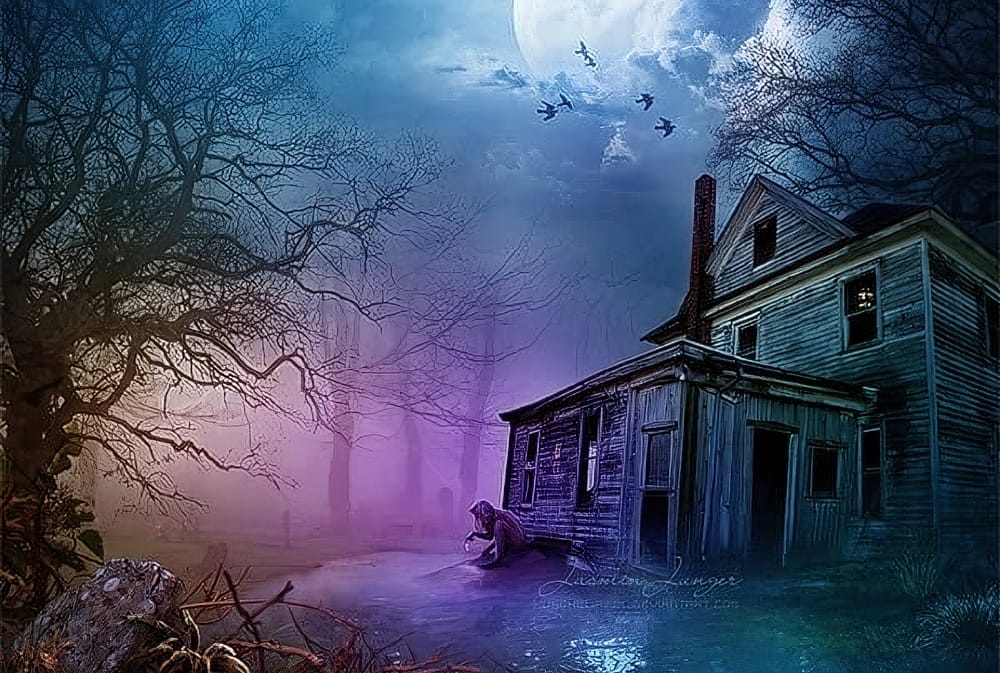
This tutorial offers a clear guide on creating eerie lighting and mysterious atmospheric effects in Photoshop. You will learn how to enhance your photos by manipulating different lighting techniques. The author explains the process step by step, starting with how to select the right colors and apply various effects to a chosen stock image. Each technique is thoroughly detailed, making it easy for you to follow along. The end results are impressive, showcasing how these methods can transform an
Beautiful Warmtone and Cooltone Photo Effects Photoshop Tutorial
Back in the day, when one would print their own black and white prints, you had a choice of a zillion different papers. They basically boiled down to cooltone and warmtone papers. This combined with different developers gave one an array of tones to choose from for any given picture. Sadly, nowadays it's getting harder to find specific papers and certain developers are no longer being manufactured. In the digital era, most people who might not have gone through the trouble of trying different to

Get tutorials & freebies delivered to you.

Subscribe to the Photoshop Roadmap newsletter, a weekly roundup of new tutorials, insights and quality downloads, trusted by 6500+ readers.

You might also like

How to Use the Automatic Blemish Removal Tool in Adobe Camera Raw

Adobe Camera Raw's blemish removal tool scans a portrait and cleans skin imperfections in seconds, without any manual selection. The workflow stays entirely non-destructive when the layer is converted to a smart object first, and a fade slider lets you control how much retouching is actually applied...

How to Use a Grey Layer to Spot and Fix Mask Edges in Photoshop

Edge halos and stray artifacts are easy to miss when masking a subject, especially with AI-generated selections. Placing a neutral grey layer beneath your masked subject forces those problem areas into plain view, making cleanup faster and more precise. Practical Tips These steps cover the core workflow shown in...

How to Use the Light Adjustment Layer in Photoshop Effectively

Photoshop's Light adjustment layer brings Camera Raw-style tonal controls — exposure, contrast, highlights, shadows, whites, and blacks — directly into a non-destructive layer workflow. The real value isn't in what the sliders do individually, but in how you sequence them to expand dynamic range and reveal...

Photoshop’s Big 5: The Features That Actually Mattered This Year So Far

Photoshop updates land continuously throughout the year, but not every new addition reshapes how we actually work. While some releases bring minor UI polish or experimental tools, a handful of recent additions stand out as genuine upgrades to daily creative production. Rather than sifting through endless release notes, here is...

How to Use the Vectorscope in Camera Raw to Correct Skin Tones

Monitors vary, room lighting shifts, and your eyes adapt — none of which makes for reliable skin tone judgments. Camera Raw's vectorscope gives you a measurement-based alternative, displaying hue and saturation data visually so you can align skin tones to a scientifically accurate target line, regardless of your...

You’ve successfully subscribed to Photoshop Roadmap
Welcome back! You’ve successfully signed in.
Great! You’ve successfully signed up.
Success! Your email is updated.
Your link has expired
Success! Check your email for magic link to sign-in.