How to Create Dramatic Colors in Photoshop: A 5-Step Color Grading Process

How to Create Dramatic Colors in Photoshop: A 5-Step Color Grading Process

Photography often captures moments in natural tones, but sometimes an image calls for something bolder. Dramatic color grading transforms ordinary photos into striking visual statements that grab attention and evoke emotion.

This comprehensive approach combines Camera Raw adjustments with Photoshop's powerful color tools to create rich, cinematic looks. The process works especially well for outdoor scenes where you can push blues, oranges, and complementary colors to their limits.

Watch the Tutorial

Video by Brendan Williams. Any links or downloads mentioned by the creator are available only on YouTube

The Science Behind Dramatic Color Grading

Color grading originated in film production, where colorists would adjust the mood and atmosphere of scenes through careful color manipulation. Digital photography inherited these techniques, allowing photographers to create cinematic looks that were once exclusive to Hollywood productions.

The key to effective dramatic color grading lies in understanding color relationships. Complementary colors—those opposite each other on the color wheel—create the most striking contrasts. Blue and orange combinations are particularly popular because they naturally separate subjects from backgrounds and create depth.

Multiple adjustment layers work together to build complex color relationships. Each layer serves a specific purpose: Camera Raw establishes the foundation, HSL adjustments refine specific color ranges, and selective color provides precision control. This layered approach prevents the harsh, artificial look that comes from pushing colors too far with a single adjustment.

Practical Tips for Dramatic Color Grading

  • Always complete your exposure adjustments before working with colors—proper exposure provides the foundation for effective color grading
  • Use the Apply Image technique on adjustment layer masks to blend color changes naturally with your photo's existing tones
  • Work with complementary colors like blue/orange or cyan/red to create the most visually striking results
  • Sample colors directly using the hand tool in HSL adjustments rather than guessing which color channel affects specific areas
  • Finish with dodging and burning to add selective contrast that supports your color story

More Tutorials About Color Grading in Photoshop

Explore additional techniques for enhancing and manipulating colors in your photography work.
3 must-try techniques to enhance colors in Photoshop
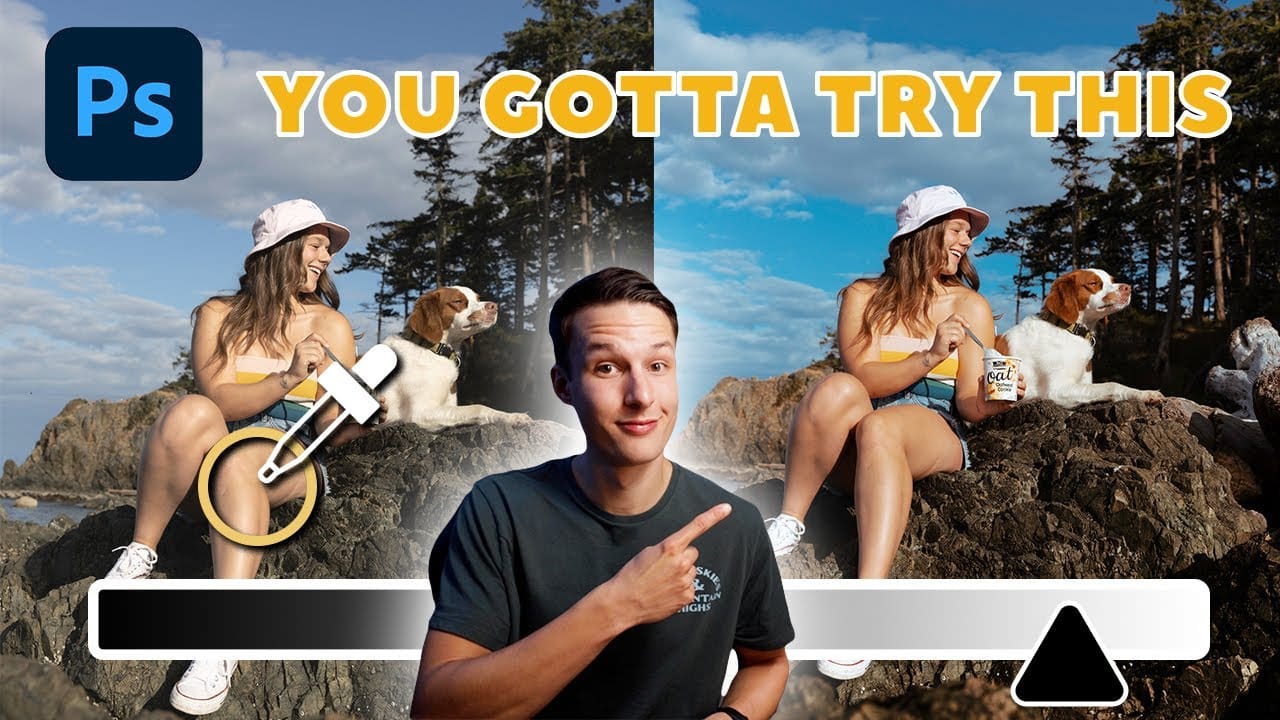
When you're editing a photo in Photoshop, making your colors pop is likely on the top of your to-do list. There are a variety of great tools to use in Photoshop, but with these three techniques, you will be able to get more rich colors in your edits, while also having more control over how they appear. With the help of layer masks, blend if, and camera raw, you'll be surprised by how these lesser-known Photoshop tricks can improve the look of your edits. Watch tutorial
Six easy ways to select colors in Photoshop
In this episode of "3, 2, 1… Photoshop!", longtime Adobe evangelist Julieanne Kost shares essential tips and tricks for selecting colors in Photoshop. Julieanne introduces six easy methods to choose colors effectively, whether you're working on a detailed project or just need a quick color pick. You'll learn how to use the eyedropper tool for precise color selection, manipulate foreground and background colors, and utilize the heads-up-display (HUD) color picker for a more interactive experienc
Create a bright and beautiful color grade in Photoshop
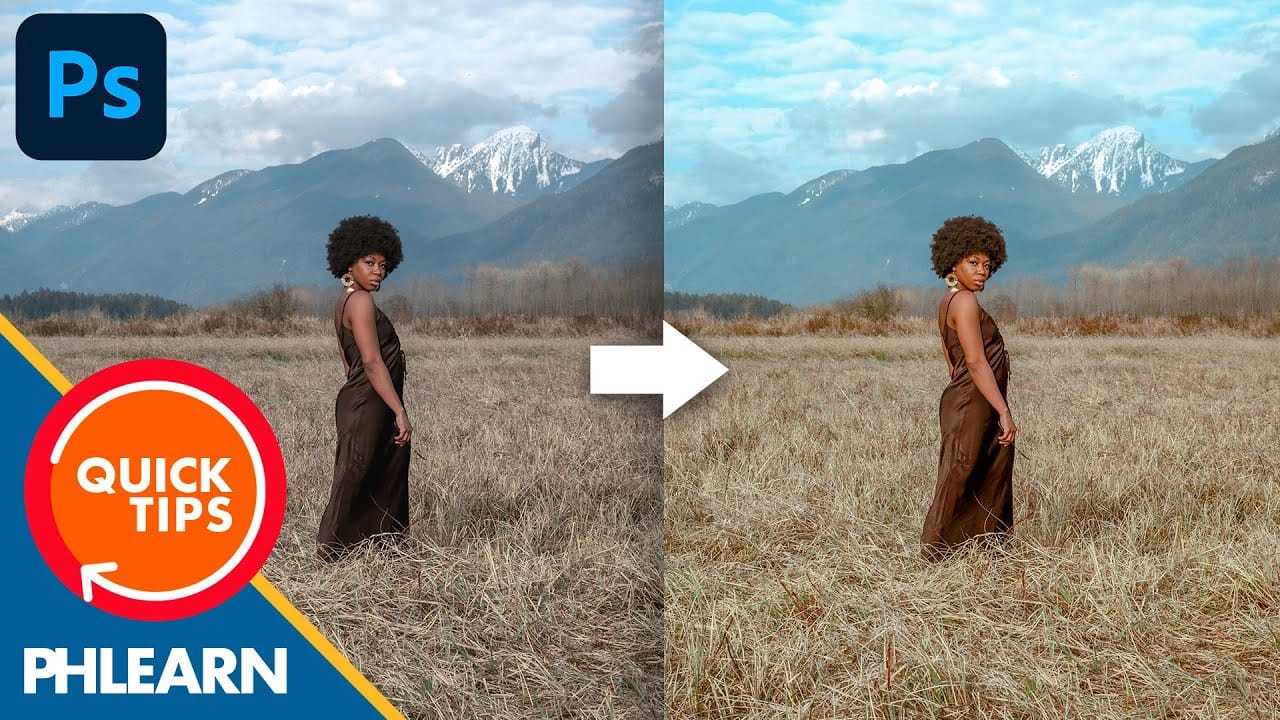
In this tutorial, Aaron Nace from Phlearn demonstrates how to enhance your photos with a bright and vibrant color grade using the Camera RAW filter in Photoshop. This technique is particularly effective for model photography and landscape shots, offering a way to elevate the visual appeal of your images with a polished, professional finish. Aaron guides you through the process of applying and adjusting color grades, showing how the Camera RAW filter can be used to fine-tune colors and achieve a
5 ways to create Photoshop watercolor effects, explained and compared.
Are you trying to turn your photograph into a dreamy watercolor painting, and feeling bitter about not being the talented artist who also happens to own a Wacom tablet? Well, we feel you, especially so as the Photoshop watercolor plugin produces results that are far from desirable (we're being polite here). But, don't despair just yet. You can definitely apply beautiful watercolor effects to your images using the right combination of techniques and tools. After much arduous research, here are t

Get tutorials & freebies delivered to you.

Subscribe to the Photoshop Roadmap newsletter, a weekly roundup of new tutorials, insights and quality downloads, trusted by 6500+ readers.

You might also like

How to Remove Blemishes in Photoshop: Camera Raw vs. Generative AI

Photoshop now offers two distinct approaches to removing skin blemishes automatically. The Camera Raw Filter includes a dedicated Blemishes option that analyzes and cleans skin with a single checkbox, while Generative AI fills a face selection with clean, texture-consistent results using a simple text prompt. Each method has clear...

Common Photoshop Compositing Mistakes and How to Fix Them

Most compositing errors come down to a handful of repeatable problems: mismatched lighting direction, inconsistent white points, misaligned perspective, and atmosphere applied in the wrong layer order. Catching these issues early — ideally before you shoot — saves significant time in post. Watch the Video Practical Tips These corrections apply to nearly...

How to Use the Vectorscope in Camera Raw to Correct Skin Tones

The Vectorscope in Camera Raw gives you a precise, visual way to evaluate and correct skin tones based on hue and saturation data. Because all natural skin tones share a common hue range regardless of ethnicity, the built-in skin tone indicator line serves as a reliable target for getting...

Camera Raw August 2026: AI Blemish Removal, Generative Expand, and More

The August 2026 Camera Raw update adds an AI-powered blemish removal tool that handles skin imperfections automatically, treating blemishes and moles separately so editors stay in control. Alongside that, an improved Generative Expand in the crop tool and a few smaller additions round out a practical update worth knowing....

Wrap Text Around a Subject in 3D Using Photoshop's Warp Tool

Making text appear to wrap around a person or object adds genuine depth to a composition — the kind that's hard to fake with a simple drop shadow. This technique uses two warped text layers, a subject cutout, and a soft shadow to simulate the illusion of cylindrical text...

9 Photoshop Tools That Still Outperform AI for Precision and Control

AI generates images from descriptions, but it cannot hand you the brush. When a project demands exact colors, editable text, precise retouching, or seamless mockups, Photoshop's native tools remain the more reliable choice — not because AI is weak, but because these workflows require control that generative tools simply...

You’ve successfully subscribed to Photoshop Roadmap
Welcome back! You’ve successfully signed in.
Great! You’ve successfully signed up.
Success! Your email is updated.
Your link has expired
Success! Check your email for magic link to sign-in.