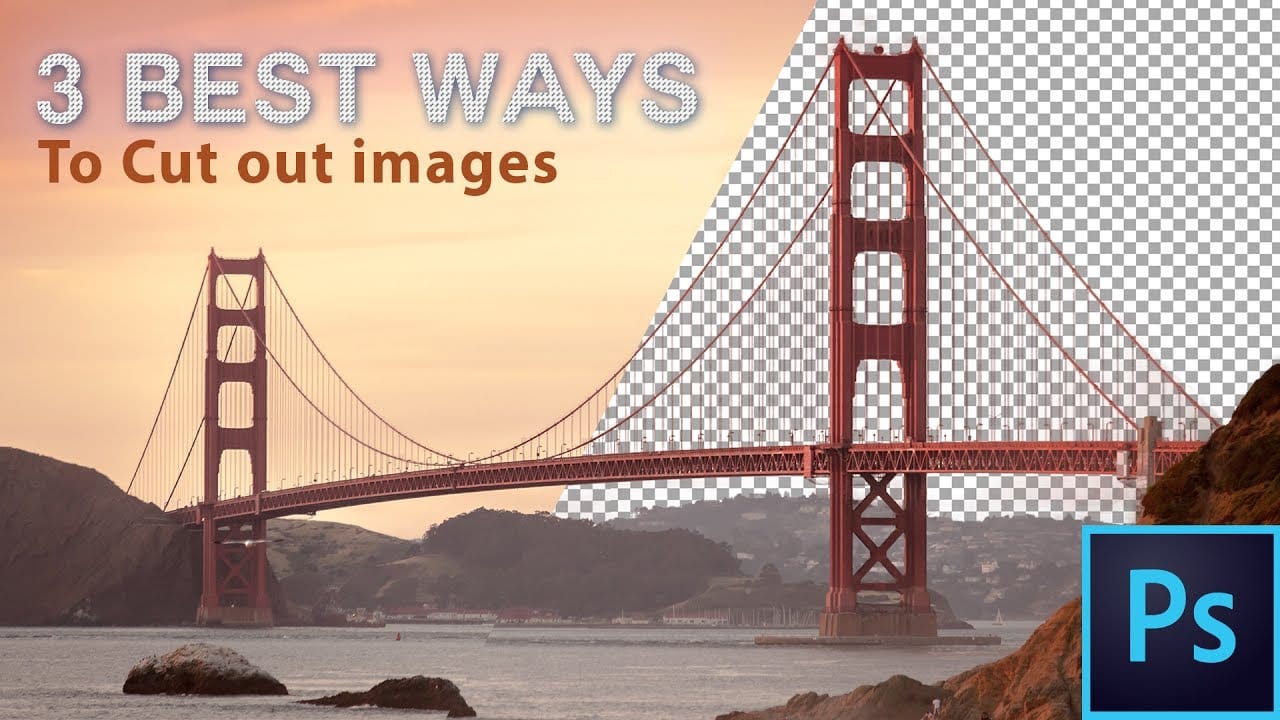
Complex cutouts with intricate details like tree branches or hair often suffer from visible fringing and rough edges that make them look unprofessional. These three refinement techniques transform basic channel selections into clean, realistic cutouts.
Master these methods to eliminate fringing, restore natural colors, and achieve seamless integration with any background.
Watch the Video
Video by Brendan Williams. Any links or downloads mentioned by the creator are available only on YouTube
Practical Tips for Complex Cutout Refinement
- Use the blue channel for maximum contrast when selecting against sky backgrounds, then duplicate it before making adjustments to preserve original image data.
- Apply careful levels adjustments to increase contrast without destroying fine details – stop just before tree branches or hair strands begin to break up and look pixelated.
- Create an inverted black color fill with a clipping mask to target the one-pixel fringing area that appears around complex selections after channel-based cutouts.
- Use the clone stamp tool on a new clipped layer to paint over fringing along simple edges like grass or horizon lines while preserving original texture.
- Paint custom colors over remaining fringe areas using blend modes and the "Blend If" option to restrict visibility to highlight ranges only.
More Tutorials about Photoshop Cutout Techniques
Explore additional methods and advanced strategies for creating professional selections in Photoshop.
The 3 Easiest Ways To Cut Out Images In Photoshop
In this informative tutorial, author Brendan Williams shares three of the most effective techniques for image cropping in Photoshop. The guide covers the infamous Quick Selection Tool, the Channels method, and the highly versatile Pen Tool. Whether you're a newcomer to the program or a seasoned professional, these methods are sure to elevate your workflow and take your work to new heights.
The Quick Selection Tool, known for its intuitive and efficient selection capabilities, is explored in-dep
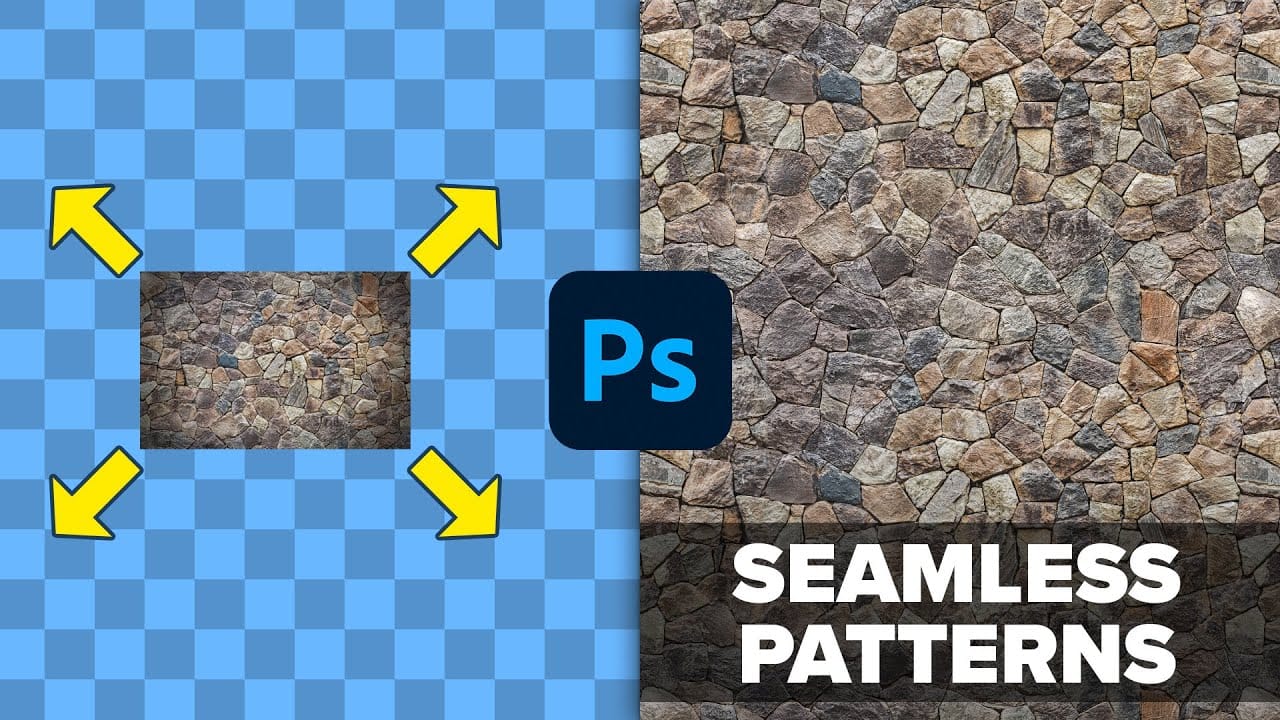
3 Powerful Techniques to Create Seamless Patterns in Photoshop
Seamless patterns are a fundamental element in graphic design, essential for creating engaging backgrounds, unique textures, and cohesive visual branding. Crafting patterns that repeat flawlessly, without visible edges or disruptions, can transform your design projects from good to exceptional. This capability proves invaluable for everything from digital art to professional composites, ensuring visual continuity and aesthetic appeal.
This tutorial offers a comprehensive guide to producing seam
3 must-try techniques to enhance colors in Photoshop
Many photographers and designers seek to infuse their images with vibrant, true-to-life colors that truly stand out. Achieving this level of color enhancement often requires more than basic adjustments; it demands a nuanced approach that breathes life into every detail.
This tutorial uncovers three powerful, yet often overlooked, Photoshop techniques to elevate your color grading. Discover how to apply subtle, realistic color changes, sculpt specific color moods, and selectively refine tones wi

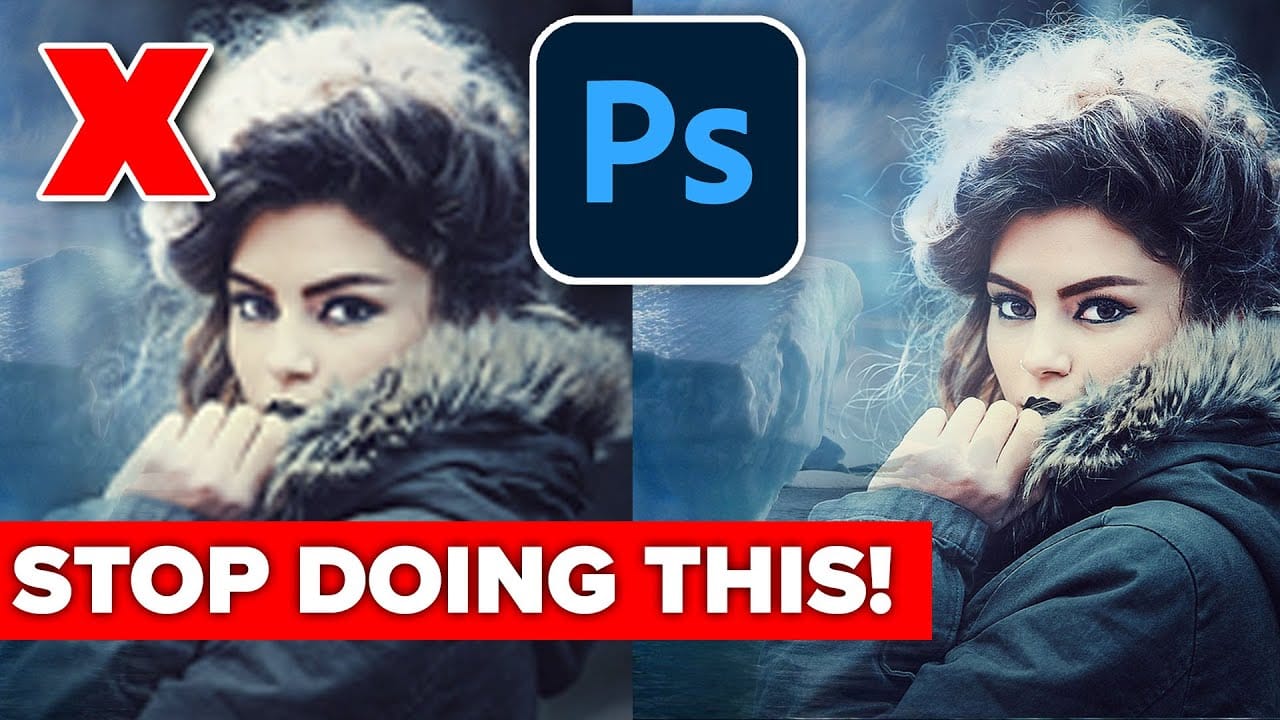
Avoid the 3 worst Photoshop photo editing mistakes
Colin Smith from Photoshop Cafe shares essential tips to help you avoid the three most common Photoshop photo editing mistakes. These mistakes can make your edits look amateurish, but with Colin's guidance, you'll learn how to sidestep them and enhance your editing skills.
The first mistake is over-sharpening, which Colin calls the "Sizzle Sharpen." This occurs when the halos around edges become too prominent, making the image look unrealistic. To avoid this, Colin advises converting your layer