Create Grungy Retro Halftone Effect in Photoshop

Create Grungy Retro Halftone Effect in Photoshop

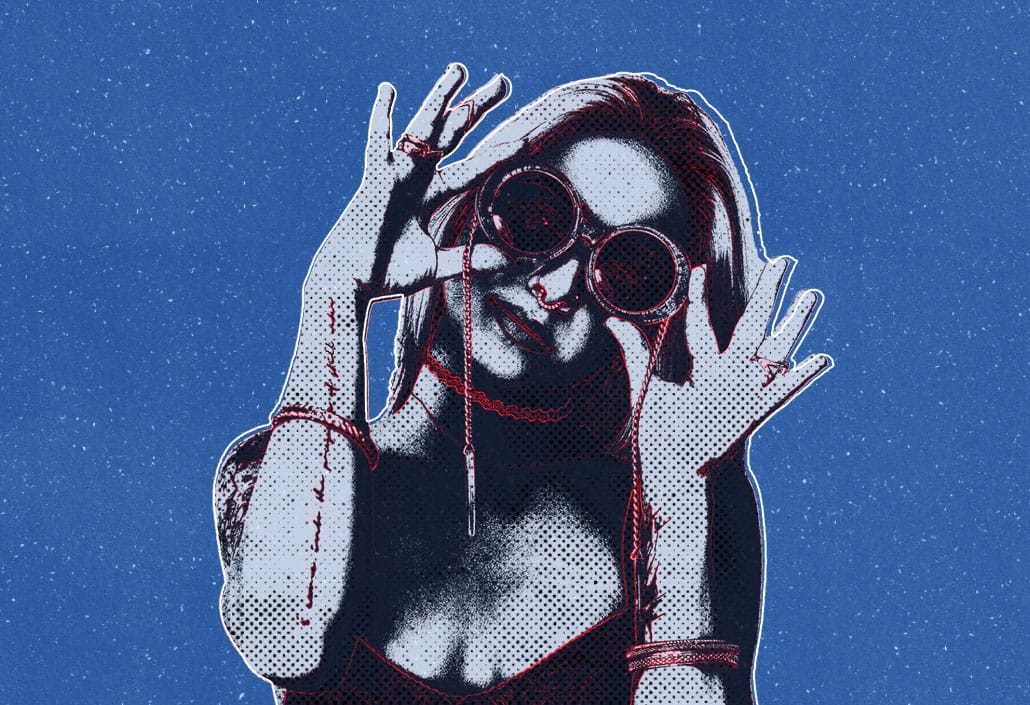
Vintage poster art captured attention through bold contrasts, visible printing dots, and rough textures that gave images character. The halftone effect recreates this aesthetic by breaking up continuous tones into distinct dots, mimicking old-school printing techniques.

This technique transforms clean digital photos into gritty, retro-style artwork. The method combines Photoshop's built-in filters with layering techniques to create authentic-looking vintage effects with adjustable intensity.

Watch the Video

Video by P A N T E R. Any links or downloads mentioned by the creator are available only on YouTube

Building Layers for Authentic Halftone Effects

The Color Halftone filter serves as the foundation for this effect, but the real magic happens through strategic layering. Converting the base image to a smart object preserves editability throughout the process.

The technique separates color channels to create contrast variations. The green channel often provides the best balance of detail and contrast for overlay effects. Multiple duplicate layers with different blend modes build depth and enhance the vintage appearance.

  • Smart object conversion maintains filter flexibility
  • Channel separation creates contrast variations
  • Overlay and divide blend modes enhance depth
  • Opacity adjustments control effect intensity
  • Noise addition completes the grungy aesthetic

Practical Tips for Halftone Effects

  • Start with Color Halftone values around 8 pixels for balanced dot size on most images
  • Use the green channel for overlay layers as it typically provides the best contrast
  • Set overlay layer opacity to 50% to avoid overpowering the base image
  • Apply divide blend mode on duplicate layers to create authentic vintage contrast
  • Add noise at 400% on overlay mode for realistic grungy texture without overwhelming the image

More Tutorials about Halftone Effects

Explore different approaches to creating vintage and retro halftone effects in Photoshop.
Create awesome retro halftone effects in Photoshop
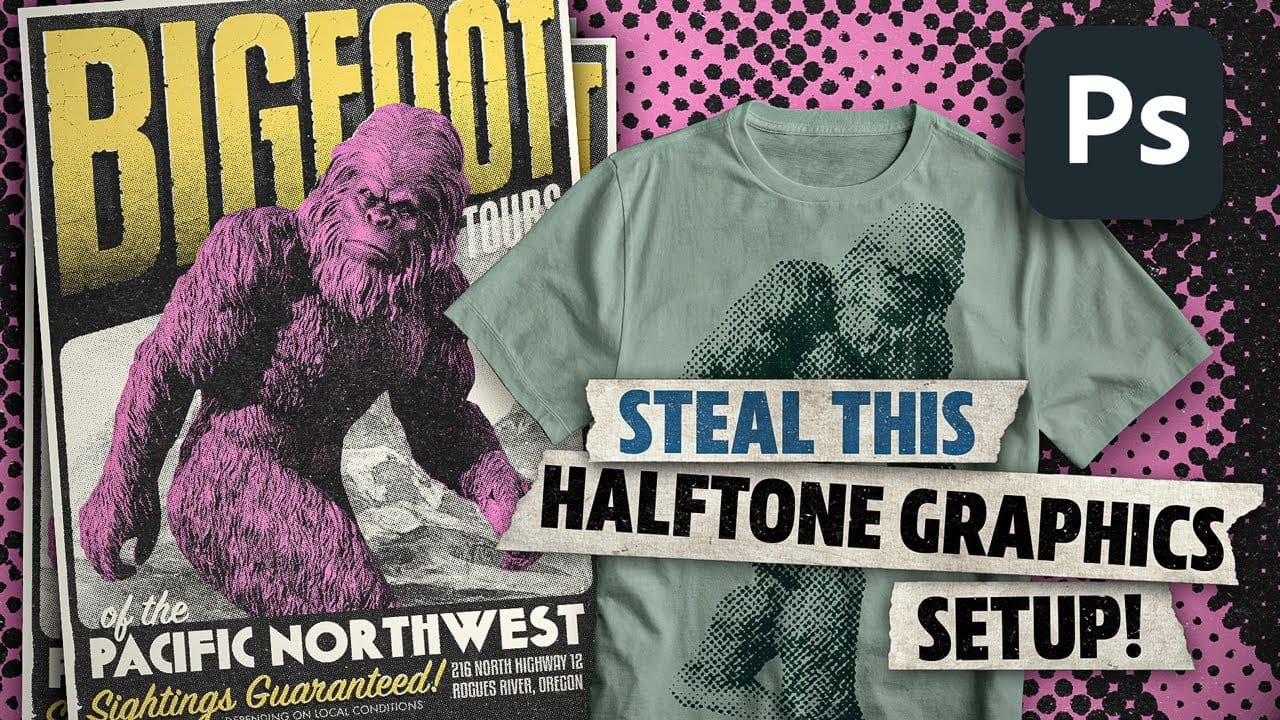
Photoshop includes built-in halftone filters, but they often lack flexibility and can feel rigid for creative projects. Many designers struggle with creating authentic vintage halftone effects that remain editable and can be applied to different image sizes and compositions without starting over. This tutorial demonstrates a five-layer halftone setup that functions like a live adjustment layer, offering full control over dot size, color, and distressing effects. The system uses seamless pattern
Create Grungy Halftone Line Effects in Photoshop
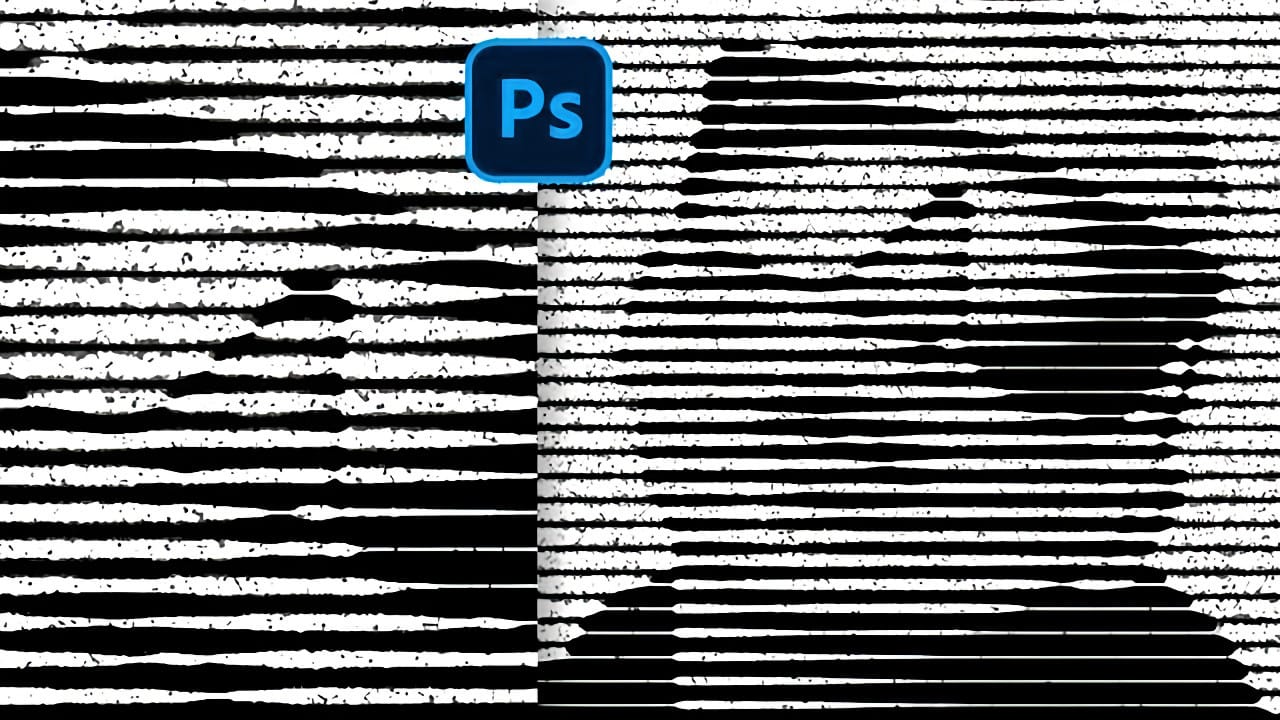
Classic halftone line patterns evoke the raw aesthetic of vintage print media, from underground zines to punk rock posters. These gritty textures transform clean digital photos into pieces that feel authentically analog, complete with the imperfections that make print work compelling. This technique combines Photoshop's halftone filters with noise and blur effects to create convincing photocopy-style line patterns. The method builds multiple adjustment layers that work together to produce both
Create a Retro Pop Art Effect with Color Halftone in Photoshop
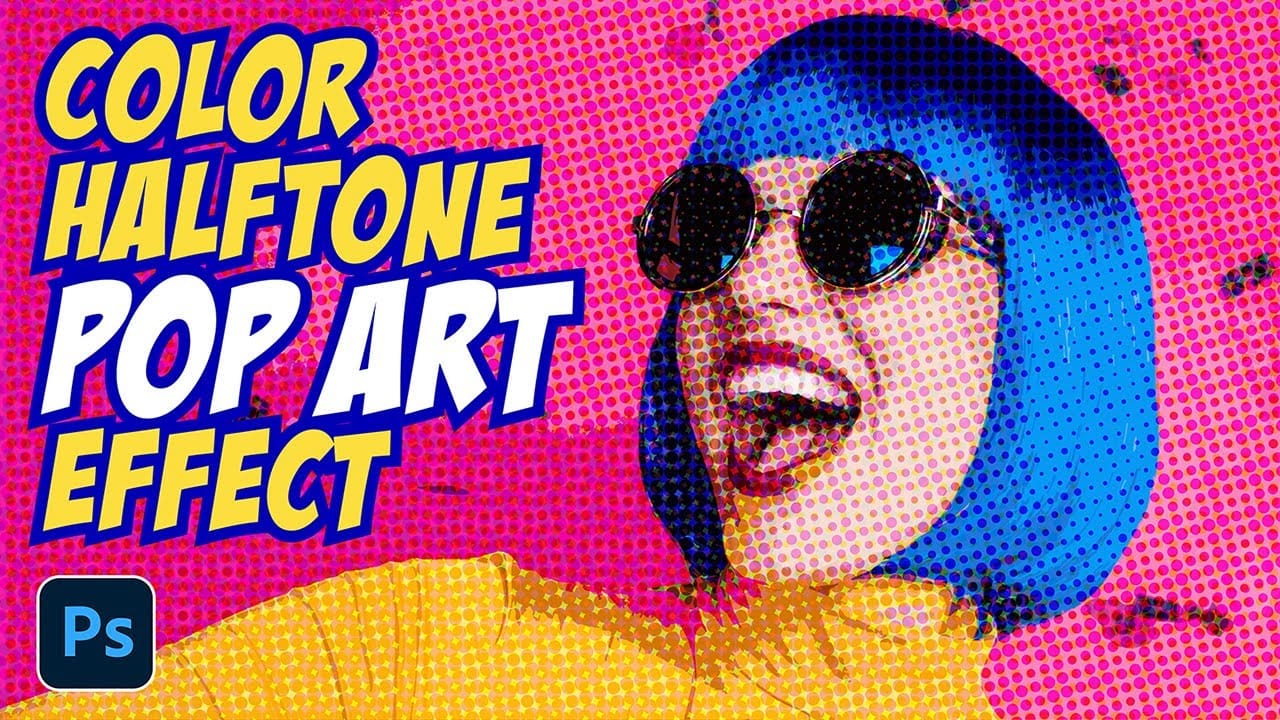
Pop art transformed ordinary subjects into bold, graphic statements through vibrant colors and distinctive printing techniques. The movement's signature look came from commercial printing methods, especially the visible halftone dots that created depth and texture in mass-produced images. This video demonstrates how to recreate that iconic aesthetic digitally, combining artistic filters with halftone patterns to achieve the striking visual impact of 1960s pop art posters and comic book illustra
Create an old-school halftone photo effect in Photoshop
Creating authentic vintage halftone effects can be challenging when working with modern digital photography. Many designers struggle to achieve that classic print aesthetic without the result looking artificial or overdone. This tutorial demonstrates a multi-layer approach to building realistic halftone vintage effects using threshold adjustments, pattern overlays, and selective masking. The technique creates depth and authenticity by working with multiple halftone variations rather than a sing

Get tutorials & freebies delivered to you.

Subscribe to the Photoshop Roadmap newsletter, a weekly roundup of new tutorials, insights and quality downloads, trusted by 6500+ readers.

You might also like

Painting Digital Art Backgrounds: Techniques and Workflow

A well-crafted background can anchor an entire digital painting, providing atmosphere, depth, and visual context for the subject. This video demonstrates practical approaches to building backgrounds from scratch using digital tools, covering brush selection, color layering, and compositional thinking. Watch the Video Practical Tips Keep these core principles in...

How to Use the Light Adjustment Layer in Photoshop

Photoshop's new Light adjustment layer brings Camera Raw controls — exposure, contrast, highlights, shadows, whites, and blacks — directly into the layers panel as a fully non-destructive, maskable layer. This means you can stack multiple light adjustments, target specific subjects, and combine them with Blend If and other adjustment...

How to Use Object Selection, Remove Background, and the Selection Brush in Photoshop

Selections determine the quality and flexibility of almost every edit you make in Photoshop. Three modern tools — the Object Selection tool, Remove Background with Harmonize, and the Selection Brush — handle the most common selection tasks with far less manual effort, while keeping your original image intact through non-destructive layers....

How to Paint a Digital Background and Composite Wildlife Into It

Building a painted digital background from scratch gives you full control over color, mood, and composition before a single wildlife photo is placed. This walkthrough covers the complete process: blocking in shadows on a black canvas, layering foliage with textured brushes, positioning bird subjects on hand-painted stones, and using...

How to Sharpen Skin Texture Using Frequency Separation in Photoshop

Retouched skin can look great up close but lose all its natural texture the moment you zoom out. Rather than relying on standard sharpening filters, you can recover that texture by duplicating the high-frequency layer inside a frequency separation setup — a method that works whether or not you'...

You’ve successfully subscribed to Photoshop Roadmap
Welcome back! You’ve successfully signed in.
Great! You’ve successfully signed up.
Success! Your email is updated.
Your link has expired
Success! Check your email for magic link to sign-in.