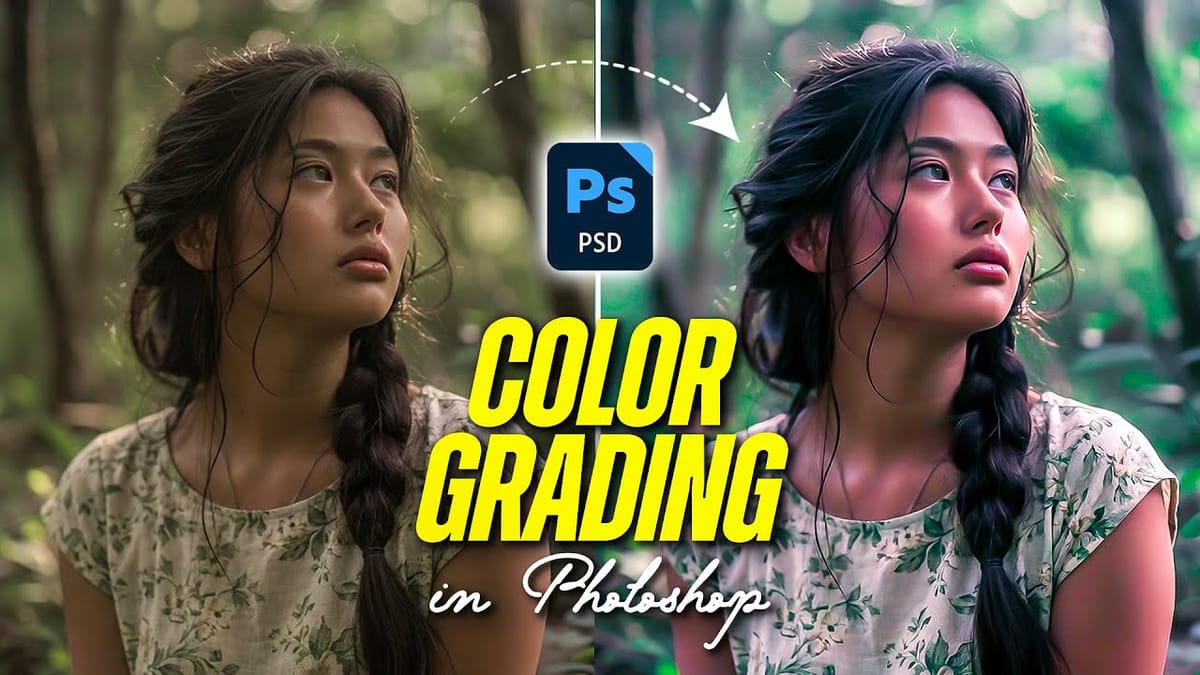
Color grading transforms ordinary photos into compelling images with professional mood and atmosphere. These non-destructive techniques let you adjust tones, enhance specific colors, and create cinematic looks while preserving your original image data.
Master these four essential color grading methods to develop a consistent editing workflow that elevates your photography.
Watch the Video
Video by Zenzdesign. Any links or downloads mentioned by the creator are available only on YouTube
Practical Tips
These techniques will help you achieve professional color grading results:
- Start with Color Balance adjustment layers to correct unwanted color casts in midtones before applying creative effects
- Use Camera Raw Filter's HSL panel to target specific color ranges and shift yellow tones toward orange for warmer, more natural skin tones
- Apply subtle curve adjustments to individual RGB channels by lifting shadows slightly in each channel for a film-like quality
- Add Color Lookup adjustment layers with low opacity (10-20%) to introduce cinematic color grades without overpowering your image
- Increase Vibrance instead of Saturation to boost muted colors while protecting already saturated areas from becoming oversaturated
Related Articles and Tutorials
Explore these advanced editing techniques to enhance your photo processing workflow.
Photoshop’s New Color and Temperature Tool for Advanced Color Grading
Photoshop’s latest update introduces temperature and tint controls directly into the adjustment layer panel, bringing white balance tools from Camera Raw into the main editing workspace. This addition transforms color grading workflows by enabling precise local adjustments with custom brushes and blend modes. The new Color and Vibrance adjustment layer
 F64 Academy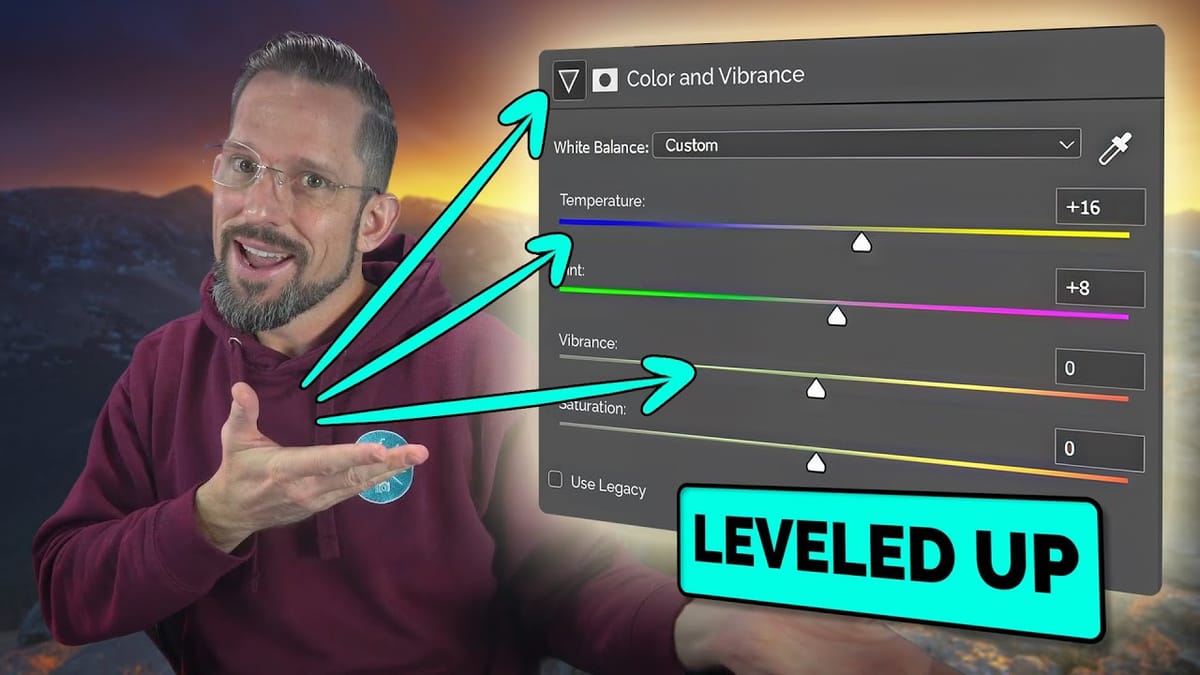
How to Use Photoshop Curves Auto Options for Color Grading
Professional color grading transforms ordinary images into visually striking compositions with rich depth and atmosphere. Hidden curves auto options in Photoshop let you assign custom colors to shadows, midtones, and highlights for dramatic enhancement. This technique goes beyond basic adjustments to create cinematic looks that bring images to life with
 SandraD Imagery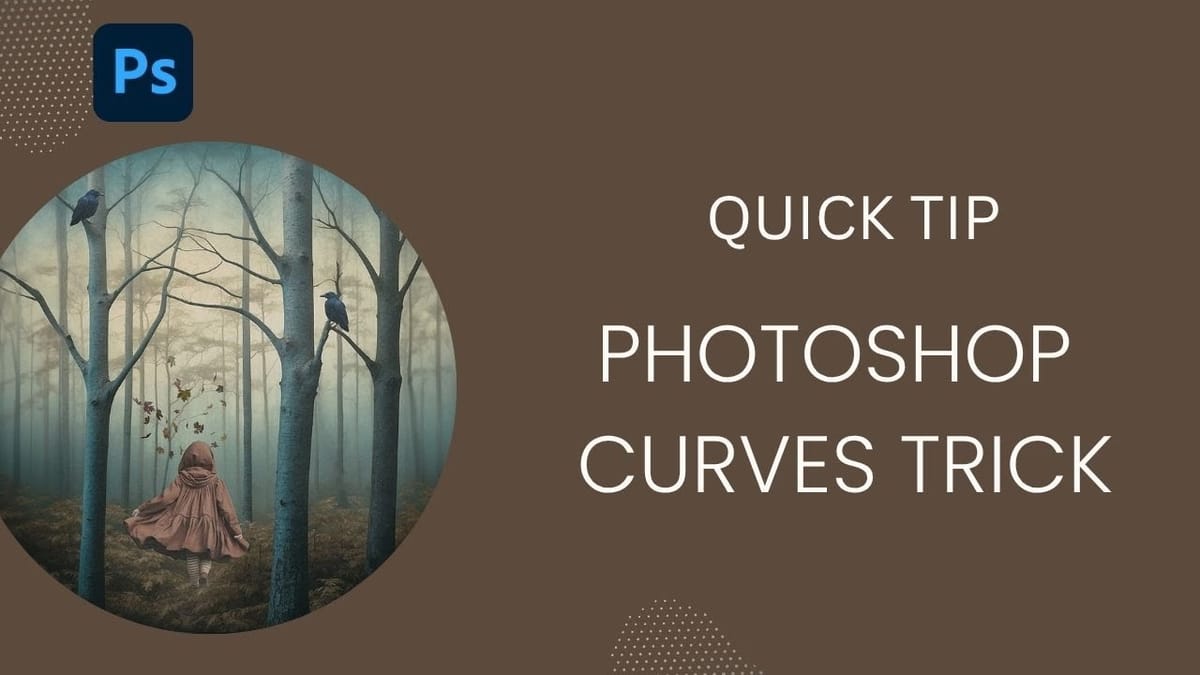
How to Create and Use Custom LUTs in Photoshop
Custom LUTs let you transform your photos with professional color grading that works across multiple programs. From moody film looks to vibrant cinematic tones, these color lookup tables capture your exact adjustment settings. This technique saves hours of repetitive color work and ensures consistent styling across entire photo sets or
 Phlearn
How to Color Grade Without Oversaturating Skin Tones Using Camera Raw
Professional color grading often creates a dilemma: boosting vibrant colors while keeping skin tones natural. Traditional saturation adjustments can make portraits look overprocessed, turning skin an unflattering orange or magenta. This technique uses Camera Raw’s masking tools to selectively enhance background colors while protecting skin tones, creating vibrant images that
 WeJustClickMe