Professional color grading often creates a dilemma: boosting vibrant colors while keeping skin tones natural. Traditional saturation adjustments can make portraits look overprocessed, turning skin an unflattering orange or magenta.
This technique uses Camera Raw's masking tools to selectively enhance background colors while protecting skin tones, creating vibrant images that still look authentic.
Watch the Video
Video by WeJustClickme. Any links or downloads mentioned by the creator are available only on YouTube
Practical Tips
These key techniques will help you achieve professional color grading results:
- Convert your layer to a smart object before applying Camera Raw filters to maintain editability
- Hold Shift while clicking highlights and shadows sliders to auto-set white and black points
- Use the background mask in Camera Raw to boost saturation only in non-skin areas
- Apply warm highlights in the color grading panel for a natural, professional look
- Adjust individual color channels in the color mixer to fine-tune specific tones
Related Articles and Tutorials
Continue exploring advanced image editing techniques with these tutorials:
Photoshop’s New Color and Temperature Tool for Advanced Color Grading
Photoshop’s latest update introduces temperature and tint controls directly into the adjustment layer panel, bringing white balance tools from Camera Raw into the main editing workspace. This addition transforms color grading workflows by enabling precise local adjustments with custom brushes and blend modes. The new Color and Vibrance adjustment layer
 F64 Academy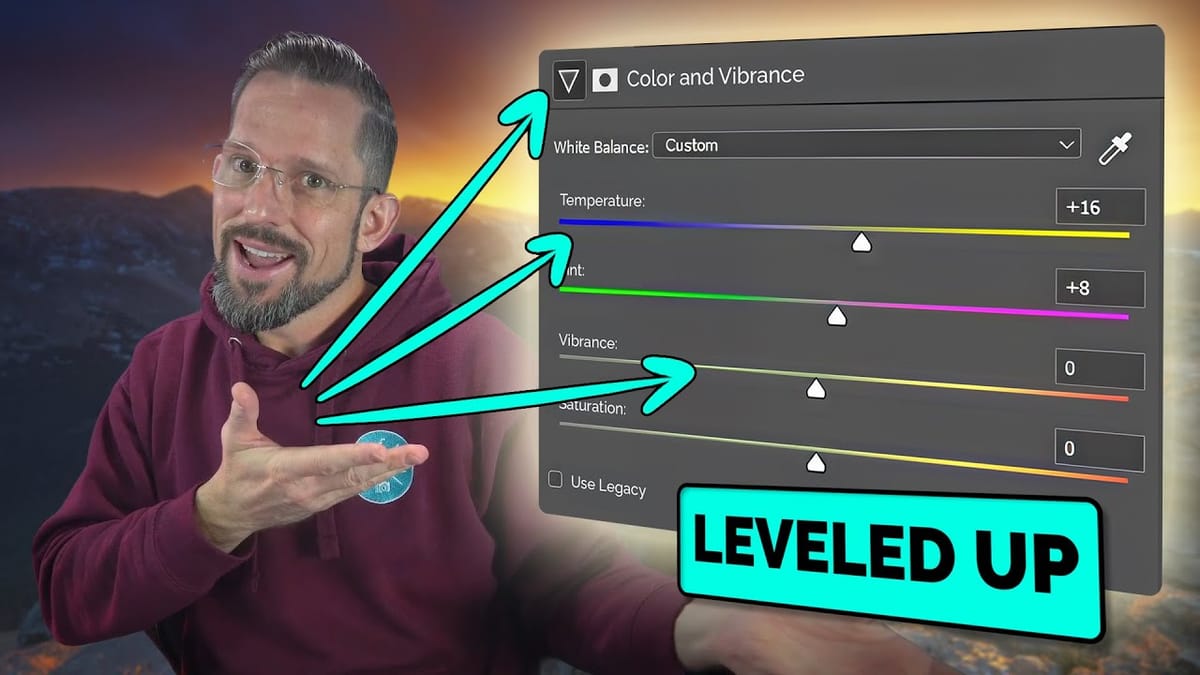
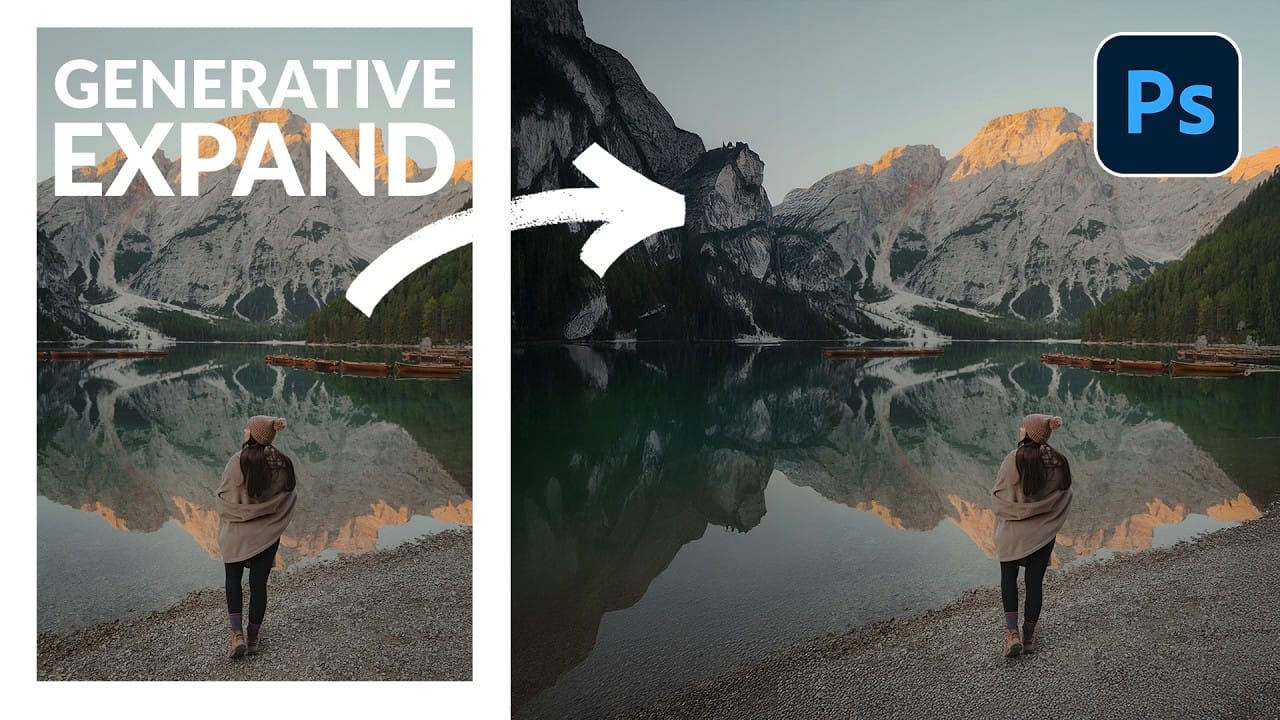
How to Expand Photos Beyond Their Edges Using AI Generative Expand in Photoshop
Sometimes your best photos need more breathing room or a different aspect ratio. Generative Expand in Photoshop lets you extend your canvas beyond the original image boundaries, using AI to intelligently fill in missing areas with content that matches your scene.
This technique works for changing portrait photos to landscape orientation, adding more space around subjects, or even changing the camera angle of existing photographs entirely.
Watch the Video
Practical Tips
These key techniques
How to Use Nano Banana Pro in Adobe Firefly for Advanced AI Image Generation
Adobe Firefly now includes Gemini 3 with Nano Banana Pro, offering sharper 2K image generation with improved text clarity and precision blending. This advanced AI model works seamlessly within Firefly's generative workspace, enabling powerful workflows like multi-image composition and virtual try-on effects.
The integration provides access to sophisticated presets and reference image capabilities that go beyond basic Photoshop workflows, making complex generative tasks simple and intuitive.
W

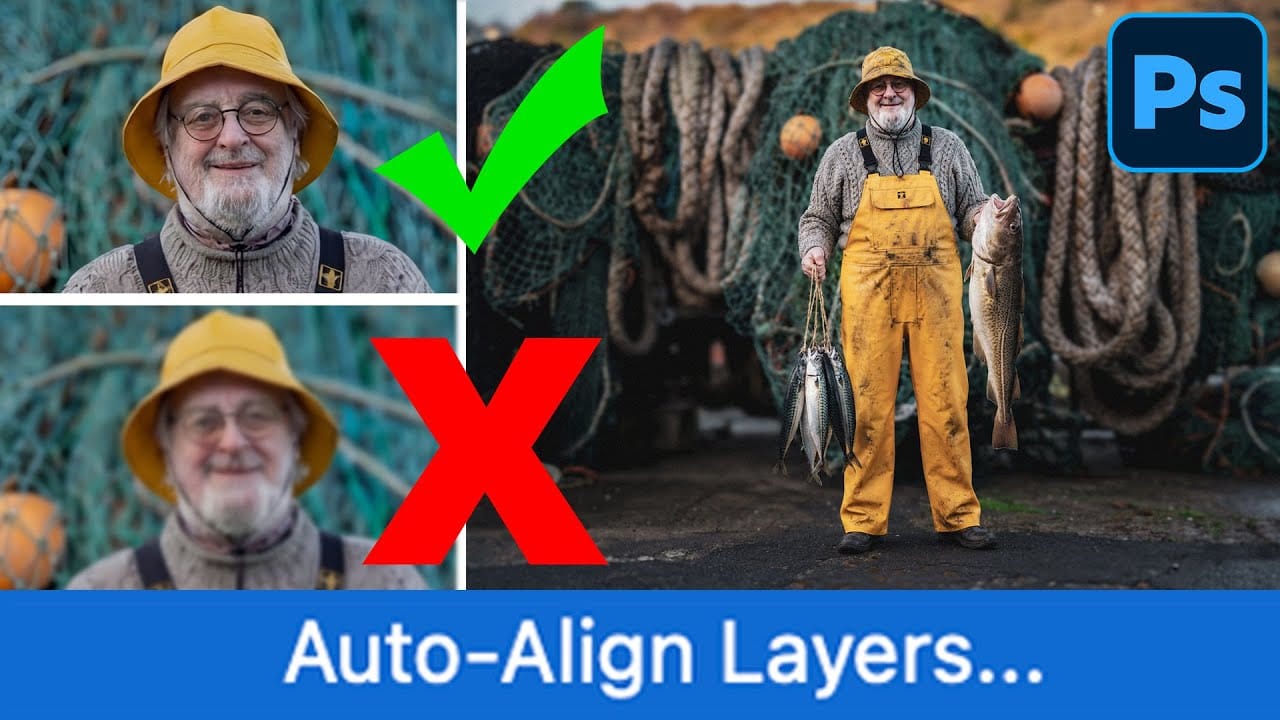
How to Use Auto Align Layers in Photoshop for Perfect Layer Alignment
When working with multiple layers that need perfect alignment, manual positioning often falls short. Slight camera movement, different crops, or rotated images can make precise alignment seem impossible through visual adjustment alone.
Auto Align Layers automatically handles rotation, scaling, and positioning to create perfect layer alignment, even when images have different dimensions or orientations.
Watch the Video
Practical Tips
These techniques will help you achieve perfect layer alig