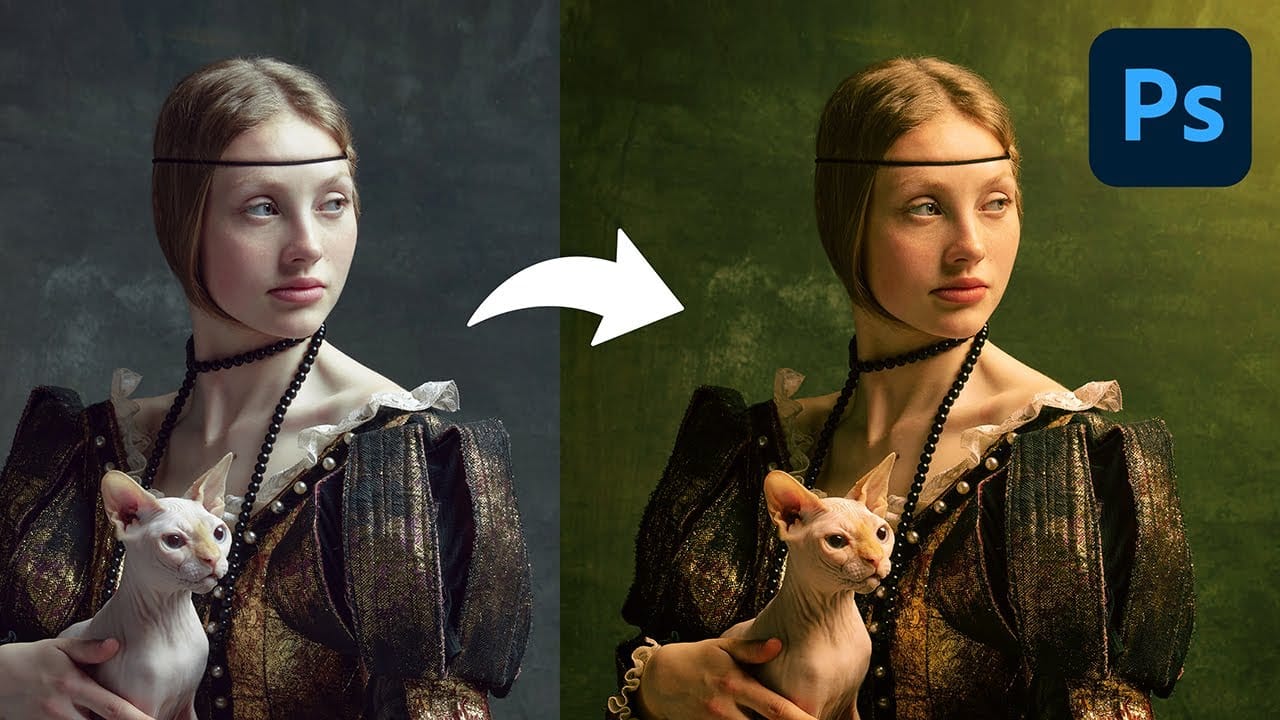
A soft light bloom adds depth and atmosphere to portraits and nature shots without making them look over-processed. This technique isolates the actual highlight information from your photo, blurs it across multiple layers, and finishes with color grading and grain — all built manually using standard Photoshop tools.
Watch the Video
Video by PHLEARN. Any links or downloads mentioned by the creator are available only on YouTube
Practical Tips
Keep these techniques in mind as you work through the effect to get a natural, controlled result.
- Use Select > Color Range > Highlights to isolate bright areas — reduce the Range slider so only the brightest highlights are selected, avoiding a blurry overall look.
- Convert your highlights layer to a Smart Object before applying Gaussian Blur so you can adjust the blur radius at any time without redoing the work.
- Set the highlights layer blend mode to Lighten rather than Screen — Screen brightens too aggressively, while Lighten keeps the glow subtle and realistic.
- Duplicate the blur layer and increase the radius on the copy to stack two different glow intensities, giving the effect more depth and dimension.
- Enable the highlight clipping warning in Camera Raw before raising exposure, then pull the Whites slider down to recover any clipped areas before finalizing your color grade.
Related Articles and Tutorials
Explore more techniques for working with light, glow, and color in your images.
Create the Cinematic Bloom Glow Effect in Photoshop
This guide will walk you through the steps to create a stunning bloom effect using Photoshop and DaVinci Resolve.
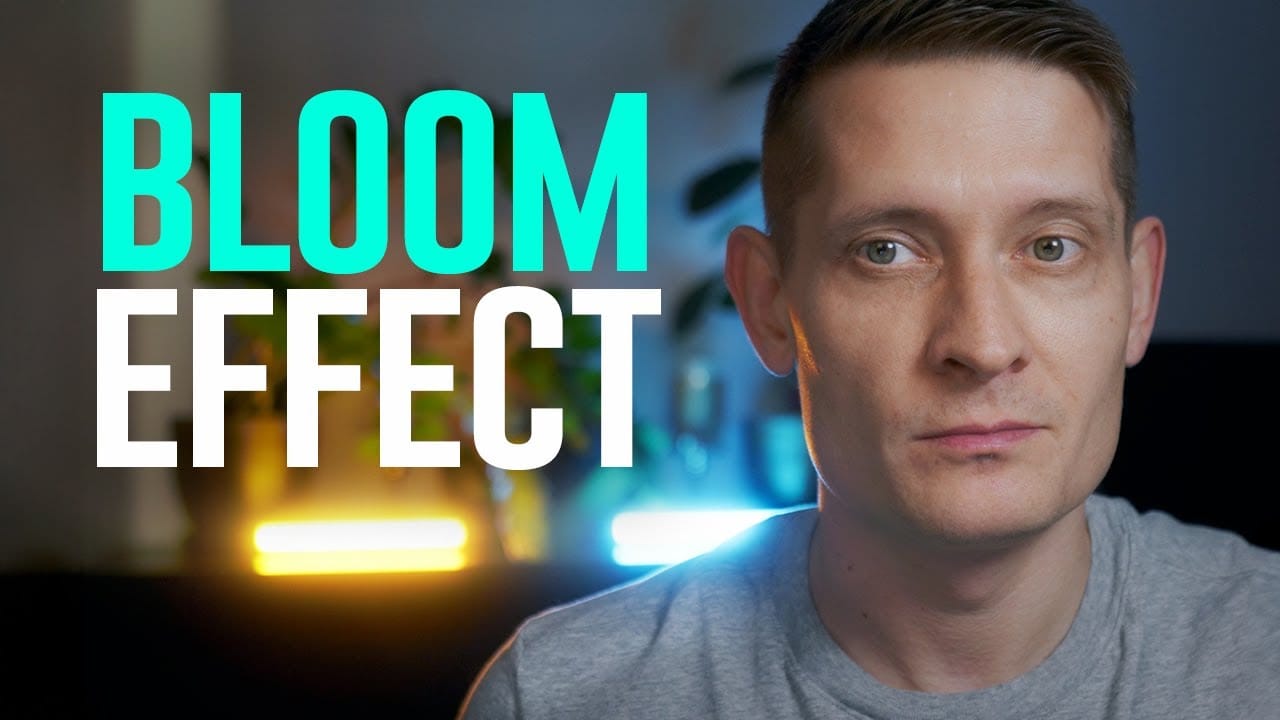
This technique enhances your highlights, infusing your photos and videos with a cinematic glow that adds a dreamy atmosphere.The bloom effect simulates the appearance of black diffusion filters commonly found in photography and cinematography. These filters soften images and contribute a soft, glowing quality to highlights. This approach is ideal for anyone looking to enrich their v
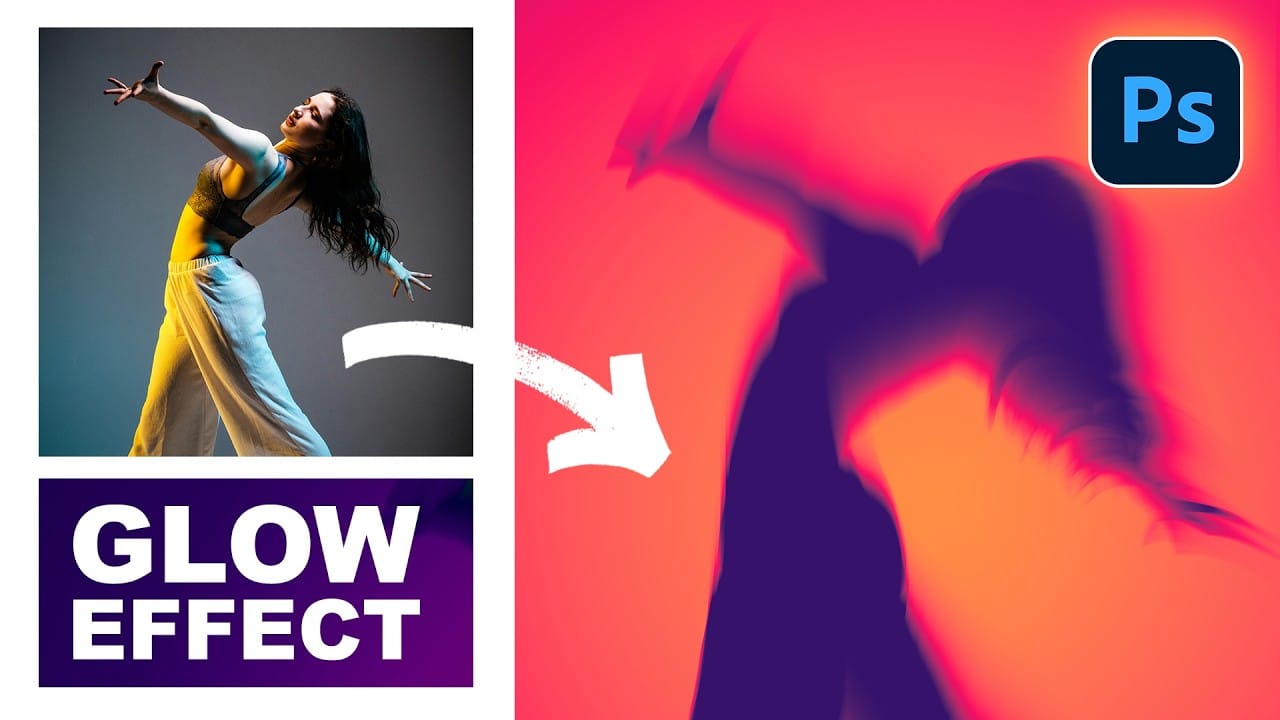
How to Create Glow Motion Effects with Gradient Maps in Photoshop
Motion blur combined with colorful gradients creates striking visual effects that transform ordinary photos into dynamic, cinematic images. This technique uses gradient maps to automatically color light and dark values, producing flowing color transitions that follow the movement of your subject.
The process involves subject isolation, strategic gradient placement, path blur for realistic motion, and gradient mapping to achieve vibrant color flows reminiscent of long exposure photography.
Wat
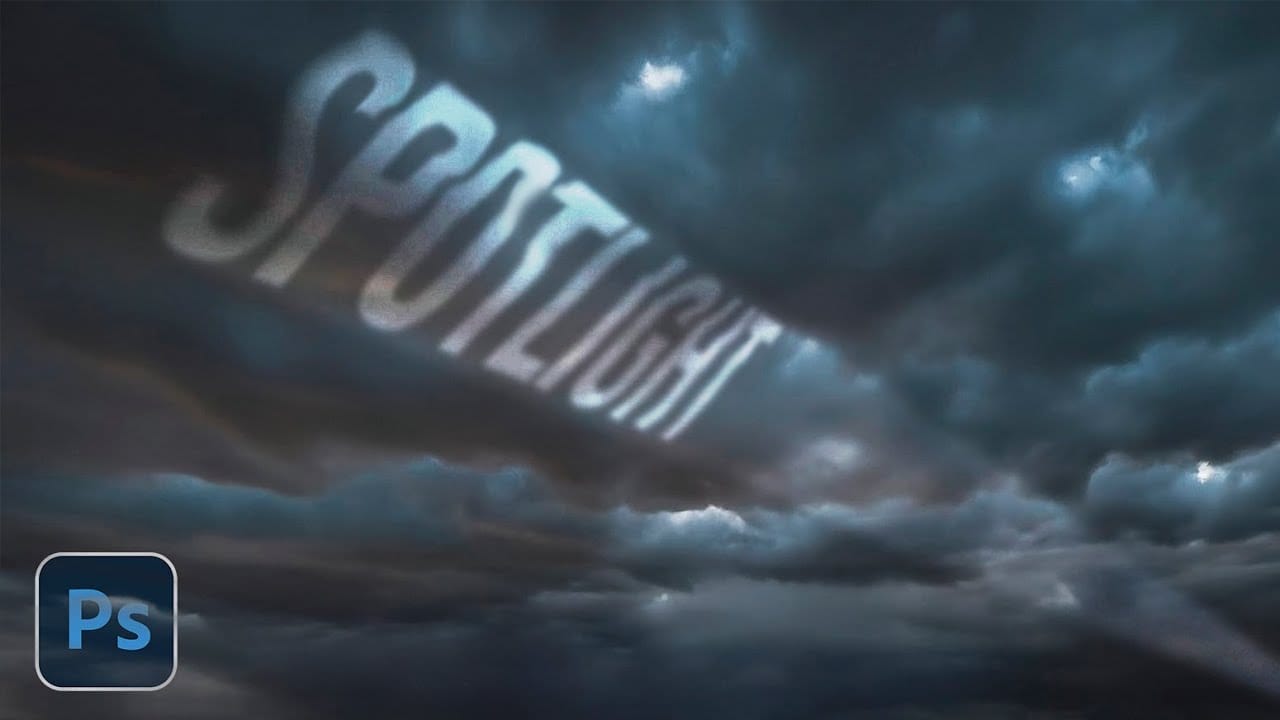
How to Create a Dramatic Spotlight Effect in the Sky in Photoshop
Adding a dramatic spotlight effect to your images can transform an ordinary sky into a captivating scene, drawing the viewer's eye and enhancing the overall mood. This technique is particularly effective for emphasizing specific elements or creating a sense of grandeur and focus within a composition.
In this tutorial, you will learn how to integrate a realistic spotlight with text into a stormy sky, utilizing Photoshop's powerful blending modes, transformation tools, and non-destructive editing
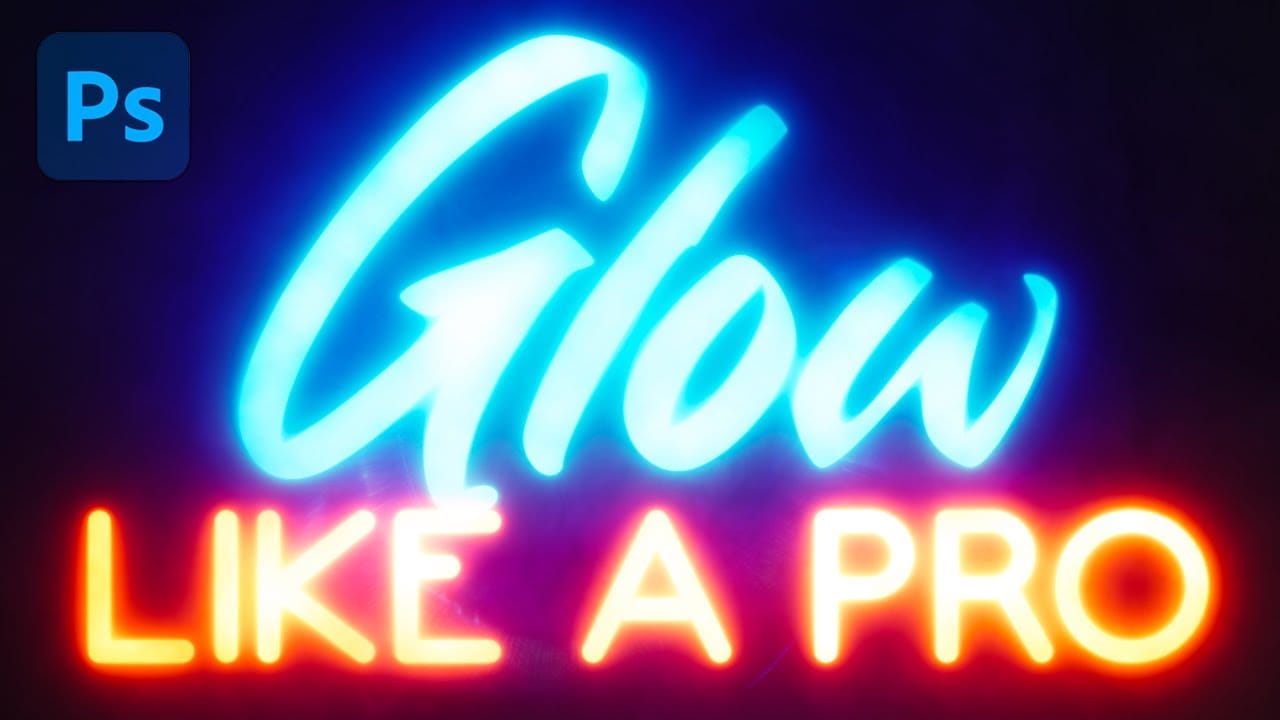
Glowing Text Effect in Photoshop
Glowing text transforms ordinary typography into luminous, eye-catching design elements that command attention. The ethereal quality of well-executed glow effects can elevate logos, headers, and graphics with professional polish.
This tutorial demonstrates how to build convincing glow effects using multiple Gaussian blur layers, smart objects, and gradient mapping techniques in Photoshop.
Watch the Tutorial
Practical Tips for Professional Glow Effects
Follow these key techniques to create
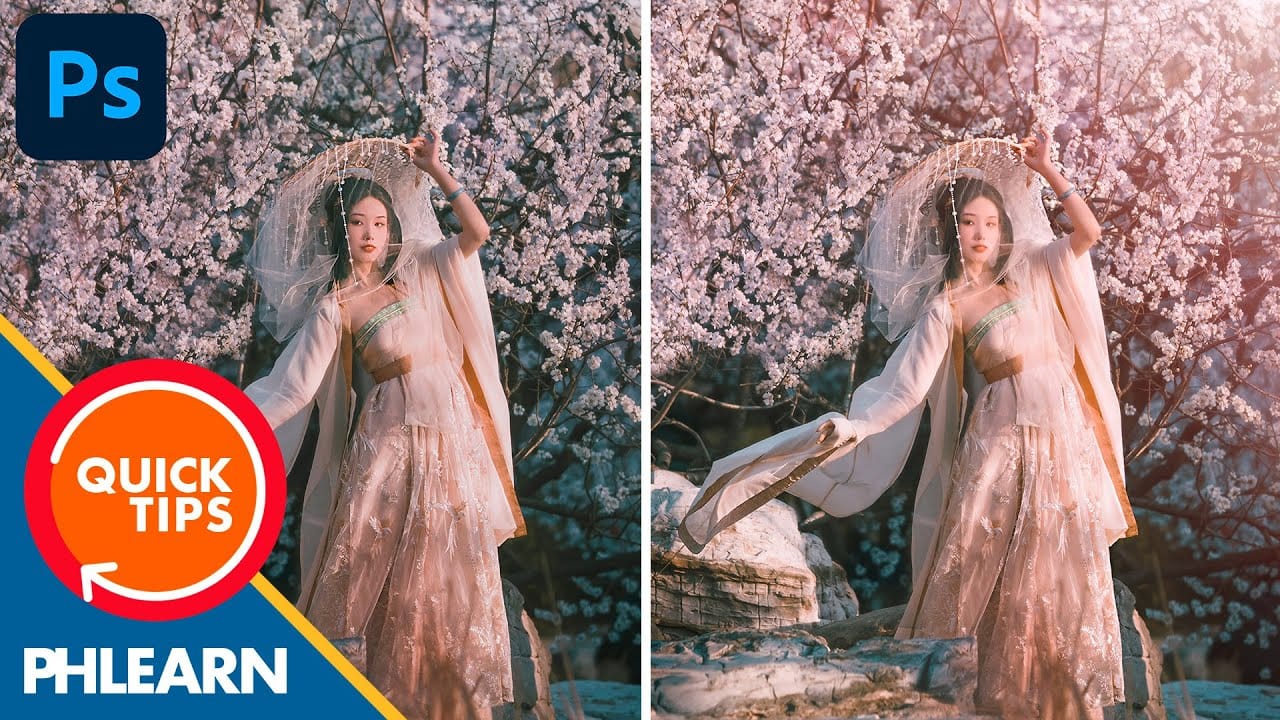
How to create a sun glow effect in Photoshop
In this tutorial, Aaron Nace shows how to add a vibrant sun glow effect to your photos with ease. The process involves a few straightforward steps to simulate the warm, radiant look of sunlight. Aaron explains how to use blending modes, gradients, and layer adjustments to achieve a natural and eye-catching glow.
The tutorial includes a free Sun Glow Gradient, which you can download and use immediately to enhance your images. This effect is perfect for adding a dreamy, sunlit atmosphere to your
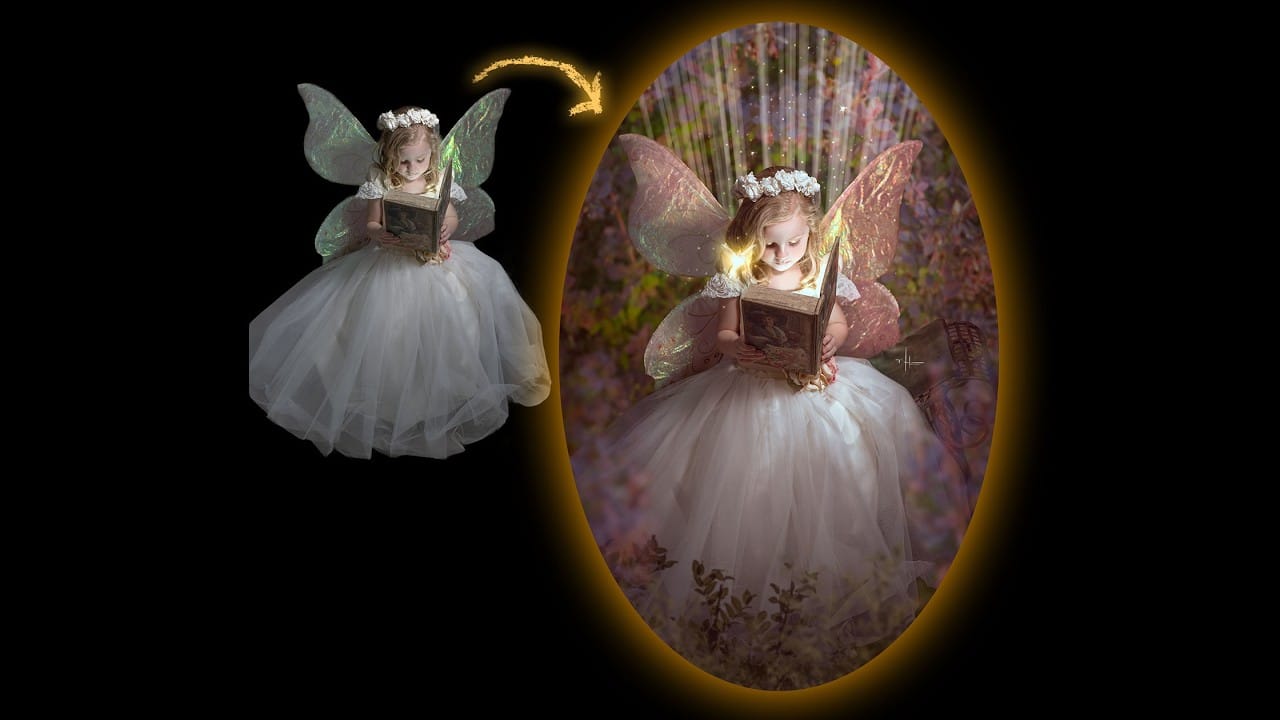
How to Add Glowing Light Effects to Fantasy Portraits in Photoshop
Fantasy and fairy-tale portraits rely heavily on light to feel convincing. These five techniques cover the full range of glow effects — from soft blend mode tints and dynamic highlight recovery to face lighting, radial light beams, and hand-placed fairy dust — giving you a repeatable toolkit for any magical composite.
Watch the Video
Practical Tips
Each technique in this tutorial can be applied independently or layered together for a more complete result. Keep these points in mind as you wo
Create a Professional Color Grade in 90 Seconds in Photoshop
Cinematic color grading transforms ordinary photos into visually compelling narratives, creating mood, directing focus, and enhancing storytelling. This subtle yet powerful technique allows photographers and digital artists to infuse their images with the atmospheric depth and professional finish often seen in film.
In this concise tutorial, you'll discover a rapid workflow for achieving a cinematic color grade directly within Photoshop. The method leverages the powerful Camera Raw filter as a