Fantasy and fairy-tale portraits rely heavily on light to feel convincing. These five techniques cover the full range of glow effects — from soft blend mode tints and dynamic highlight recovery to face lighting, radial light beams, and hand-placed fairy dust — giving you a repeatable toolkit for any magical composite.
Watch the Video
Video by Nikki Harrison. Any links or downloads mentioned by the creator are available only on YouTube
Practical Tips
Each technique in this tutorial can be applied independently or layered together for a more complete result. Keep these points in mind as you work through them.
- Use a Soft Light blend mode with a clipped light pink layer to add a soft glow to wings or translucent elements without affecting the rest of the image.
- Apply Blend If on a clipped Curves layer to pull dynamic highlights onto flat areas like fabric — hold Alt/Option when splitting the shadow slider for a smoother transition.
- For face lighting, draw a polygonal lasso selection following the natural light direction, fill it with white, set the blend mode to Color Dodge, then apply a Path Blur and reduce the fill (not opacity) to around 15–30%.
- Create radial light beams by painting random dots of white behind the subject on a new layer, then applying Radial Blur set to Zoom — duplicate the layer several times to build intensity, then merge and switch to Screen or Overlay blend mode.
- For fairy dust, paint custom brush strokes on a Color Dodge layer with layer transparency disabled, then apply a Gaussian Blur to emphasize the glow rather than the shape of the individual marks.
Related Articles and Tutorials
Explore more portrait lighting and effects techniques to build on what you learned here.
15 Fantastic Photoshop Portrait Effects You’ll Want to Slap on Every Selfie Right Now
Sure, the title says you’ll want to slap these effects on every selfie (that was me trying to grab your attention 😅) — but let’s be honest: these aren’t one-tap filters. Every tutorial here is built on real Photoshop craftsmanship — lighting, masking, blending, and a good dose of
 Enrique Flouret
A Definitive Guide to Portrait Beauty Retouching in Photoshop
Mastering beauty retouching gives you the ability to take any portrait further, fixing what the camera couldn’t, refining what the light missed, correcting the natural imperfections that skin always carries, and delivering results that hold up at any size and in any context. That range is wider than it
 Enrique Flouret
5 Essential Photoshop Techniques for Better Portrait Editing
Portrait editing often feels overwhelming, especially when trying to balance natural-looking results with professional polish. Many photographers struggle with where to start and which adjustments will have the biggest impact on their images without making them look over-processed.
This tutorial covers five fundamental Photoshop techniques that will immediately improve any portrait. From creating better subject focus to color correction and skin retouching, these methods provide a solid foundat
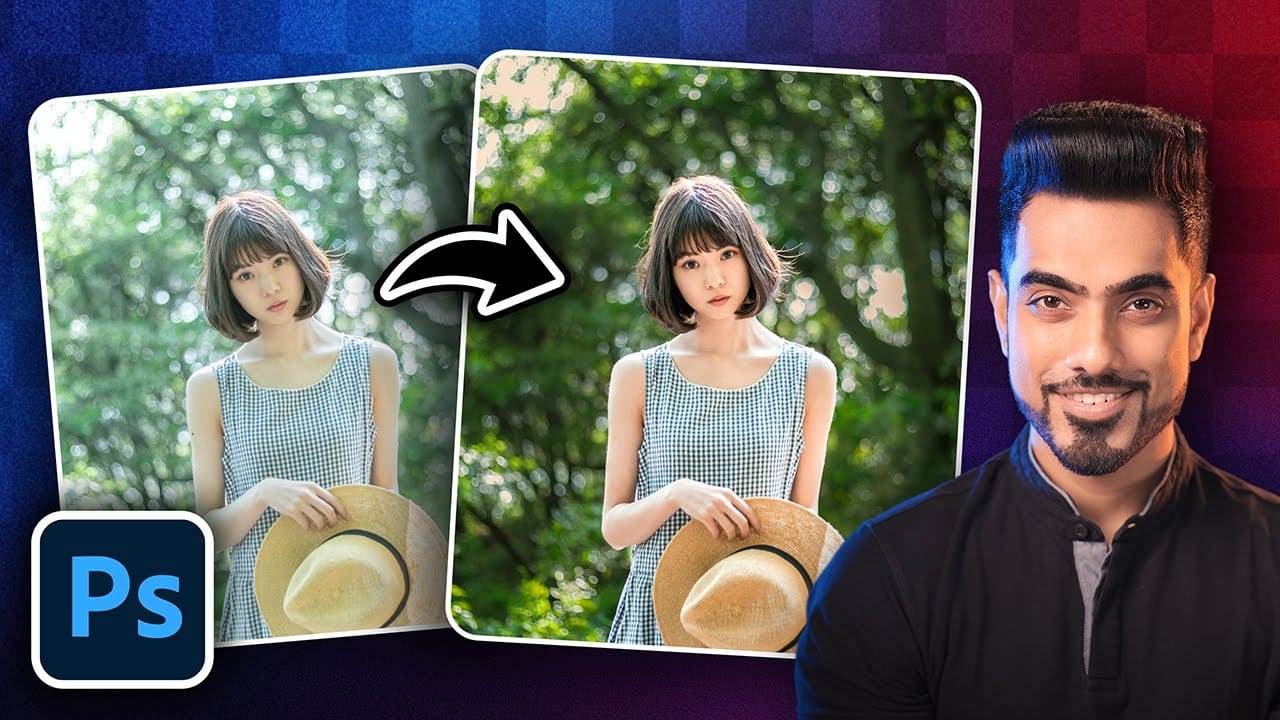
How to Create a Colorful Aura Effect for Portraits in Photoshop
Portrait photography becomes truly captivating when enhanced with atmospheric effects that draw the viewer's eye. The colorful aura effect transforms ordinary portraits into striking visual statements by surrounding the subject with ethereal, glowing light that feels both magical and professional.
This technique works best with portraits shot against dark backgrounds and combines motion blur effects with gradient overlays or custom aura textures to create depth and visual interest.
Watch the
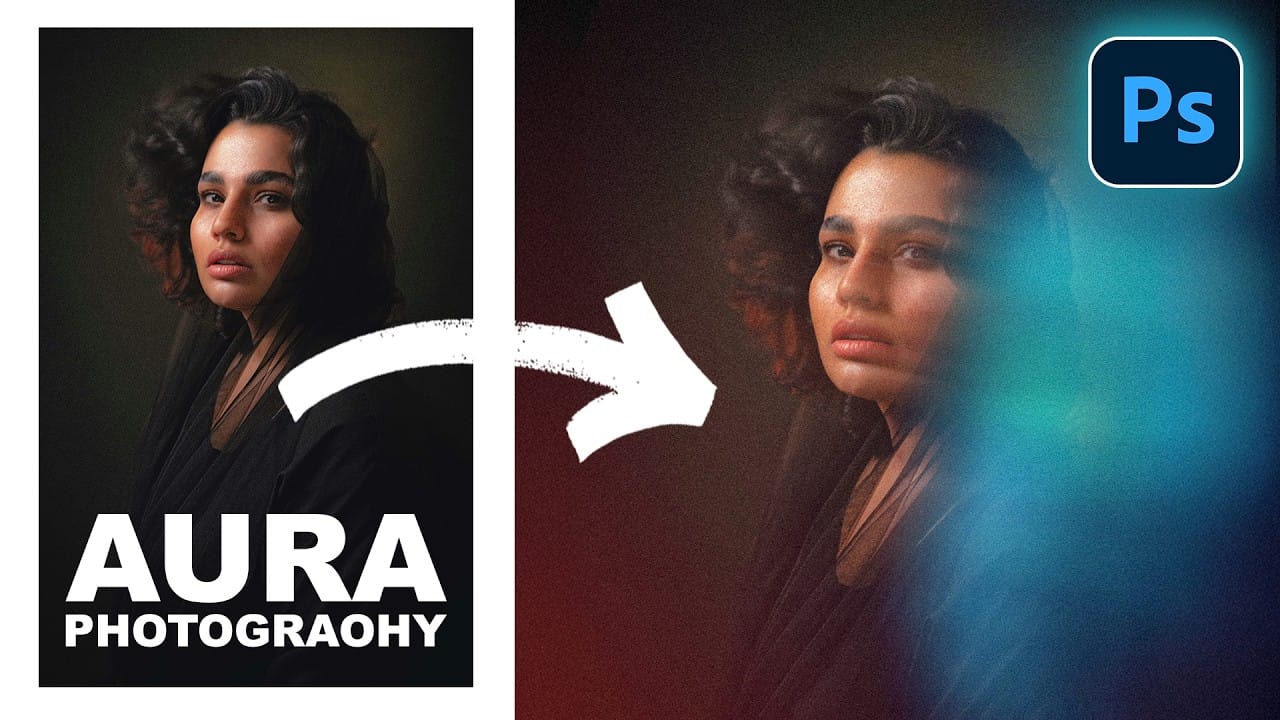
35 Creative Portrait Effects Photoshop Tutorials
When it comes to mind-bending portrait creativity, nothing rivals Photoshop's capabilities. This curated list elevates portraiture far beyond basic filters and effects, exploring 35 of the most innovative and original Photoshop techniques out there. From seamless double-exposures blending humans and nature, to hyperreal pencil renders, to surreal reality-bending manipulations - it's an expansive showcase of artistic frontiers.
These tutorials offer step-by-step guidance from elite Photoshop art
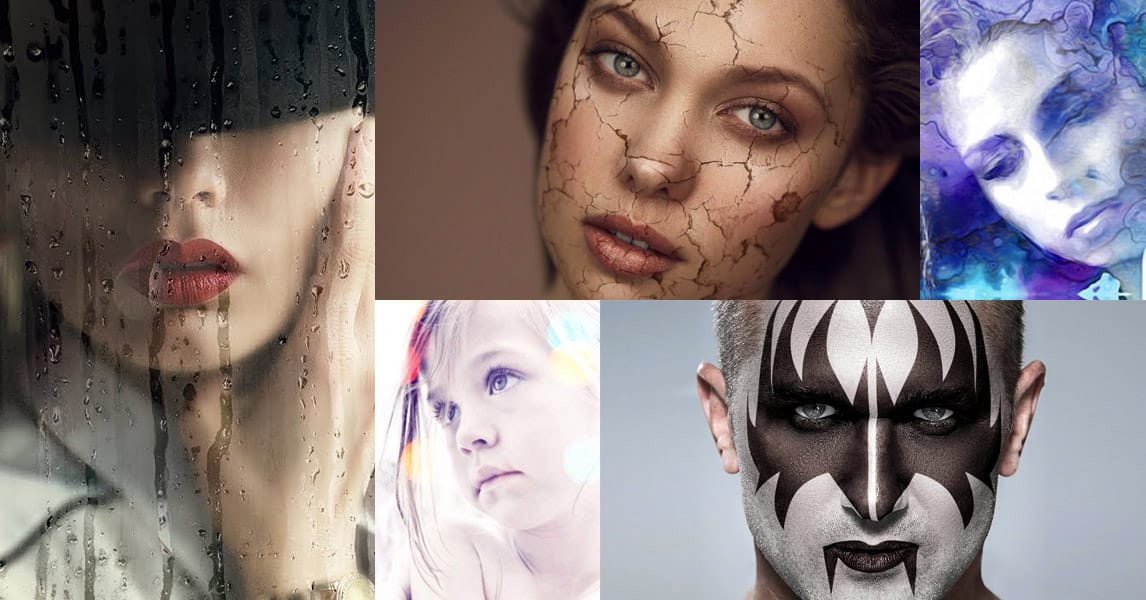
5 Essential Photoshop Techniques for Digital Artists and Photographers
Digital artists and photographers often find themselves repeating the same complex adjustments and effects across multiple projects. These five advanced techniques will help you work more efficiently while creating professional-quality results.
From custom presets that save hours of color adjustments to hand-painted digital enhancements that set your work apart from AI-generated content, these methods focus on building a sustainable creative workflow.
Watch the Video
Practical Tips
Here ar
How to Color, Brighten and Sharpen Eyes in Photoshop
Eyes are often the focal point of portrait photography, but they don't always capture attention in their natural state. This comprehensive tutorial demonstrates how to transform ordinary eyes into captivating features through strategic color enhancement, precise lighting adjustments, and professional sharpening techniques.
The method focuses on enhancing existing eye colors rather than completely changing them, creating natural-looking results that draw viewers into the portrait. You'll learn t
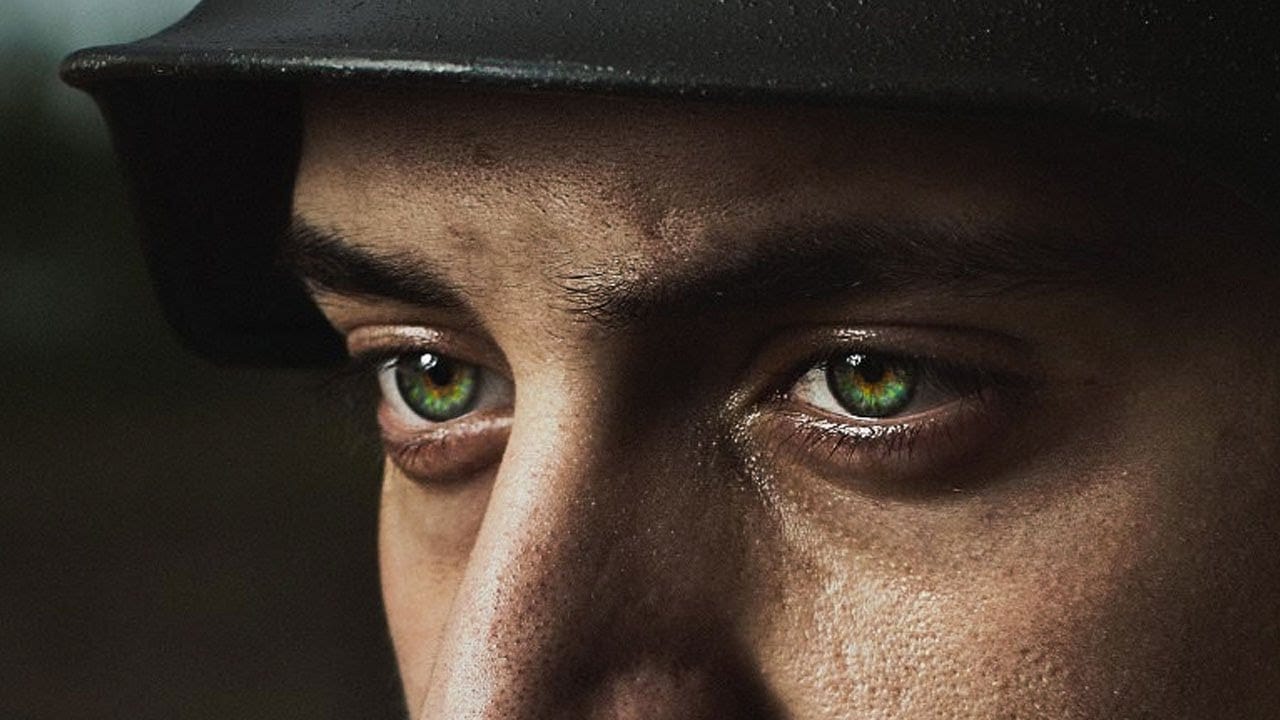
How to Add Realistic Light and Shadow Effects to Portraits in Photoshop
The difference between a flat portrait and one with captivating depth often comes down to how light and shadow play across the subject's features. Professional photographers spend thousands on studio lighting equipment, but digital artists can achieve dramatic lighting effects using only Photoshop tools.
This technique transforms ordinary portraits into striking images with realistic light streaks and corresponding shadows. The method involves creating custom light sources that cast believable
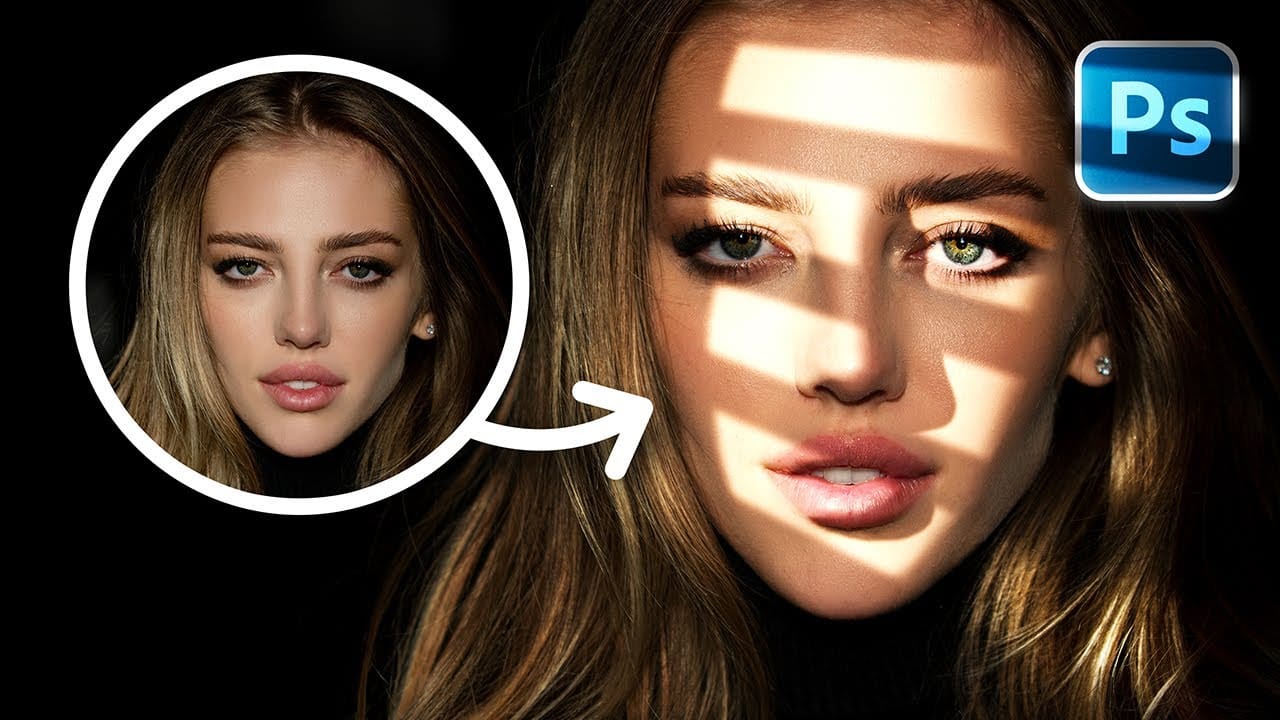
How to Enhance Eyes in Photoshop
Portrait enhancement often starts with the eyes, which naturally draw viewers' attention. A combination of selective brightening, targeted color enhancement, and precise sharpening transforms ordinary eyes into captivating focal points that elevate the entire portrait.
This technique uses adjustment layers with masks to control exactly where effects are applied, ensuring natural-looking results while maintaining complete editing flexibility throughout the process.
Watch the Video
Practical