How to Add Realistic Light and Shadow Effects to Portraits in Photoshop

How to Add Realistic Light and Shadow Effects to Portraits in Photoshop

The difference between a flat portrait and one with captivating depth often comes down to how light and shadow play across the subject's features. Professional photographers spend thousands on studio lighting equipment, but digital artists can achieve dramatic lighting effects using only Photoshop tools.

This technique transforms ordinary portraits into striking images with realistic light streaks and corresponding shadows. The method involves creating custom light sources that cast believable shadows across facial contours, complete with the subtle color variations that occur when bright light interacts with skin.

Watch the Tutorial

Video by PiXimperfect. Any links or downloads mentioned by the creator are available only on YouTube

Understanding Light and Shadow Interaction

Realistic artificial lighting requires understanding how light behaves in the real world. When bright light hits skin, it creates distinct patterns of illumination and shadow that follow the three-dimensional structure of facial features.

The technique uses multiple mask layers to control precisely where light and shadow fall. This approach allows for independent control of different lighting elements while maintaining the flexibility to make adjustments throughout the editing process.

  • Light streaks created with basic rectangular selections
  • Smart objects preserve editability for distortion effects
  • Nested layer groups enable complex masking combinations
  • Curves adjustments control brightness and contrast
  • Color overlays simulate the warm tones of skin translucency

Practical Tips for Portrait Lighting Effects

  • Create light streaks using rectangular selections filled with white, then distort them to follow the desired light direction
  • Use nested layer groups with separate masks to control highlights and shadows independently
  • Apply different feather amounts to masks - less feathering for nearby shadows, more for distant lighting effects
  • Add warm orange overlays set to overlay blend mode to simulate blood showing through illuminated skin
  • Paint eye highlights opposite to existing catchlights for realistic light source consistency

More Tutorials About Portrait Lighting Effects

Explore additional techniques for enhancing portraits with creative lighting.
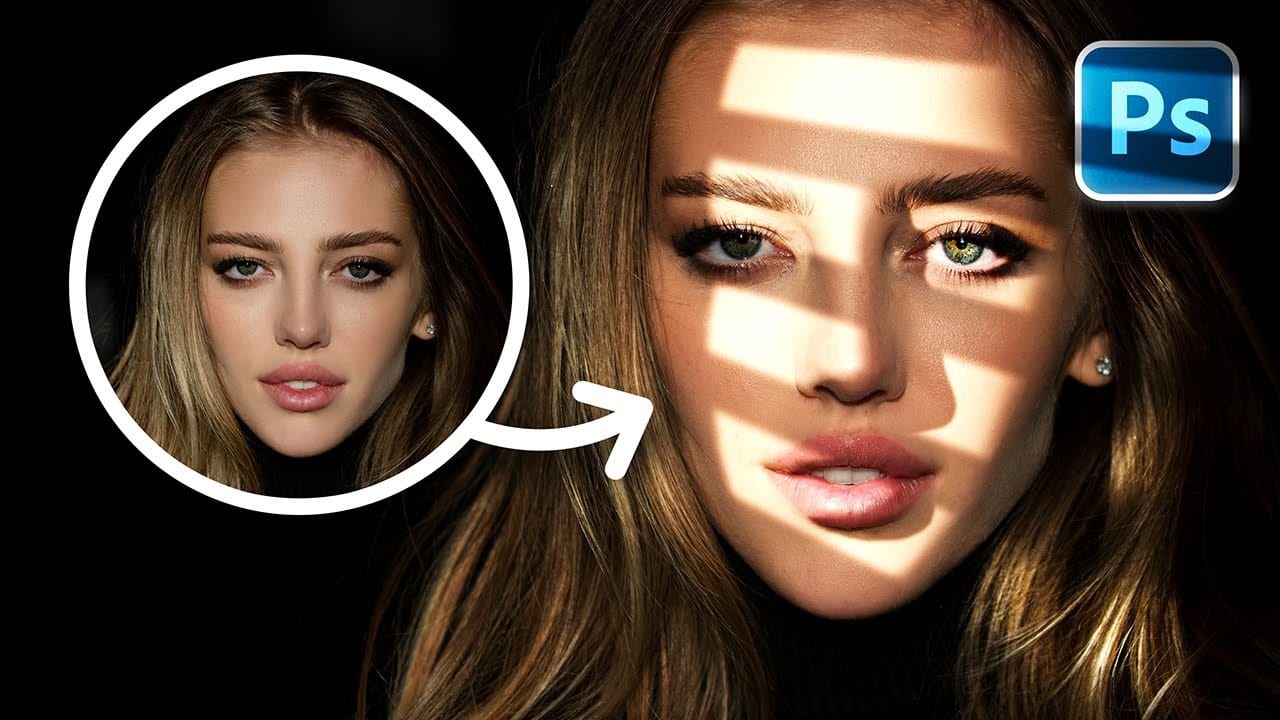
Create Fake Lights for Portraits in Photoshop
Adding artificial light to a portrait can dramatically transform its mood and visual impact, offering creative control far beyond what natural or studio lighting might initially provide. This technique allows artists to craft specific atmospheres, highlight key features, and introduce dynamic elements that enhance the subject's presence. This tutorial explores a comprehensive method for creating realistic fake lights and, crucially, their corresponding shadows in Photoshop. You will learn how t
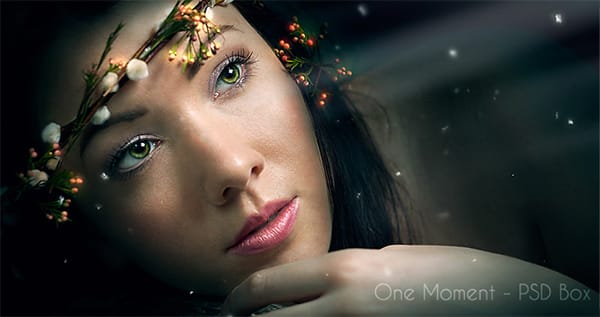
Create a Dreamy Lighting Portrait Effect in Photoshop
In this tutorial presented by Andrei Oprinca from PSD Box, you will explore the process of creating a beautiful spotlight effect in Photoshop. By utilizing the brush tool, you can achieve a dreamy lighting effect that enhances any image. The technique is straightforward, making it accessible for users at various skill levels. However, it does require a bit of patience to get the desired outcome. As you follow along, you will learn how to manipulate the brush settings and layer styles to achieve
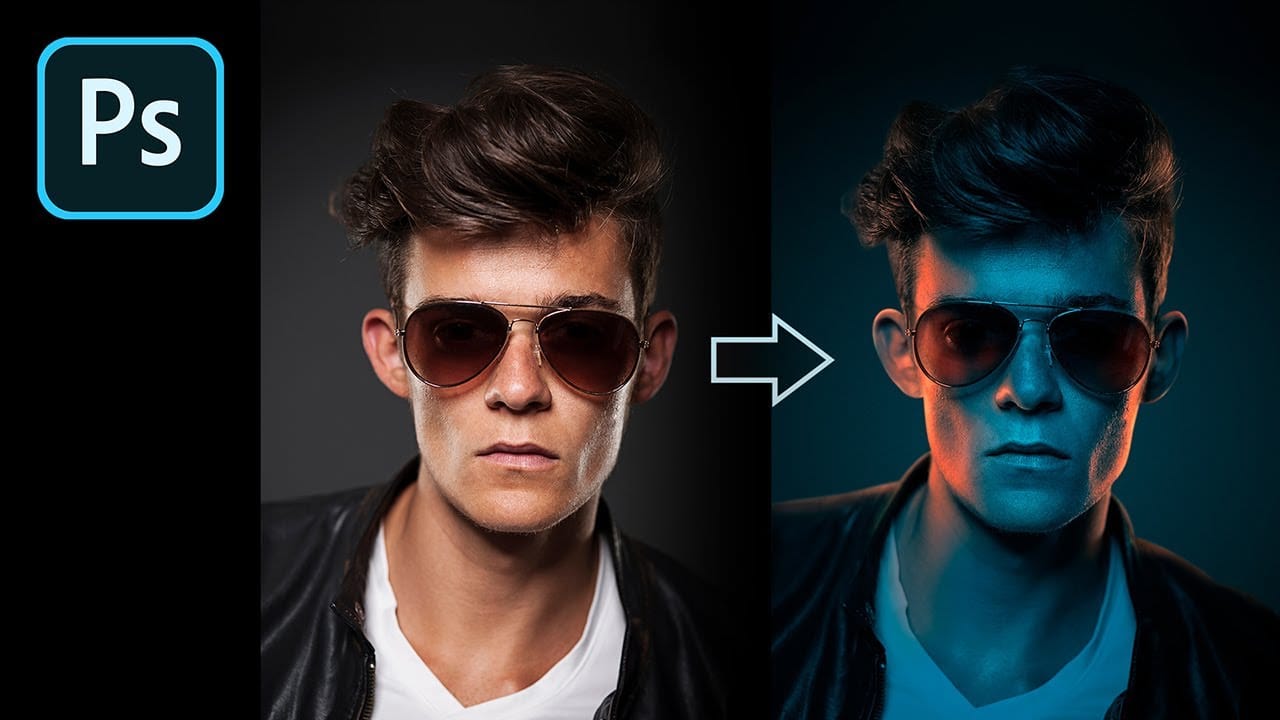
How to Fake Color-Gel Lighting in Photoshop!
In this tutorial, PiXimperfect unveils an inventive method for simulating color-gel lighting effects in Photoshop. You'll explore how to recreate the dynamic look of multiple colored light sources by leveraging Gradient Maps. This technique allows you to precisely control both the brightness and color of the lighting in your images. The tutorial walks you through the steps to achieve a vibrant and dramatic lighting effect, typically used in studio photography. By the end, you'll know how to app
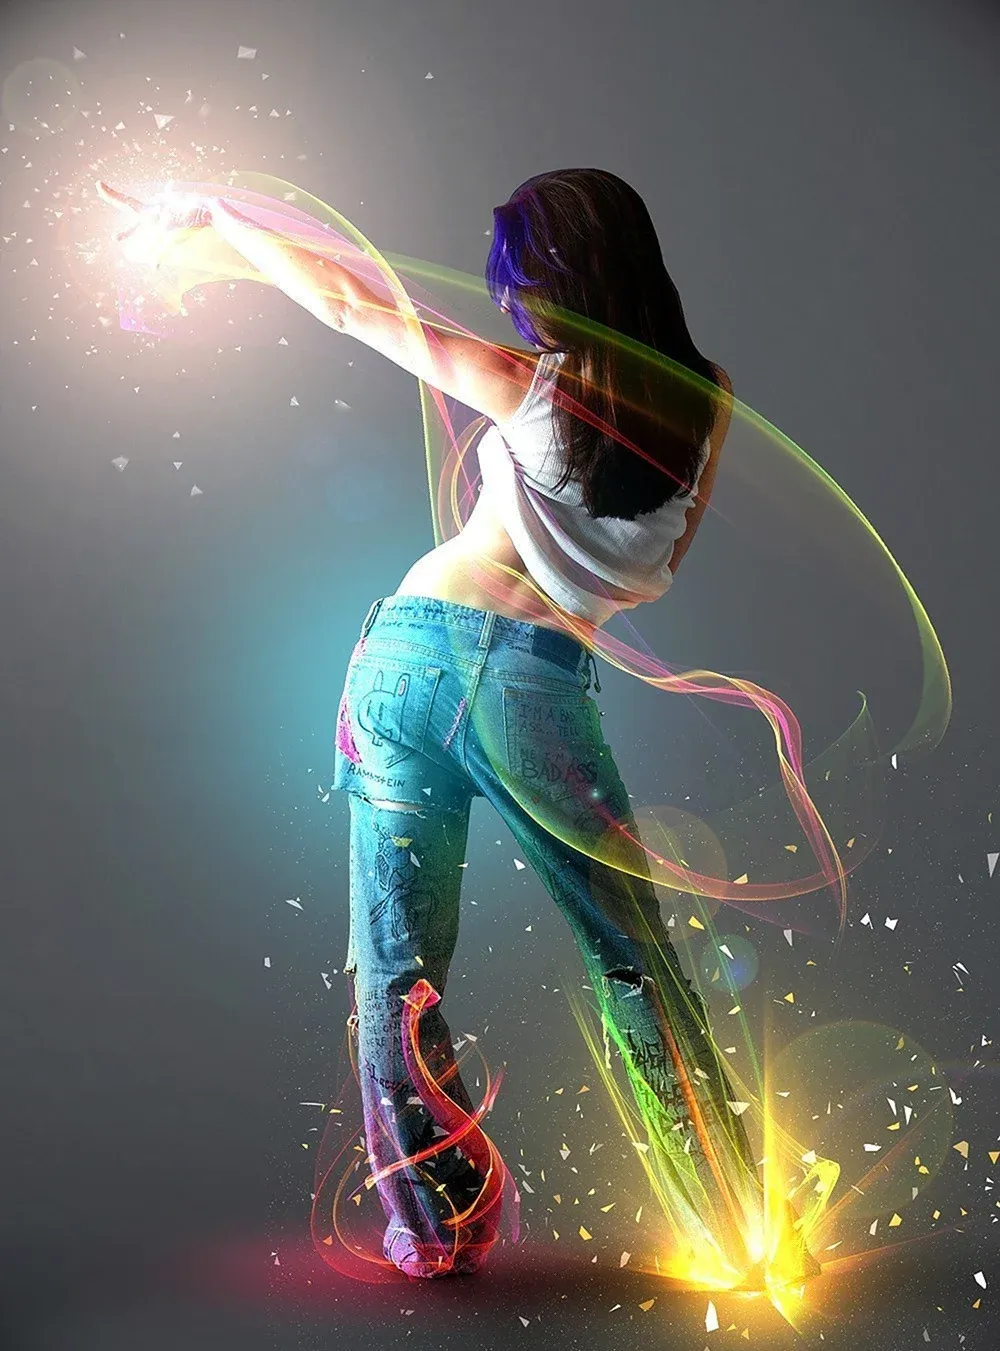
Add Striking Light Effects to Your Photos in Photoshop
In this Photoshop tutorial from PSD Box, using the "Colors in Motion" textures pack and a model image from deviantArt or ISO Stock, you'll create a vibrant digital artwork. Start by meticulously removing the background with the Pen Tool and placing the model on a new canvas with a gradient backdrop. Enhance the image with non-destructive adjustments for color and contrast, adding realistic shadows for depth. Integrate various light effects from the packs, adjusting blending modes and using tool

Get tutorials & freebies delivered to you.

Subscribe to the Photoshop Roadmap newsletter, a weekly roundup of new tutorials, insights and quality downloads, trusted by 6500+ readers.

You might also like

Painting Digital Art Backgrounds: Techniques and Workflow

A well-crafted background can anchor an entire digital painting, providing atmosphere, depth, and visual context for the subject. This video demonstrates practical approaches to building backgrounds from scratch using digital tools, covering brush selection, color layering, and compositional thinking. Watch the Video Practical Tips Keep these core principles in...

How to Use the Light Adjustment Layer in Photoshop

Photoshop's new Light adjustment layer brings Camera Raw controls — exposure, contrast, highlights, shadows, whites, and blacks — directly into the layers panel as a fully non-destructive, maskable layer. This means you can stack multiple light adjustments, target specific subjects, and combine them with Blend If and other adjustment...

How to Use Object Selection, Remove Background, and the Selection Brush in Photoshop

Selections determine the quality and flexibility of almost every edit you make in Photoshop. Three modern tools — the Object Selection tool, Remove Background with Harmonize, and the Selection Brush — handle the most common selection tasks with far less manual effort, while keeping your original image intact through non-destructive layers....

How to Paint a Digital Background and Composite Wildlife Into It

Building a painted digital background from scratch gives you full control over color, mood, and composition before a single wildlife photo is placed. This walkthrough covers the complete process: blocking in shadows on a black canvas, layering foliage with textured brushes, positioning bird subjects on hand-painted stones, and using...

How to Sharpen Skin Texture Using Frequency Separation in Photoshop

Retouched skin can look great up close but lose all its natural texture the moment you zoom out. Rather than relying on standard sharpening filters, you can recover that texture by duplicating the high-frequency layer inside a frequency separation setup — a method that works whether or not you'...

You’ve successfully subscribed to Photoshop Roadmap
Welcome back! You’ve successfully signed in.
Great! You’ve successfully signed up.
Success! Your email is updated.
Your link has expired
Success! Check your email for magic link to sign-in.