Hazy backgrounds can make even the most stunning landscapes look flat and lifeless. Photoshop 2026's new dehaze feature transforms these atmospheric challenges into clear, vibrant scenes with precise control.
The key to getting professional results lies in making targeted selections before applying the dehaze effect. This approach ensures you enhance only the areas that need it most while preserving the natural look of your foreground elements.
Watch the Video
Video by PHLEARN. Any links or downloads mentioned by the creator are available only on YouTube
Practical Tips
These essential techniques will help you get the most out of the new dehaze feature:
- Use the Object Selection Tool (W) to precisely select background elements before applying dehaze adjustments
- Always create your selection first, then add the Clarity and Dehaze adjustment layer to automatically generate a proper layer mask
- Combine both clarity and dehaze sliders on background areas for maximum impact and detail enhancement
- Copy layer masks between adjustment layers using Alt/Option + click and drag to maintain consistent selections
- Add a Color and Vibrance adjustment layer with the same mask to enhance colors in the dehazed areas
Related Articles and Tutorials
Explore more advanced color correction and adjustment techniques to enhance your photo editing workflow.
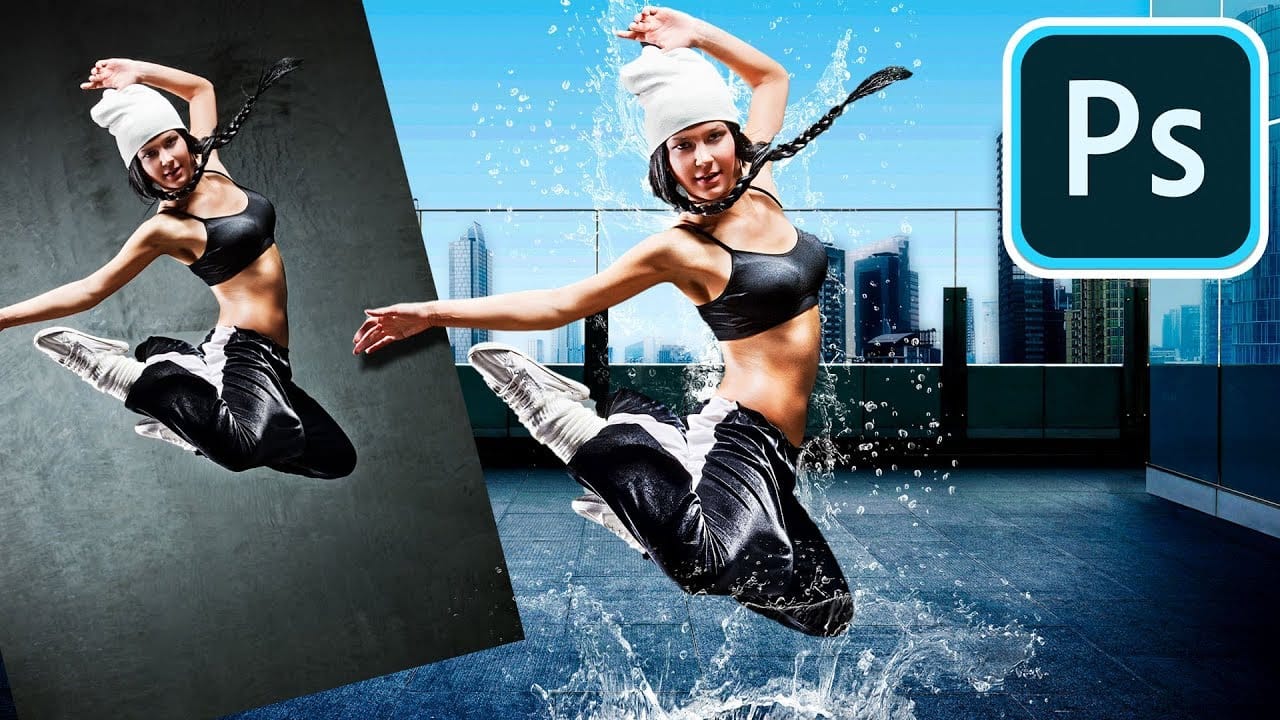
7 Overlooked Photoshop Tools That Will Save You Hours
You’re probably using Photoshop the hard way. You’ve mastered the basics - Magic Wand for selections, Clone Stamp for removals, layer masks for compositing. But you’re likely missing out on dozens of features that could cut your editing time in half. Adobe has quietly (okay, not so quietly) added dozens
The Single Best Color Tool in Photoshop
In this tutorial, you will uncover the often-overlooked capabilities of Photoshop's Selective Color Adjustment Layer.
This powerful tool allows you to perform both subtle and dramatic color grading, giving your images a polished look similar to fine art. You'll learn techniques to intensify colors, separate various hues for added depth, and achieve better overall color balance in your work. This ensures that your images maintain their vibrancy without the risk of over-saturation.
The tutorial

New Photoshop Feature for Changing Colors
Working on the color palette of an image is a fundamental task in photo editing, enabling designers and photographers to evoke different moods, correct imbalances, or simply reimagine visual elements. While Photoshop has long offered robust tools for color manipulation, achieving precise and natural-looking changes often required a multi-step workflow and a deep understanding of complex adjustments.
This video introduces a groundbreaking new feature in Photoshop's beta version, designed to stre

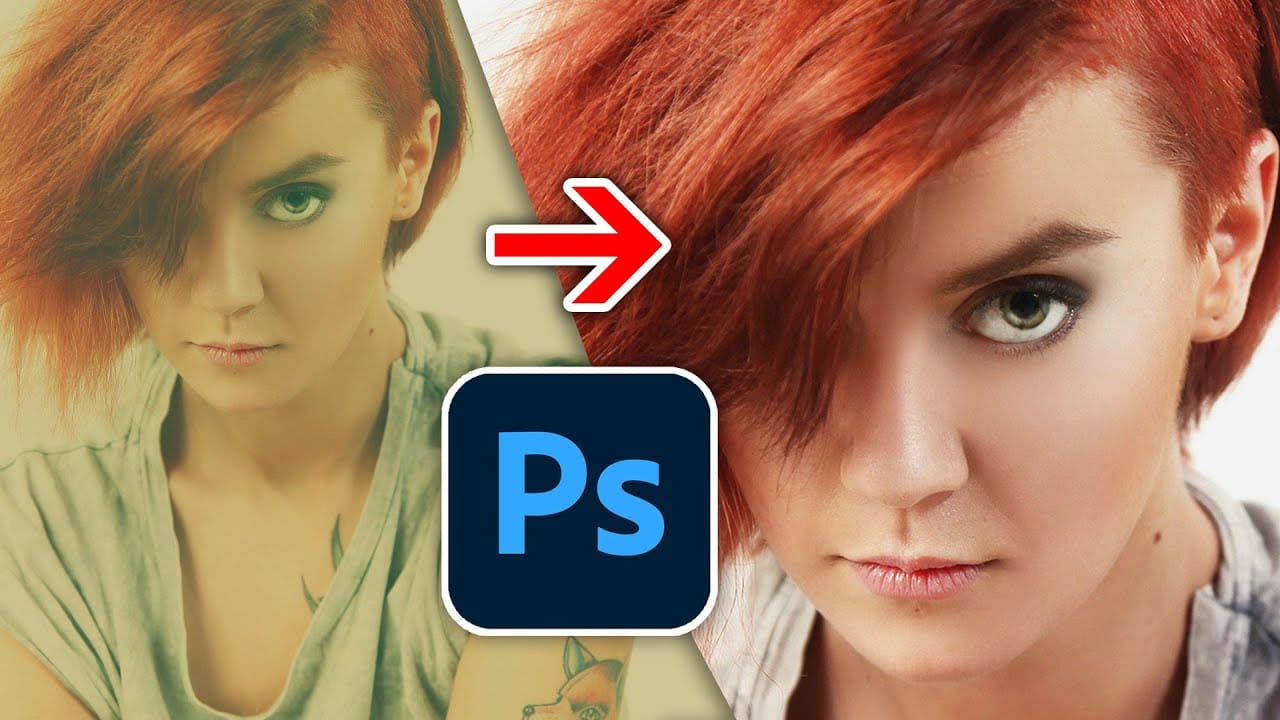
One click instantly fixes color in Photoshop
In this tutorial by Colin Smith from Photoshop Cafe, you'll learn how to instantly fix the color of your photos in a single click using Photoshop and Lightroom. Colin introduces a powerful tool that can correct color issues effortlessly, making your images look more natural and vibrant.
This quick tutorial focuses on achieving perfect color balance with minimal effort. Whether you're a beginner or a seasoned Photoshop user, Colin's method is straightforward and effective, allowing you to enhanc
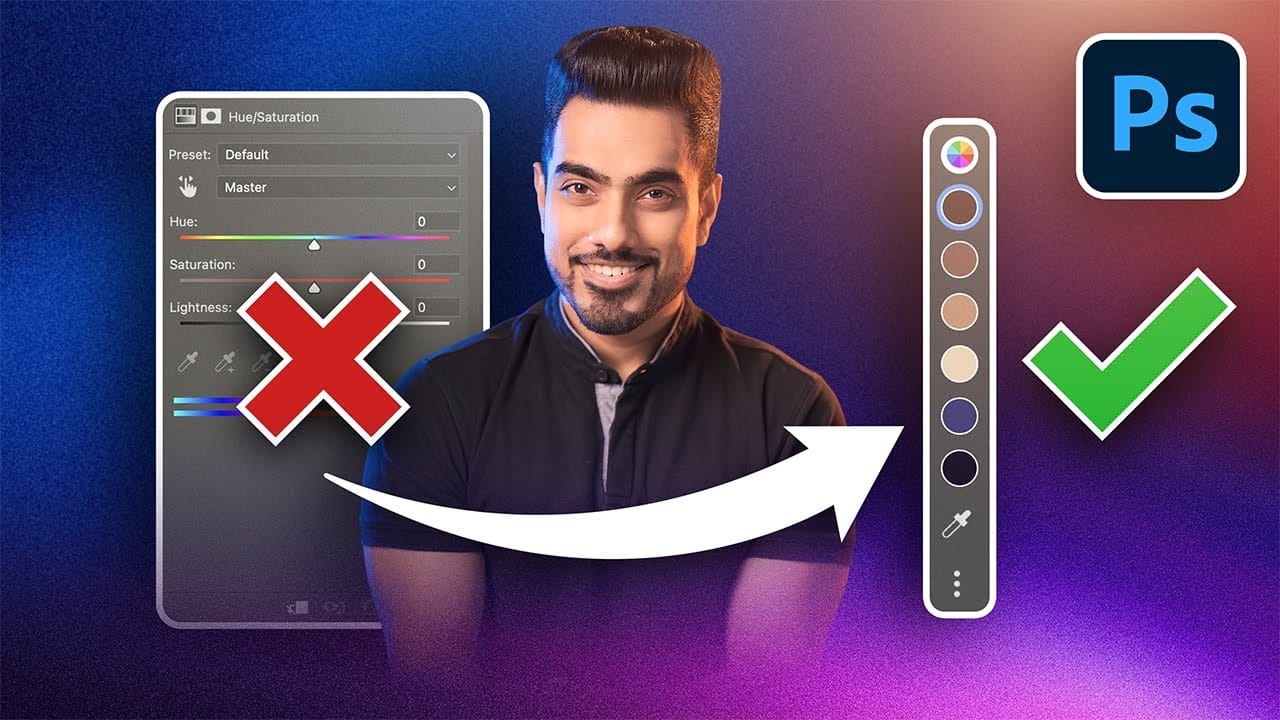
Photoshop's New Adjust Colors Feature vs Traditional Hue/Saturation
Color adjustments just became dramatically simpler in Photoshop. The new Adjust Colors feature automatically detects the six most prominent colors in any image, letting you target and modify specific hues with a single click. No more guessing which color range to select or struggling with imprecise selections.
This intuitive approach transforms what used to be a multi-step process into an instant workflow. Traditional hue/saturation adjustments often missed their target or required extensive fi
Six easy ways to select colors in Photoshop
In this episode of "3, 2, 1… Photoshop!", longtime Adobe evangelist Julieanne Kost shares essential tips and tricks for selecting colors in Photoshop. Julieanne introduces six easy methods to choose colors effectively, whether you're working on a detailed project or just need a quick color pick.
You'll learn how to use the eyedropper tool for precise color selection, manipulate foreground and background colors, and utilize the heads-up-display (HUD) color picker for a more interactive experienc
Photoshop 2025: New Adjustment Brush Tool Explained
The new Adjustment Brush tool in Photoshop 2025 streamlines color and lighting adjustments by combining painting and adjustment layers into a single workflow. Instead of manually creating adjustment layers and painting masks, this tool automatically generates the layers and masks as you paint directly on your image.
This approach makes selective adjustments more intuitive, whether you're changing the color of specific objects or fine-tuning exposure on particular areas of your photo.
Watch th
Magical things you can do in just 1 click in Photoshop
Colin Smith's latest tutorial dives into the incredible power of Photoshop's one-click tools and features. This session reveals how you can harness Photoshop 2020's capabilities to achieve impressive results with minimal effort. Colin demonstrates various techniques that allow you to enhance your images or apply complex effects with just a single click, making advanced editing accessible and efficient.
In this video, you'll learn about features that simplify tasks like color enhancement, applyi