Adjustment layers let you change colors, contrast, tone, and more without touching a single original pixel. Stack them, tweak them, or discard them entirely — the photo underneath stays intact. This tutorial covers three distinct ways to apply them: across the full image, within a specific selection, and clipped to a single layer.
Watch the Video
Video by Adobe Photoshop. Any links or downloads mentioned by the creator are available only on YouTube
Practical Tips
These techniques work across different photo types and editing goals — keep them in mind as you build your own workflow.
- Add adjustment layers globally first, then refine by scope — start with whole-image adjustments before narrowing down to selections or clipping masks.
- Make a selection before adding an adjustment layer to automatically confine the effect to that area, with no manual masking needed afterward.
- Use a clipping mask to limit an adjustment layer to a single layer beneath it — useful when compositing elements like objects or cutouts onto a background.
- Toggle any adjustment layer's visibility with the Eye icon to compare before and after without losing your settings.
- Stack multiple adjustment layers freely — each remains independently editable at any point, so nothing is permanent until you choose to flatten.
Related Articles and Tutorials
Explore more tutorials that build on these editing techniques and expand your non-destructive workflow.
Master Photoshop Adjustment Layers for Non-Destructive Editing
Fine-tuning images without destroying original pixel data transforms ordinary photos into compelling visuals. Adjustment layers provide the flexibility to experiment with colors, contrast, and tones while maintaining complete control over every edit.
This comprehensive guide demonstrates how to harness Photoshop's most powerful adjustment layers for landscape photography, from basic contrast enhancements to sophisticated color grading techniques.
Watch the Tutorial
Understanding Non-Destruc
Complete Photoshop Editing Workflow: 5 Steps from Raw to Polished
Photoshop offers endless possibilities for photo enhancement, but many photographers never move beyond basic adjustments because the software feels overwhelming. This comprehensive workflow breaks down photo editing into five manageable stages that work consistently across different photography styles.
The systematic approach covers everything from initial raw processing to advanced lighting techniques, providing a reliable framework for transforming any photograph into a polished final image.
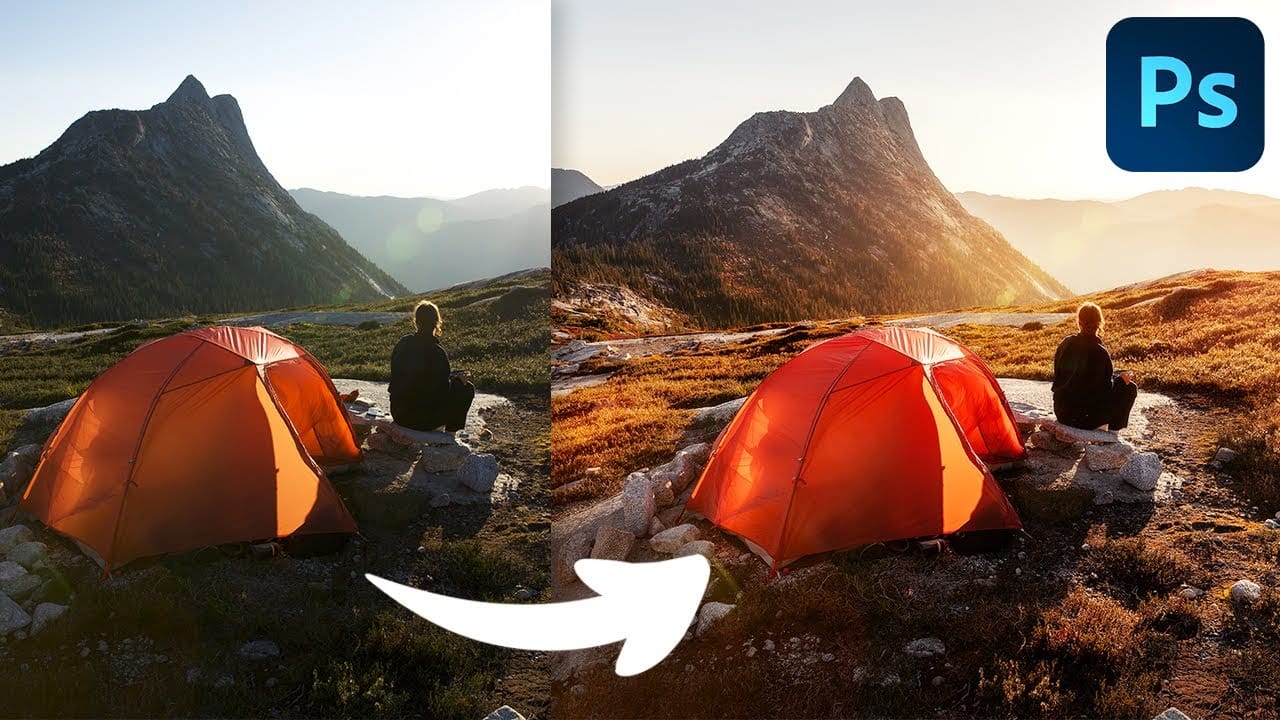
Photoshop 27.6: Complete Guide to New Features and Tools
Photoshop 27.6 introduces several powerful features that streamline common editing tasks. From bringing reflection removal directly into the main interface to AI-powered distraction detection, these updates focus on making complex workflows more accessible and efficient.
The update also includes enhanced generative models, improved layer management tools, and a redesigned actions panel that provides visual previews before applying effects.
Watch the Video
Practical Tips
Key techniques to m
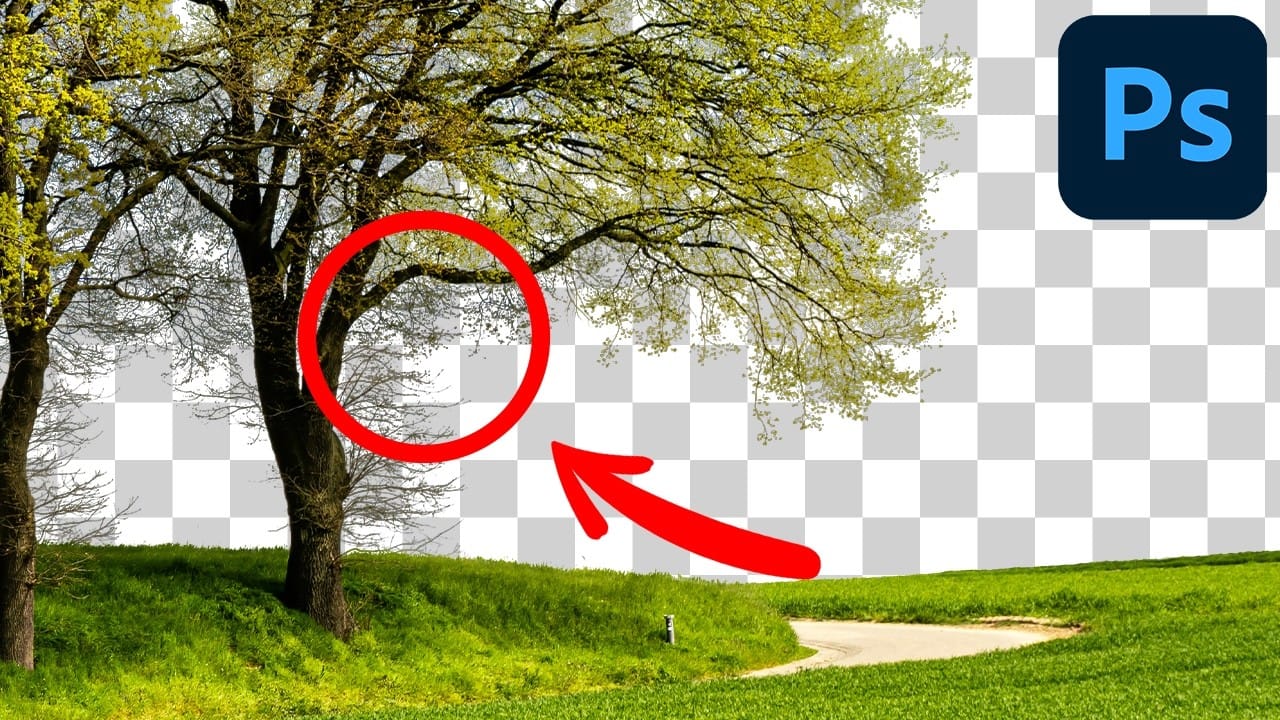
Cutting Out Complex Images in Photoshop: 3 Professional Refinement Techniques
Complex cutouts with intricate details like tree branches or hair often suffer from visible fringing and rough edges that make them look unprofessional. These three refinement techniques transform basic channel selections into clean, realistic cutouts.
Master these methods to eliminate fringing, restore natural colors, and achieve seamless integration with any background.
Watch the Video
Practical Tips for Complex Cutout Refinement
* Use the blue channel for maximum contrast when selectin
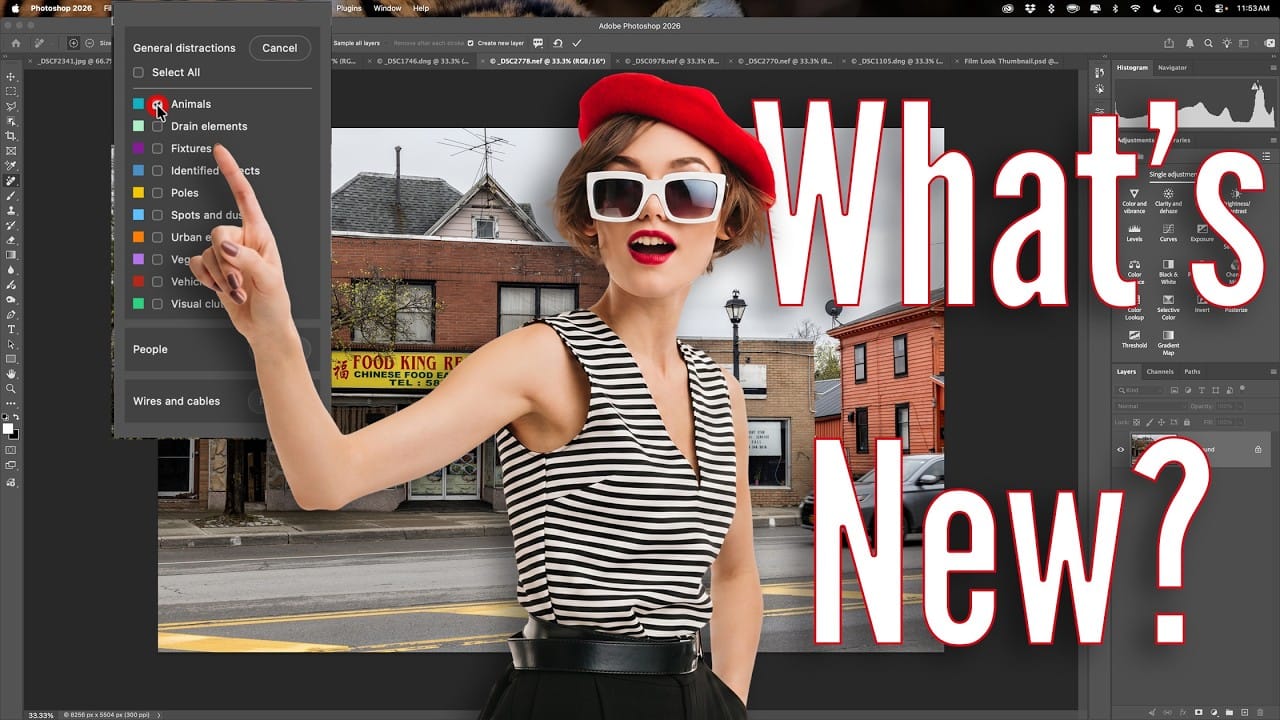
How to Remove Distractions, Expand Borders, and Polish a Portrait in Photoshop
A cluttered background, tight framing, and flat lighting can undermine an otherwise strong portrait. This workflow covers the full process of cleaning up a photo using Photoshop's AI-powered Remove Tool, extending the canvas with Generative Expand, replacing the sky, and finishing with Camera Raw adjustments for grain, vignetting, and background blur.
Watch the Video
Practical Tips
These techniques work together as a sequential editing workflow, each step building on the last to produce a c

How to Use the New Color, Clarity, Dehaze, and Grain Adjustment Layers in Photoshop
Three powerful new adjustment layers bring Camera Raw's most popular tools directly into your layers panel. Color and Vibrance, Clarity and Dehaze, and Grain adjustments now work as standard adjustment layers with full masking capabilities and non-destructive editing.
These tools eliminate the need for smart objects when applying these specific adjustments, creating cleaner workflows while maintaining the precision control photographers expect from professional editing software.
Watch the Vid
The Single Best Color Tool in Photoshop
In this tutorial, you will uncover the often-overlooked capabilities of Photoshop's Selective Color Adjustment Layer.
This powerful tool allows you to perform both subtle and dramatic color grading, giving your images a polished look similar to fine art. You'll learn techniques to intensify colors, separate various hues for added depth, and achieve better overall color balance in your work. This ensures that your images maintain their vibrancy without the risk of over-saturation.
The tutorial

The easiest way to change any color in Photoshop
Changing the color of specific elements within an image can often be a frustrating challenge for designers and photographers. Achieving a precise color shift without affecting surrounding areas, or dealing with complex selections, often leads to a time-consuming and imperfect process.
This guide introduces a highly efficient method utilizing Photoshop's latest updates, specifically the "Adjust Colors" feature found in the contextual taskbar. This technique simplifies accurate color manipulation

Basic Photoshop techniques you really need to learn
Photoshop hasn't changed as much as it looks. New features come and go, but the same core techniques keep showing up in real work. If you skip them, everything feels harder than it should. This post focuses on those basics, not as isolated tricks, but as skills you'll keep using no matter what you create.
You don't need dozens of tutorials. You need a small set of techniques you actually understand and can reuse.
Non-destructive editing fundamentals
Most beginner frustration comes from editi