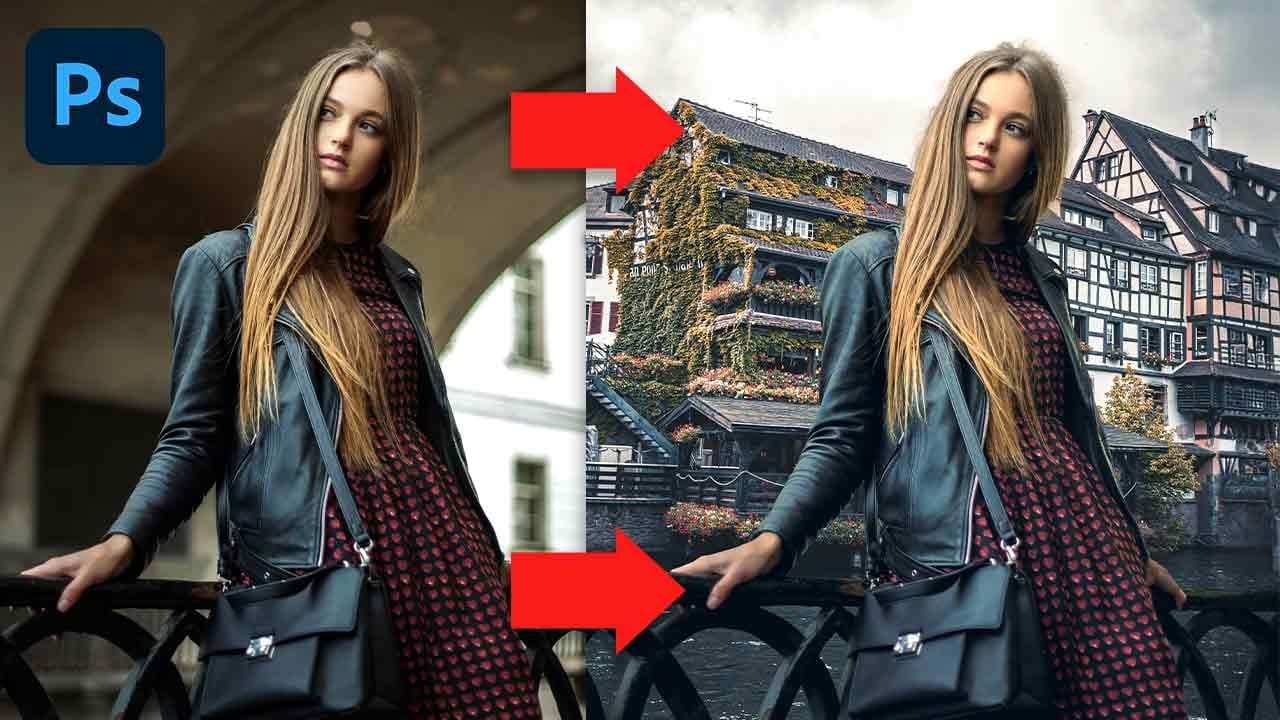
Every color adjustment tool in Photoshop — Curves, Color Balance, Selective Color — operates on the same underlying logic: the RGB color model. Understanding how red, green, and blue light combine, and how tonal values are distributed across highlights, midtones, and shadows, gives you the foundation to use any of these tools with intention rather than guesswork.
Watch the Video
Video by Nour Art. Any links or downloads mentioned by the creator are available only on YouTube
Practical Tips
Key concepts from the video to apply directly in your editing workflow:
- Read the histogram before touching any adjustment — the distribution of pixels tells you whether an image is dark, bright, or balanced, so you know where to intervene.
- Use individual RGB channels in Curves to shift color in specific tonal ranges — for example, boost the blue channel only in the highlights to add a cool tint without affecting shadows.
- Use Selective Color when you need to adjust one hue without disturbing the rest of the image — it lets you modify brightness and color balance within a single color range.
- Think in opposites: reducing red adds cyan, reducing green adds magenta, reducing blue adds yellow — knowing these pairs helps you correct or grade color deliberately.
- Anchor points on the Curves line preserve tonal areas you don't want changed — place a point on the midtones before adjusting the highlights to keep the rest of the image stable.
Related Articles and Tutorials
Explore more tutorials that go deeper into color theory, tonal control, and practical grading techniques.
Two Simple Color Grading Techniques Using Photoshop Curves and Levels
Color grading transforms flat images into vibrant, cinematic visuals that capture attention and convey mood. The difference between an ordinary photo and one with professional depth often comes down to how well shadows, midtones, and highlights work together to create visual interest.
These two Photoshop techniques using Curves and Levels offer a quick path to achieving that coveted "pop of color" without complex workflows or advanced skills.
Watch the Tutorial
Understanding Auto Color Opti

Understanding Blend Modes, Curves, Channels, and Fill vs Opacity in Photoshop
Most users cycle through blend modes randomly or avoid the curves panel entirely, missing out on precise control over their edits. These fundamental tools become intuitive once you understand the logic behind their organization and function.
This tutorial breaks down four essential concepts that separate casual users from confident editors: the six blend mode groups, how curves translate brightness, what RGB channels reveal about your images, and when to use fill versus opacity.
Watch the Vid

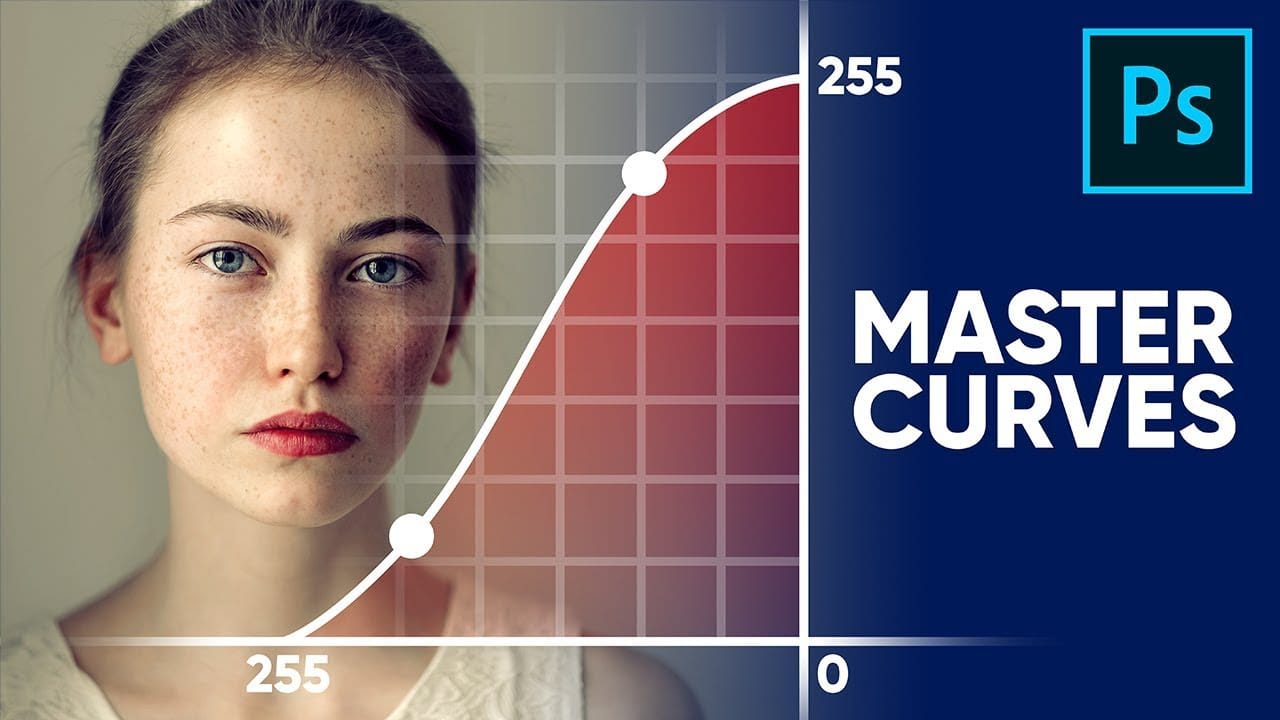
Master Curves from Start to Finish in Photoshop
This insightful tutorial from PiXimperfect provides a comprehensive guide to mastering the powerful Curves tool in Photoshop. They guarantee that after watching this video, viewers will become true masters of the Curves function.
The tutorial delves into the fundamental concepts behind Curves and explores the limitless applications of this versatile tool. Whether it's stylizing images or matching colors, the author demonstrates how Curves can be a game-changer in the world of digital imaging.
Curves vs Levels in Photoshop: Learn The Difference
Curves and Levels are two of the most powerful adjustment tools in Photoshop, but many users struggle to understand when to use each one. While both tools manipulate light and color information in similar ways, they offer different levels of control and complexity.
Understanding their similarities and key differences will help you choose the right tool for each editing situation, whether you're making simple exposure corrections or advanced color grading adjustments.
Watch the Video
Practic

Stop Ruining Colors with Curves With This Photoshop Trick Instead
Using Curves adjustments in Photoshop often creates unwanted color shifts that can make images look oversaturated or unnatural. While the traditional solution involves switching to Luminosity blend mode, this approach tends to drain the vibrancy from your photos, leaving them flat and lifeless.
This tutorial reveals a superior technique using Camera Raw's refined saturation control that gives you precise command over color intensity while maintaining natural-looking results. You'll discover how
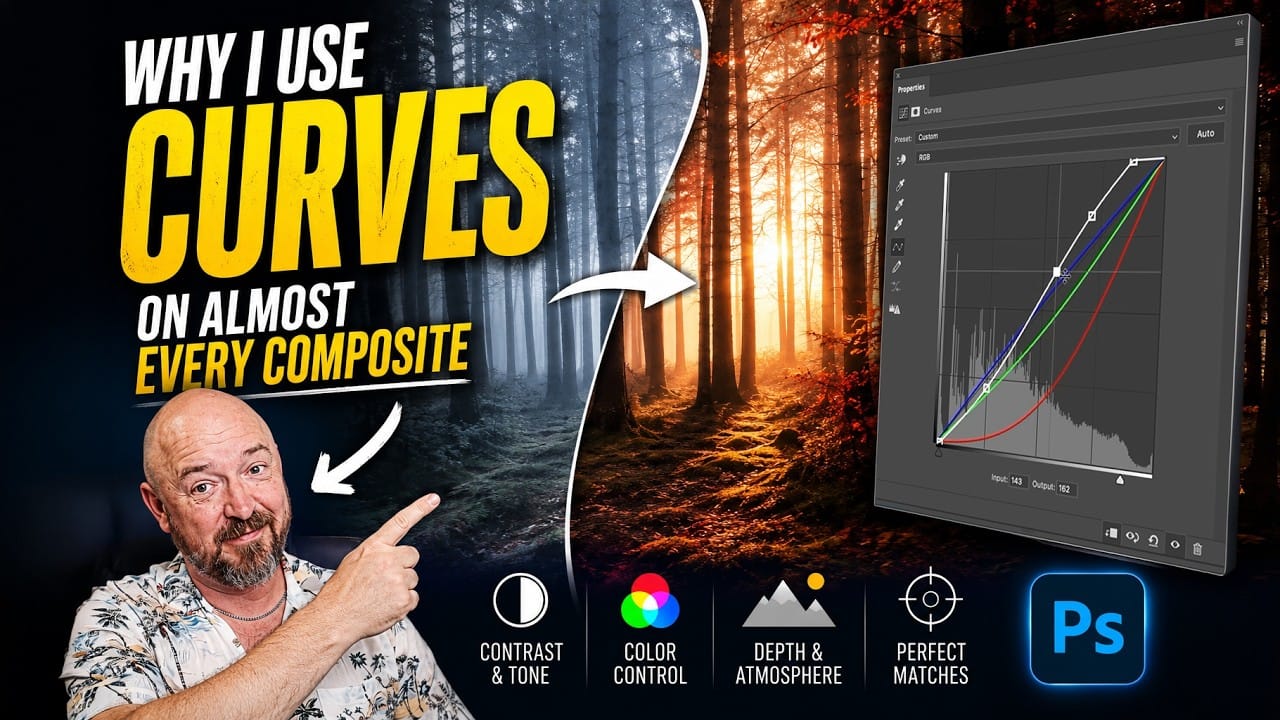
How to Use Curves for Composite Color Matching in Photoshop
Curves adjustments are essential for making composite elements look natural and cohesive. Understanding how curves manipulate light values and color channels gives you precise control over matching different elements to their new backgrounds.
The key to successful color matching lies in analyzing the color temperature and brightness relationships between your subject and background, then using individual color channels to bridge those differences seamlessly.
Watch the Video
Practical Tips
How to Use Photoshop Curves Auto Options for Color Grading
Professional color grading transforms ordinary images into visually striking compositions with rich depth and atmosphere. Hidden curves auto options in Photoshop let you assign custom colors to shadows, midtones, and highlights for dramatic enhancement.
This technique goes beyond basic adjustments to create cinematic looks that bring images to life with minimal effort.
Watch the Tutorial
Essential Tips for Curves Color Grading
* Hold Alt/Option + Auto in Curves adjustment to access hidden

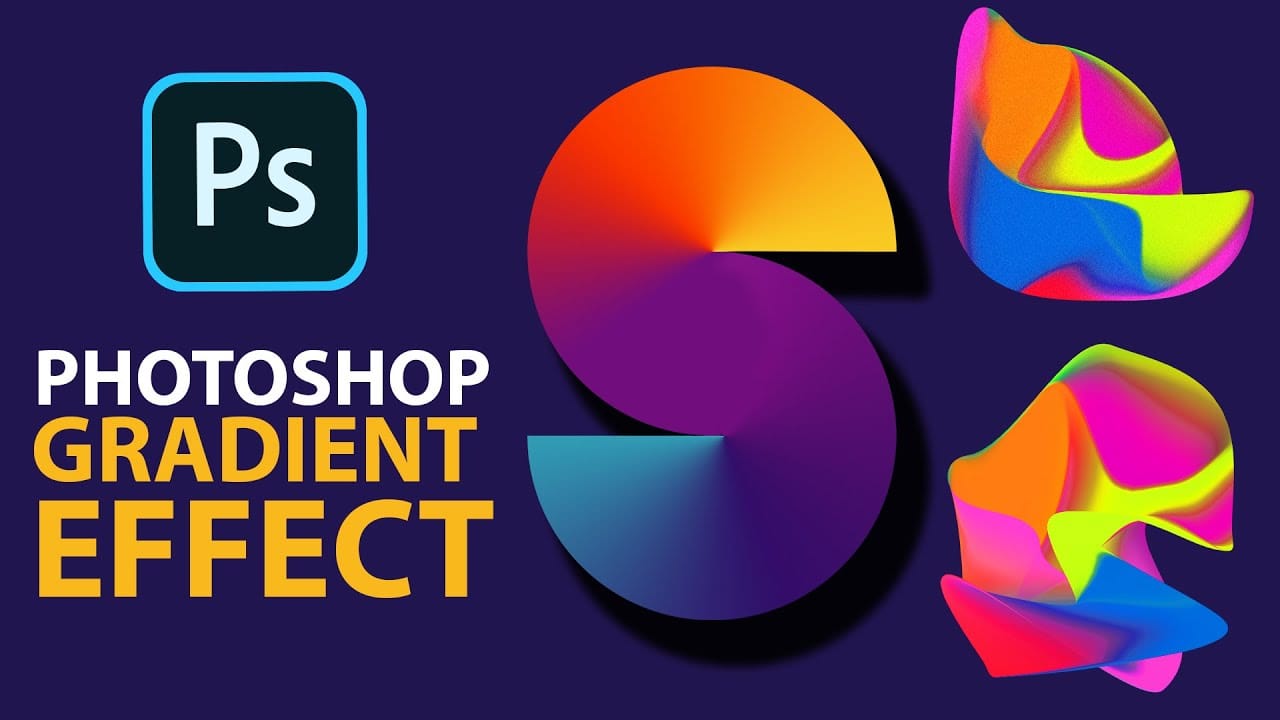
Cerate Stunning Gradient Effects in Photoshop
In this Photoshop tutorial, Trish from Quistt Photoshop demonstrates how to create stunning colorful gradients. This technique is perfect for enhancing lettering designs and art posters. Follow along to learn how to apply vibrant gradients that will make your designs pop.
Trish walks you through the process of using gradient tools and adjustment layers to craft beautiful, seamless transitions of color. You'll discover how to use gradients to add depth and dimension to your designs, making them
How to Match Color in Photoshop for Beginners
Compositing images often requires precise color matching. When combining elements from different sources, slight variations in tone can disrupt the visual harmony, making the final image appear unnatural. Achieving a cohesive look is crucial for professional results.
This tutorial offers a straightforward method to blend disparate image elements seamlessly. The video demonstrates how to use Photoshop's built-in tools, specifically the Curves adjustment layer and Camera Raw, to unify the color p