Photoshop's New Adjust Colors Feature vs Traditional Hue/Saturation

Photoshop's New Adjust Colors Feature vs Traditional Hue/Saturation

Color adjustments just became dramatically simpler in Photoshop. The new Adjust Colors feature automatically detects the six most prominent colors in any image, letting you target and modify specific hues with a single click. No more guessing which color range to select or struggling with imprecise selections.

This intuitive approach transforms what used to be a multi-step process into an instant workflow. Traditional hue/saturation adjustments often missed their target or required extensive fine-tuning to isolate the exact colors you wanted to change.

Watch the Complete Tutorial

Video by PiXimperfect. Any links or downloads mentioned by the creator are available only on YouTube

The Evolution of Color Selection Technology

Adobe's latest color detection algorithms represent a significant leap forward in intelligent image analysis. The traditional hue/saturation tool relied on broad color categories like "reds" or "blues," which often included unwanted areas or missed subtle color variations within the same general hue family.

Modern color selection technology analyzes the actual pixel data in each image to identify distinct color groups. This approach creates image-specific color palettes rather than applying generic color ranges. The system recognizes that the "blue" in a denim jacket differs significantly from the "blue" in a sky, even though both fall within the same basic color category.

The visual feedback system also eliminates much of the guesswork that plagued earlier versions. Seeing before-and-after swatches immediately clarifies which colors you're affecting and helps prevent the confusion that arose when multiple adjustment layers targeted overlapping color ranges.

Practical Tips for Using Adjust Colors

  • Access the feature through the contextual taskbar when you have a layer selected, or find it in the updated hue/saturation panel under "prominent colors."
  • Click directly on the color swatch that matches what you want to change rather than trying to identify it by name or category.
  • Use the visual before-and-after swatches to confirm you're targeting the right color range before making dramatic adjustments.
  • Remember that Adjust Colors creates non-destructive adjustment layers automatically, so you can always return to modify your changes.
  • Install the Photoshop beta version through Creative Cloud to access this feature if it's not yet available in the standard release.

Explore more advanced color correction techniques and related Photoshop features.
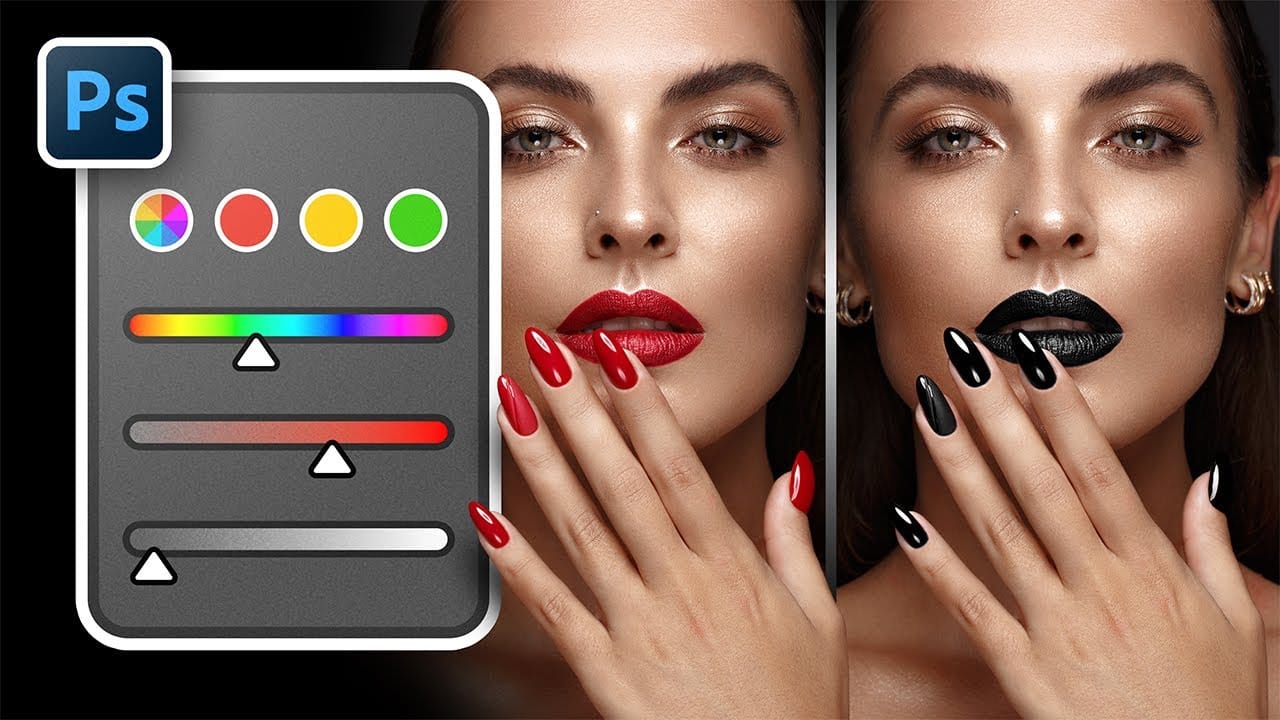
Complete Guide to Photoshop's Hue/Saturation Tool: Mastering Color Adjustments
Color correction and creative color grading often come down to mastering a single, powerful tool in Photoshop: the Hue/Saturation adjustment. While newer features like Camera Raw filters and advanced color wheels grab attention, the fundamentals of hue, saturation, and lightness remain the backbone of professional color work. Understanding these core principles unlocks precise control over every pixel in your images. This comprehensive tutorial covers everything from basic concepts to advanced
How Photoshop Photo Restoration Got Better Than Ever
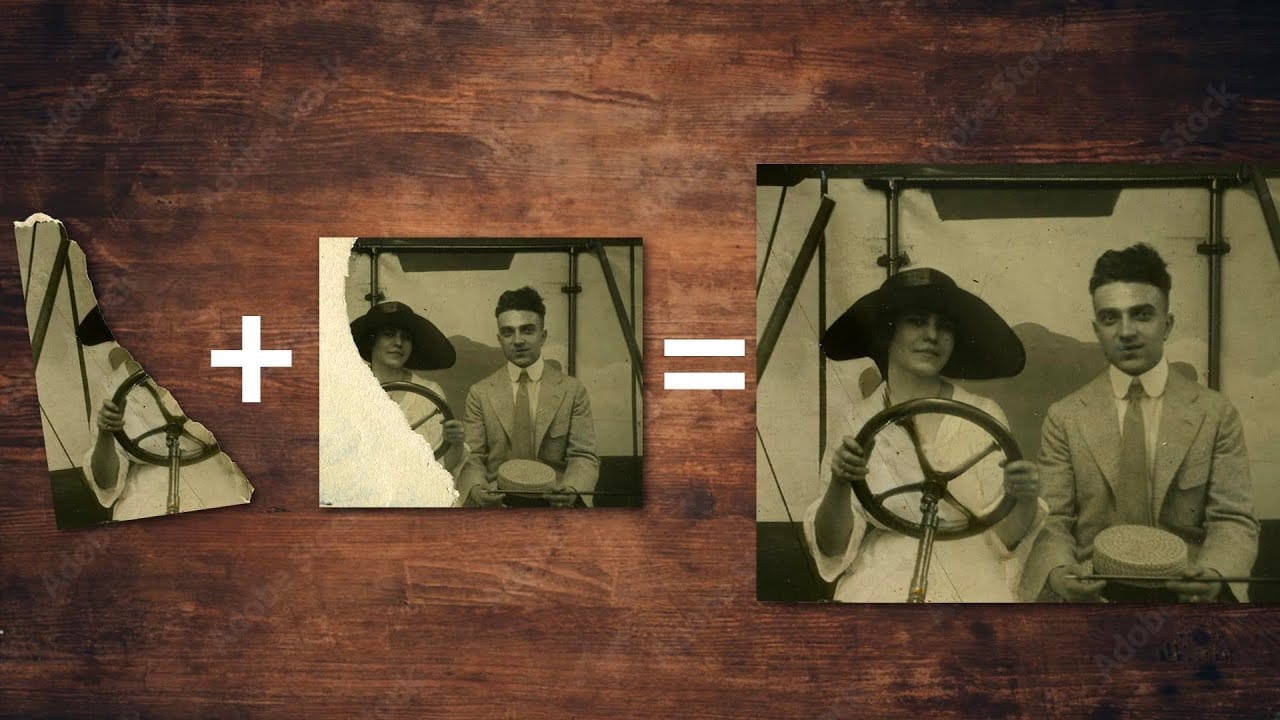
This tutorial by Matt Kloskowski on Photoshop photo restoration reveals an impressive evolution in photo editing technology over the past few years. Many tasks that once required extensive time and complex processes can now be completed in just minutes. This is especially relevant after recent storms, which emphasized the need for restoring valuable family memories. Photoshop's new tools and techniques make it easier than ever to tackle damaged images. Kloskowski emphasizes that achieving perfe
Saturation vs Vibrance: The Best for Color Enhancement in Photoshop
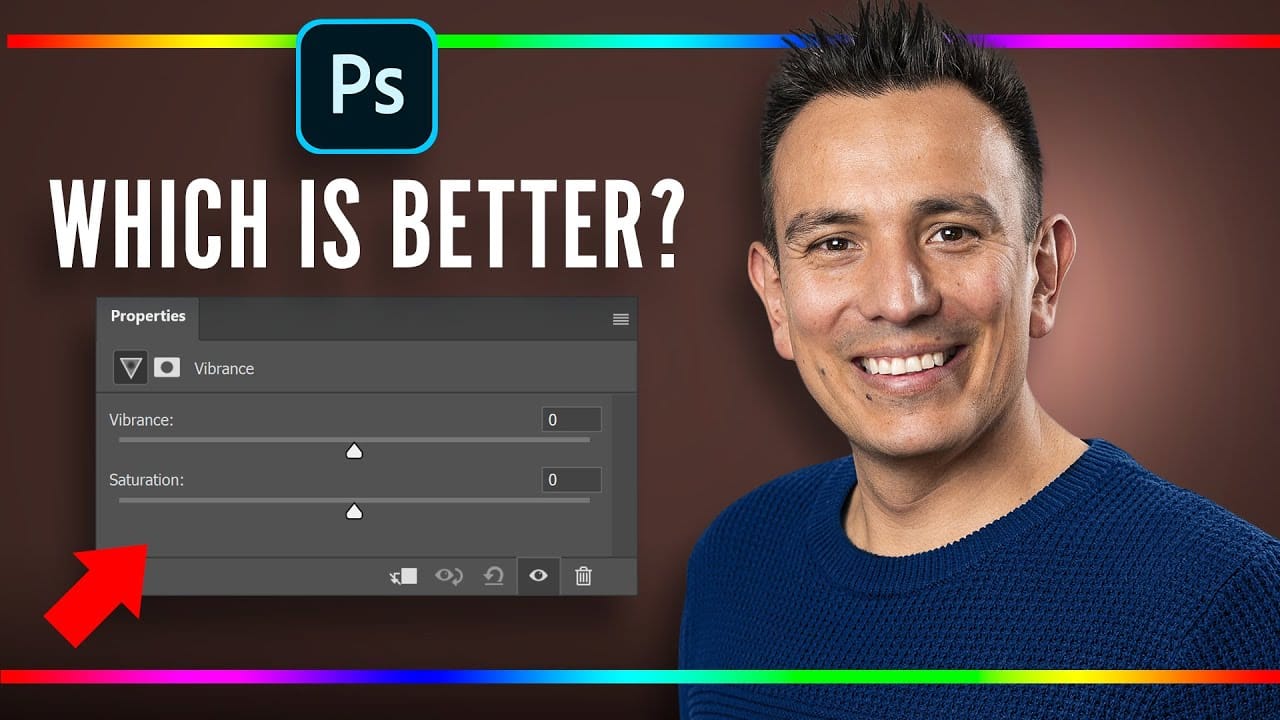
In this detailed tutorial, Jesus Ramirez from the Photoshop Training Channel delves into the crucial differences between Saturation and Vibrance when it comes to enhancing colors in Photoshop. He provides a comprehensive overview of how each adjustment affects your images: Saturation increases the intensity of all colors uniformly, while Vibrance adjusts the colors selectively, enhancing the less saturated hues without over-saturating the already vibrant areas. Ramirez demonstrates practical ap
Photoshop August 2025 Update: 6 New Features Including Enhanced Remove Tool and Harmonize
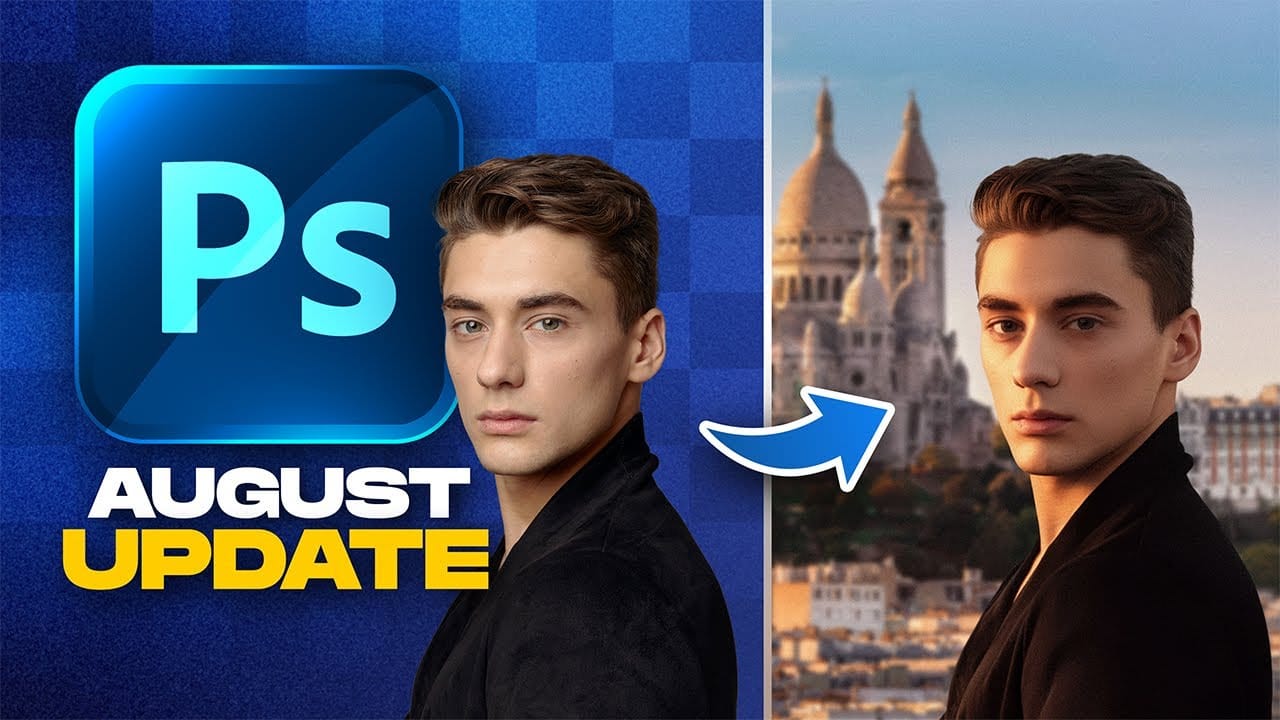
Adobe continues to transform Photoshop with powerful AI-driven features that streamline complex editing tasks. The August 2025 update introduces six significant enhancements, from an improved Remove Tool that creates cleaner selections to the revolutionary Harmonize feature that automatically matches lighting and shadows across composite elements. These updates address common workflow challenges while introducing new capabilities for collaborative projects and intelligent image processing. Wa

Get tutorials & freebies delivered to you.

Subscribe to the Photoshop Roadmap newsletter, a weekly roundup of new tutorials, insights and quality downloads, trusted by 6500+ readers.

You might also like

How to Use the Vectorscope in Camera Raw to Correct Skin Tones

Monitors vary, room lighting shifts, and your eyes adapt — none of which makes for reliable skin tone judgments. Camera Raw's vectorscope gives you a measurement-based alternative, displaying hue and saturation data visually so you can align skin tones to a scientifically accurate target line, regardless of your...

How to Fix the Photoshop Scratch Disk Full Error

The scratch disk full error stops Photoshop mid-edit and can even prevent it from opening at all. Understanding what a scratch disk actually is — and knowing where to look — makes the difference between a quick fix and repeated frustration. Watch the Video Practical Tips These steps address the most...

Using Photoshop's Light Adjustment Layer for Non-Destructive Tonal Control

Photoshop's Light adjustment layer brings Camera Raw's core tonal controls — exposure, contrast, highlights, shadows, whites, and blacks — directly into the layers panel as a fully non-destructive, maskable layer. This makes it possible to apply precise tonal corrections to specific areas of an image without ever...

How to Turn a Photo Into a Fine Art Painting in Photoshop

A photograph carries detail that a painting would simplify, and that gap is exactly where this technique operates. By working through a structured layer-based workflow in Photoshop, you can reduce photographic sharpness, introduce painterly texture, and guide the eye the way a traditional artist would — all without picking up...

You’ve successfully subscribed to Photoshop Roadmap
Welcome back! You’ve successfully signed in.
Great! You’ve successfully signed up.
Success! Your email is updated.
Your link has expired
Success! Check your email for magic link to sign-in.