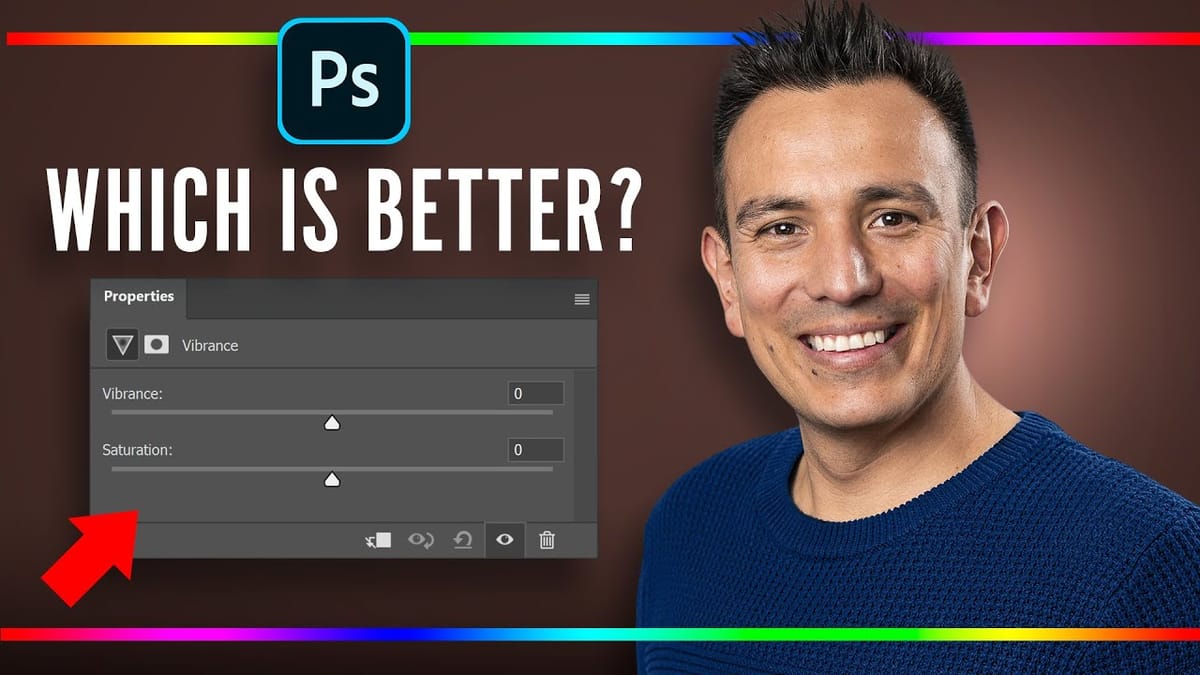
Color correction and creative color grading often come down to mastering a single, powerful tool in Photoshop: the Hue/Saturation adjustment. While newer features like Camera Raw filters and advanced color wheels grab attention, the fundamentals of hue, saturation, and lightness remain the backbone of professional color work. Understanding these core principles unlocks precise control over every pixel in your images.
This comprehensive tutorial covers everything from basic concepts to advanced targeting techniques, showing you how to apply global adjustments, target specific color ranges, use the new prominent colors feature, and create dramatic color transformations. You'll see practical examples ranging from simple color corrections to complex selective color changes that would be impossible with other tools.
Watch the Complete Tutorial
Video by PiXimperfect. Any links or downloads mentioned by the creator are available only on YouTube
Understanding Color Theory in Digital Photography
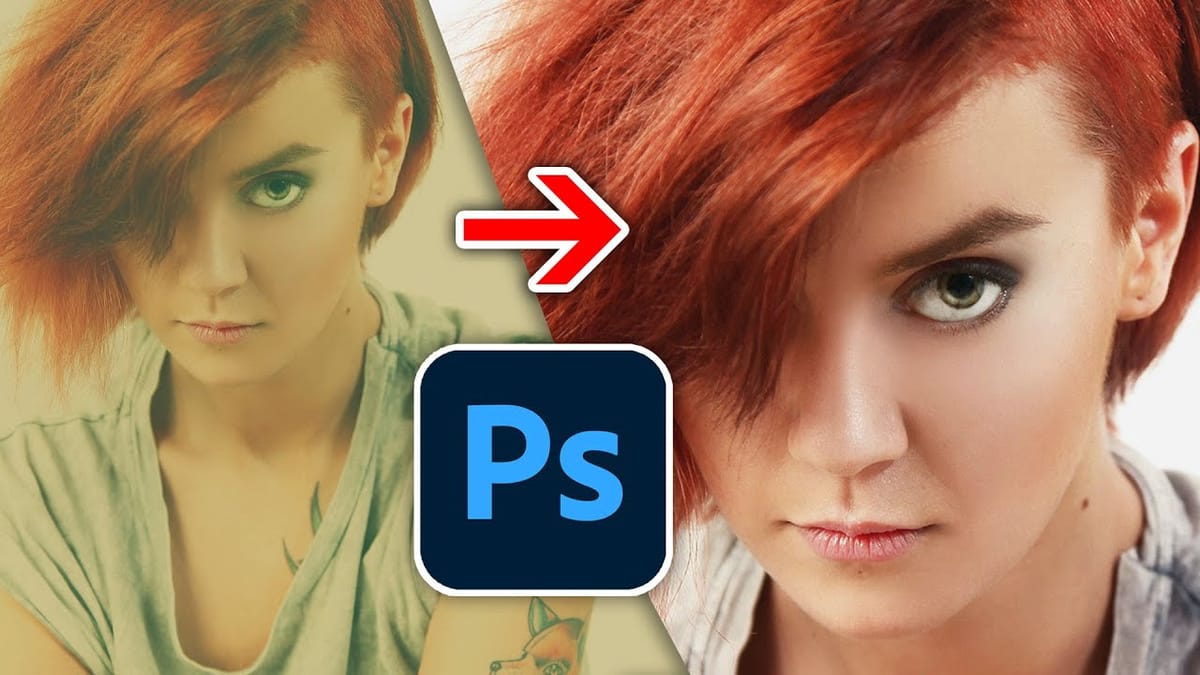
Every digital color breaks down into three fundamental components: hue (what color it is), saturation (how intense that color appears), and lightness (how bright or dark it looks). This HSL color model forms the foundation of most color correction work because it mirrors how we naturally perceive and describe colors in the real world.
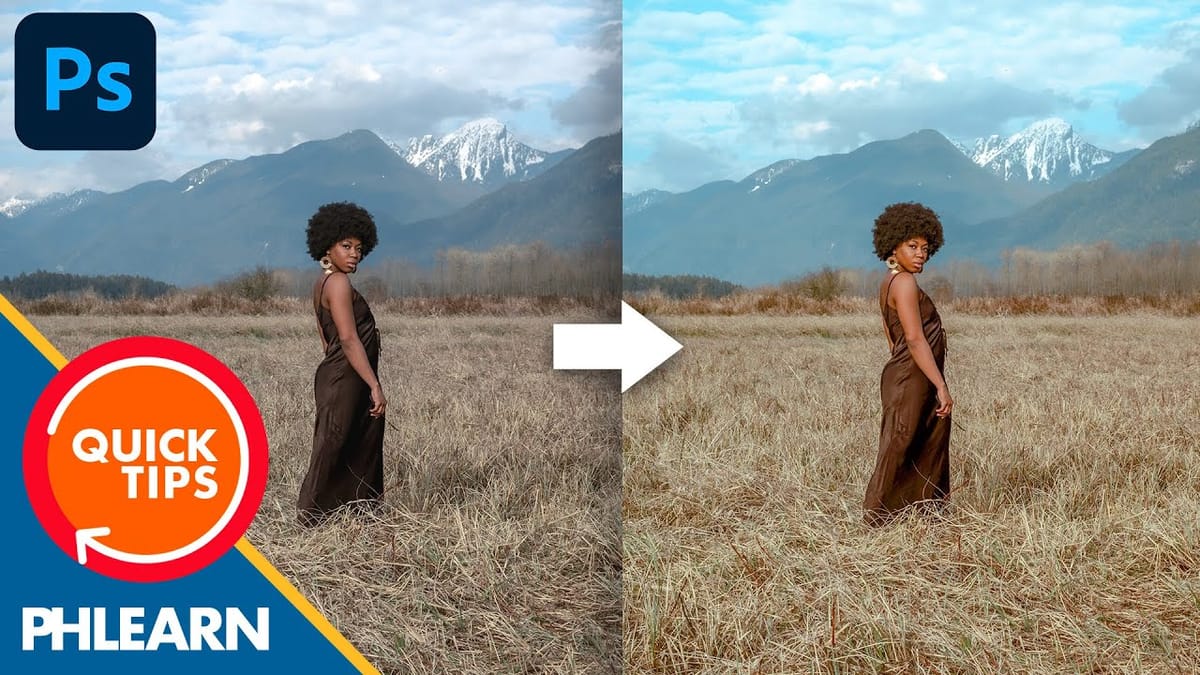
The power of Hue/Saturation lies in its ability to target specific color ranges within an image. Unlike global adjustments that affect everything uniformly, selective color targeting allows you to change a red car to blue while leaving the green grass untouched. This precision becomes crucial in professional retouching, product photography, and creative color grading where specific elements need individual treatment.
Modern versions of Photoshop have enhanced this tool with prominent color detection, which analyzes your specific image and creates custom color palettes. This feature eliminates guesswork by showing you exactly which colors exist in your photo and allowing direct manipulation of those exact tones.
Practical Tips for Hue/Saturation Mastery
- Always use adjustment layers instead of direct adjustments to maintain editability and protect your original image data
- Convert layers to Smart Objects before applying direct adjustments when you need the flexibility to change settings later
- Use the prominent colors feature for complex images with multiple color tones that don't fit standard color categories
- Make targeted selections extremely narrow using the range sliders, then expand gradually to avoid affecting unintended areas
- Save custom presets for frequently used adjustments like teeth whitening or skin tone corrections to streamline your workflow
More Tutorials about Color Correction and Enhancement
Explore these additional resources for mastering color work in Photoshop: