Moody lighting in Photoshop comes down to controlling where light appears to originate and how color reinforces that direction. This walkthrough covers a full editing workflow — from separating the subject and building a colored background, to using Burn and Dodge tools, Camera Raw, and Color Balance to shape a dark, atmospheric result.
Watch the Video
Video by Zenzdesign. Any links or downloads mentioned by the creator are available only on YouTube
Practical Tips
Key techniques from this workflow that apply to most moody photo edits:
- Use a soft round brush at zero hardness on an inverted mask to paint a glowing center light into the background without harsh edges.
- Paint Burn and Dodge adjustments on a 50% gray layer set to Overlay — this keeps your original pixels untouched and the effect easy to erase.
- Always clip gray layers and adjustment layers to the subject so brushwork doesn't spill onto the background.
- In Camera Raw, drop Texture and raise Clarity together for a look that softens fine detail while adding midtone contrast.
- When adding a directional light source, work with the side that is already naturally brighter in the photo — it reads as far more convincing than painting light onto a shadowed area.
Related Articles and Tutorials
More tutorials on working with light and color in photo editing.
Learn how to use lighting effects in Photoshop
Bringing different elements together in Photoshop requires more than just careful selection and placement; it demands mastery of lighting to achieve true realism. When composing an image, the way light interacts with each object determines its perceived depth, form, and how seamlessly it integrates into the scene. Neglecting proper lighting can make even the most detailed composite look flat and artificial.
This tutorial demystifies Photoshop's powerful lighting effects, showing how to transfor
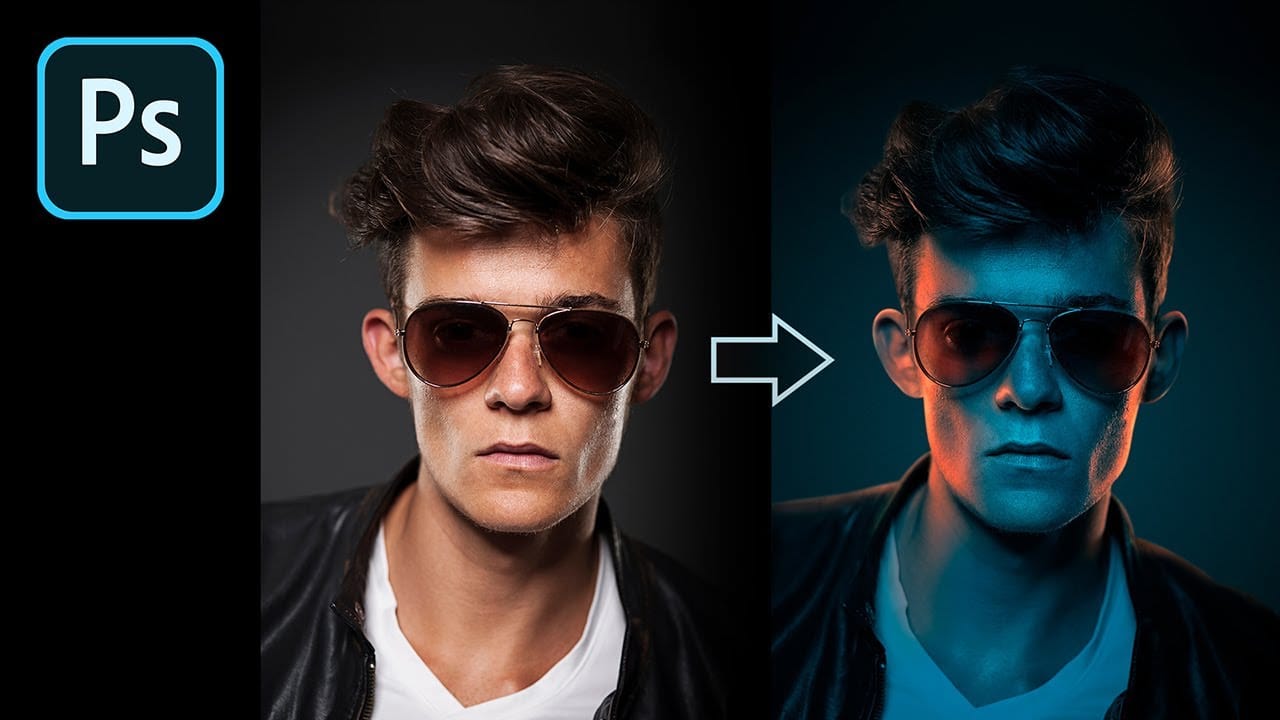
How to Fake Color-Gel Lighting in Photoshop!
In this tutorial, PiXimperfect unveils an inventive method for simulating color-gel lighting effects in Photoshop. You'll explore how to recreate the dynamic look of multiple colored light sources by leveraging Gradient Maps. This technique allows you to precisely control both the brightness and color of the lighting in your images.
The tutorial walks you through the steps to achieve a vibrant and dramatic lighting effect, typically used in studio photography. By the end, you'll know how to app
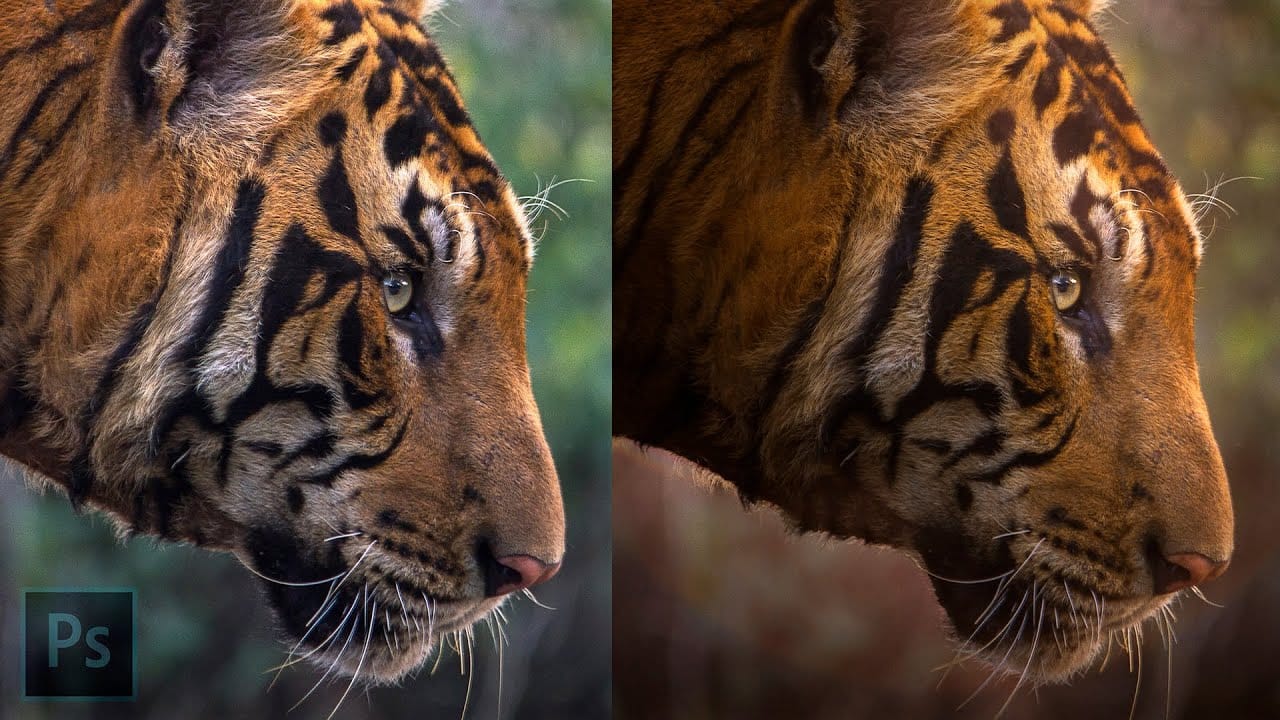
Lighting Effects to Create Drama in Photoshop
In this tutorial, John Whitehead demonstrates how to add dramatic lighting effects in Photoshop to transform flat lighting into something much more dynamic. You'll learn how to use various tools such as lighting effects filters, lens flare, smart objects, and LUTs to completely alter the mood and appearance of your image.
If you want to follow along with the tutorial, you can download the provided image and apply the same techniques. This guide is perfect for photographers and digital artists l
Add creative lights and colors to your image in Photoshop
You're about to learn how to transform your images with creative lights and colors in Photoshop. This tutorial will guide you through the process of adding vibrant hues and eye-catching effects to your photographs.
First, you'll explore the use of gradients and brushes to enhance your image. These tools will allow you to layer different colors and luminous accents, creating a visually striking result. With a few simple steps, you'll be able to turn your ordinary image into an impressive work of

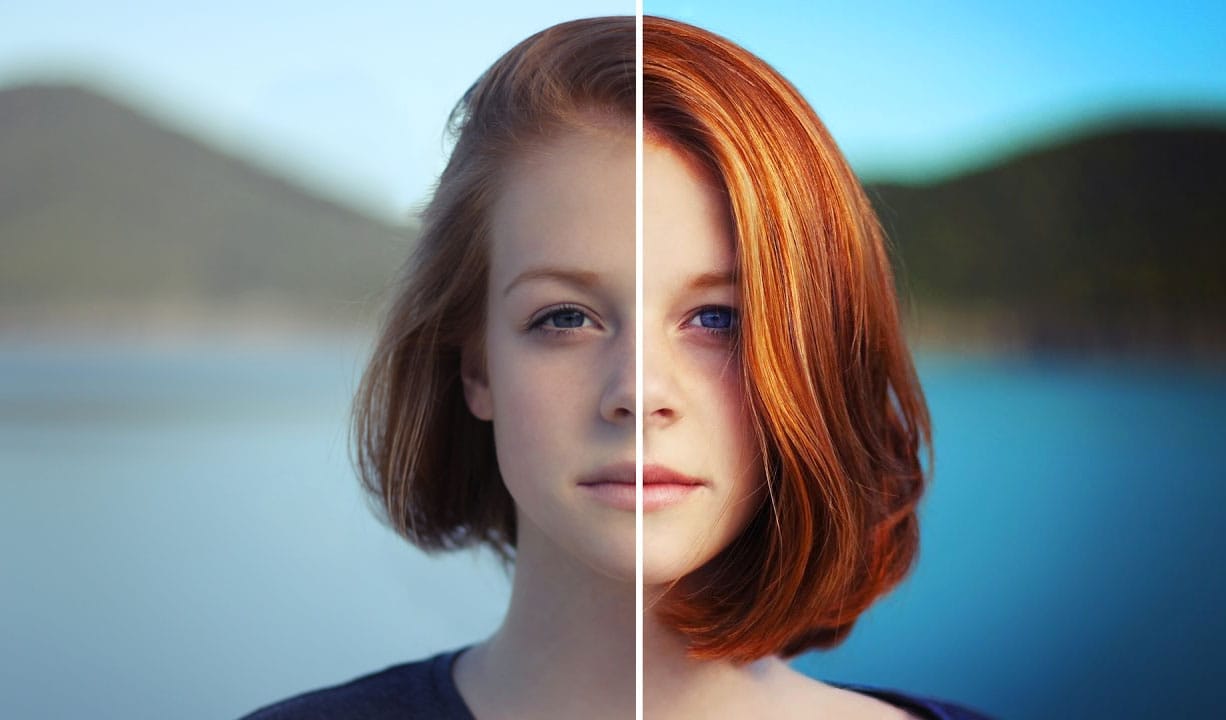
How to make colors pop in Photoshop
Selective color enhancement transforms dull photographs into vibrant, dramatic images by targeting specific areas like hair, skin, eyes, and clothing. This non-destructive approach uses precise selections and adjustment layers to boost colors naturally.
The technique creates professional results by treating each element separately, allowing you to enhance blue sweaters, brighten eyes, warm skin tones, and intensify hair colors without affecting the entire image.
Watch the Tutorial
Practical
How to Apply Graphics and Change Colors in Photoshop
Integrating graphics and adjusting colors are fundamental skills in Photoshop, enabling designers and artists to transform disparate elements into cohesive visual narratives. From compositing a logo onto a product image to blending text into a scene, mastering these techniques is crucial for achieving professional results.
This video demonstrates practical methods for seamlessly applying graphics from one image to another, extracting specific elements like text, and efficiently changing their c