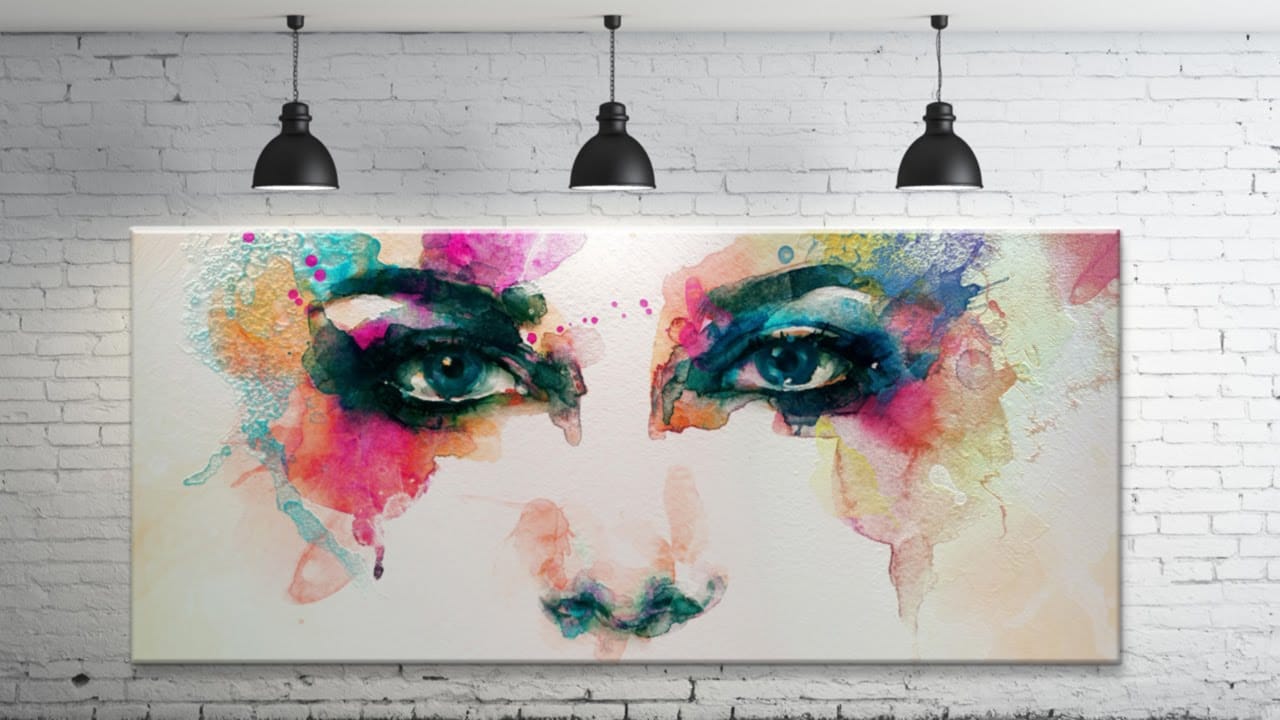
Specular highlights bring objects to life by simulating how light reflects off surfaces. These bright spots of reflected light add dimension and realism to your digital artwork, making flat surfaces appear three-dimensional and convincing.
This technique uses simple brush strokes combined with strategic blending modes to create professional-looking highlights that enhance the natural lighting in your images.
Watch the Video
Video by Noyse Works. Any links or downloads mentioned by the creator are available only on YouTube
Practical Tips
Key techniques for creating convincing specular highlights:
- Set brush hardness to 0% for soft, natural-looking highlight edges that blend seamlessly
- Sample colors directly from the surface you're highlighting to maintain realistic color relationships
- Use Linear Dodge blending mode to intensify brightness while preserving underlying colors
- Transform highlights with Ctrl+T to match the angle and perspective of the surface they're reflecting on
- Reduce opacity to 80-85% for secondary highlights to create natural light falloff
Related Articles and Tutorials
Explore more lighting and highlighting techniques to enhance your image editing skills.
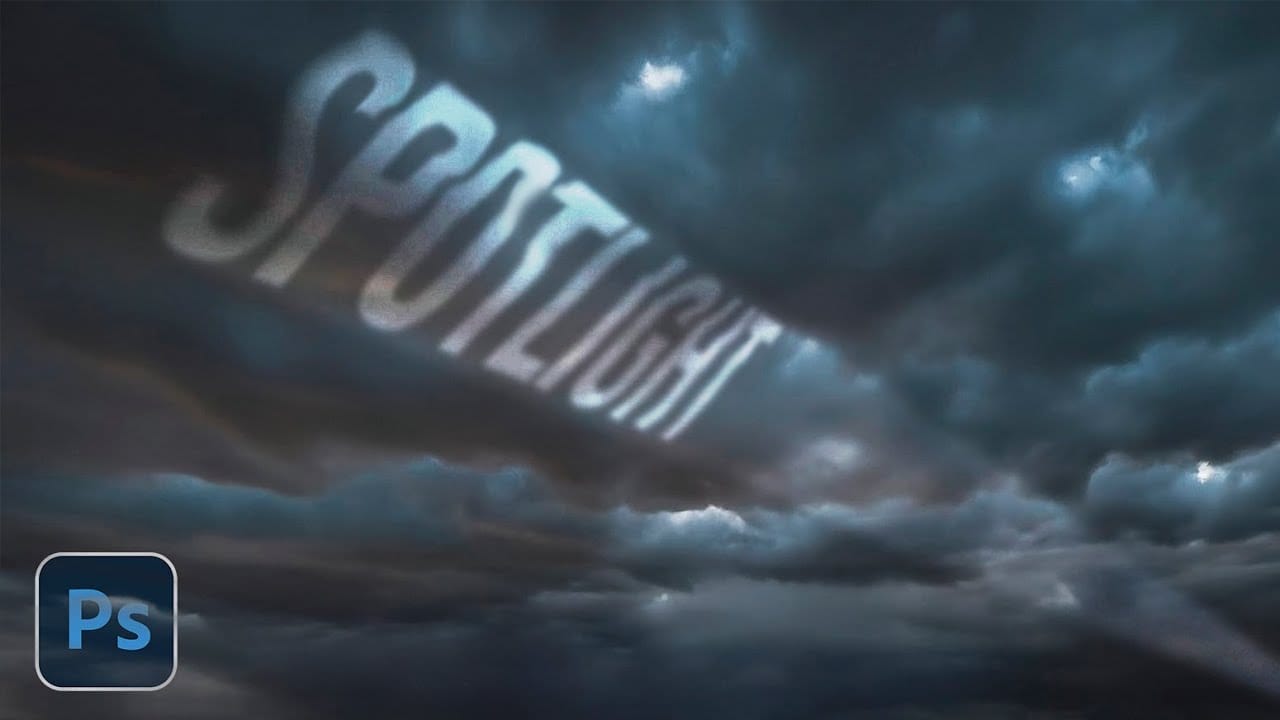
How to Create a Dramatic Spotlight Effect in the Sky in Photoshop
Adding a dramatic spotlight effect to your images can transform an ordinary sky into a captivating scene, drawing the viewer's eye and enhancing the overall mood. This technique is particularly effective for emphasizing specific elements or creating a sense of grandeur and focus within a composition.
In this tutorial, you will learn how to integrate a realistic spotlight with text into a stormy sky, utilizing Photoshop's powerful blending modes, transformation tools, and non-destructive editing
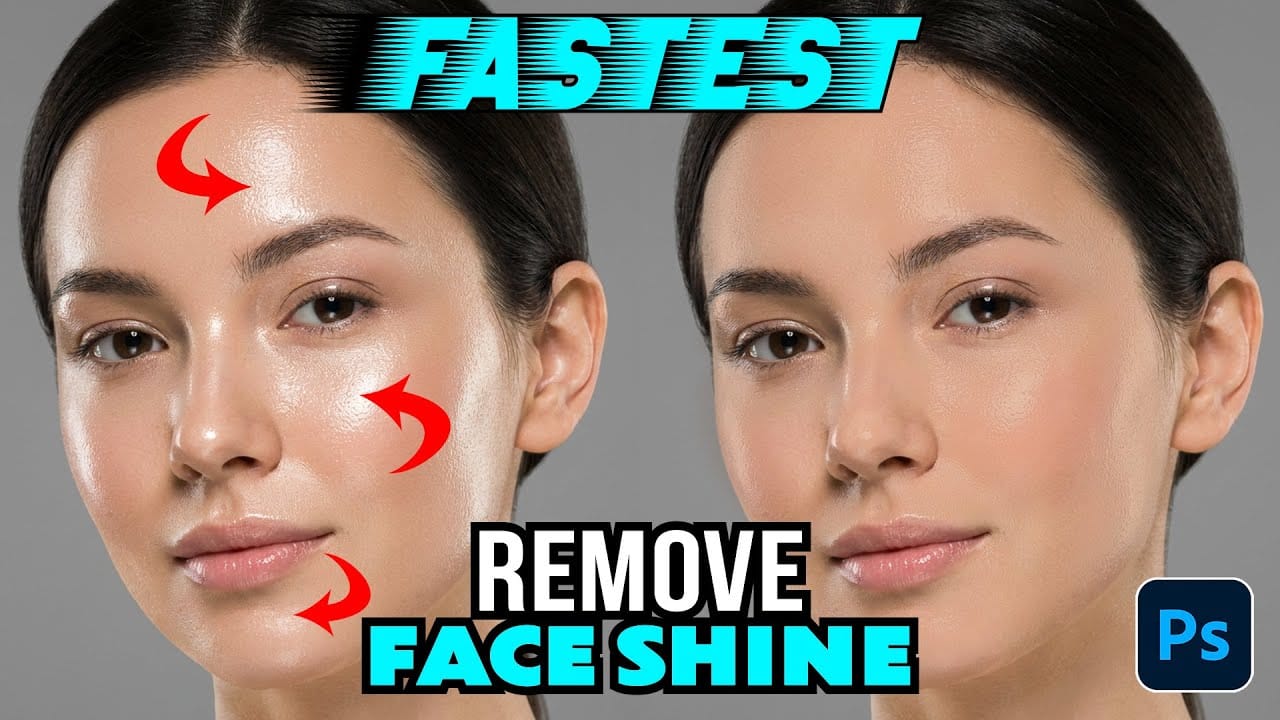
How to Remove Shiny Skin with Selective Color in Photoshop
Skin shine can ruin an otherwise perfect portrait, creating distracting bright spots that draw attention away from your subject. Using Photoshop's Selective Color adjustment layer combined with layer masking provides precise control over these problematic highlights.
This technique targets only the brightest areas of skin and allows you to selectively apply corrections where needed, maintaining natural skin texture throughout the process.
Watch the Video
Practical Tips
Key techniques for s
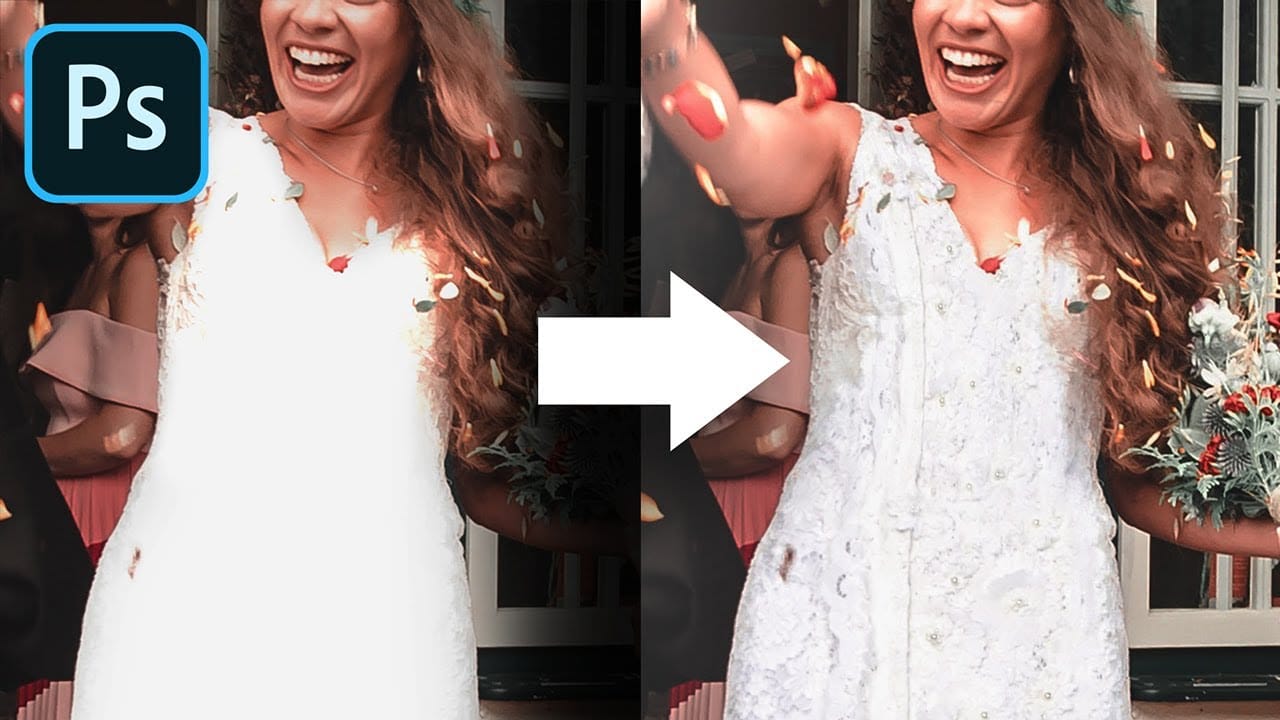
Recover completely lost details in highlights in Photoshop
In the tutorial by PiXimperfect, the author explores a simple Photoshop trick to "recover" details in an image with overexposed and blown-out highlights. The tutorial focuses on using two key ingredients: a reference texture image and a blend mode. The author explains that by utilizing a reference texture and applying the Multiply blend mode, you can effectively cover up the areas with no visible details, effectively "saving the day" and restoring the lost information.
The tutorial provides a s
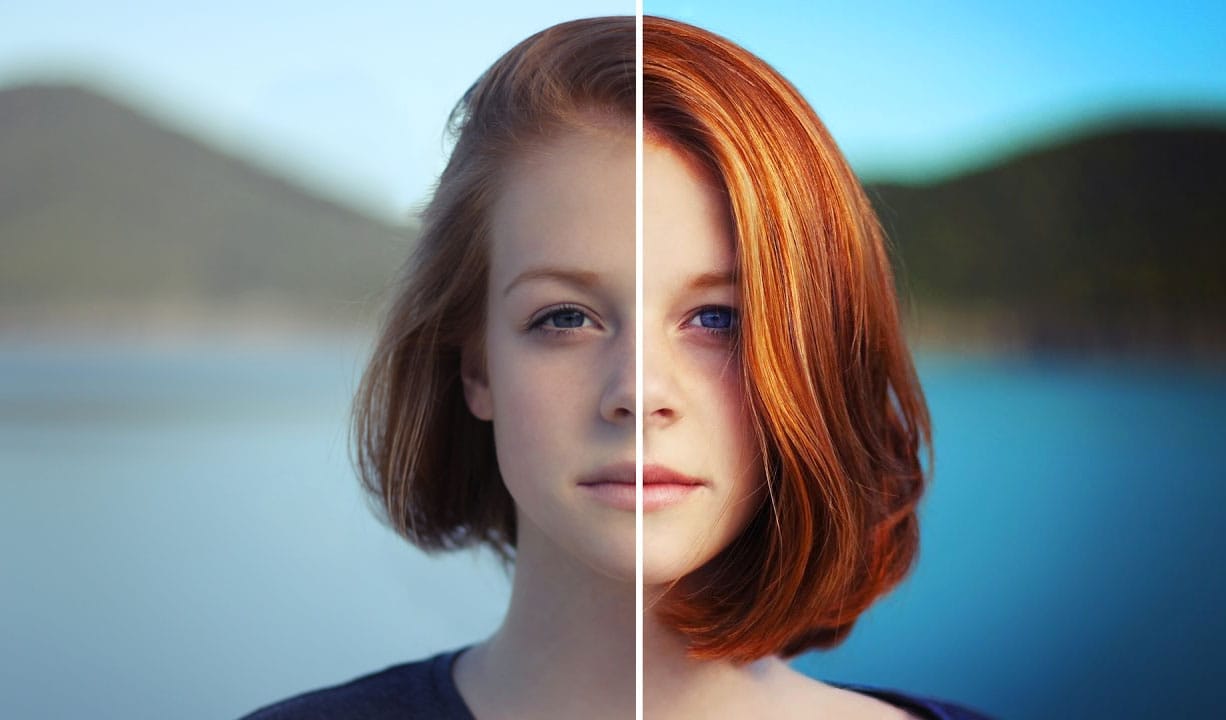
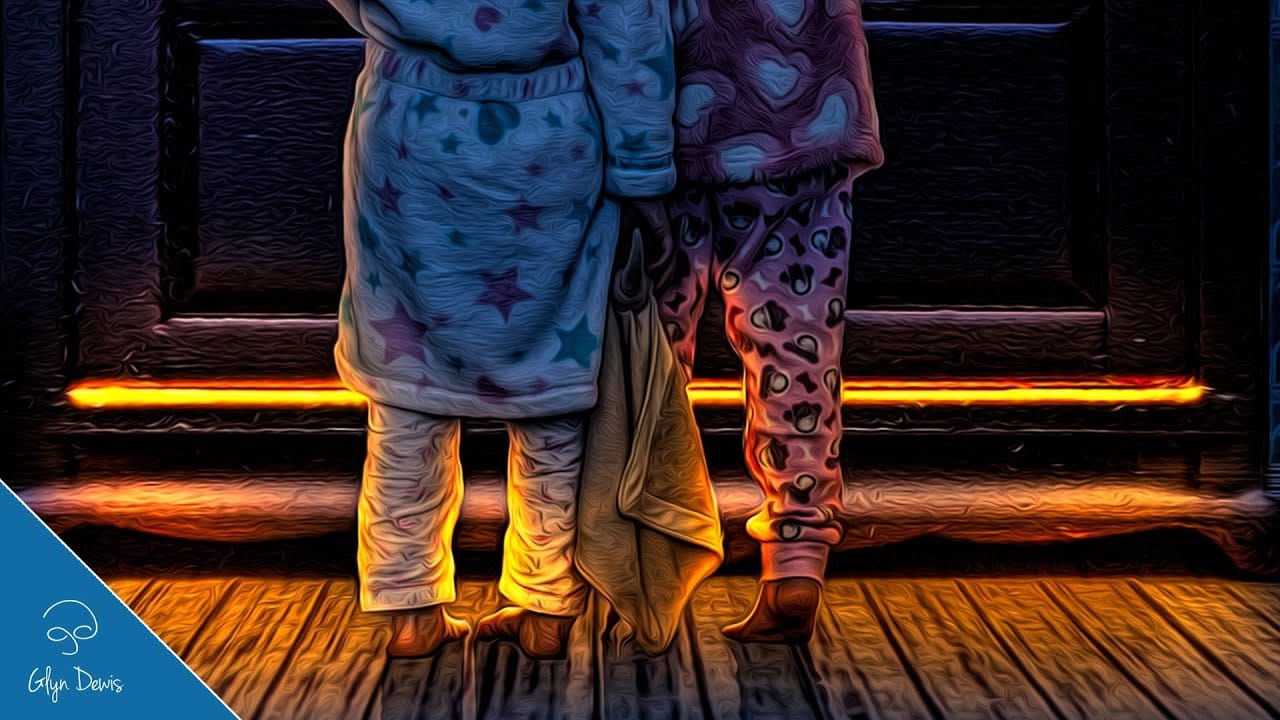
How to make colors pop in Photoshop
Selective color enhancement transforms dull photographs into vibrant, dramatic images by targeting specific areas like hair, skin, eyes, and clothing. This non-destructive approach uses precise selections and adjustment layers to boost colors naturally.
The technique creates professional results by treating each element separately, allowing you to enhance blue sweaters, brighten eyes, warm skin tones, and intensify hair colors without affecting the entire image.
Watch the Tutorial
Practical
How to create a sun glow effect in Photoshop
In this tutorial, Aaron Nace shows how to add a vibrant sun glow effect to your photos with ease. The process involves a few straightforward steps to simulate the warm, radiant look of sunlight. Aaron explains how to use blending modes, gradients, and layer adjustments to achieve a natural and eye-catching glow.
The tutorial includes a free Sun Glow Gradient, which you can download and use immediately to enhance your images. This effect is perfect for adding a dreamy, sunlit atmosphere to your
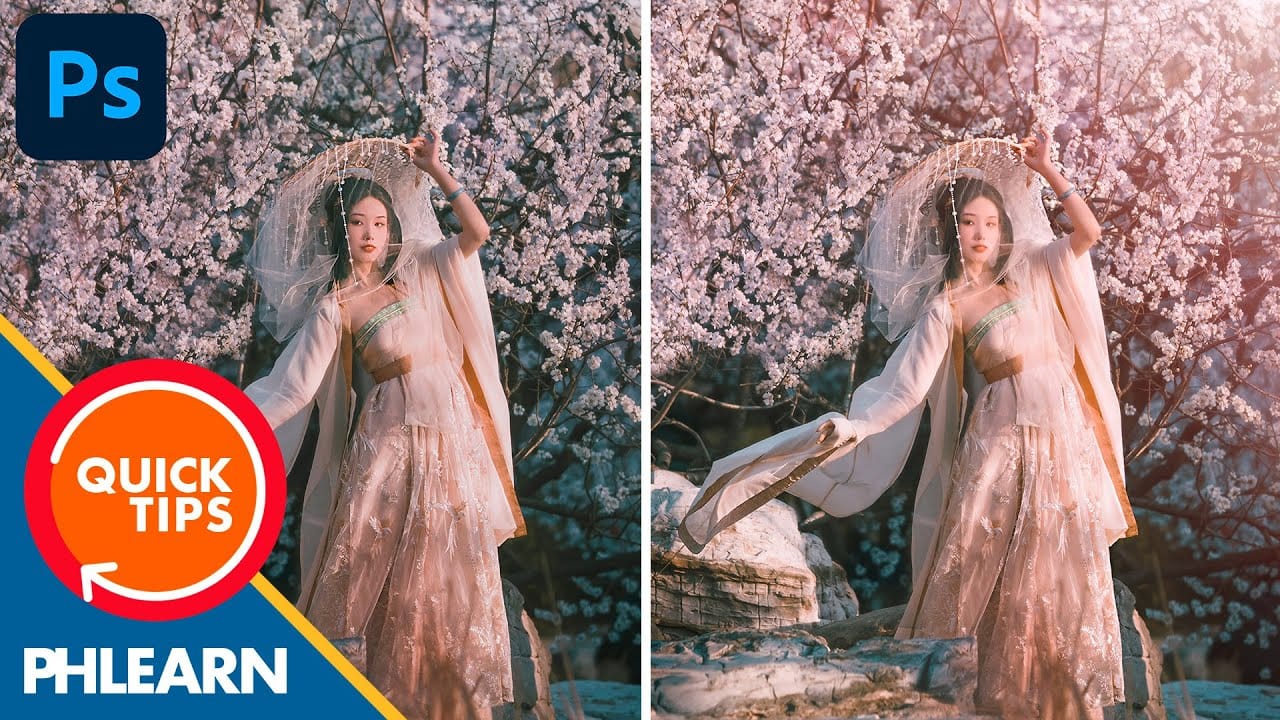
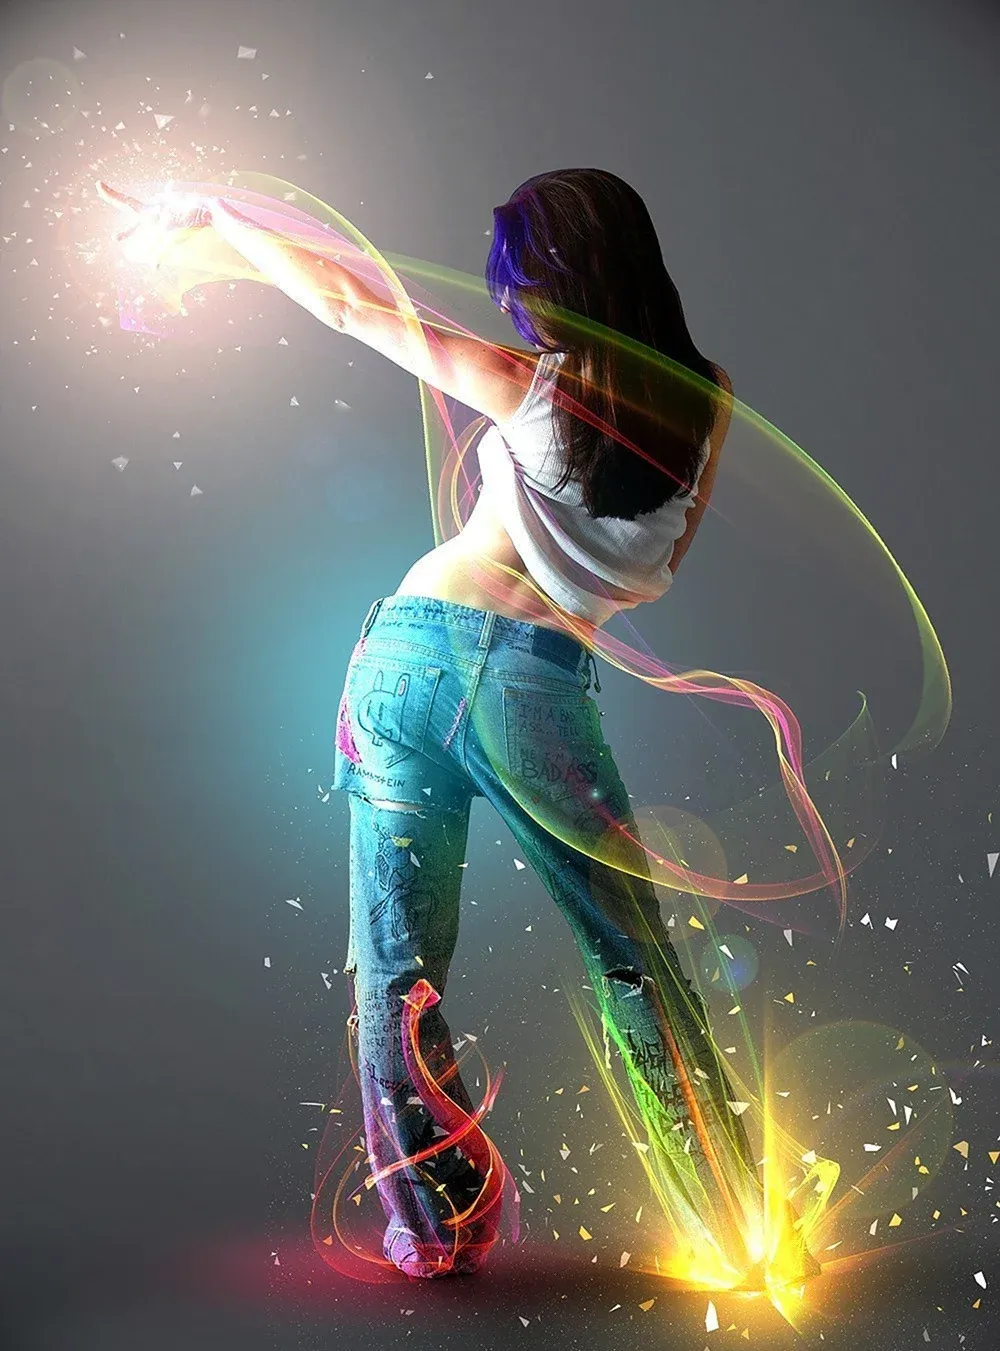
Add Striking Light Effects to Your Photos in Photoshop
In this Photoshop tutorial from PSD Box, using the "Colors in Motion" textures pack and a model image from deviantArt or ISO Stock, you'll create a vibrant digital artwork.
Start by meticulously removing the background with the Pen Tool and placing the model on a new canvas with a gradient backdrop. Enhance the image with non-destructive adjustments for color and contrast, adding realistic shadows for depth. Integrate various light effects from the packs, adjusting blending modes and using tool
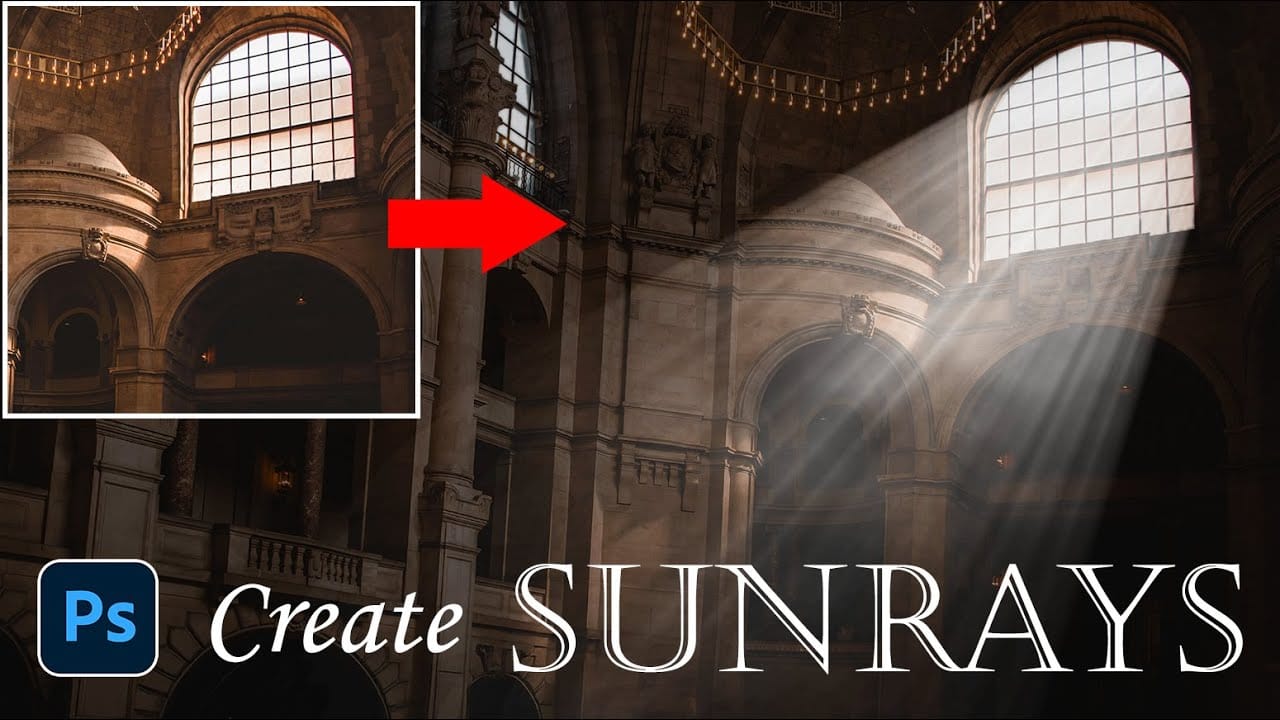
How to Add Dramatic Sunrays and Sunbeams to Photos in Photoshop
Sunrays streaming through windows create some of photography's most captivating moments. Natural sunbeams add drama, warmth, and visual interest that can transform an ordinary interior scene into something magical.
This tutorial demonstrates how to recreate those stunning light effects in Photoshop using selection techniques, radial blur, and layer masking. You'll learn to build convincing sunrays that enhance your photos with realistic lighting drama.
Watch the Video Tutorial
Practical Tip
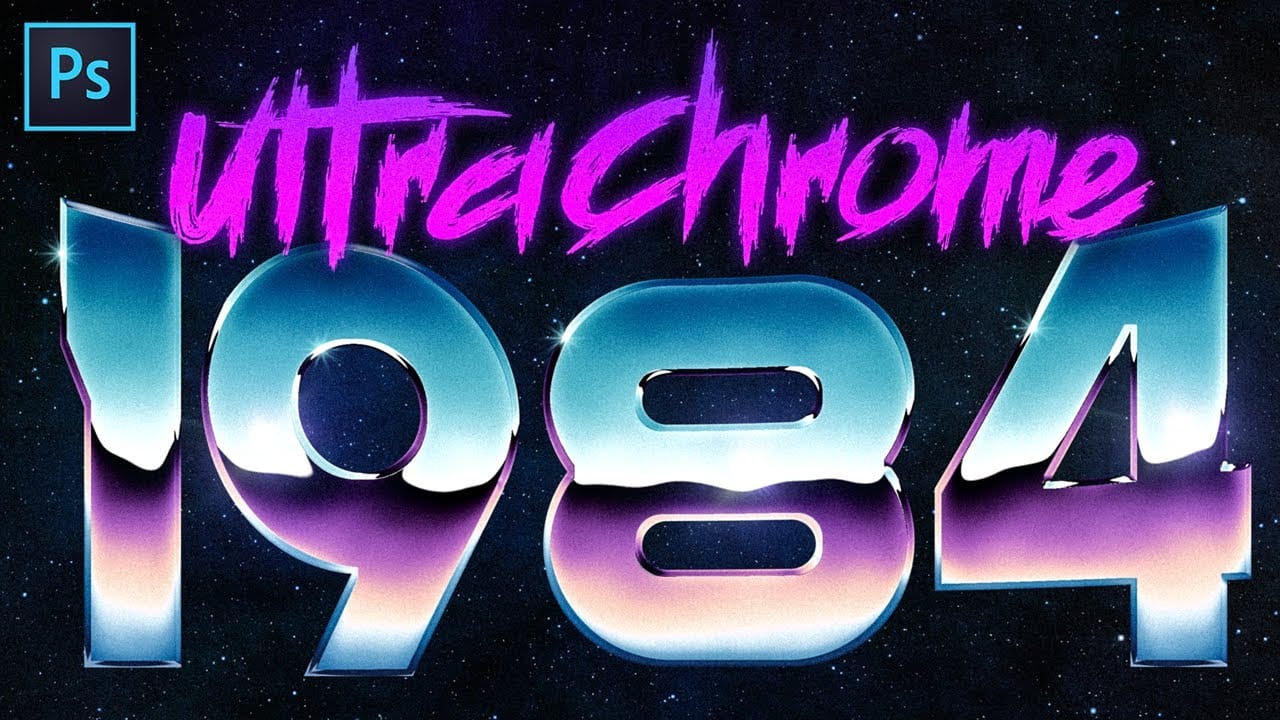
Create Super Rad 80's Chrome in Photoshop
The iconic 80s chrome aesthetic brings a bold, reflective energy to any design. This style evokes nostalgia and a futuristic vibe, making it perfect for standout titles, logos, and digital artwork.
Recreating these vibrant, high-gloss effects requires specific techniques within Photoshop. This tutorial provides a comprehensive guide to crafting detailed chrome looks with fully adjustable elements, ensuring a custom result for your projects.
Watch the Tutorial
Understanding the Core Principl
Create Fake Rim Lights in Photoshop
Rim lighting adds dramatic atmosphere to portraits by creating bright highlights around the edges of your subjects. This technique simulates light hitting the outer contours of people or objects, making them stand out from their background with realistic glowing effects.
Using Photoshop's Inner Glow layer style with the Color Dodge blend mode, you can create convincing rim lights that wrap naturally around your subjects, then fine-tune the placement with layer masks for professional results.
Learn how to use lighting effects in Photoshop
Bringing different elements together in Photoshop requires more than just careful selection and placement; it demands mastery of lighting to achieve true realism. When composing an image, the way light interacts with each object determines its perceived depth, form, and how seamlessly it integrates into the scene. Neglecting proper lighting can make even the most detailed composite look flat and artificial.
This tutorial demystifies Photoshop's powerful lighting effects, showing how to transfor