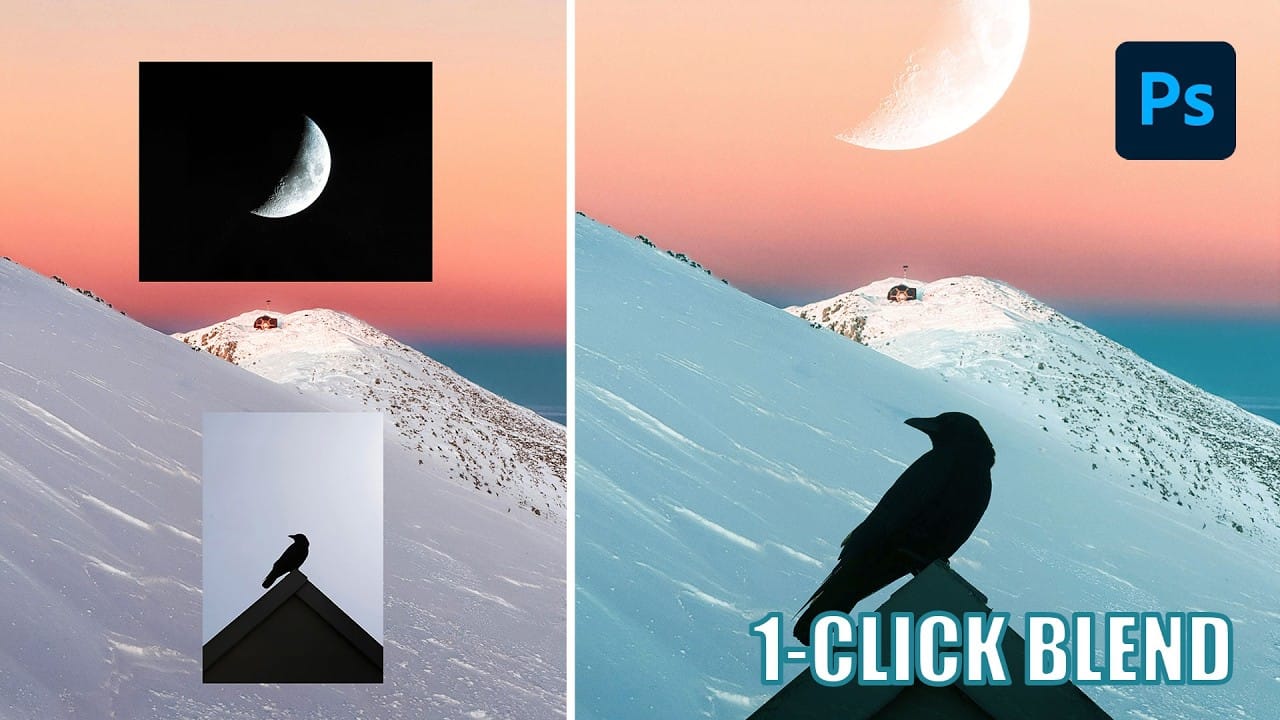
The old advice to always duplicate layers when editing in Photoshop stems from earlier versions that lacked today's powerful tools. Modern Photoshop workflows often make layer duplication unnecessary, especially for common tasks like object removal, sky replacement, and background changes.
Understanding when to skip this step saves storage space and keeps your layer panel organized while still maintaining the flexibility you need for professional editing.
Watch the Video
Video by Matt Kloskowski. Any links or downloads mentioned by the creator are available only on YouTube
Practical Tips
These modern workflow tips will help you determine when layer duplication is actually needed:
- Use blank layers with "Sample All Layers" enabled for object removal instead of duplicating the background
- Let tools like sky replacement and remove background create their own layers automatically
- Skip duplication for simple edits where you're confident about the final result to reduce file size
- Only duplicate layers when you need to transform or manipulate the entire image while preserving the original below
- Save files without layers when coming from Lightroom unless you specifically need the layer flexibility
Related Articles and Tutorials
Explore more advanced layer techniques and workflow optimization strategies.
Master Layer Comps in Photoshop for Faster Design Workflow
Design iterations can quickly spiral into chaos without proper version control. Layer Comps in Photoshop offers a powerful solution that most designers overlook, letting you save snapshots of your layer panel's visibility, position, and appearance at different stages of your project.
This hidden feature transforms how you approach creative work, allowing you to experiment fearlessly while maintaining access to every version of your design. From social media exports to client presentations, Laye
How to Use Layer Filtering to Organize Complex Projects in Photoshop
When working with dozens of layers in complex composites or designs, finding specific elements becomes a time-consuming challenge. The layer filtering system in the Layers panel offers powerful tools to instantly isolate different types of content, making organization and editing far more efficient.
These filtering options help you quickly group similar layers, clean up unused elements, and maintain better project structure without endless scrolling through your layer stack.
Watch the Video
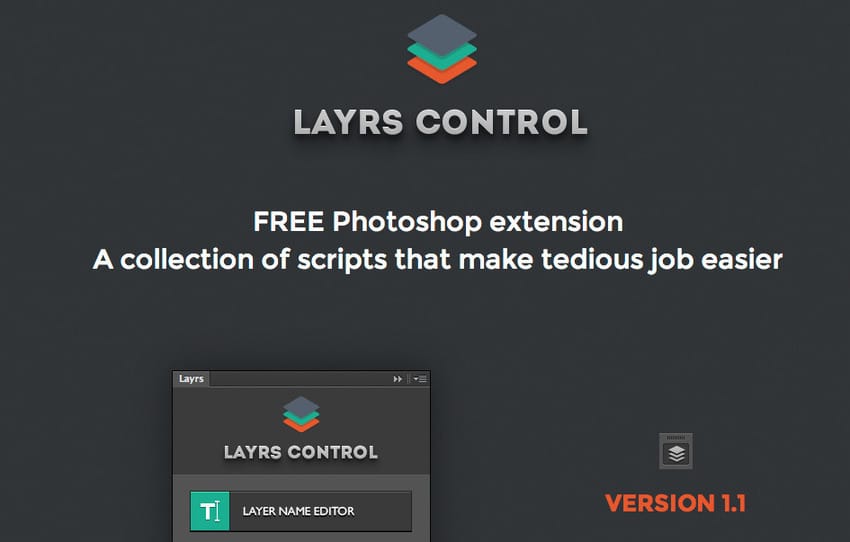
Free Photoshop Extension: Layrs Control 2
Layrs Control 2 is a free Photoshop extension designed to simplify and enhance layer management. This collection of scripts provides five essential features aimed at improving your workflow.
It includes a layer name editor for easily renaming layers, options to remove any unused effects to keep your project clean, the ability to flatten all layer effects to streamline your layers, tools to delete empty layers and reduce overall file size, and a function to rasterize smart objects for easier man
Create a dual lighting effect with just 2 layers in Photoshop
The author, PixImperfect, presents a straightforward technique to create the dual color lighting effect in Photoshop. Using the power of Gradient Maps, this tutorial demonstrates how to color multiple lights from different directions. Viewers also learn to utilize the "Blend If" feature to make the light more realistic. Optionally, the video explores techniques to add and modify interesting light elements to the image.
This concise yet informative tutorial guides viewers through the process ste

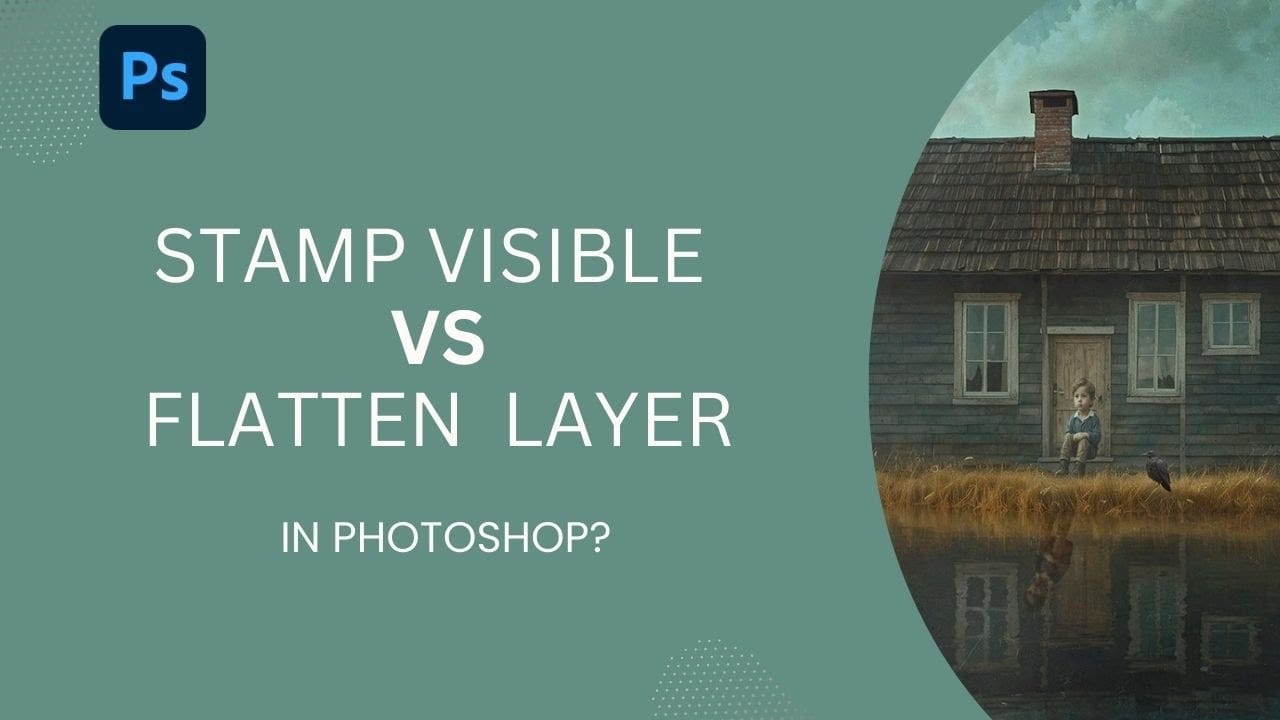
How to Use Stamp Visible Layer vs Flatten Image in Photoshop
Professional photo editing requires flexibility to make adjustments without destroying your original work. Photoshop's Stamp Visible feature combines all visible layers into one new layer while preserving your adjustment layers underneath.
This approach keeps your workflow intact and allows you to continue editing, unlike flattening which destroys all individual layers permanently.
Watch the Video
Practical Tips for Using Stamp Visible
* Use the keyboard shortcut Ctrl+Alt+Shift+E (Windows
Photoshop Clone Stamp Tool: Remove Objects Without Using AI Credits
AI tools in Photoshop consume generative credits and may flag your images as artificially generated. The clone stamp tool offers a cost-free alternative for removing unwanted objects while maintaining complete control over your edits.
This traditional technique works perfectly for simple removals like cracks, blemishes, and small objects without requiring any AI assistance.
Watch the Video
Essential Clone Stamp Tips
* Create a new layer first - Never work directly on the background layer

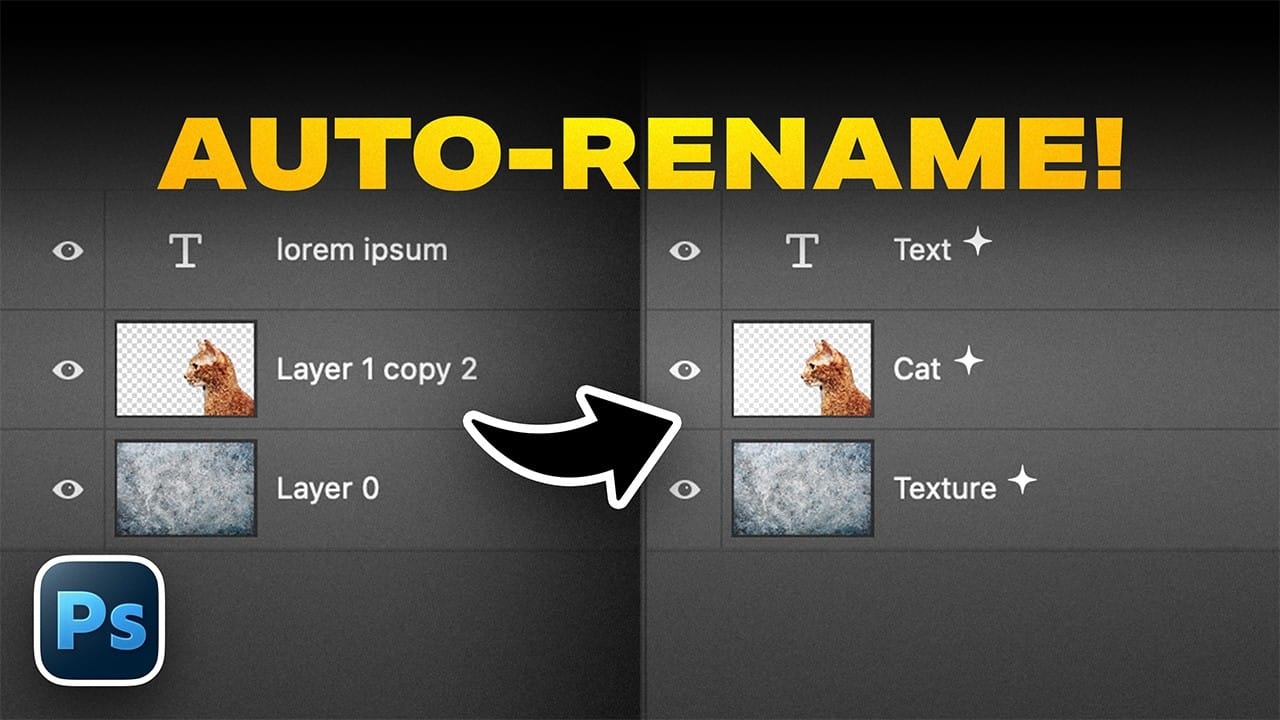
How to Use Photoshop's Auto Layer Rename Feature
Messy layer names like "Layer 52 copy 4" and "Untitled 5" clutter your workspace and slow down complex projects. Photoshop's new auto-rename feature uses AI to automatically identify and name layers based on their content, from "Woman in yellow shirt" to "Yellow rounded rectangle."
This beta feature is currently available in Photoshop version 27.6 and can instantly organize entire documents, though it comes with some important limitations worth understanding before you rely on it.
Watch the V
Amazing Photoshop Multiplicity Effect
The multiple exposure effect is an impressive Photoshop technique that is straightforward to create using any software that supports layers. In this tutorial, by PSD Box you will learn how to use this effect to clone yourself and achieve a stunning result in your photos.
The tutorial guides you through the process, making it easy to follow and replicate the effect, enhancing your creative projects with a professional touch.
Watch tutorial

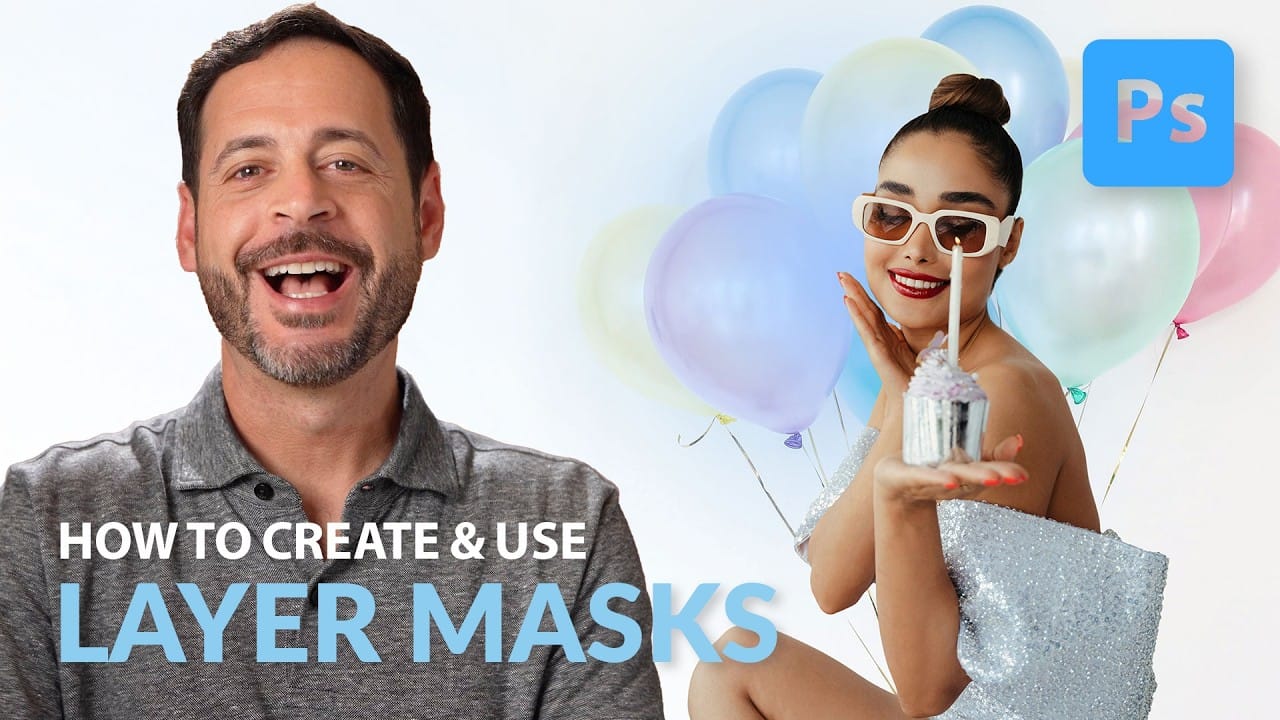
How to Create and Use Layer Masks in Photoshop
Layer masks represent one of Photoshop's most powerful non-destructive editing tools, providing photographers and designers with precise control over image visibility. Unlike permanently deleting parts of an image, layer masks allow for reversible adjustments that can be refined throughout the creative process.
In this comprehensive tutorial, you'll explore everything from fundamental layer mask concepts to advanced techniques like mask copying, unlinking, and group masking. Learn how to use th
Understanding Photoshop Blending Modes: A Complete Guide to Layer Blending
Blending modes transform how layers interact in Photoshop, letting you seamlessly combine images without complex masking. This technique reveals only light areas, dark areas, or specific colors from each layer.
Master these essential blending groups to create professional composites and artistic effects with just a few clicks.
Watch the Tutorial
Essential Blending Mode Tips
* Use Screen or Lighten modes to make dark backgrounds disappear while keeping bright elements visible
* Apply Mult