AI tools in Photoshop consume generative credits and may flag your images as artificially generated. The clone stamp tool offers a cost-free alternative for removing unwanted objects while maintaining complete control over your edits.
This traditional technique works perfectly for simple removals like cracks, blemishes, and small objects without requiring any AI assistance.
Watch the Video
Video by PHLEARN. Any links or downloads mentioned by the creator are available only on YouTube
Essential Clone Stamp Tips
- Create a new layer first - Never work directly on the background layer so you can adjust or remove changes later
- Set sampling to "Current and Below" - This ensures the tool samples from all visible layers beneath your working layer
- Enable show overlay in the Clone Source panel - This preview feature helps you align your clone source perfectly before painting
- Sample from multiple points - Hold Alt/Option and click different areas to avoid repetitive patterns that look unnatural
- Use separate layers for complex jobs - Clone each area on its own layer, then use the move tool to position perfectly before merging
- Reduce brush hardness for seamless blending - Right-click and lower hardness settings to create softer edges that blend naturally
Related Tutorials About Photoshop Object Removal
Explore different approaches to removing unwanted elements from your photos.
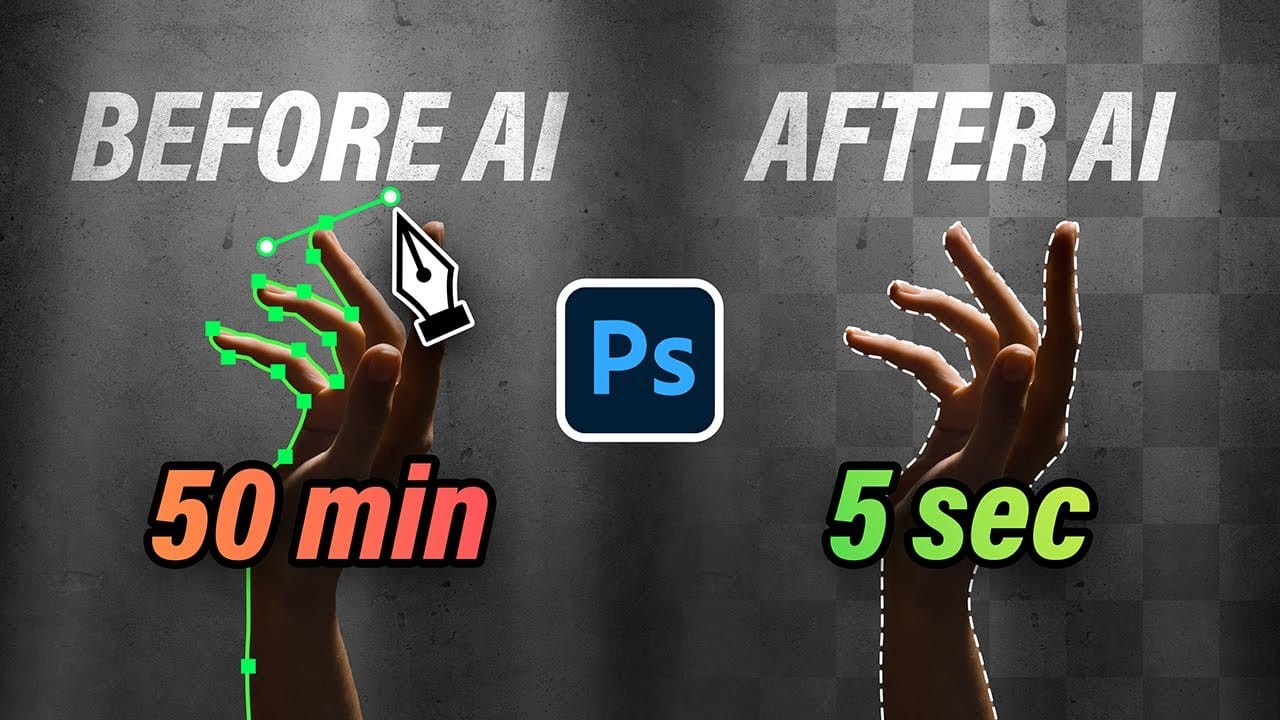
10 Ways AI Completely Transformed My Photoshop Techniques
Repetitive tasks like making complex selections, removing unwanted objects, and cleaning up blemishes can consume hours of an editor's time. While traditional Photoshop methods offer precise control, they are often slow and require significant technical skill for what should be simple fixes.
This guide demonstrates how to integrate modern AI features into your daily workflow. You will learn practical techniques for everything from one-click selections and generative fills to automated retouchin
Photoshop 2026 New Features: AI Tools and Credit System Overview
Photoshop 2026 introduces powerful AI-driven features including advanced generative fill models, sophisticated upscaling tools, and seamless harmonization effects. These updates promise to streamline complex editing tasks while delivering professional-quality results.
The software now operates on a credit-based system that divides features into standard and premium tiers, fundamentally changing how users access certain tools.
Watch the Video
Key Features and Practical Tips
* Access the co

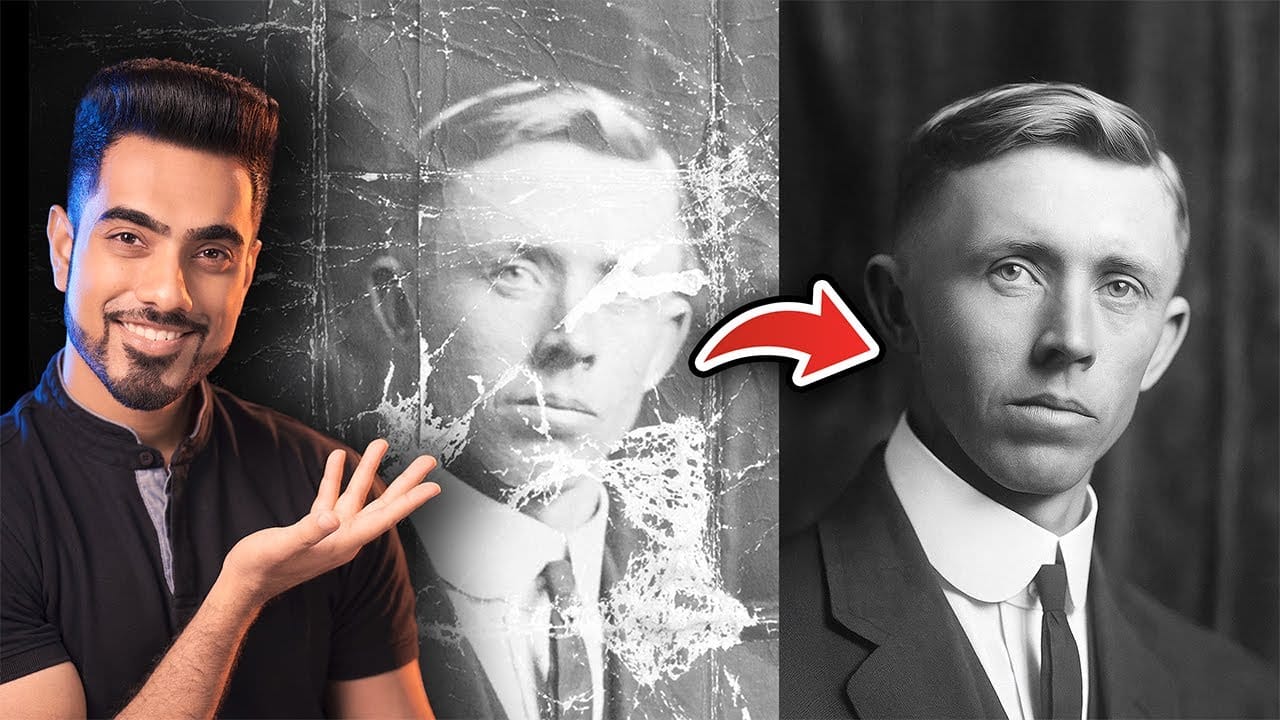
Photo Restoration: Combining AI with Photoshop for Optimal Results
Restoring old, damaged photographs can be a challenging endeavor. While many AI-powered tools promise to breathe new life into vintage images, they often fall short, either over-sharpening details, neglecting certain areas, or, most critically, altering the original likeness of individuals. This often leads to frustrating and uncanny results that strip the photos of their authentic charm.
This tutorial unveils a comprehensive workflow that marries the efficiency of AI-driven enhancement with th
Generative Fill vs Clone Stamp vs Spot Healing Brush Photoshop Tools
In this tutorial by Aaron Nace from Phlearn, you will explore the essential Photoshop tools: Generative Fill, Clone Stamp, and Spot Healing Brush. Each tool serves distinct purposes, allowing you to enhance and refine your images effectively.
The tutorial focuses on seamlessly blending graphics with portrait photography, making it ideal for various creative projects. You will learn about the Super Zoom feature, which helps upscale images without compromising their resolution. Additionally, Grad