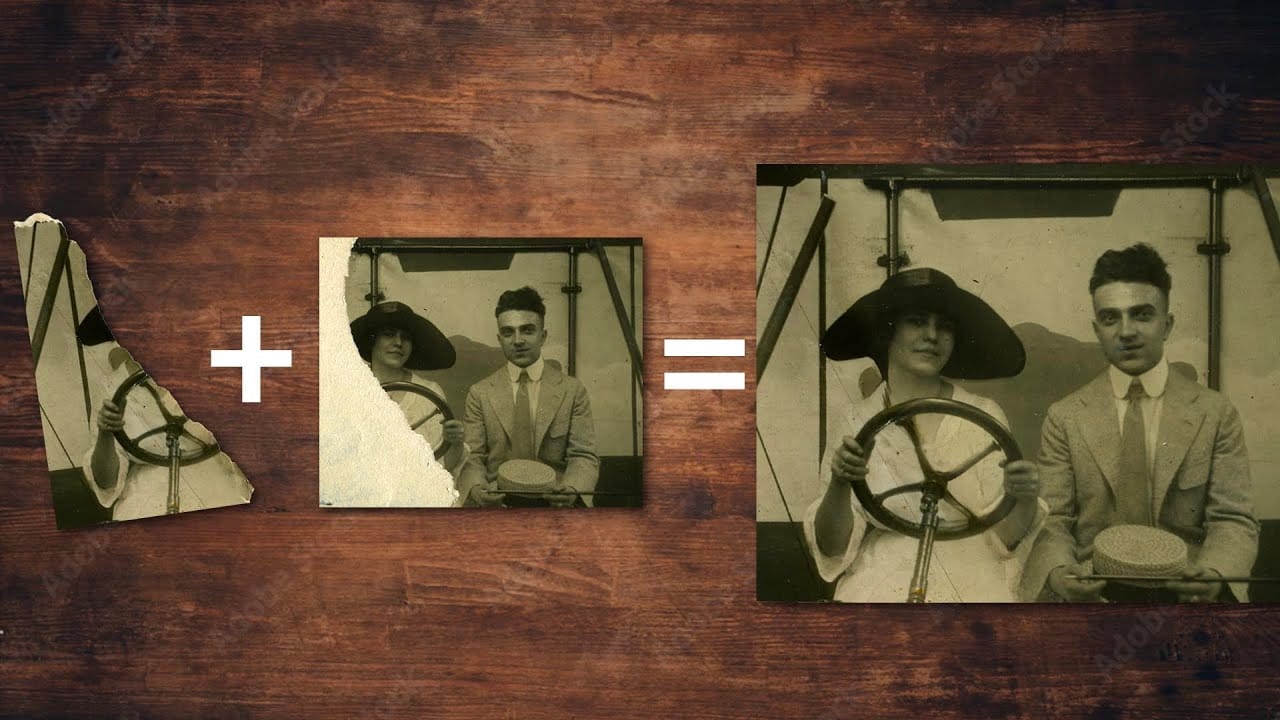
Restoring old, damaged photographs can be a challenging endeavor. While many AI-powered tools promise to breathe new life into vintage images, they often fall short, either over-sharpening details, neglecting certain areas, or, most critically, altering the original likeness of individuals. This often leads to frustrating and uncanny results that strip the photos of their authentic charm.
This tutorial unveils a comprehensive workflow that marries the efficiency of AI-driven enhancement with the precision of manual adjustments in Photoshop. Viewers will discover how to leverage AI for initial restoration tasks, then employ advanced Photoshop techniques to refine facial features, correct colors, and integrate elements seamlessly, ensuring a natural and high-quality final product that truly honors the original.
Watch the video
Any links or downloads mentioned by the creator are available only on YouTube.
Breaking It Down
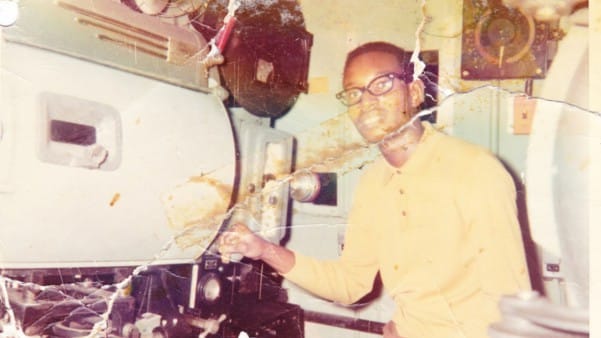
Initial attempts at photo restoration using AI alone frequently fall short due to their inherent limitations.
AI models, while adept at recognizing patterns and generating details, often struggle with the subtle nuances of human faces and the preservation of original character. They may prioritize a "perfect" or "sharpened" output over maintaining the authentic likeness, leading to a loss of the subject's unique features.
The demonstrated hybrid approach capitalizes on the strengths of both AI and human intelligence. AI is used for its efficiency in handling large-scale damage, such as scratches and general blurring.
Photoshop then provides the granular control necessary to correct specific issues like mismatched facial features or inconsistent textures, which AI often misinterprets. This symbiotic relationship ensures that the final image is not just repaired, but thoughtfully restored.
Key techniques in this workflow include:
- Utilizing Photoshop's Liquify filter, specifically its Face-Aware Liquify capabilities, for precise and non-destructive adjustments to facial structures.
- Employing blend modes like
Differenceto accurately align source and reference images, revealing even subtle misalignments for correction. - Strategic use of adjustment layers, such as
Curves, positioned carefully within the layer stack to control contrast and color without disrupting previous edits. - Applying a very subtle
Gaussian Blur(e.g.,0.8to1pixel) to AI-generated outputs to counteract artificial over-sharpening, preparing the image for more natural detail enhancement. - Leveraging masking to selectively blend the best parts of AI-restored elements with the original or manually corrected areas.
Practical Tips
- When using AI for an initial pass, always save the original image as a reference. Dragging the original into Photoshop alongside the AI-restored version helps maintain visual consistency, especially for facial features.
- For targeted facial adjustments, begin with
Filter > Liquify > Face-Aware Liquify. This feature intelligently detects and allows precise manipulation of eyes, nose, and mouth, saving significant time compared to manual warping. - To counteract AI's tendency to over-sharpen, apply a subtle
Gaussian Blur(e.g.,Filter > Blur > Gaussian Blurwith a radius around0.8to1.0pixel) to the AI-generated layer. This smooths artificial edges before applying final, controlled sharpening. - When aligning two images, place one on top of the other and change the top layer's blend mode to
Difference. UseCtrl/Cmd + T(Free Transform) to move and scale, watching for dark areas that indicate alignment, particularly focusing on the eyes. - To steal colors from a source image and apply them to another layer, create a new layer above the target area, set its blend mode to
Color, and clip it. Then, use theBrush ToolwithAlt/Option-click to sample colors and paint them onto the new layer.
Related Tutorials and Downloads
Explore additional resources to deepen your understanding of photo manipulation and digital art techniques.