How to Use Layer Filtering to Organize Complex Projects in Photoshop

How to Use Layer Filtering to Organize Complex Projects in Photoshop

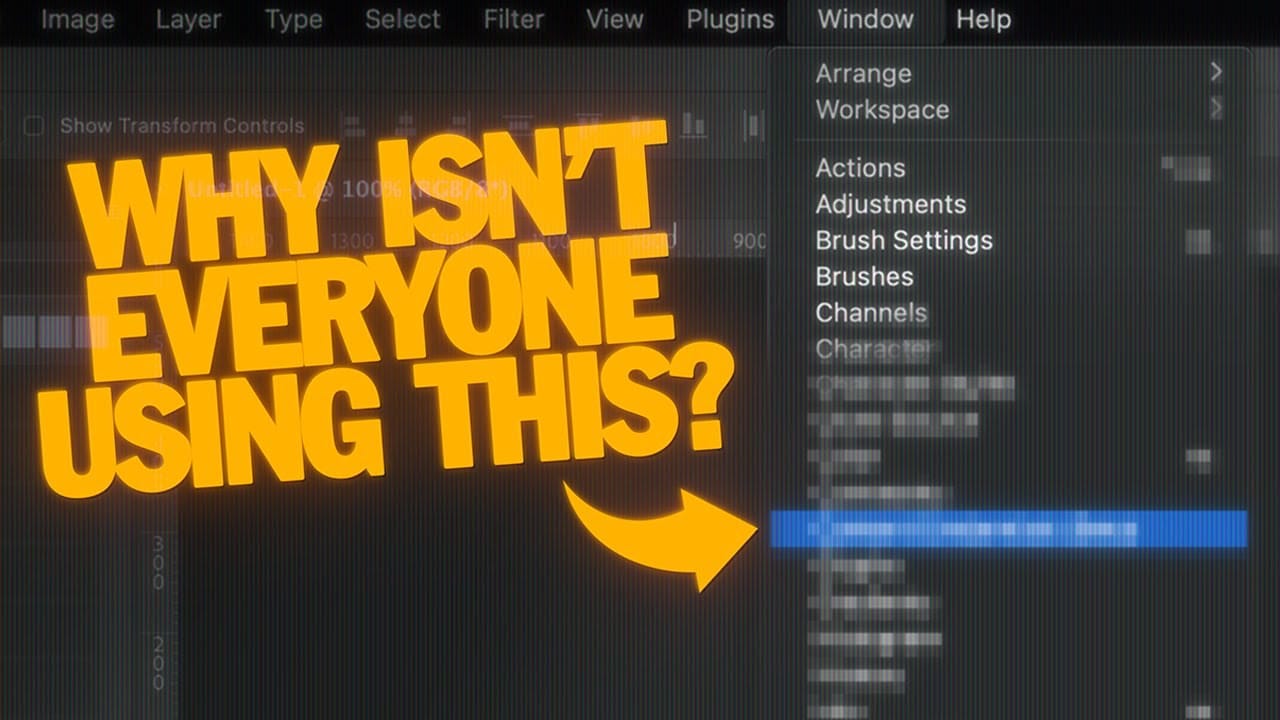
When working with dozens of layers in complex composites or designs, finding specific elements becomes a time-consuming challenge. The layer filtering system in the Layers panel offers powerful tools to instantly isolate different types of content, making organization and editing far more efficient.

These filtering options help you quickly group similar layers, clean up unused elements, and maintain better project structure without endless scrolling through your layer stack.

Watch the Video

Video by photoshopCAFE. Any links or downloads mentioned by the creator are available only on YouTube

Practical Tips

Master these layer filtering techniques to streamline your workflow and maintain organized projects:

  • Use text filtering to collect all type layers, then drag them together as a group for easier management
  • Filter by pixel layers to focus only on your main composite elements without distractions from adjustment layers
  • Apply color coding through the Name filter - search for specific elements, then assign colors for quick visual organization
  • Use the Empty attribute filter to identify and delete layers with no content, cleaning up your file size
  • Combine multiple filters (like adjustments + pixel layers) to see related elements together while hiding everything else

Explore more techniques for efficient layer management and workflow optimization:

10 little-known Photoshop features you should really learn
Photoshop's true power isn't just in its headline features—it's in the hidden gems that can transform your workflow overnight. While everyone knows about layers and the healing brush, these lesser-known capabilities can save you hours and open up creative possibilities you never knew existed. If you're a seasoned professional or an ambitious beginner, these 10 features will give you that unfair advantage that separates efficient creators from those still clicking through endless menus. 1. Ble
Unlocking the Power of Layer Masks in Photoshop
Layer masks are a fundamental feature in Photoshop that allow for greater control over images. They enable you to hide or reveal portions of a layer without permanently altering the original content. This non-destructive editing approach is beneficial for making precise adjustments to your designs. You can use layer masks in various ways. For example, they help blend multiple images, create seamless transitions, or apply effects to specific areas. By painting on the mask with black or white, yo
10 hidden and obscure Photoshop tools and features you probably didn't know
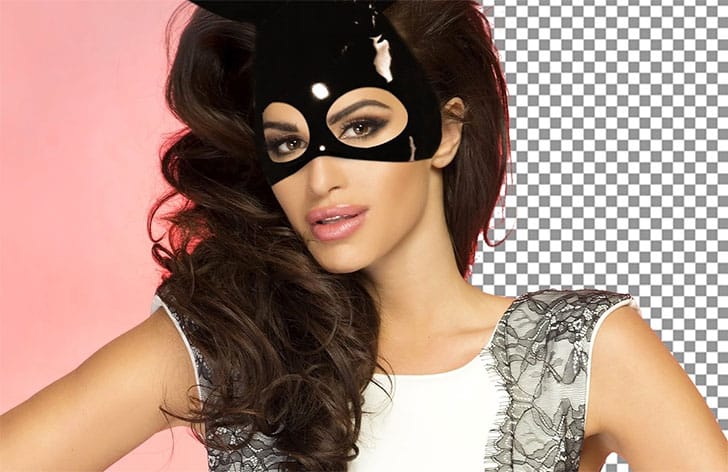
In this Adobe Photoshop tutorial, Nathaniel Dodson will do a quick 45 minute rundown of 10 features (and one bonus trick) that are relatively unknown or obscure in the world of Photoshop. You'll learn about a trick to cut out hair and then making edges looks smoother and more perfect. You'll learn about an amazing color grading technique and replacing colors and even targeting very specific color across a photo–even when that color is very hard to select. You'll also learn about creating graphi
7 Overlooked Photoshop Tools That Will Save You Hours
You're probably using Photoshop the hard way. You've mastered the basics - Magic Wand for selections, Clone Stamp for removals, layer masks for compositing. But you're likely missing out on dozens of features that could cut your editing time in half. Adobe has quietly (okay, not so quietly) added dozens of time-saving features that most users never discover. Here's the thing: Photoshop's interface is overwhelming. With hundreds of tools and panels, it's natural to stick with what works and ig
5 Hidden Photoshop Features You Probably Didn't Know
Many Photoshop users tend to rely on a familiar set of tools and workflows, often overlooking powerful but less obvious functionalities. This can lead to inefficient processes and missed creative opportunities, making certain tasks feel more cumbersome than they need to be. This guide and accompanying video demonstrate five underutilized features within Photoshop that can significantly enhance your efficiency and expand your creative toolkit. Learning these capabilities transforms how you appro
Understanding Photoshop Blending Modes: A Complete Guide to Layer Blending
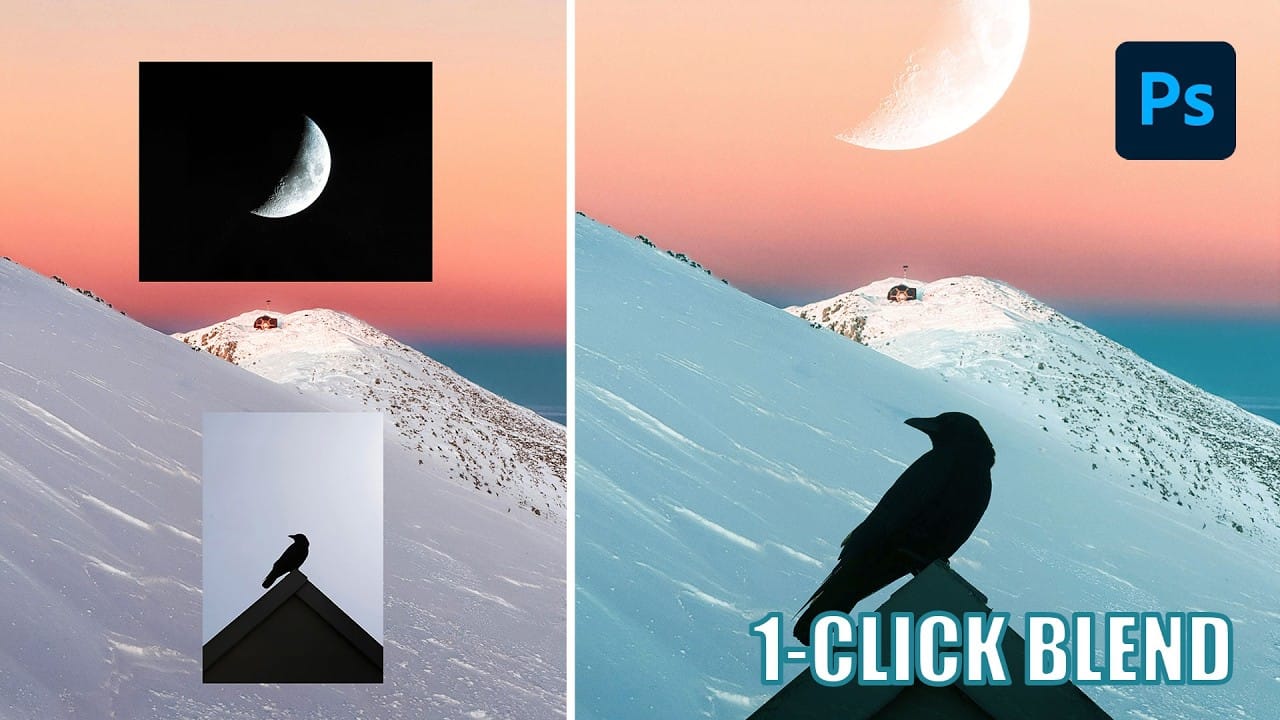
Blending modes transform how layers interact in Photoshop, letting you seamlessly combine images without complex masking. This technique reveals only light areas, dark areas, or specific colors from each layer. Master these essential blending groups to create professional composites and artistic effects with just a few clicks. Watch the Tutorial Essential Blending Mode Tips * Use Screen or Lighten modes to make dark backgrounds disappear while keeping bright elements visible * Apply Mult
Unlock Your Hidden Illustration Powers with Just One Photoshop Tool
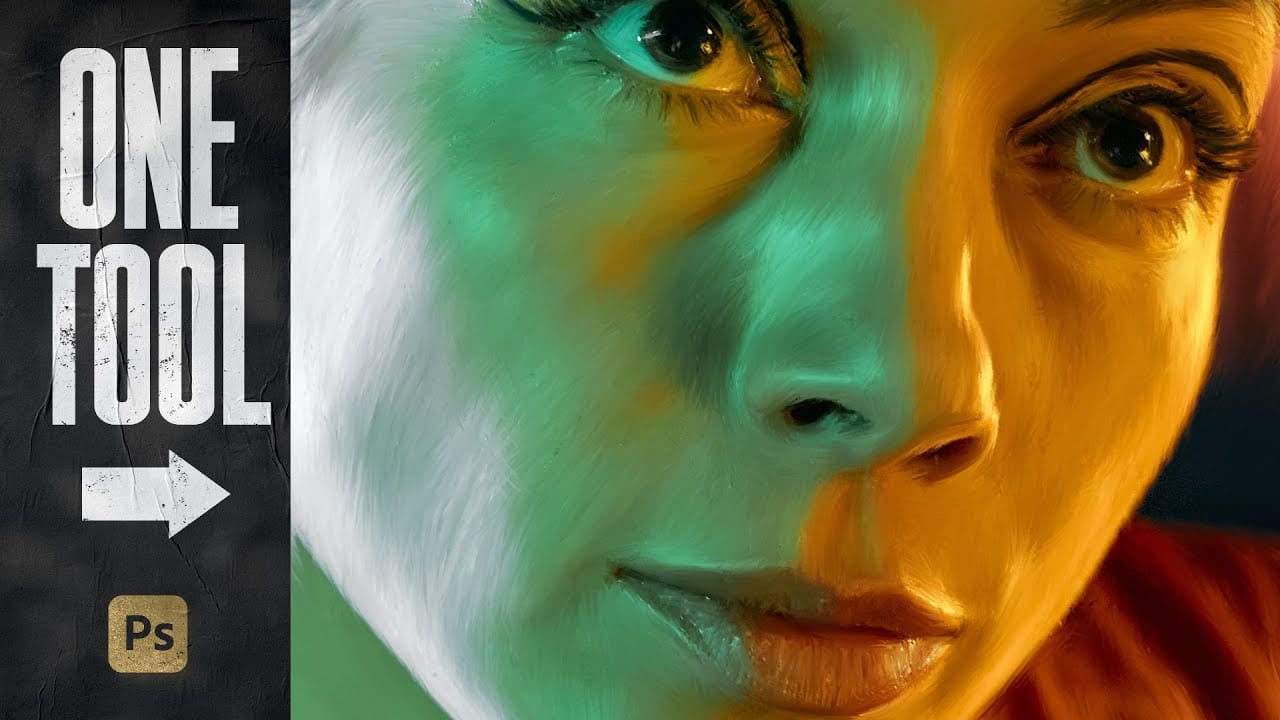
This video from TextyreLabs offers an exciting opportunity to enhance your illustration skills using just one tool in Photoshop. The focus is on the smudge tool, which allows you to transform basic images into detailed illustrations without needing advanced drawing techniques or a tablet. Throughout the presentation, viewers will learn how to manipulate the smudge tool and adjust brush settings for improved results. You can start with an ordinary image, or even apply some pre-manipulation techn
Master Layer Comps in Photoshop for Faster Design Workflow
Design iterations can quickly spiral into chaos without proper version control. Layer Comps in Photoshop offers a powerful solution that most designers overlook, letting you save snapshots of your layer panel's visibility, position, and appearance at different stages of your project. This hidden feature transforms how you approach creative work, allowing you to experiment fearlessly while maintaining access to every version of your design. From social media exports to client presentations, Laye
How to Create and Use Layer Masks in Photoshop
Layer masks represent one of Photoshop's most powerful non-destructive editing tools, providing photographers and designers with precise control over image visibility. Unlike permanently deleting parts of an image, layer masks allow for reversible adjustments that can be refined throughout the creative process. In this comprehensive tutorial, you'll explore everything from fundamental layer mask concepts to advanced techniques like mask copying, unlinking, and group masking. Learn how to use th

Get tutorials & freebies delivered to you.

Subscribe to the Photoshop Roadmap newsletter, a weekly roundup of new tutorials, insights and quality downloads, trusted by 6500+ readers.

You might also like

How to Use the Automatic Blemish Removal Tool in Adobe Camera Raw

Adobe Camera Raw's blemish removal tool scans a portrait and cleans skin imperfections in seconds, without any manual selection. The workflow stays entirely non-destructive when the layer is converted to a smart object first, and a fade slider lets you control how much retouching is actually applied...

How to Use a Grey Layer to Spot and Fix Mask Edges in Photoshop

Edge halos and stray artifacts are easy to miss when masking a subject, especially with AI-generated selections. Placing a neutral grey layer beneath your masked subject forces those problem areas into plain view, making cleanup faster and more precise. Practical Tips These steps cover the core workflow shown in...

How to Use the Light Adjustment Layer in Photoshop Effectively

Photoshop's Light adjustment layer brings Camera Raw-style tonal controls — exposure, contrast, highlights, shadows, whites, and blacks — directly into a non-destructive layer workflow. The real value isn't in what the sliders do individually, but in how you sequence them to expand dynamic range and reveal...

Photoshop’s Big 5: The Features That Actually Mattered This Year So Far

Photoshop updates land continuously throughout the year, but not every new addition reshapes how we actually work. While some releases bring minor UI polish or experimental tools, a handful of recent additions stand out as genuine upgrades to daily creative production. Rather than sifting through endless release notes, here is...

How to Use the Vectorscope in Camera Raw to Correct Skin Tones

Monitors vary, room lighting shifts, and your eyes adapt — none of which makes for reliable skin tone judgments. Camera Raw's vectorscope gives you a measurement-based alternative, displaying hue and saturation data visually so you can align skin tones to a scientifically accurate target line, regardless of your...

You’ve successfully subscribed to Photoshop Roadmap
Welcome back! You’ve successfully signed in.
Great! You’ve successfully signed up.
Success! Your email is updated.
Your link has expired
Success! Check your email for magic link to sign-in.