
Most compositing errors come down to a handful of repeatable problems: mismatched lighting direction, inconsistent white points, misaligned perspective, and atmosphere applied in the wrong layer order. Catching these issues early — ideally before you shoot — saves significant time in post.
Watch the Video
Video by Nucly • Photoshop and Creative Design Training. Any links or downloads mentioned by the creator are available only on YouTube
Practical Tips
These corrections apply to nearly every composite, regardless of complexity or subject matter.
- Match lighting direction before placing any element. If your background is top-lit and your subject is side-lit, flip whichever asset is easier to reverse — usually the background — so both share the same light source.
- Match the white point, not just overall brightness. An element can look properly exposed overall yet still feel out of place if its brightest pixels don't reach the same white point as the scene around it. Use a Curves adjustment to align the highlight ceiling.
- Place atmosphere and fog behind your subject, never on top. Applying a color wash or haze over a foreground subject pushes it into the background visually. Keep atmospheric effects on layers below the subject to preserve depth separation.
- Give foreground elements more contrast than background elements. The closer something is to the camera, the higher its contrast should be. Reducing contrast on background layers and lifting it on foreground layers creates convincing depth without any masking.
- Check scale and perspective before finalizing placement. A mismatched horizon line or an object that implies the wrong physical size — such as a street marking that dwarfs a human figure — immediately breaks the illusion. Use perspective guides or Photoshop's Rotate Object tool to align elements before blending.
Related Articles and Tutorials
These tutorials cover compositing techniques, common editing errors, and methods for building more convincing blended images.
7 easy Photoshop tips to make your composites more realistic
In this tutorial, Jesus Ramirez shares seven essential Photoshop tips and tricks to help you create more realistic composites. If you're struggling to make your composites look convincing, this video is a must-watch.
Jesus covers a range of techniques designed to enhance the realism of your composite images. These tips include how to match lighting and shadows, blend edges seamlessly, and use adjustment layers effectively. You'll also learn about color matching and the importance of perspective
Avoid the 3 worst Photoshop photo editing mistakes
Colin Smith from Photoshop Cafe shares essential tips to help you avoid the three most common Photoshop photo editing mistakes. These mistakes can make your edits look amateurish, but with Colin's guidance, you'll learn how to sidestep them and enhance your editing skills.
The first mistake is over-sharpening, which Colin calls the "Sizzle Sharpen." This occurs when the halos around edges become too prominent, making the image look unrealistic. To avoid this, Colin advises converting your layer
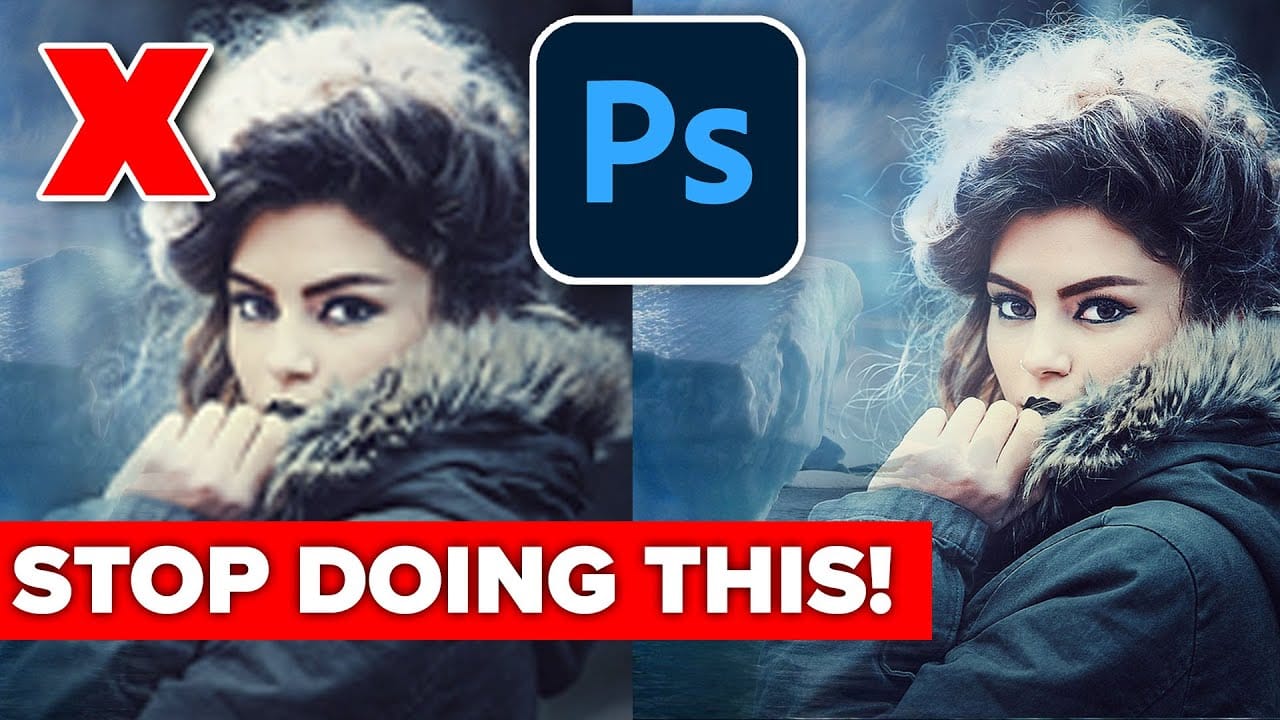
7 Photo Mistakes You Can Easily Fix in Photoshop
Even experienced photographers struggle with certain technical challenges that can ruin an otherwise perfect shot. Motion blur from camera shake, missed focus on key subjects, overexposed highlights, or unwanted color casts are frustrating problems that happen to everyone—and sometimes they're impossible to avoid in-camera.
This comprehensive tutorial demonstrates seven essential Photoshop techniques for rescuing imperfect photos. From advanced sharpening methods to selective color correction,

10 Critical Photoshop Mistakes You Must Stop Making.
We all love to laugh at other people's mistakes, especially while looking at those hilarious Photoshop Fails. But when are you going to fix your own mistakes?
Even those so-called experts make mistakes sometimes. So, before you call yourself a Photoshop master, see if you make any of these amateur mistakes when using Photoshop.
1) Forgetting To Use History Snapshots
The History window is one of the best features in Photoshop that allow you to turn back time whenever you mess up an image. Alt
How to Create Professional Photo Composites in Photoshop
Creating compelling photo composites requires more than simply placing images together. This comprehensive tutorial demonstrates how to blend multiple elements seamlessly, from matching lighting and color to painting realistic shadows and highlights.
The project showcases a dramatic scene inspired by Stranger Things, combining buildings, characters, and atmospheric effects with precise color grading and lighting techniques that transform ordinary photos into cinematic compositions.
Watch the
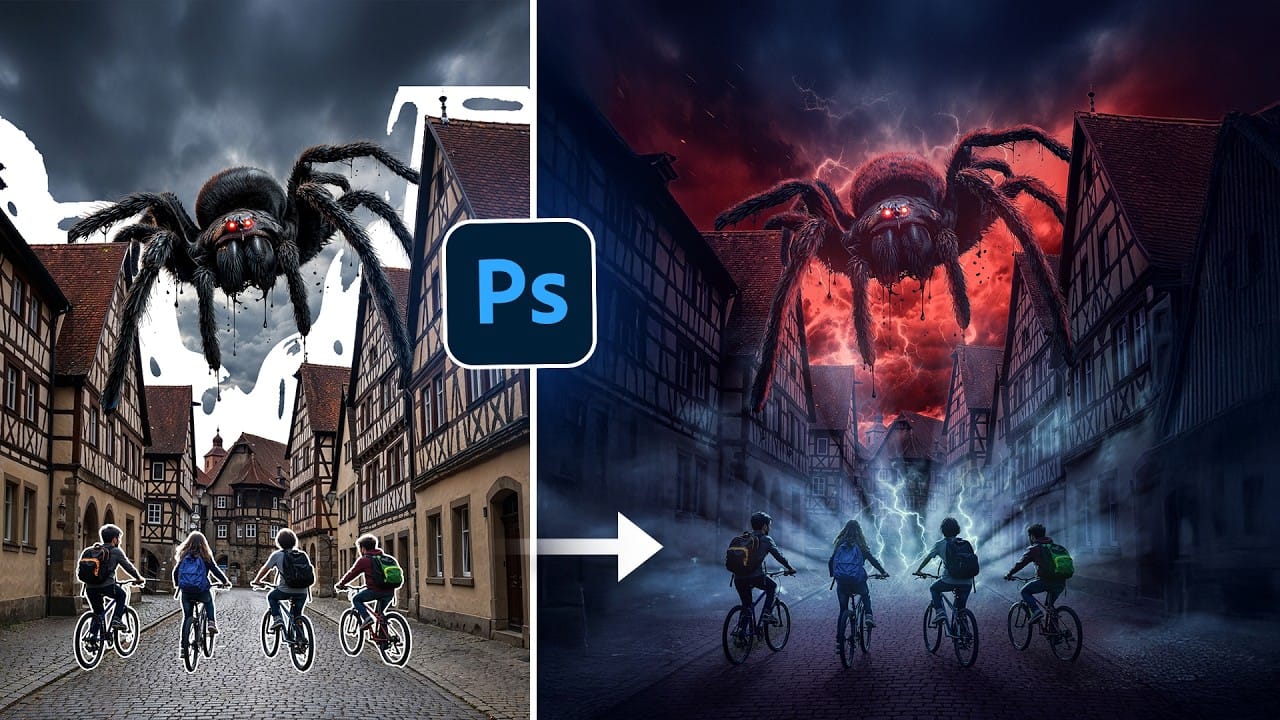
How to Build a Photo Manipulation in Photoshop: A 4-Step Compositing Workflow
Building a convincing photo manipulation from scratch requires more than creativity — it demands a repeatable process. This breakdown covers the four core steps used to composite multiple images into a single cohesive scene, from rough layout through exposure matching, color balancing, and shadow painting.
Watch the Video
Practical Tips
These steps apply to any composite project, regardless of complexity or number of elements.
* Arrange and rough-cut all elements before applying any effec
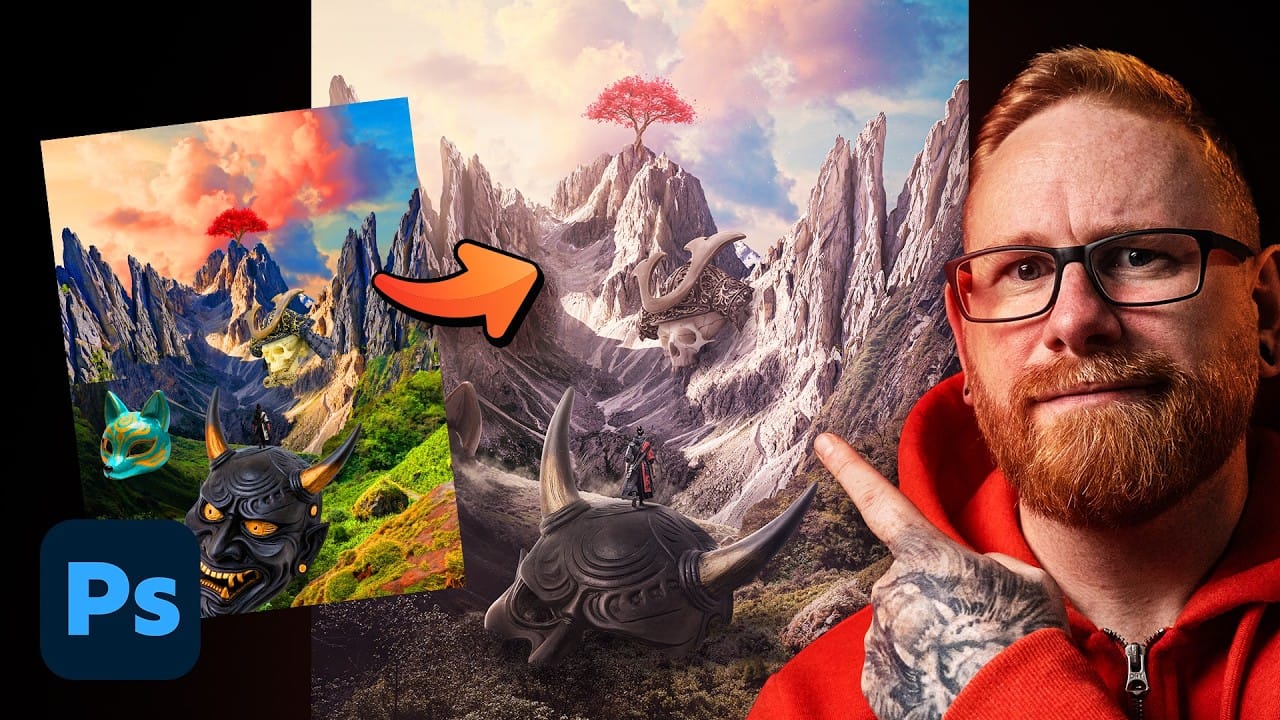
Essential Photo Compositing Tips for Better Image Blending
Professional photo compositing requires more than just combining images—it demands understanding how light, perspective, and color work together. These fundamental techniques separate amateur collages from convincing, professional-quality composites that tell compelling visual stories.
Mastering composition rules, shadow behavior, and color matching creates seamless blends that viewers accept as natural. Each element must work harmoniously to support the main focal point and deliver a clear mes