Building a convincing photo manipulation from scratch requires more than creativity — it demands a repeatable process. This breakdown covers the four core steps used to composite multiple images into a single cohesive scene, from rough layout through exposure matching, color balancing, and shadow painting.
Watch the Video
Video by Dansky. Any links or downloads mentioned by the creator are available only on YouTube
Practical Tips
These steps apply to any composite project, regardless of complexity or number of elements.
- Arrange and rough-cut all elements before applying any effects — composition first, adjustments second.
- Strip color with a Hue/Saturation layer set to zero saturation before balancing exposure, so tonal differences are easier to read.
- Match colors to the dominant light source in the scene — typically the sky — using Color Balance or Vibrance adjustment layers clipped to each element.
- Paint shadows with low-opacity exposure adjustment layers to simulate a consistent light direction across all elements.
- Finish with a flattened smart object run through Camera Raw, using Texture and Clarity to sharpen detail and unify the final image.
Related Articles and Tutorials
Explore more tutorials on compositing, color grading, and photo manipulation techniques.
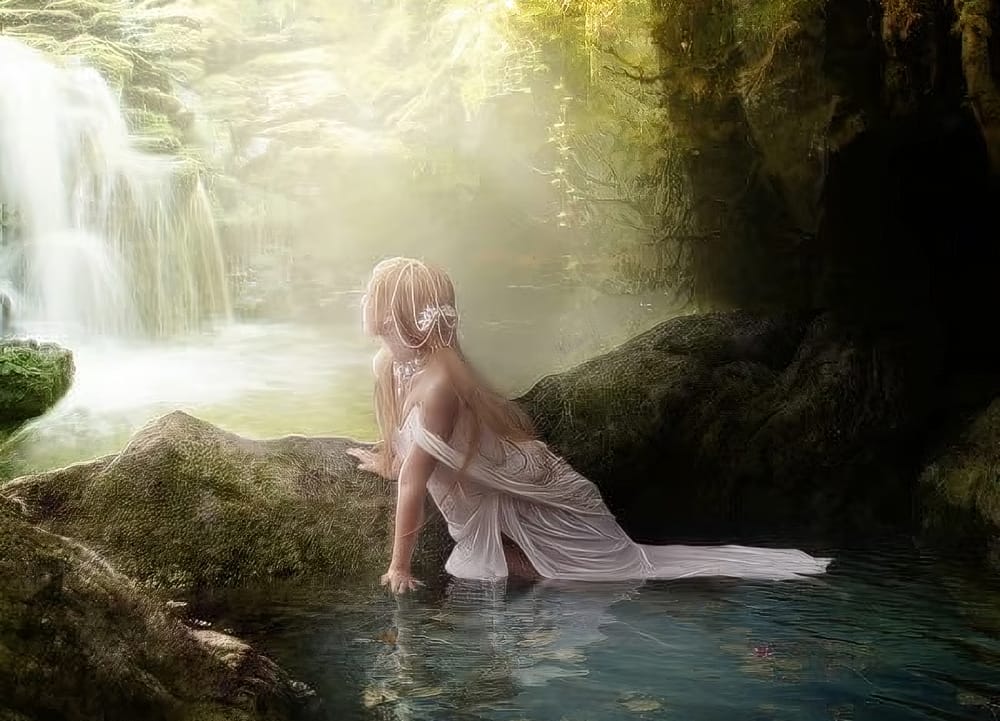
Create a Fantasy Photo Manipulation in Photoshop
This tutorial focuses on creating a stunning fantasy photo manipulation in Photoshop. It guides you through the process of combining various stock photos and artworks to achieve your desired effect.
You will learn techniques for applying a soft photo effect that adds an ethereal touch to your composition. The tutorial also covers how to add realistic moss to rocks, bringing an organic feel to the environment. Moreover, you'll discover how to enhance a pool of water by introducing water lilies,
30 Essential Photo Manipulation Photoshop Tutorials for Beginners
When exploring new Photoshop tutorials, it's common to encounter complex techniques aimed at professionals. However, the reality is that many users often need to tackle basic tasks, such as removing red-eye or altering colors in their images. Sometimes, they might just want to learn a single skill from a more intricate project.
This compilation focuses on essential photo manipulation techniques suitable for beginners. It includes methods like changing skies, fixing red-eye issues, creating a ti
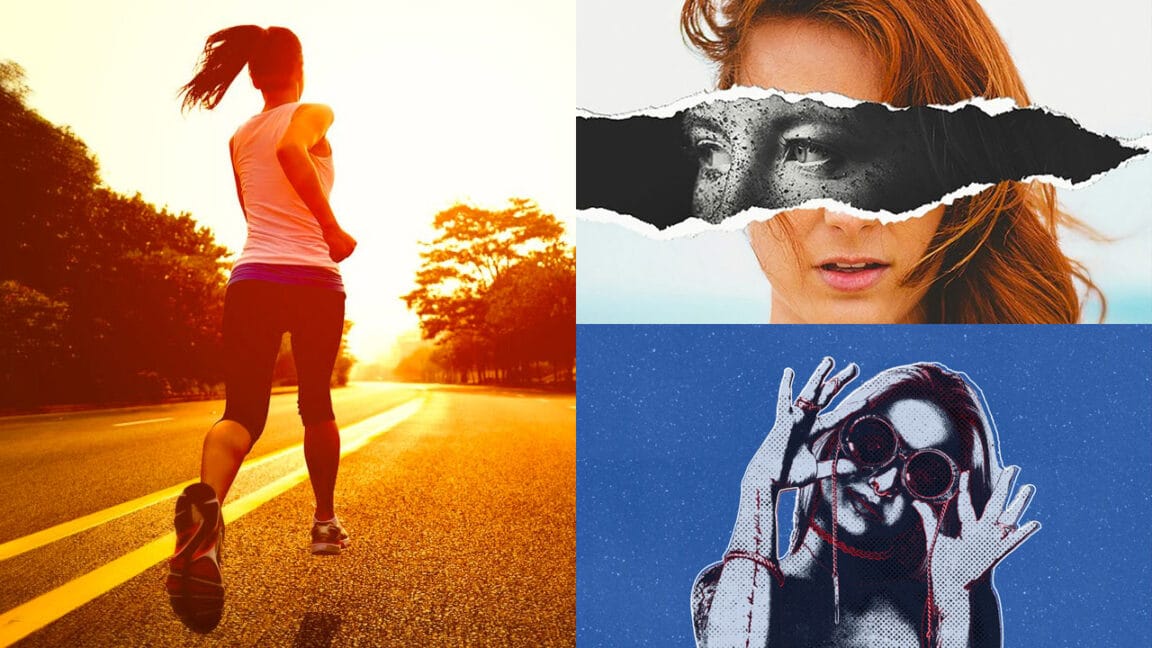
Complete Photoshop Editing Workflow: 5 Steps from Raw to Polished
Photoshop offers endless possibilities for photo enhancement, but many photographers never move beyond basic adjustments because the software feels overwhelming. This comprehensive workflow breaks down photo editing into five manageable stages that work consistently across different photography styles.
The systematic approach covers everything from initial raw processing to advanced lighting techniques, providing a reliable framework for transforming any photograph into a polished final image.
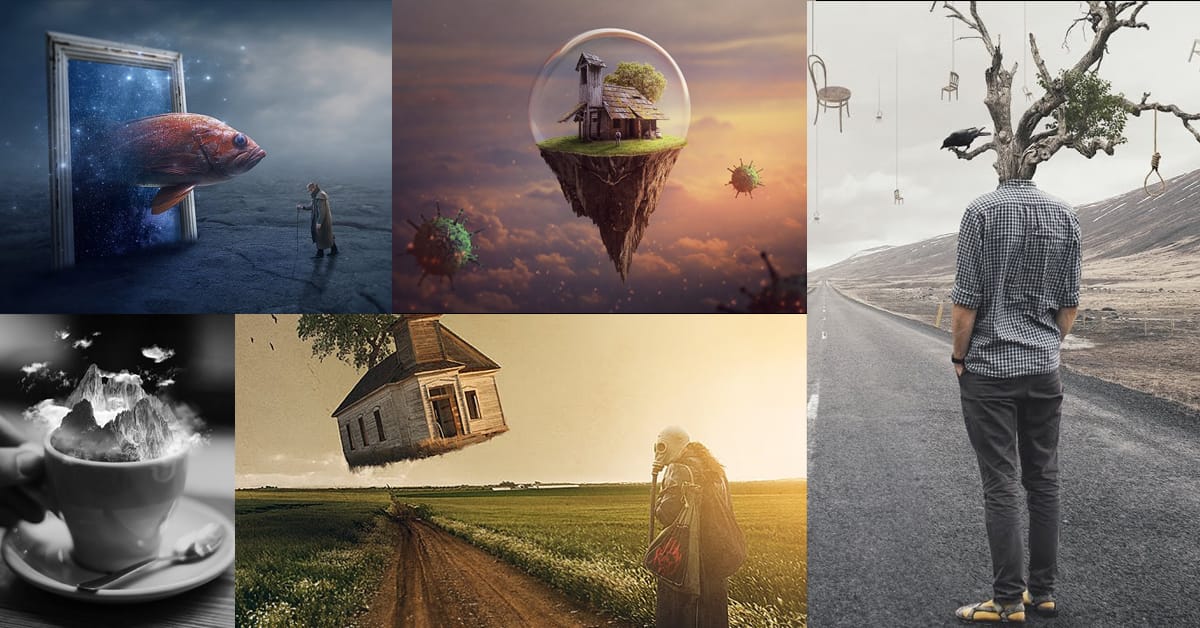
Create amazing surreal photo manipulations in Photoshop
Have you ever seen images online that seem to defy reality? Professional retouchers have mastered techniques to seamlessly combine different elements into surreal composite images. However, their methods have largely remained secrets known only to a select few experts. Now, in these unique Photoshop tutorials, some of the world's best retouchers are finally revealing their processes.
Across multiple in-depth videos, the pro retouchers deconstruct their entire workflows step by step. You'll lear
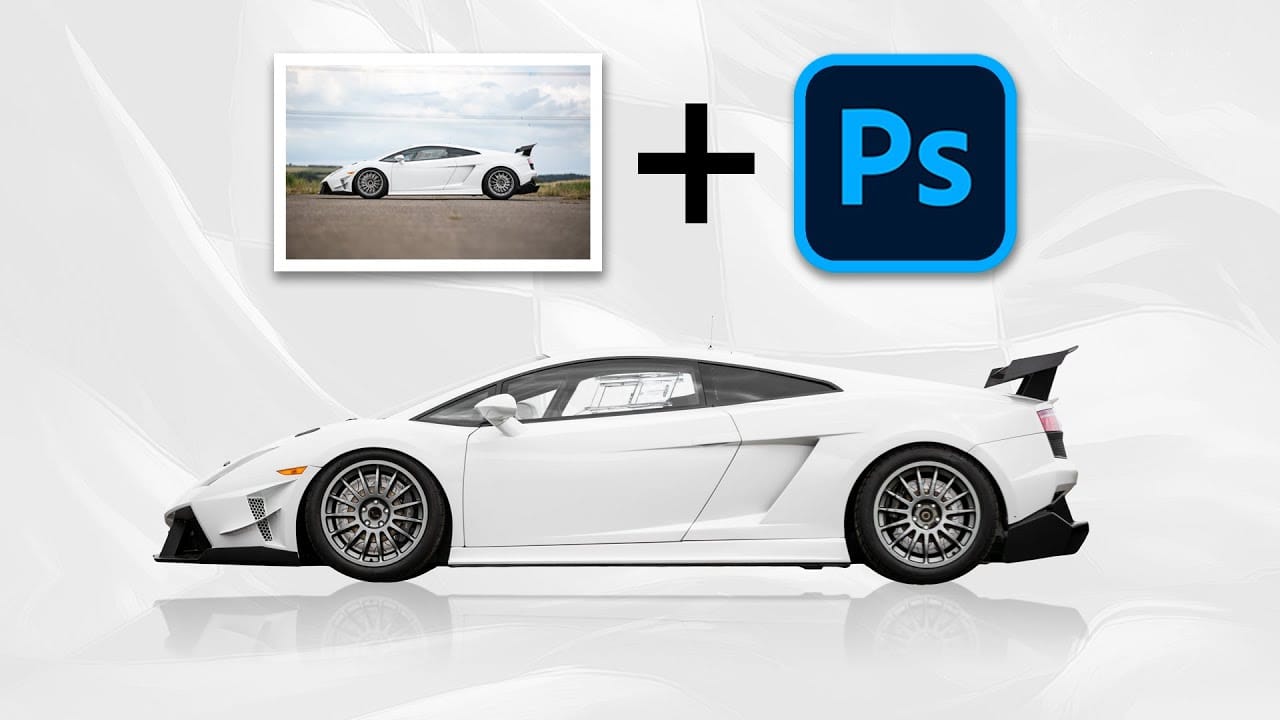
Learn Photoshop by Combining Tools and Techniques
Achieving truly impressive image manipulations in Photoshop goes beyond mastering individual tools; it requires skillfully combining them. Many users learn techniques in isolation, but the real power of Photoshop emerges when these diverse methods are blended to create a cohesive final result.
This tutorial demonstrates how to transform an ordinary photo into a dynamic composite. It guides you through integrating various tools and techniques, showing how to approach complex edits by layering di
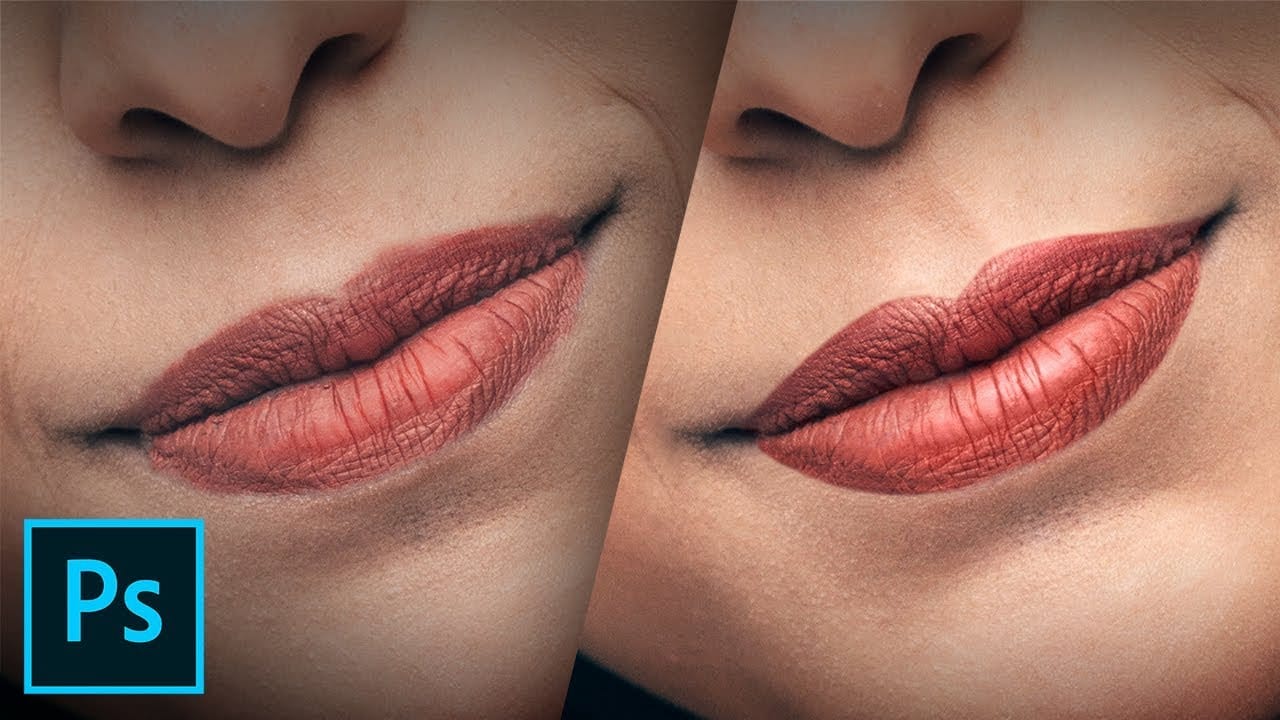
How to Create Beautiful Lips in Photoshop with Professional Techniques
Transform ordinary lip photos into stunning, polished portraits using a proven four-step method that combines cleaning, shaping, dodging and burning, and adding strategic shine. This comprehensive approach removes distractions while enhancing natural beauty, creating lips that look clean, dimensional, and professionally retouched.
The technique uses curves adjustment layers and masking to build up brightness and shadows gradually, giving you complete control over the final result while maintain
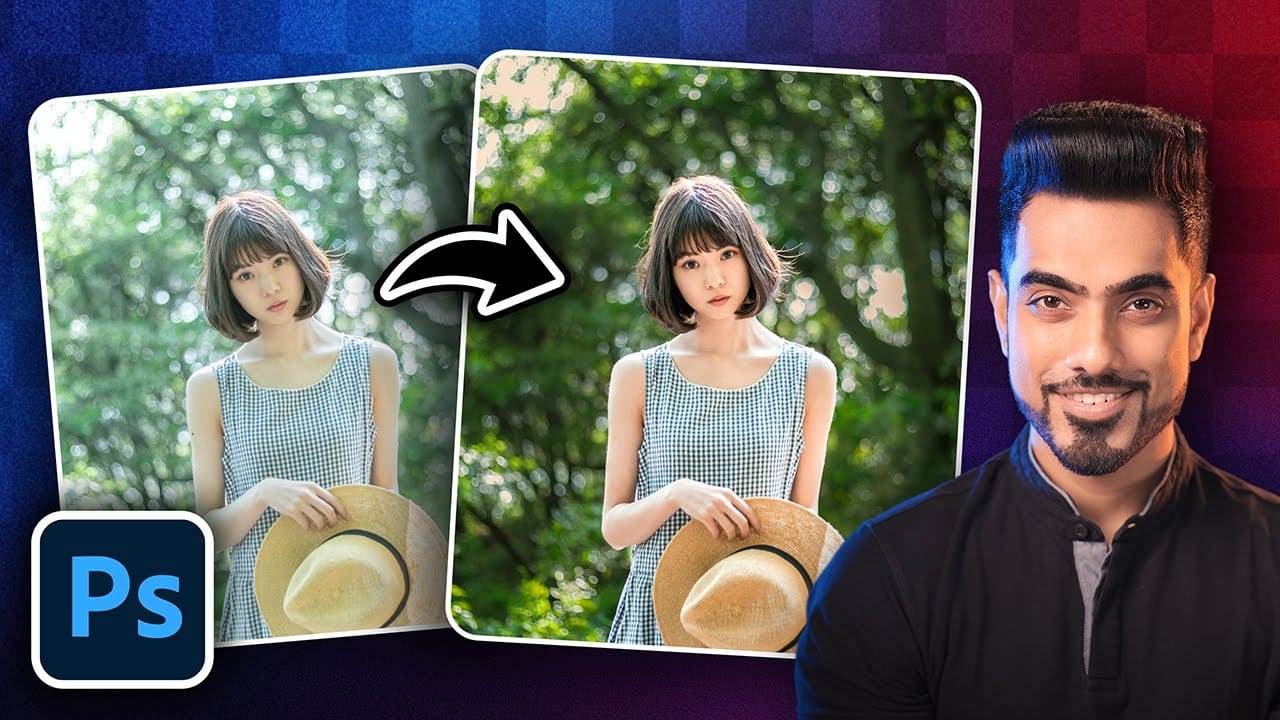
5 Essential Photoshop Techniques for Better Portrait Editing
Portrait editing often feels overwhelming, especially when trying to balance natural-looking results with professional polish. Many photographers struggle with where to start and which adjustments will have the biggest impact on their images without making them look over-processed.
This tutorial covers five fundamental Photoshop techniques that will immediately improve any portrait. From creating better subject focus to color correction and skin retouching, these methods provide a solid foundat
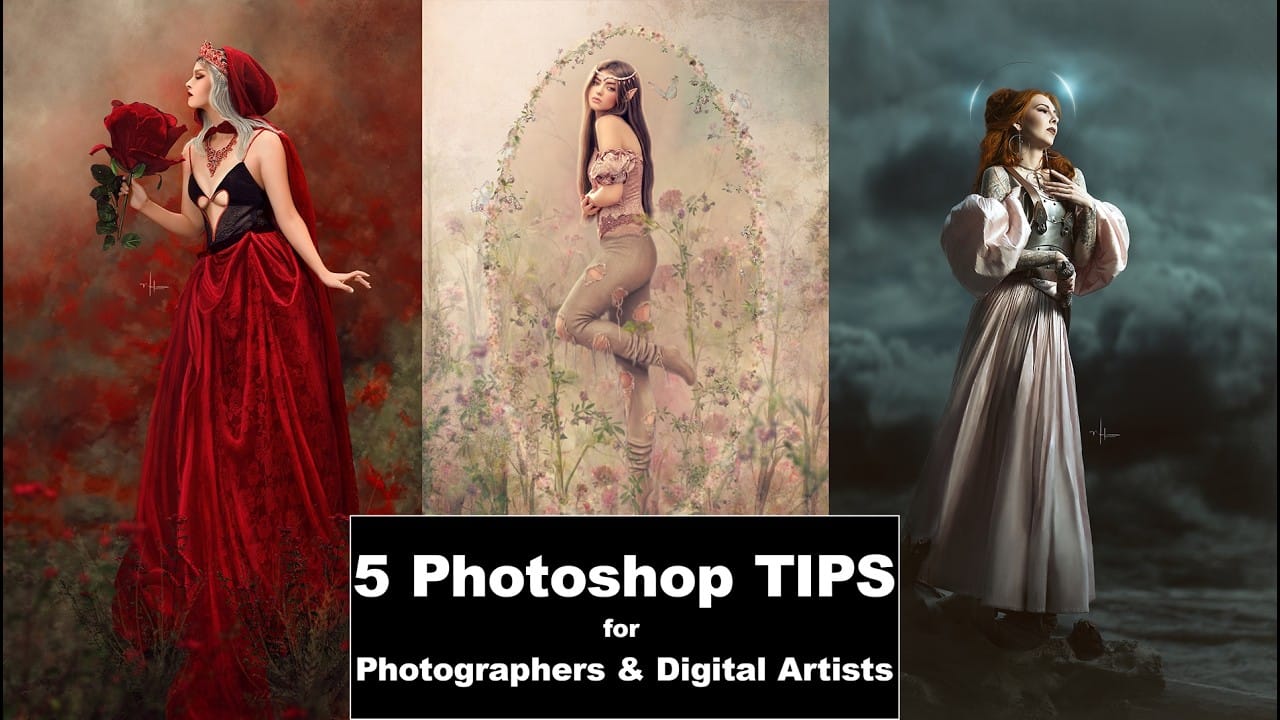
5 Essential Photoshop Techniques for Digital Artists and Photographers
Digital artists and photographers often find themselves repeating the same complex adjustments and effects across multiple projects. These five advanced techniques will help you work more efficiently while creating professional-quality results.
From custom presets that save hours of color adjustments to hand-painted digital enhancements that set your work apart from AI-generated content, these methods focus on building a sustainable creative workflow.
Watch the Video
Practical Tips
Here ar
Create an Alien Invasion Photo Manipulation in Photoshop
In this tutorial, you'll learn how to create an alien invasion photo manipulation in Photoshop. The focus is on building a convincing destruction scene, which is often one of the most challenging aspects of this type of work.
The guide walks you through the process step-by-step, covering essential techniques to achieve a realistic result. You'll explore color correction methods to ensure your composite elements blend seamlessly. The tutorial also explains effective masking techniques to integra

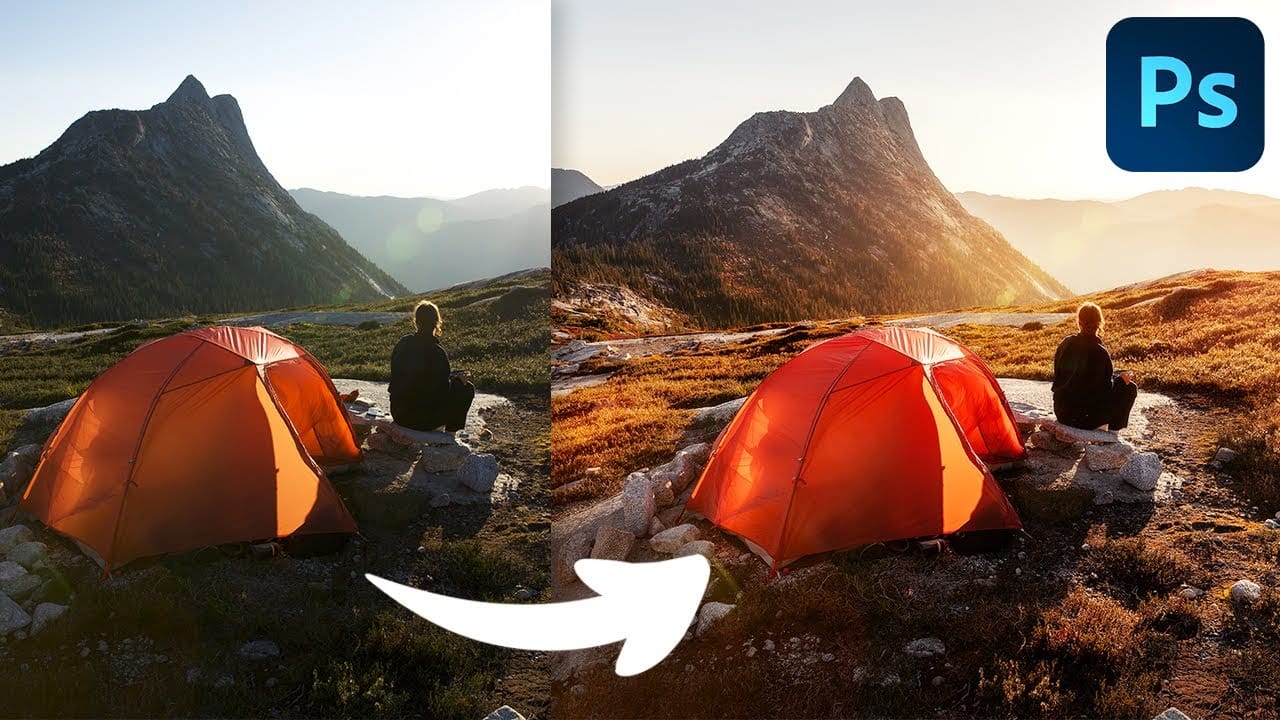
Professional Color Grading Techniques in Photoshop
Color grading transforms ordinary photos into compelling images with professional mood and atmosphere. These non-destructive techniques let you adjust tones, enhance specific colors, and create cinematic looks while preserving your original image data.
Master these four essential color grading methods to develop a consistent editing workflow that elevates your photography.
Watch the Video
Practical Tips
These techniques will help you achieve professional color grading results:
* Start wi