How to Create Beautiful Lips in Photoshop with Professional Techniques

How to Create Beautiful Lips in Photoshop with Professional Techniques

Transform ordinary lip photos into stunning, polished portraits using a proven four-step method that combines cleaning, shaping, dodging and burning, and adding strategic shine. This comprehensive approach removes distractions while enhancing natural beauty, creating lips that look clean, dimensional, and professionally retouched.

The technique uses curves adjustment layers and masking to build up brightness and shadows gradually, giving you complete control over the final result while maintaining a natural appearance.

Watch the Video

Video by PiXimperfect. Any links or downloads mentioned by the creator are available only on YouTube

Practical Tips

Master these essential techniques for professional lip retouching:

  • Use the regular Healing Brush tool on a new layer with "current and below" sampling to clean up temporary imperfections while preserving permanent characteristics
  • Create soft selections by using Quick Mask mode and applying Gaussian blur before using the Clone Stamp tool for outline refinement
  • Set up pressure-sensitive brushes with opacity and flow linked to pen pressure for natural-looking dodge and burn effects
  • Brighten the top lip areas and the center of the lower lip while darkening the outer edges and corners to create dimensional shape
  • Use separate curves adjustment layers for dodging and burning to maintain independent control over brightness and shadow intensity

Explore more portrait retouching and beauty enhancement techniques to perfect your photo editing skills.
How to enhance lips in Photoshop
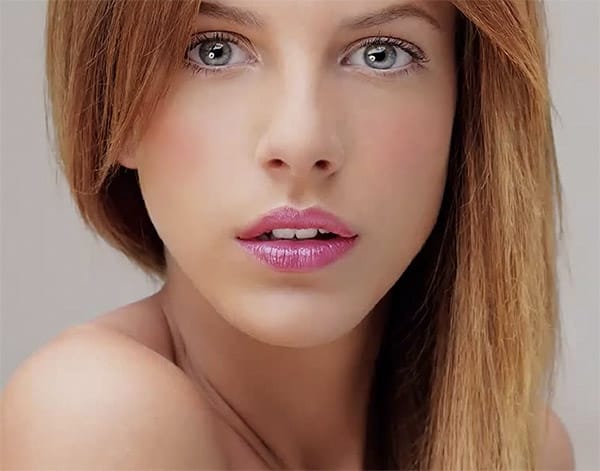
In this beginner-friendly Photoshop tutorial, you'll learn effective techniques to enhance the color and contrast of lips, giving them a shiny and vibrant appearance in your images. Follow simple methods to achieve beautifully enhanced lips, perfect for creating impactful portraits with striking lip colors. Ideal for photographers and hobbyists looking to improve their photo editing skills and create polished, professional-looking images. Watch tutorial
How to Retouch Lips in Photoshop
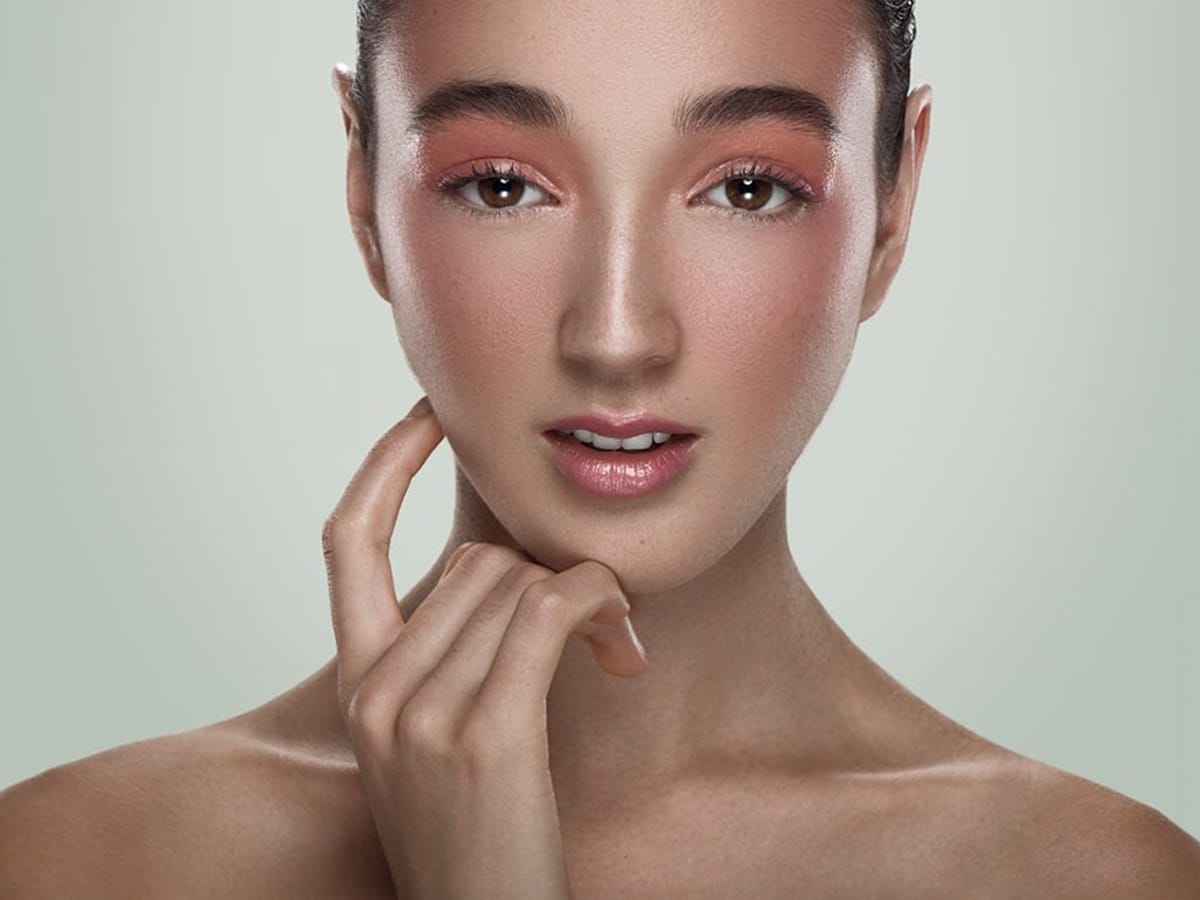
This video tutorial by Michael Woloszynowicz explains advanced techniques for retouching lips in Photoshop, ideal for portraits and beauty shots. It covers fixing cracked lips using an inverted high pass technique, adding shine, and defining the lip line. Tools available by default in Photoshop since version C3, such as Frequency Separation, Healing Brush, Clone Stamp Tool, Texture Grafting, Blending, Pen Tool, and Blend-if, are utilized. This tutorial is designed for users already proficient w
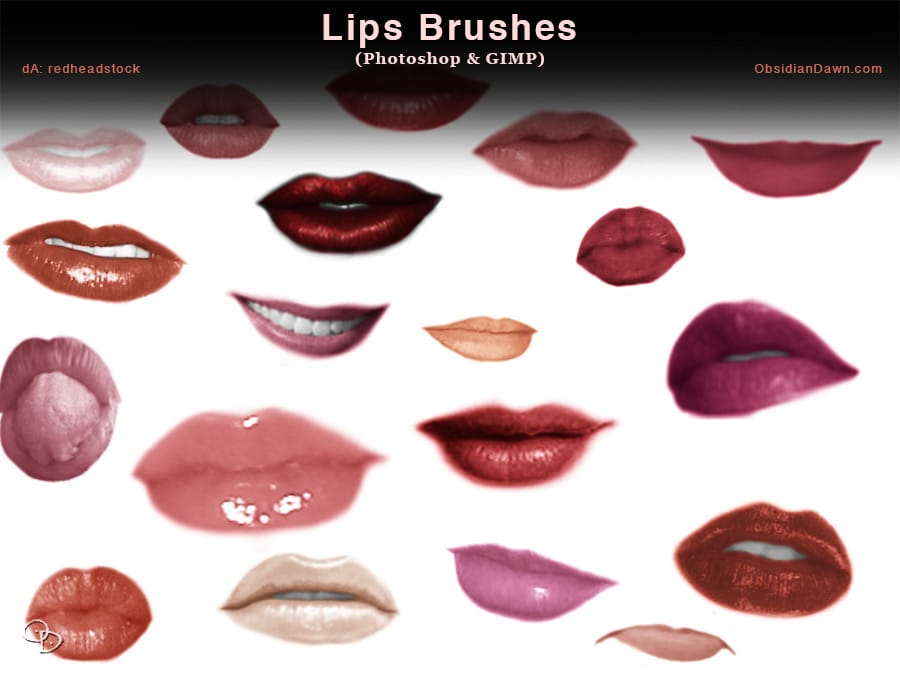
Lips and Mouth Photoshop Brushes
The author has created a unique set of Photoshop brushes that capture the intricate details of the female mouth and lips. These brushes include a diverse range of expressions, from captivating smiles to pensive frowns, and even a playful tongue sticking out. The collection provides artists and designers with a versatile tool to add depth and emotion to their digital creations. The brushes are designed to be both visually stunning and highly functional. They can be used to enhance portraits, add
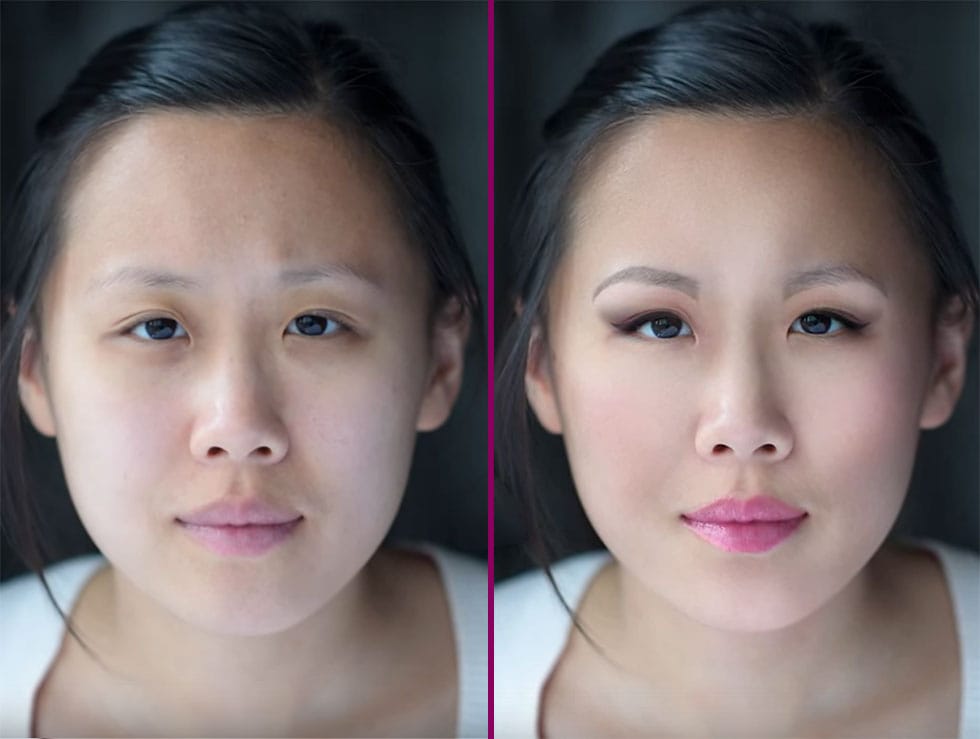
Complete Makeup Retouching in Photoshop
In the four-video tutorial series by Impossible Color, viewers can learn the basics of applying digital makeup to their photos in Photoshop. The first video teaches how to smooth out the skin without creating a fake, blurry, or plastic look, keeping the natural pores and details of the skin while removing blemishes and other imperfections. The second video in the series focuses on shaping the face with natural-looking contours and highlights without losing any of the detail. This technique is
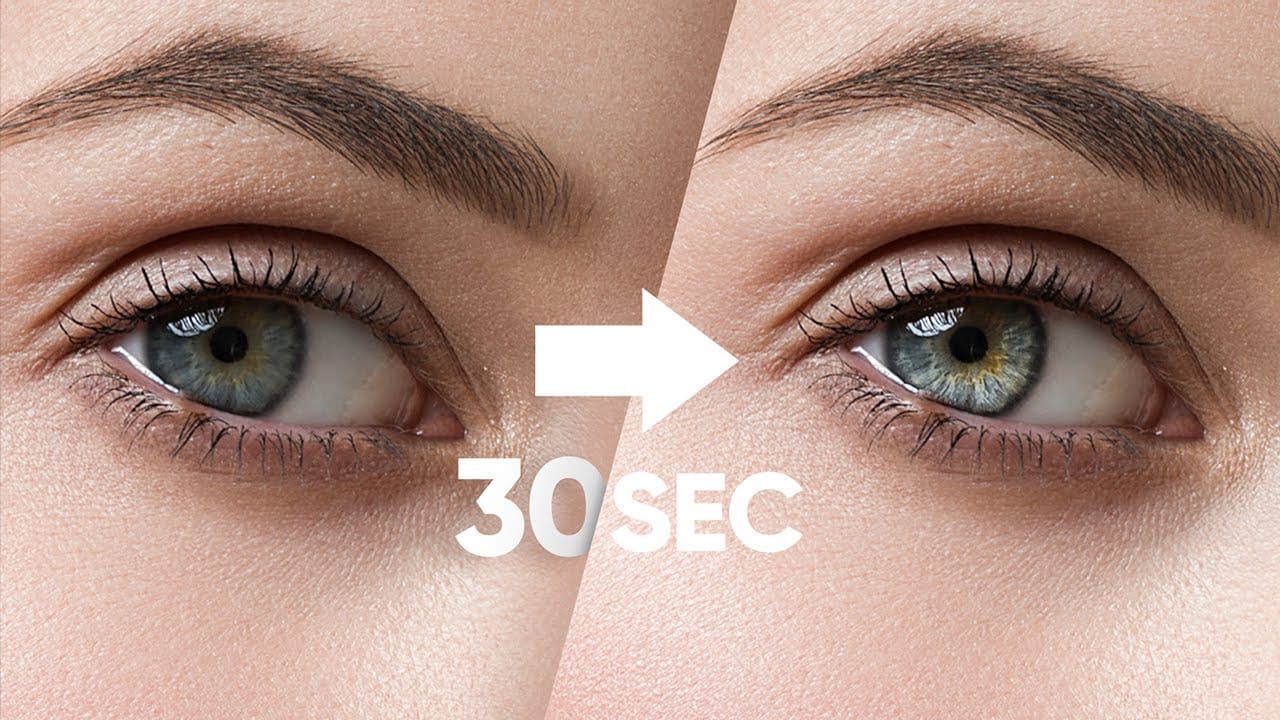
Make Eyes Dramatic in 30 Seconds with Photoshop
In this tutorial, PiXimperfect reveals a fast and effective technique to make eyes more dramatic and engaging in just 30 seconds using Photoshop. The focus is on enhancing the eyes by adding shine and depth, which can significantly elevate the overall impact of a portrait. The method involves using blend modes in combination with simple selections to introduce eye-catching highlights and contrasts. The tutorial starts by demonstrating how to select the eye areas accurately, ensuring that the ad
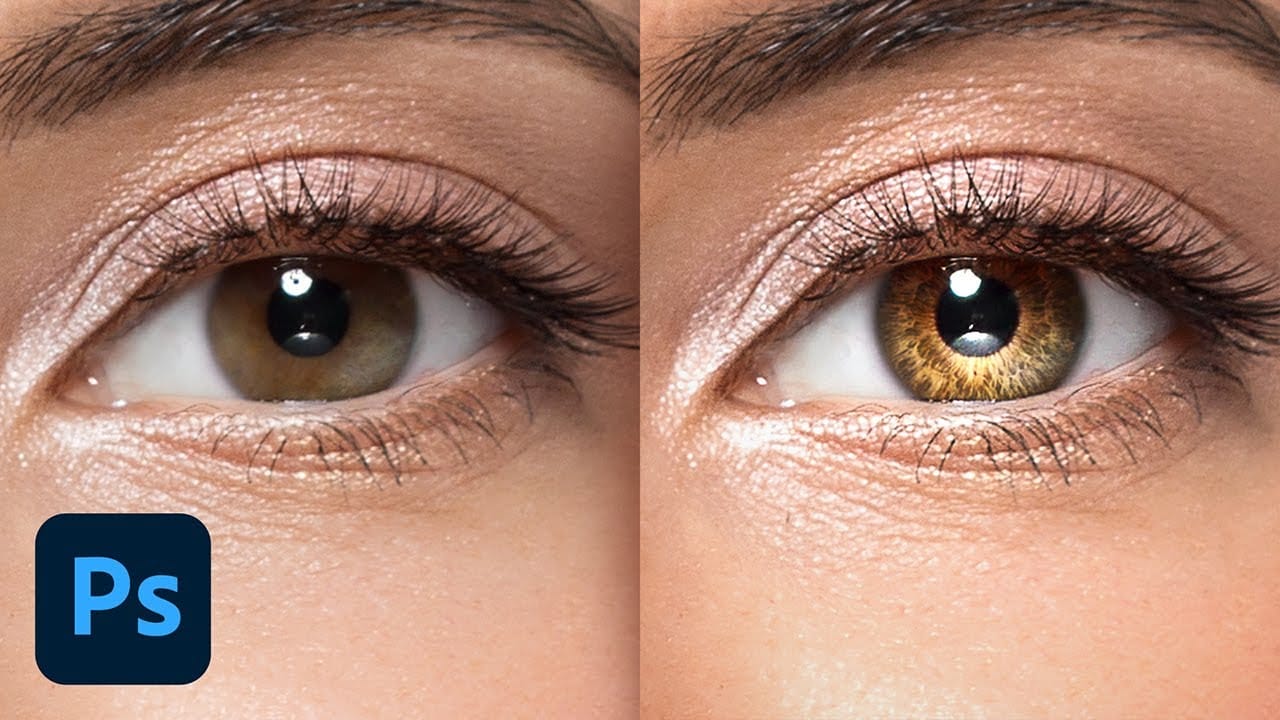
Create Insane Details in the Eyes with Photoshop
In this tutorial from PiXimperfect, you will learn how to add remarkable details to eyes in Photoshop. The process begins with the use of an iris brush that allows you to create intricate highlights and shadows, enhancing the eyes' natural beauty. As you progress, you'll discover how to incorporate shine with a kicker light, making the eyes stand out and appear more engaging. This step is crucial for adding depth and dimension, pulling viewers' attention directly to the eyes.Finally, the tutori
Add Shine, Color and Volume to Hair in Photoshop
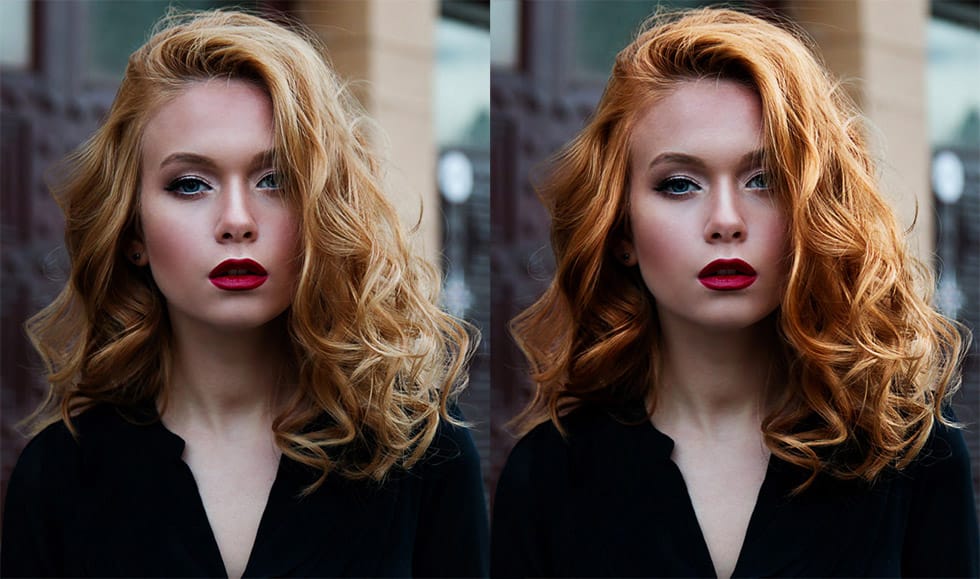
Transform flat, lifeless hair into vibrant, voluminous locks using three powerful techniques. By combining the Liquify tool for volume, gradient maps for rich color, and dodge-and-burn methods for depth, you can create dramatic hair enhancements that look naturally stunning. These methods work on any hair type and style, giving you complete control over shadows, midtones, and highlights to achieve professional-quality results. Watch the Video Practical Tips Master these essential technique
Horrible dripping blood in Photoshop
In this tutorial, learn how to create a chilling, horror-inspired effect by adding dripping blood from a mouth in just a few easy steps using Adobe Photoshop. Perfect for creating spooky, dramatic images, this technique walks you through the process of blending blood effects seamlessly onto a face, making the gruesome detail look realistic. Whether you're working on Halloween-themed designs or want to add a dark twist to your photo manipulations, this tutorial covers all the essentials. Follow
How to create a dripping paint text effect in Photoshop
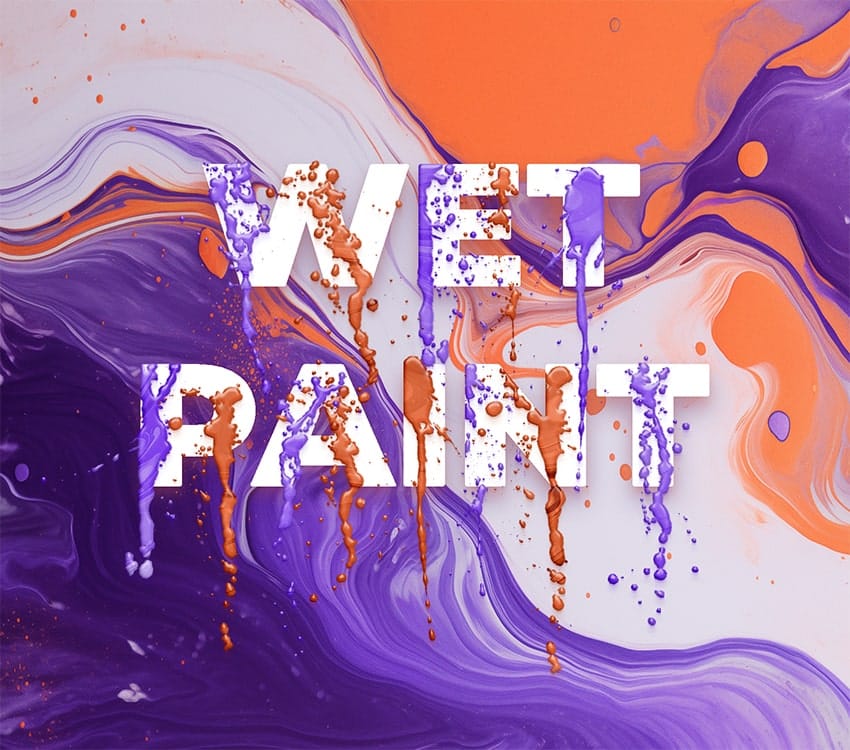
In this tutorial, you will discover how to create a striking paint-dripping effect using Adobe Photoshop. This guide breaks down the process into clear, manageable steps, making it easy for you to follow along, regardless of your skill level. First, you will start by preparing the base image, where you will add the paint element. Then, you'll learn how to manipulate and position the paint to achieve the desired dripping effect. Each step includes helpful tips and tricks to enhance your work. F

Get tutorials & freebies delivered to you.

Subscribe to the Photoshop Roadmap newsletter, a weekly roundup of new tutorials, insights and quality downloads, trusted by 6500+ readers.

You might also like

Professional Portrait Retouching with the B.S.T. Method in Photoshop

Professional portrait retouching requires artistic choices that automated tools can't make. The B.S.T. method breaks retouching into three focused steps: removing blemishes with precision, smoothing skin while preserving natural texture, and equalizing skin tones throughout the image. This systematic approach gives you complete control over every...

Create Motion Blur Light Effects in Photoshop

Transform ordinary portraits into dynamic, cinematic images by combining path blur effects with creative background textures. This technique creates the illusion of camera movement while maintaining focus on key elements like the subject's eyes, resulting in professional-looking motion blur effects that add energy and visual interest to static...

How to Paint Realistic Jewelry on Portraits in Photoshop

Adding painted jewelry to portraits transforms ordinary photos into fantasy portraits with ornate accessories that never existed. This digital painting technique uses careful layering, proper lighting, and realistic shadows to create convincing rings, earrings, and decorative headpieces. The method combines basic brush work with advanced blending techniques to build up...

How to Sharpen Images Using the High Pass Filter in Photoshop

The High Pass filter method remains one of the most versatile sharpening techniques in Photoshop, offering precise control over which image areas receive enhancement. This non-destructive approach works by identifying edge details and allowing you to selectively apply sharpening exactly where it's needed most. Unlike automated sharpening tools,...

How to Find Missing Actions in the New Photoshop Actions Panel

The redesigned Actions panel in Photoshop can catch users off guard when their custom actions seem to disappear. With the new tabbed interface, your previously created actions are still there—they're just located in a different tab than before. Understanding the new layout will help you quickly access...

Fast Portrait Retouching: Remove Stray Hairs, Clothing Wrinkles, and Fix Backgrounds

Every portrait photographer knows the feeling: you've captured a beautiful shot, but stray hairs, wrinkled clothing, and messy backgrounds turn editing into hours of tedious work. These common retouching challenges can drain your time and energy, especially when dealing with high-volume projects or tight deadlines. This tutorial demonstrates...

You’ve successfully subscribed to Photoshop Roadmap
Welcome back! You’ve successfully signed in.
Great! You’ve successfully signed up.
Success! Your email is updated.
Your link has expired
Success! Check your email for magic link to sign-in.