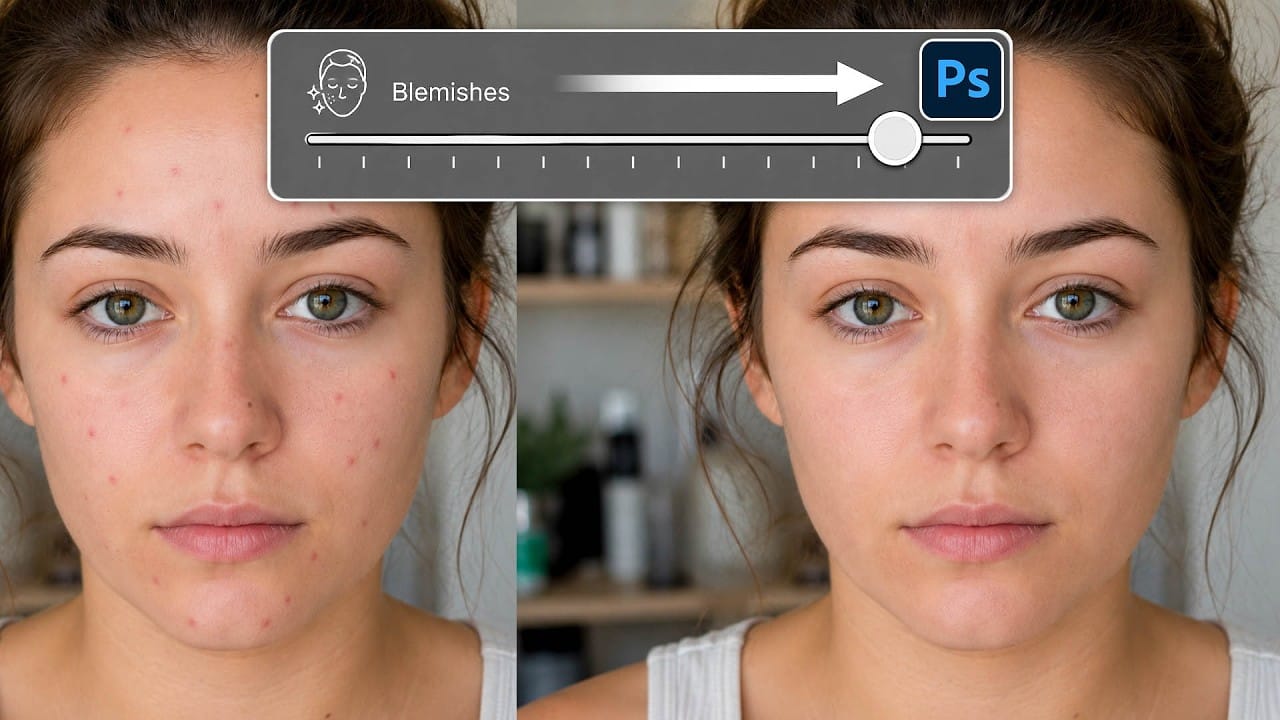
Camera Raw 18.5 introduced an automatic blemish removal tool that does something previous solutions rarely managed: it removes skin imperfections while preserving the underlying skin texture. It also distinguishes between temporary marks and permanent ones like moles, giving you separate controls for each.
Watch the Video
Video by PiXimperfect. Any links or downloads mentioned by the creator are available only on YouTube
Practical Tips
These techniques work best when you understand what each control actually does before reaching for the sliders.
- Use the Amount slider to prioritize removal: it removes the most prominent blemishes first, so lower values clean up major marks while leaving minor ones untouched.
- Use the Fade slider for permanent marks: moles and birthmarks are treated separately — Fade controls their visibility independently from temporary blemishes.
- Apply to JPEGs via the Camera Raw Filter: duplicate your layer first (Ctrl/Cmd+J), convert it to a Smart Object, then access the filter under Filter > Camera Raw Filter.
- Refine missed areas manually: enable "Show Overlay on Hover" to see where removal was applied, then use the Remove or Restore brush to correct specific spots.
- Control multiple subjects individually: when a photo includes more than one person, select each subject separately to apply different Amount and Fade values per face.
Related Articles and Tutorials
More tutorials covering skin retouching techniques and automated removal tools in Photoshop.
A Definitive Guide to Portrait Beauty Retouching in Photoshop
Mastering beauty retouching gives you the ability to take any portrait further, fixing what the camera couldn’t, refining what the light missed, correcting the natural imperfections that skin always carries, and delivering results that hold up at any size and in any context. That range is wider than it
 Enrique Flouret
How to Remove Blemishes in Photoshop: Camera Raw vs. Generative AI
Photoshop now offers two distinct approaches to removing skin blemishes automatically. The Camera Raw Filter includes a dedicated Blemishes option that analyzes and cleans skin with a single checkbox, while Generative AI fills a face selection with clean, texture-consistent results using a simple text prompt. Each method has clear trade-offs in speed, control, and output quality.
Watch the Video
Practical Tips
These techniques work best when applied with a few deliberate habits that preserv
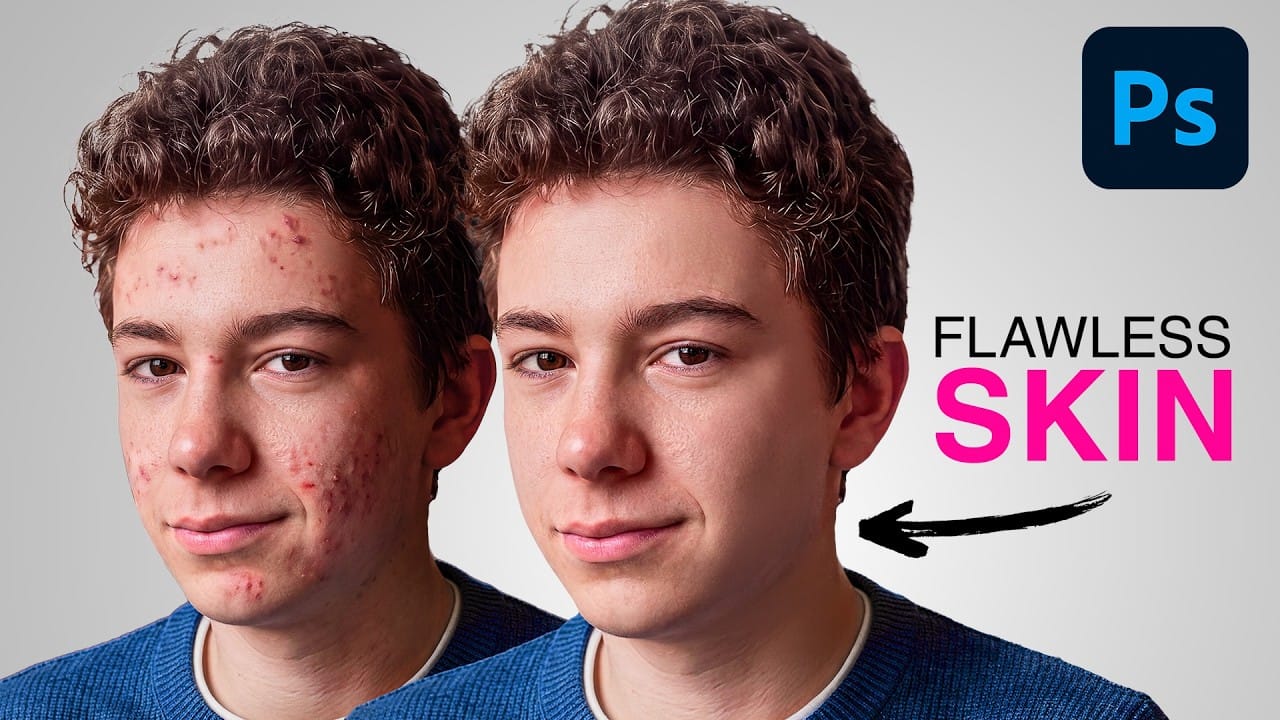
How to easily remove acne and blemishes in Photoshop
In this Photoshop tutorial, Brendan Williams shares his straightforward three-step process for retouching skin and removing acne and blemishes. This guide is designed to be beginner-friendly, avoiding complex methods while still achieving professional results.
Brendan begins by introducing the healing brush tools. These tools are essential for removing acne and blemishes effectively. He explains how to use them properly to ensure a natural look, emphasizing the importance of maintaining skin te
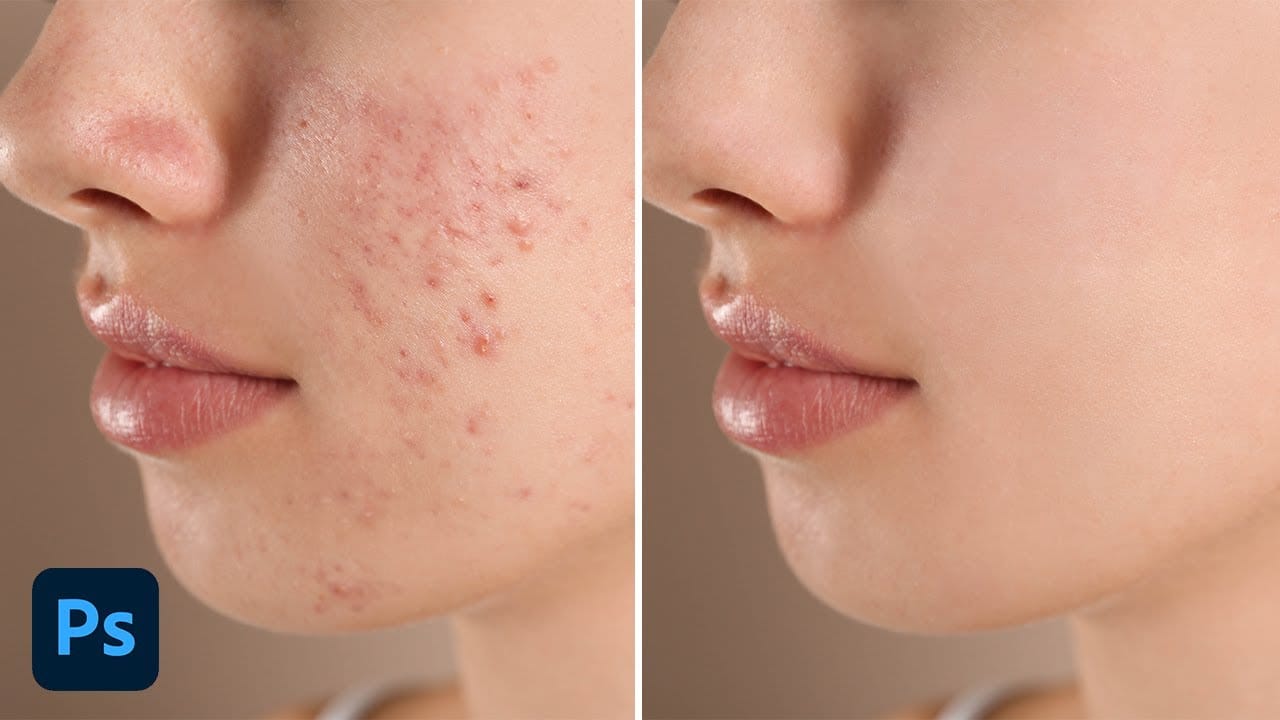
Camera Raw August 2026: AI Blemish Removal, Generative Expand, and More
The August 2026 Camera Raw update adds an AI-powered blemish removal tool that handles skin imperfections automatically, treating blemishes and moles separately so editors stay in control. Alongside that, an improved Generative Expand in the crop tool and a few smaller additions round out a practical update worth knowing.
Watch the Video
Practical Tips
Key techniques covered in this update to help you work more efficiently with the new Camera Raw tools:
* Use the Amount slider in the Blem
Photoshop's Remove Tool is Broken—What Now?
Object removal is a fundamental task in photo editing, but AI-powered tools can sometimes produce unpredictable results. It can be frustrating when a tool designed to remove an object instead replaces it with another unwanted element, disrupting your workflow and requiring extra steps to correct.
This tutorial demonstrates how recent updates to the Remove Tool in Photoshop Beta solve these common issues. You will learn how to access the improved tool, use a new selection-based workflow for more

Testing Photoshop 2025's One-Click Remove Tool
Photoshop 2025 introduces a revolutionary "Find Distractions" feature that automatically identifies and removes unwanted elements from your photos with a single click. This new capability can detect wires, cables, and people, then use generative AI to seamlessly eliminate them without manual selection.
The feature works within the existing Remove Tool, combining automatic detection with the flexibility to manually paint over additional elements you want to remove.
Watch the Video
Practical