Aging a photo convincingly takes more than a preset — it requires control over highlights, color channels, and grain working together. This walkthrough covers a fully manual, non-destructive workflow for building a vintage film effect in Photoshop, using Color Range selections, Smart Filters, a Grain adjustment layer, and per-channel Levels editing to shift shadows and highlights into aged tones.
Watch the Video
Video by PHLEARN. Any links or downloads mentioned by the creator are available only on YouTube
Practical Tips
These key techniques from the tutorial will help you build a more convincing and adjustable vintage effect.
- Use Select > Color Range set to Grayscale preview to isolate highlights before duplicating them — this gives you a precise bloom layer without affecting the rest of the image.
- Convert your highlight layer to a Smart Object before applying Gaussian Blur so you can revisit and adjust the bloom intensity at any stage of the edit.
- Add grain using a dedicated Grain adjustment layer and evaluate it at full zoom-out — grain that looks heavy when zoomed in often reads correctly at normal viewing distance.
- In a Levels adjustment layer, switch from RGB to individual Red, Green, and Blue channels to push specific colors into shadows, midtones, and highlights independently for authentic color aging.
- Build two separate Levels color-grading layers and toggle between them — or combine them — to quickly compare different vintage color interpretations on the same photo.
Related Articles and Tutorials
More tutorials on creating retro and vintage photo effects using manual editing techniques.
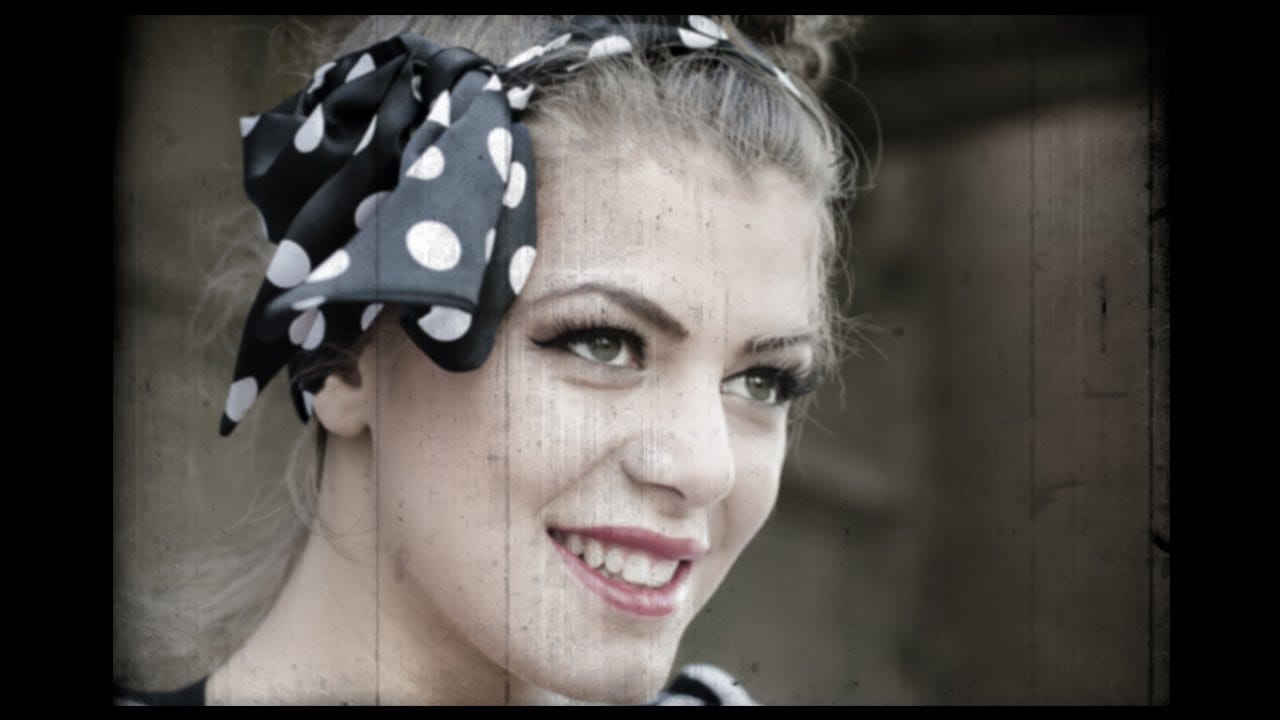
Create a vintage movie effect from a photo
Transforming modern digital photographs into nostalgic, vintage-style images is a popular creative pursuit in photo editing. This technique allows you to evoke the aesthetic of bygone eras, adding character and a unique artistic flair to your contemporary shots.
In this tutorial, you will learn how to apply the distinctive look of an 8mm movie still frame to any color photograph using Adobe Photoshop. The process involves subtle adjustments to color, blur, and the integration of a specialized t
Create a realistic old vintage photo effect in Photoshop
Photographs are timeless. In fact, it's often our old, weathered and faded photographs that we treasure the most. Snapshots from a bygone era fill our hearts with nostalgia and romantic notions of how much simpler life must have been.
While today's digital cameras continue to amaze us with their technology, there's still something magical and irreplaceable about old, vintage photographs. And not only do we love to look at them, but we also love to recreate the look of them in programs like Phot
How to Make a Photo look Vintage and Retro Using the Lomograph Effect
Digital photography offers incredible clarity and precision, but sometimes the charm of an older, analog look is exactly what a project needs. This tutorial explores how to transform a pristine digital image into a vintage-style photograph, complete with the imperfections and unique characteristics associated with old film and paper.
Viewers will learn a comprehensive workflow in Photoshop, covering techniques such as adjusting color channels for authentic shifts, adding light leaks, creating v
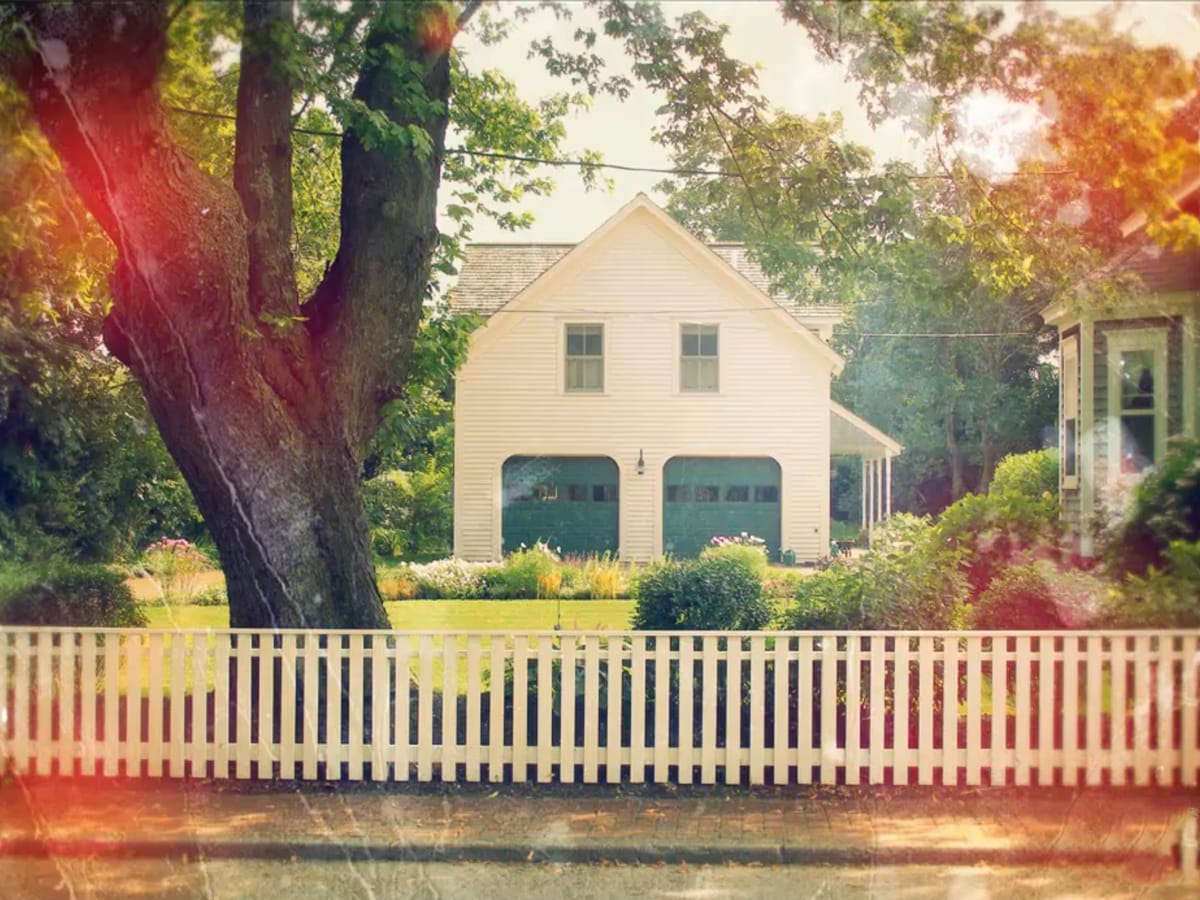
Create a vintage printed photographs with folds and creases in Photoshop
The warm, nostalgic look of vintage photography captures decades past with rich colors and aged textures. Modern digital photos can achieve this timeless aesthetic through careful color grading and texture application.
This tutorial demonstrates a simple approach using adjustment layers and blending modes to transform contemporary images into retro-styled photographs.
Watch the Tutorial
Essential Tips for Vintage Effects
These key techniques help create authentic retro styling with proper
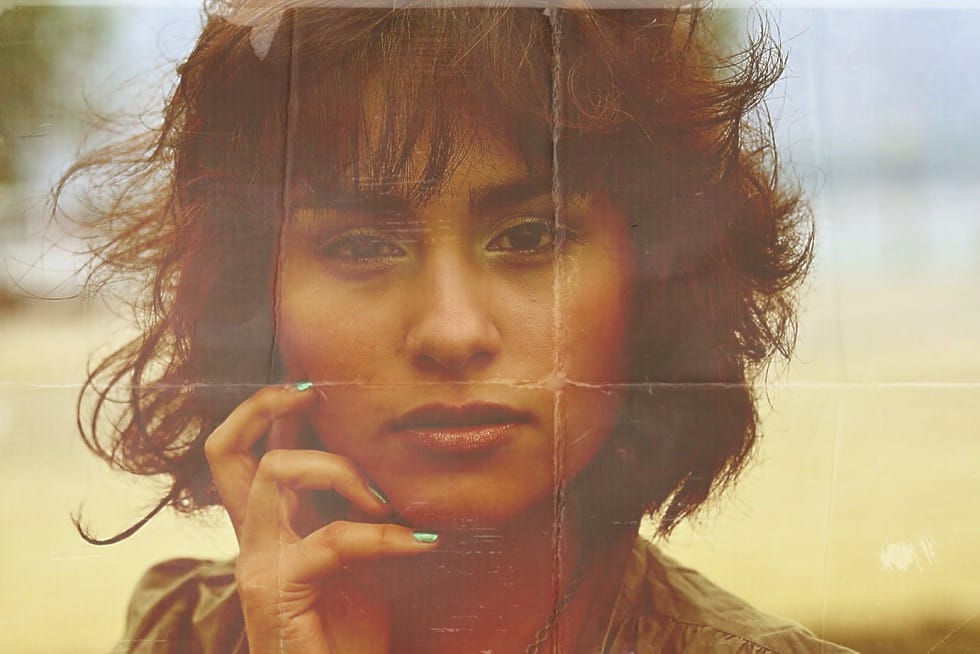
Create a retro '50s Sci-Fi poster in Photoshop
Achieving a distinct vintage sci-fi aesthetic often involves intricate color manipulation beyond simple desaturation. This tutorial demonstrates a surprising approach to color grading, using specific color balance adjustments across shadows, midtones, and highlights to infuse a retro tone. For instance, cyan/red is pushed to +100 in all three tones, while yellow/blue is consistently set to -100.
This precise method, combined with the Diffuse Glow filter and careful Brightness/Contrast settings,
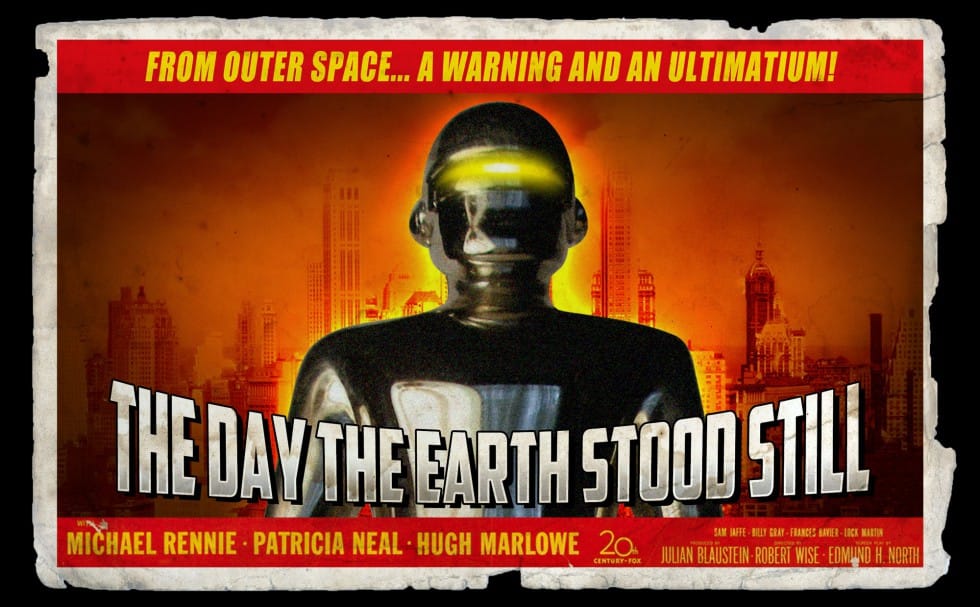
Bleached Film Photo Effect in Photoshop
In this tutorial, Jessica Kobeissi shows how to create a bleached film vintage photo effect in Photoshop. The author guides the reader through a simple process that can transform a digital image into a nostalgic, washed-out look.
The tutorial begins by explaining the necessary tools and settings required to achieve the desired effect. Readers are then taken through the step-by-step instructions, which involve adjusting the levels, applying a color overlay, and making additional tweaks to the im
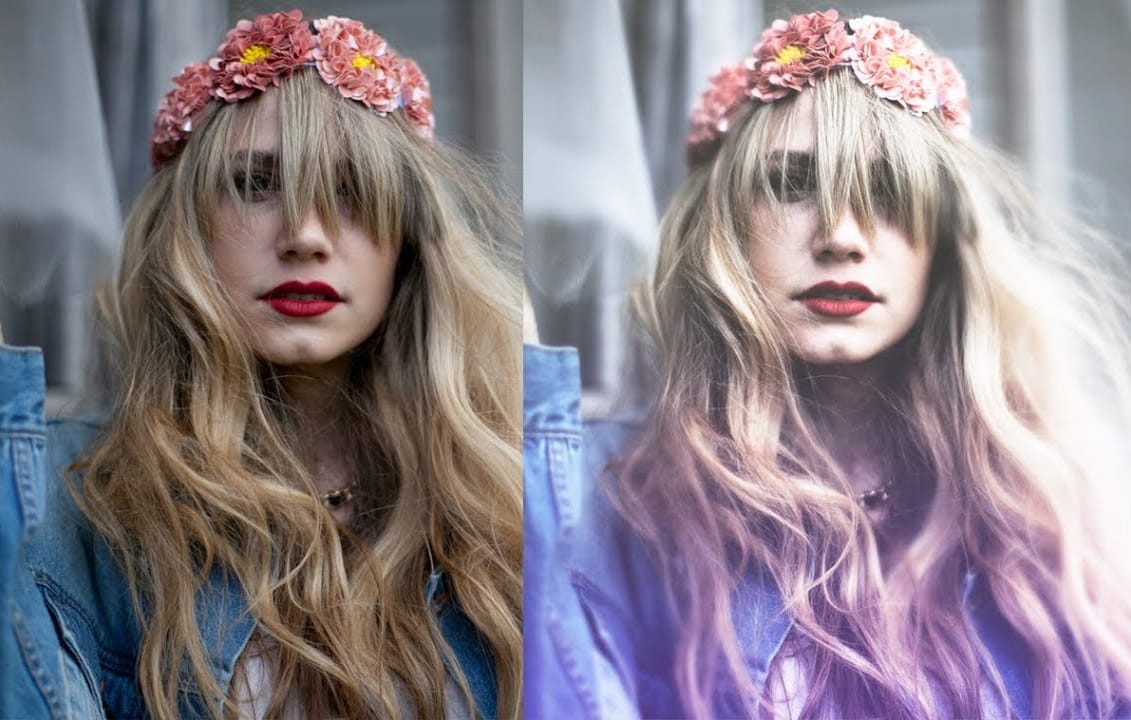
How to Create a Vintage Postcard in Photoshop
Learn to transform ordinary digital photos into stunning vintage tourism postcards using Adobe Photoshop. The video covers cropping, color adjustments, adding textures, and stylized text, ensuring your photos capture the essence of classic travel mementos.
Watch the Video
Practical Tips for Vintage Postcard Effects
* Crop your photo to a 6x4 aspect ratio to match the standard vintage postcard size.
* Convert your photo to a Smart Object. This allows for non-destructive editing, enabling y
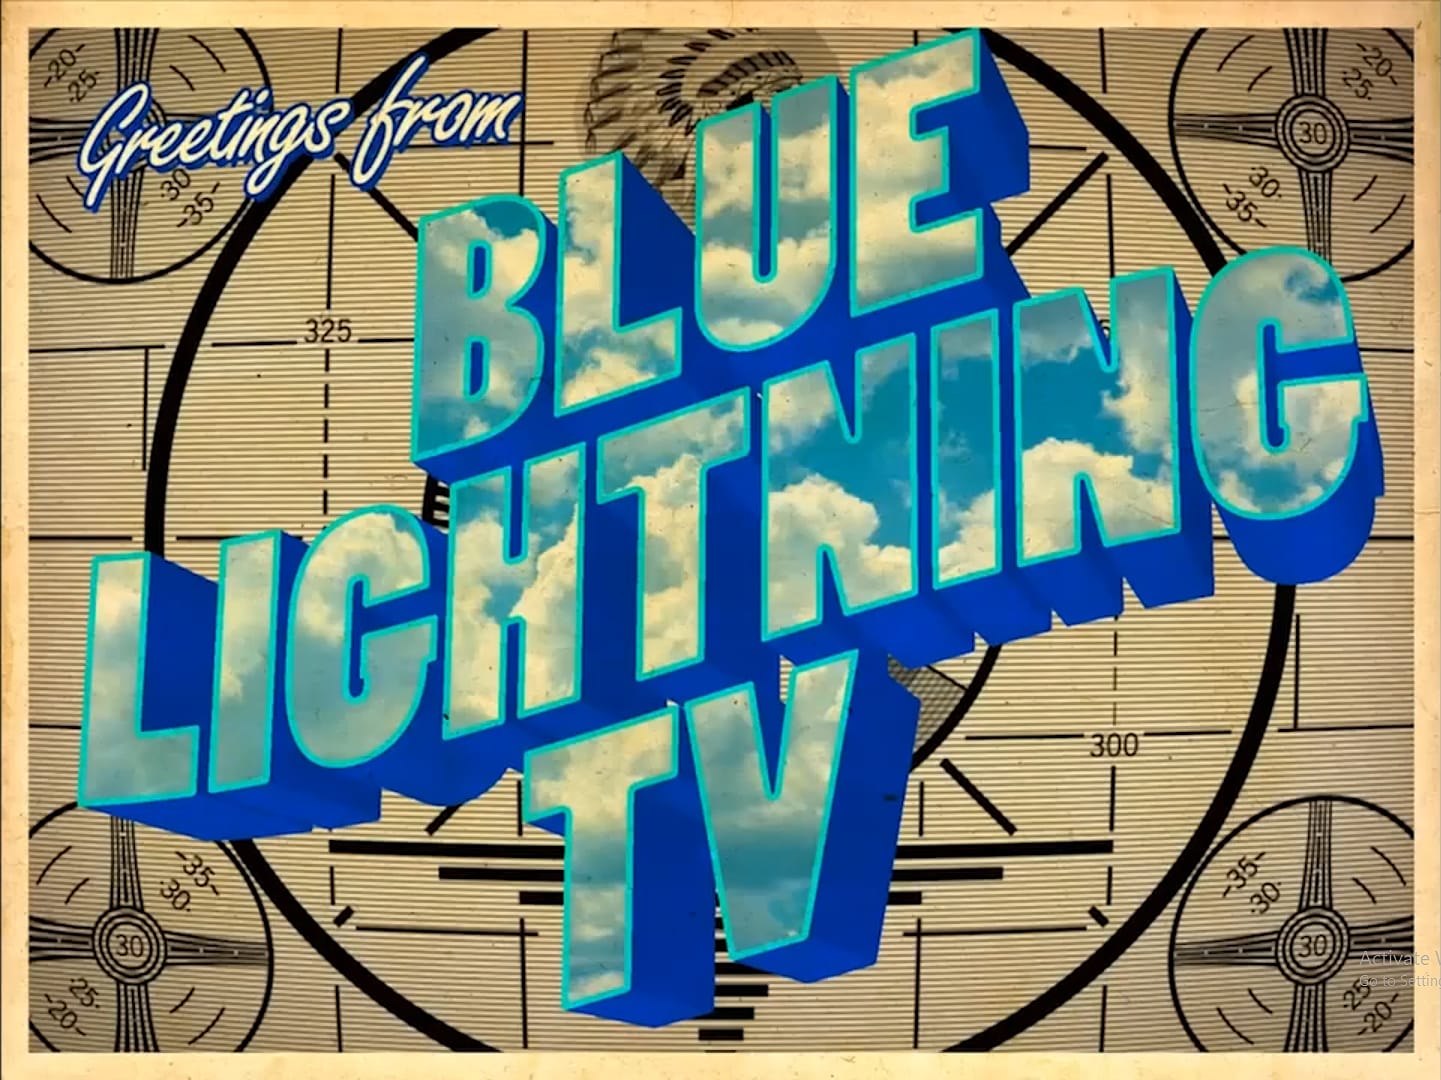
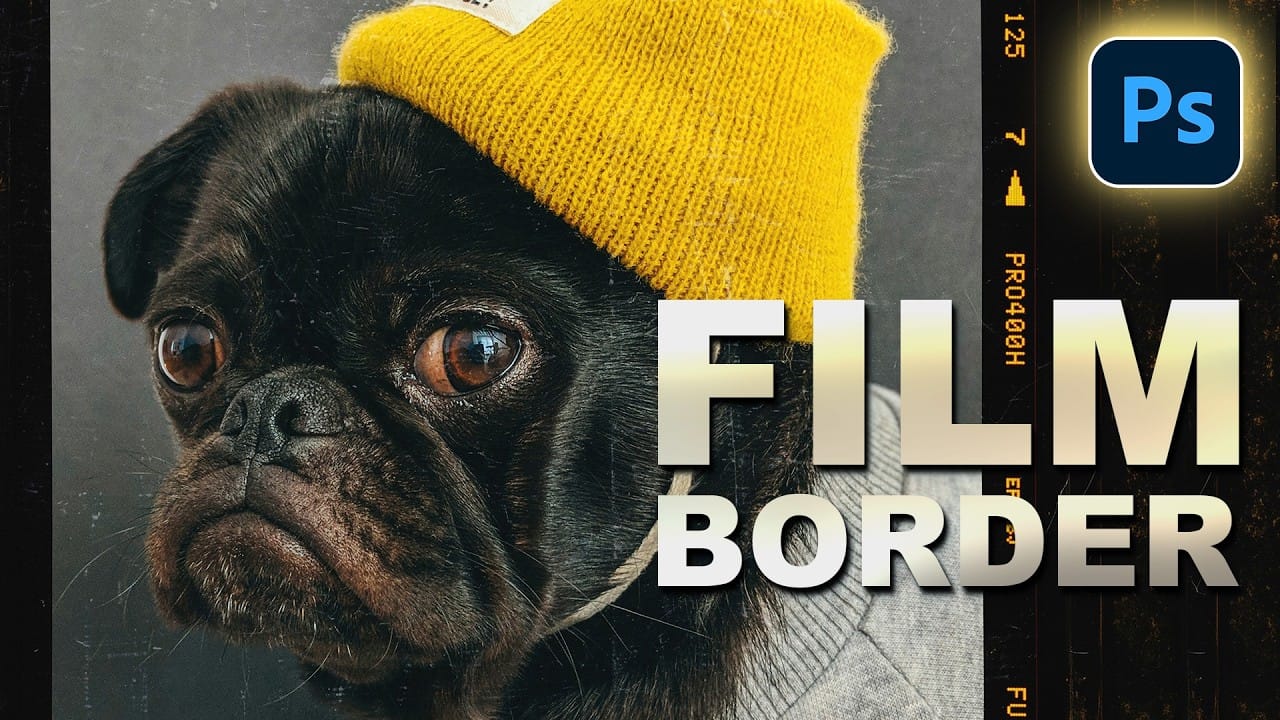
How to Add a Film Border to Any Image in Photoshop
Film borders add instant vintage character to digital photos, recreating the nostalgic feel of analog photography. This technique combines layer masking, texture overlays, and strategic positioning to seamlessly frame your images with realistic film edges that look naturally weathered and imperfect.
Watch the Video
Practical Tips
These essential techniques will help you create more convincing film border effects:
* Use the polygonal lasso tool to create slight variations along border edge
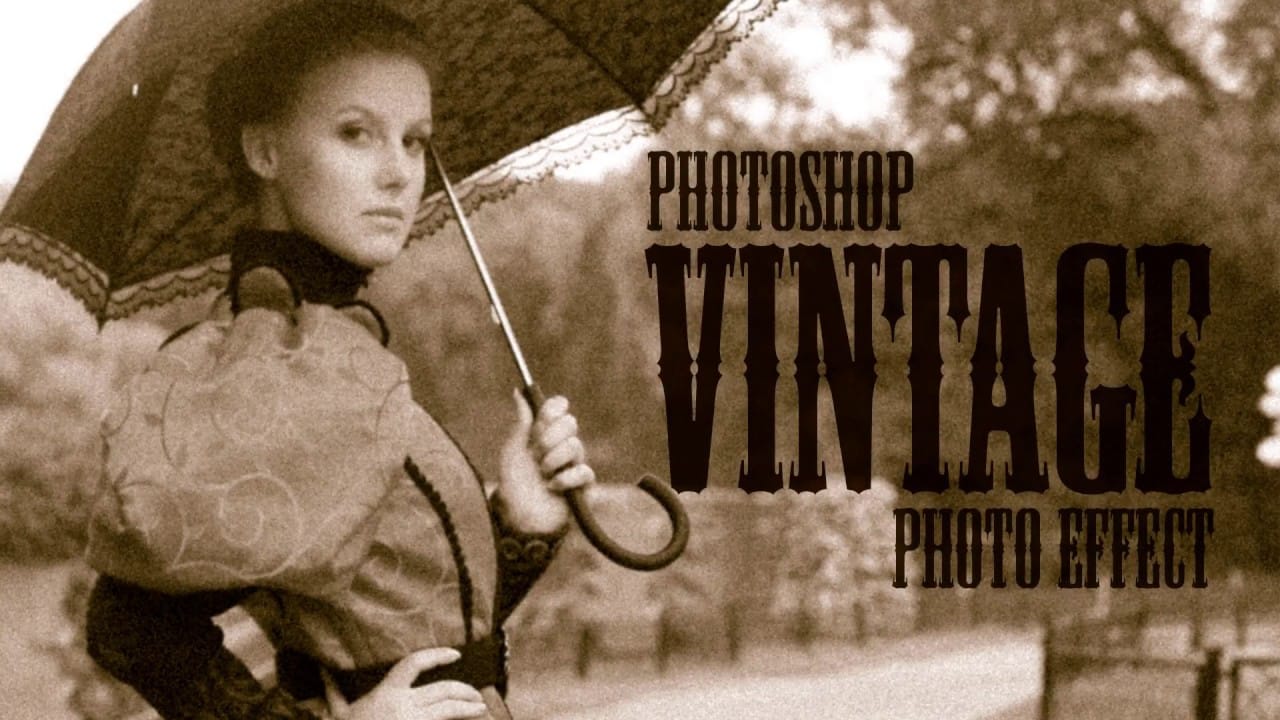
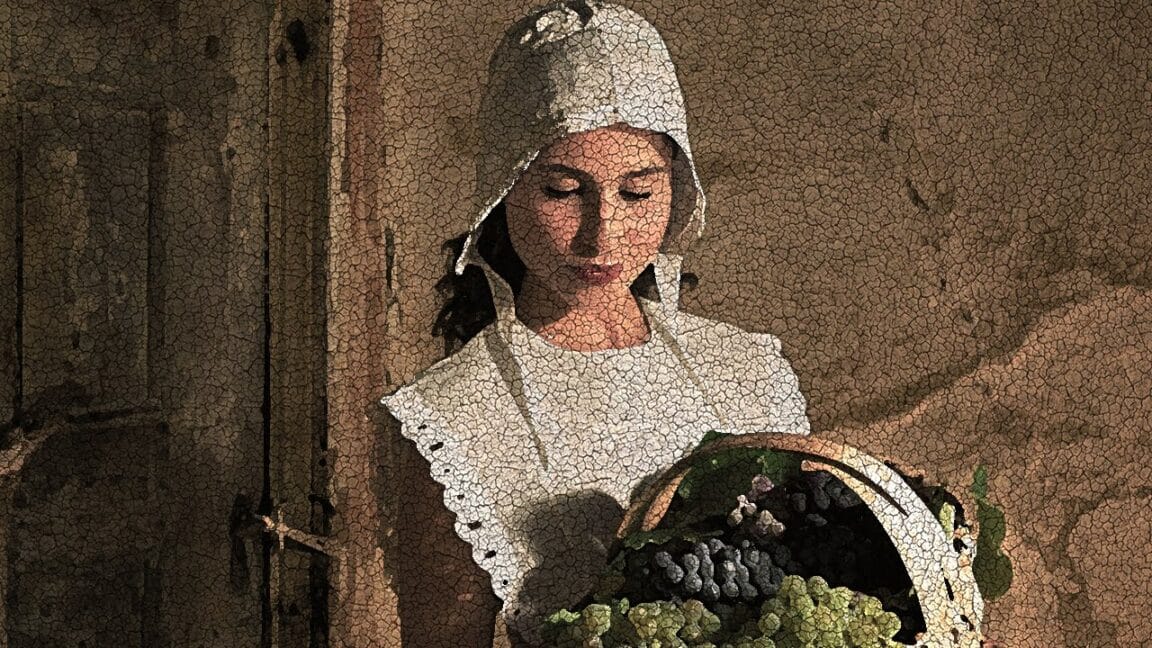
How to Transform a Photo into an Antique, Oil Painting Photoshop
This tutorial explores a fascinating method to transform digital photographs into timeless antique oil paintings. It focuses on techniques that emulate the classic appearance of aged art, adding character and depth to modern images.
Viewers will discover how to apply artistic effects within Photoshop, including specific color adjustments, textural overlays, and brushstroke simulations, to achieve a convincing vintage aesthetic reminiscent of historical artworks.
Watch the Video
Crafting the
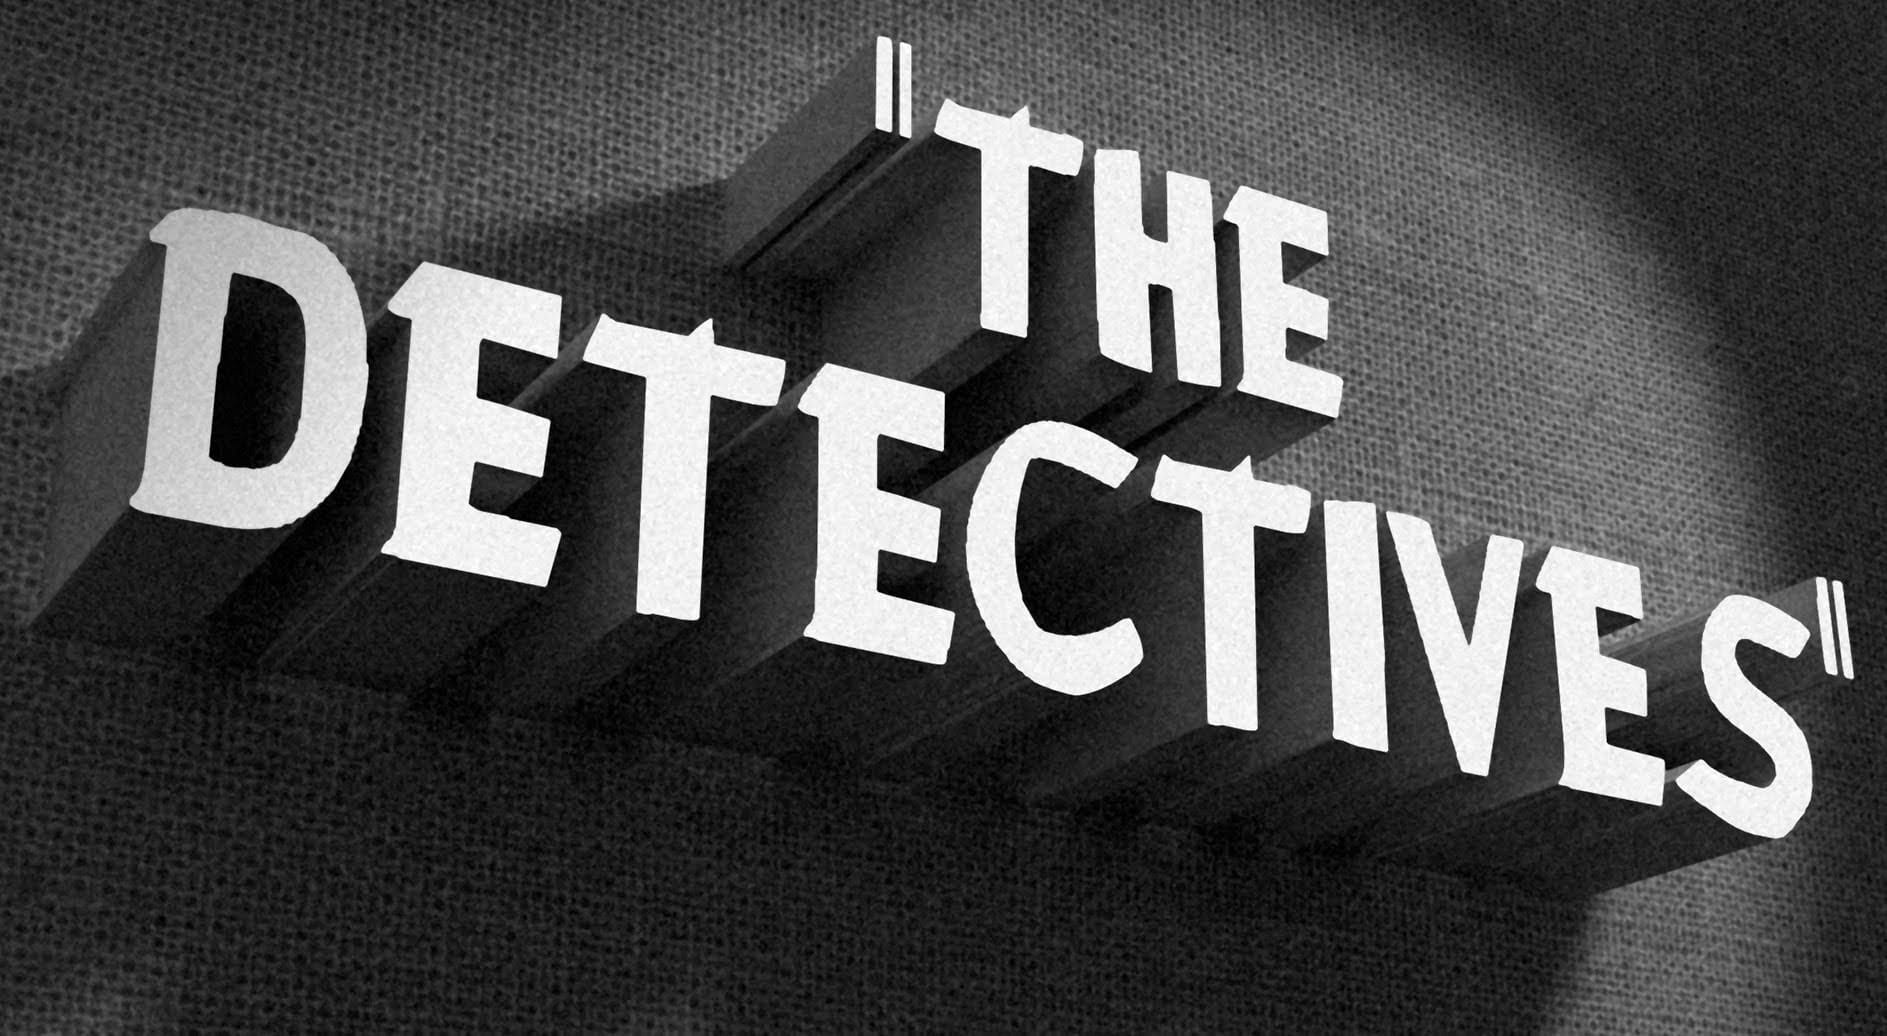
How to Create a Vintage, Film Noir Movie Title in Photoshop
This tutorial teaches you how to create vintage film noir movie titles in Adobe Photoshop. You'll use Photoshop's 3D features to extrude text, apply textures, and set up lighting, replicating the stark, dramatic aesthetic of 1940s-1950s crime dramas to craft distinctive custom opening titles.
Watch the Tutorial
Practical Tips for Vintage Title Design
* Choose a classic typeface like Montgomery for an authentic vintage feel and ensure correct installation for best results.
* Desaturate bac