Add Grady Shading to Enhance Your Photoshop Art

Add Grady Shading to Enhance Your Photoshop Art

Flat digital artwork often lacks the visual depth and organic texture that makes illustrations feel alive and engaging. While clean vector-style graphics have their place, many artists struggle to add convincing shadows, highlights, and surface textures without making their work look muddy or overworked.

This tutorial demonstrates how to use specialized grain shader brushes and blending modes to create realistic textured shading effects in Photoshop. The techniques shown work for any type of digital illustration, helping transform flat artwork into vibrant pieces with dimensional depth and appealing surface texture.

Watch the Tutorial

Any links or downloads mentioned by the creator are available only on YouTube

Understanding Textured Shading in Digital Art

Traditional artists naturally create texture through the physical interaction between their tools and surfaces. Pencil graphite catches on paper fibers, paint brushes leave visible strokes, and pastels create grainy marks that add visual interest.

Digital art, by contrast, often produces perfectly smooth gradients and clean edges that can feel sterile or artificial.

Grain shading bridges this gap by mimicking the organic randomness found in traditional media. The key lies in using brush presets that scatter texture particles based on pen pressure sensitivity. This allows artists to build up shadows and highlights gradually, creating the kind of subtle surface variation that makes illustrations feel more tactile and believable.

The technique works particularly well with clipping masks, which contain the textured shading within specific shape boundaries. Combined with blending modes like Overlay or Color Burn, these masked texture layers can dramatically enhance color vibrancy while maintaining clean edges and consistent lighting.

Practical Tips for Grainy Shading Effects

  • Use clipping masks to contain textured shading within shape boundaries without affecting neighboring elements
  • Reduce brush spacing to zero and enable smoothing when creating base shapes to ensure clean, consistent outlines
  • Apply light pressure initially when using pressure-sensitive grain brushes to build up texture gradually rather than creating harsh marks
  • Experiment with blending modes like Overlay, Hard Light, and Color Burn to enhance the vibrancy and depth of textured shading
  • Create custom brushes from simple shapes by drawing basic forms, defining them as brush presets, then adjusting scattering and angle settings for complex effects

Explore more techniques for adding depth and texture to your digital artwork.

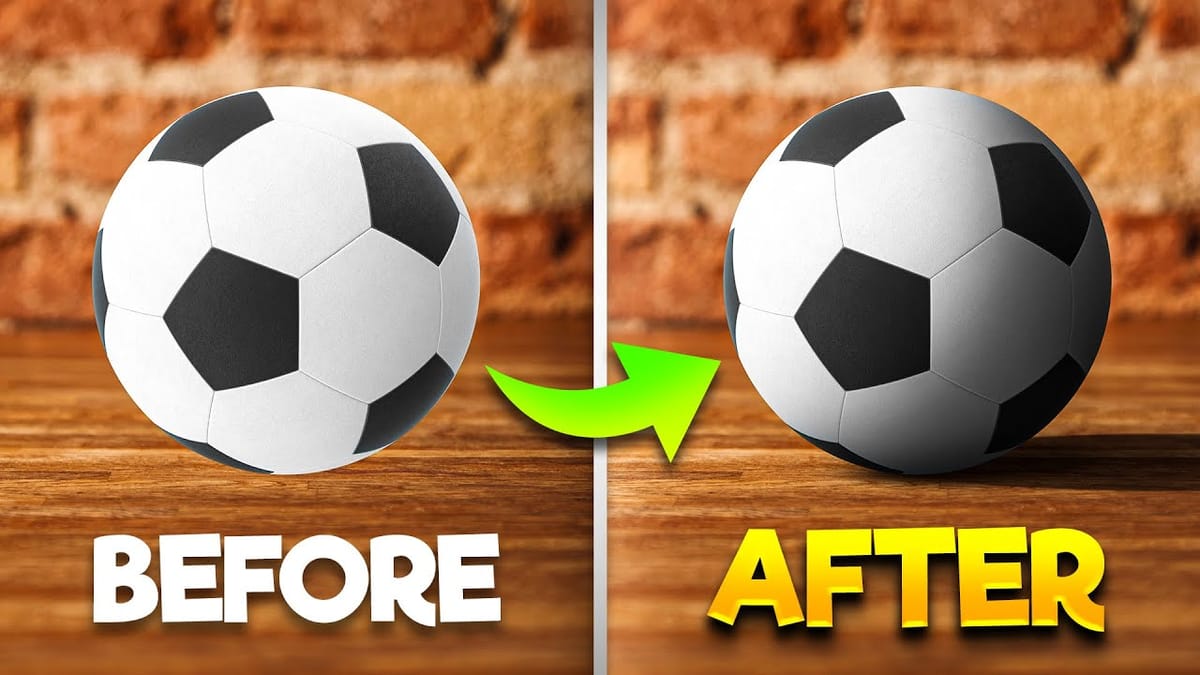
How To Add Realistic Shadows in Photoshop
In this video, you will learn how to add realistic shadows in Photoshop, a skill that can significantly enhance your digital artwork. The tutorial is presented by BennyProductions, who breaks down the process into easy-to-follow steps. You will discover techniques for creating projected shadows for various objects, including a ball,
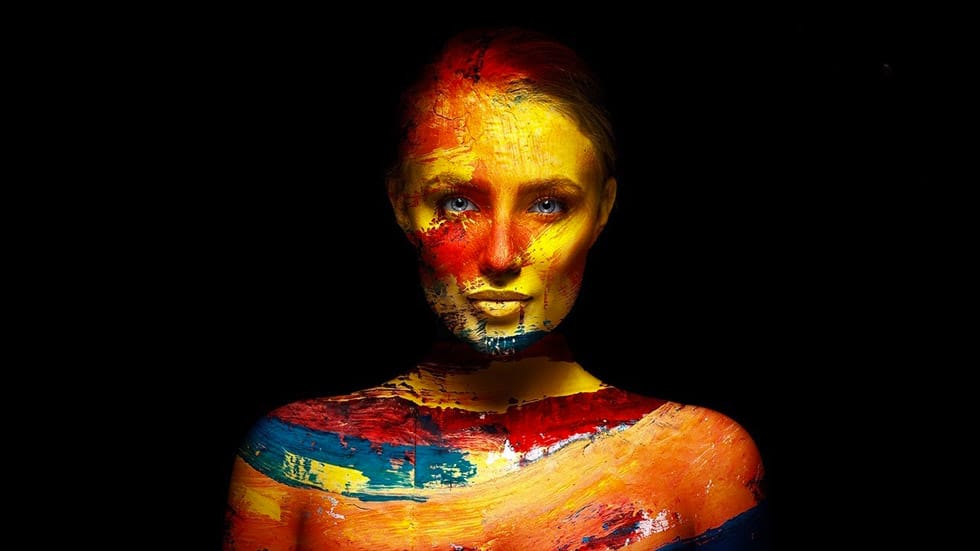
Add Creative Color and Texture to Portraits in Photoshop – Photoshop Roadmap
In this tutorial by PiXimperfect you will learn how to apply highly realistic paints and textures to portraits in Photoshop. Learn how to manually mold the texture according to the shape of the portrait and use advanced blend modes and blend-if to blend in the colors in the most natural
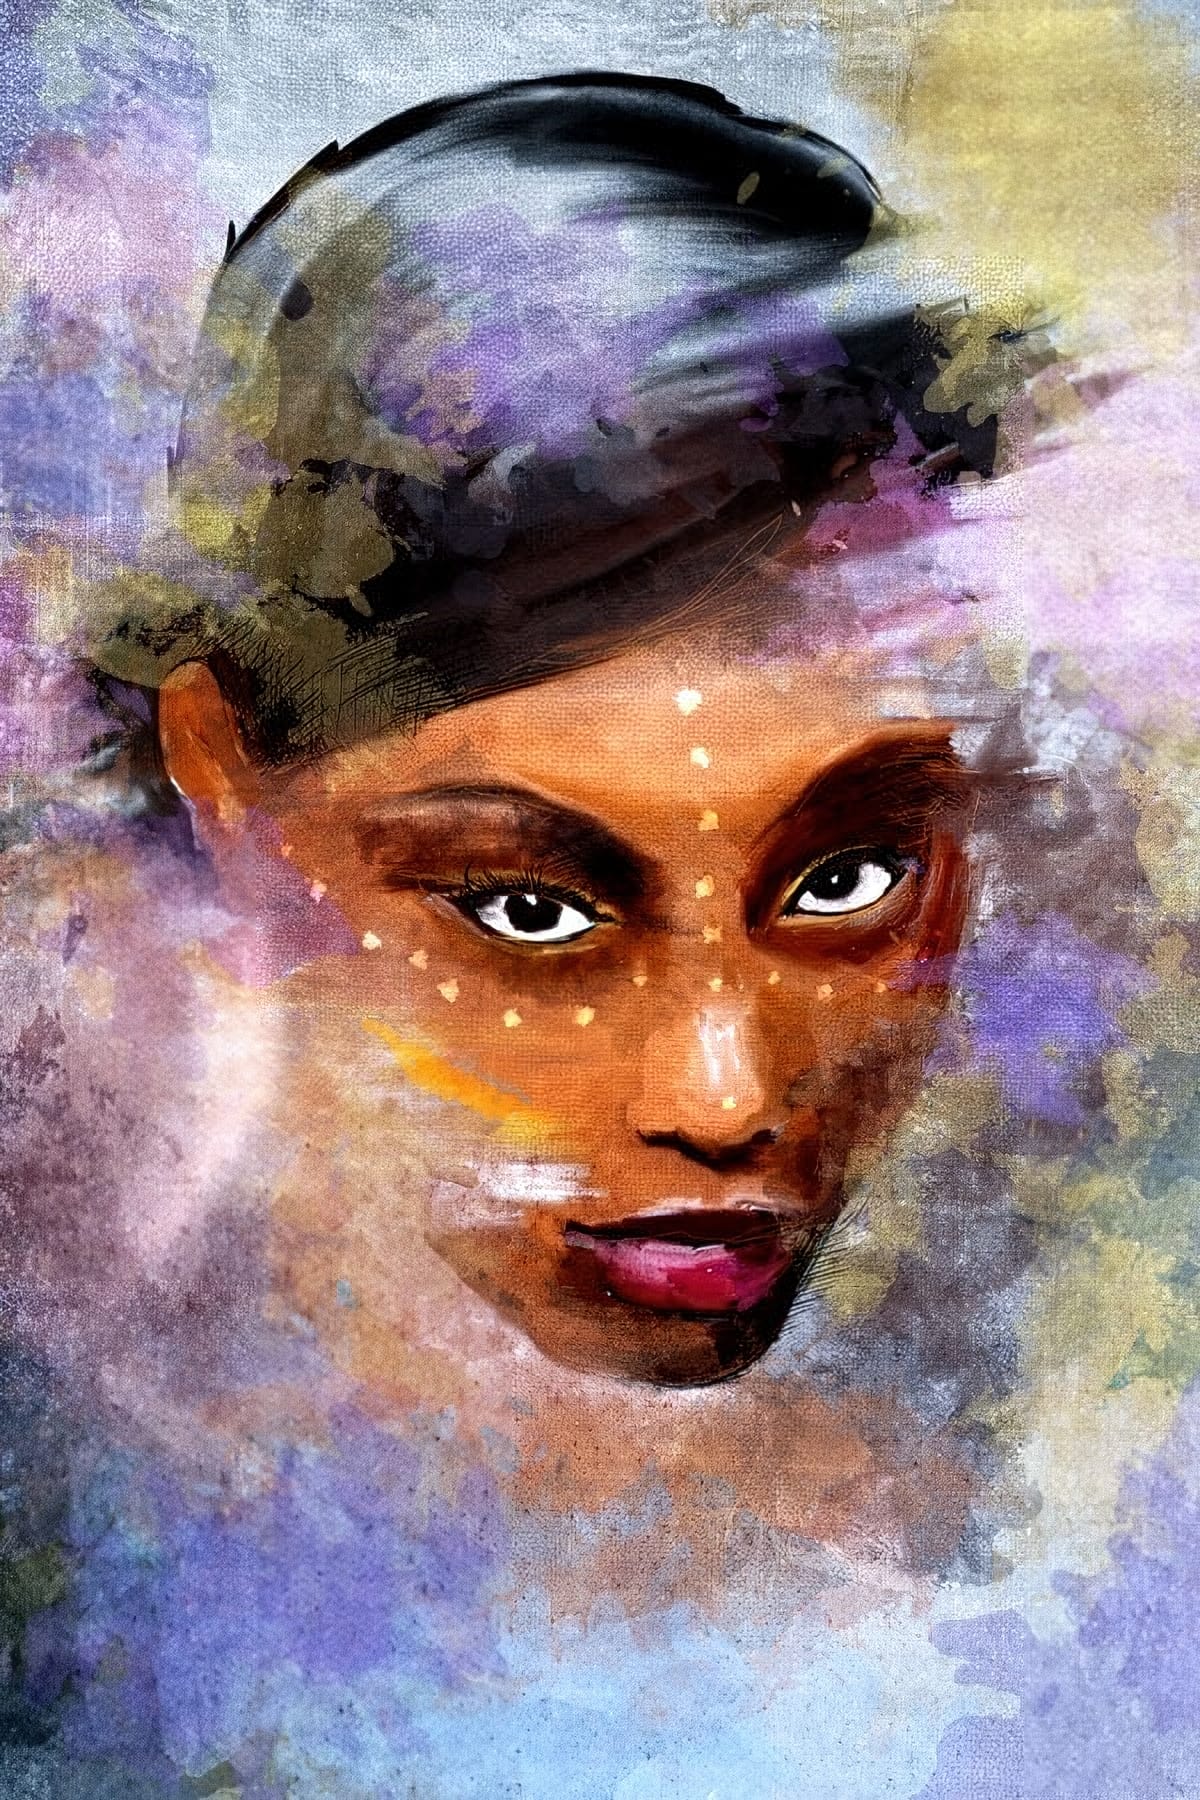
Add a Painterly Effect to a Photo in Photoshop
Learn how to add a painterly effect to a portrait in a few easy steps using Adobe Photoshop.

Get tutorials & freebies delivered to you.

Subscribe to the Photoshop Roadmap newsletter, a weekly roundup of new tutorials, insights and quality downloads, trusted by 6500+ readers.

You might also like

Painting Digital Art Backgrounds: Techniques and Workflow

A well-crafted background can anchor an entire digital painting, providing atmosphere, depth, and visual context for the subject. This video demonstrates practical approaches to building backgrounds from scratch using digital tools, covering brush selection, color layering, and compositional thinking. Watch the Video Practical Tips Keep these core principles in...

How to Use the Light Adjustment Layer in Photoshop

Photoshop's new Light adjustment layer brings Camera Raw controls — exposure, contrast, highlights, shadows, whites, and blacks — directly into the layers panel as a fully non-destructive, maskable layer. This means you can stack multiple light adjustments, target specific subjects, and combine them with Blend If and other adjustment...

How to Use Object Selection, Remove Background, and the Selection Brush in Photoshop

Selections determine the quality and flexibility of almost every edit you make in Photoshop. Three modern tools — the Object Selection tool, Remove Background with Harmonize, and the Selection Brush — handle the most common selection tasks with far less manual effort, while keeping your original image intact through non-destructive layers....

How to Paint a Digital Background and Composite Wildlife Into It

Building a painted digital background from scratch gives you full control over color, mood, and composition before a single wildlife photo is placed. This walkthrough covers the complete process: blocking in shadows on a black canvas, layering foliage with textured brushes, positioning bird subjects on hand-painted stones, and using...

How to Sharpen Skin Texture Using Frequency Separation in Photoshop

Retouched skin can look great up close but lose all its natural texture the moment you zoom out. Rather than relying on standard sharpening filters, you can recover that texture by duplicating the high-frequency layer inside a frequency separation setup — a method that works whether or not you'...

You’ve successfully subscribed to Photoshop Roadmap
Welcome back! You’ve successfully signed in.
Great! You’ve successfully signed up.
Success! Your email is updated.
Your link has expired
Success! Check your email for magic link to sign-in.