Sending a print file without proper bleed is one of the most common mistakes in print production. A bleed — typically 1/8 inch of extra canvas on all sides — prevents white slivers from appearing when a printer trims the finished piece. Photoshop's Canvas Size tool and AI-powered Generative Fill make this process straightforward, even for complex images.
Watch the Video
Video by photoshopCAFE. Any links or downloads mentioned by the creator are available only on YouTube
Practical Tips
These steps will help you prepare a clean, print-ready file with correct bleed and crop marks.
- Set guides before expanding the canvas using View > Guides > New Guide Layout with a single column and row — this locks in your original trim edges as a reference.
- Use Canvas Size with the Relative option and enter 0.25 inches for both width and height, which adds 1/8 inch to each side without manual math.
- Contract your selection by 2 pixels before inverting it for Generative Fill — this creates a slight overlap that eliminates visible seams at the bleed edge.
- Draw crop marks on a dedicated layer using the Line tool with snapping enabled, then delete the center area by contracting a full-canvas selection by about 20 pixels and pressing Delete.
- Work at 300 pixels per inch for all print files — at this resolution, 1/8 inch equals roughly 37.5 pixels, which informs how far to contract selections when trimming crop mark lines.
Related Articles and Tutorials
Explore more tutorials covering image editing, canvas management, and design techniques.
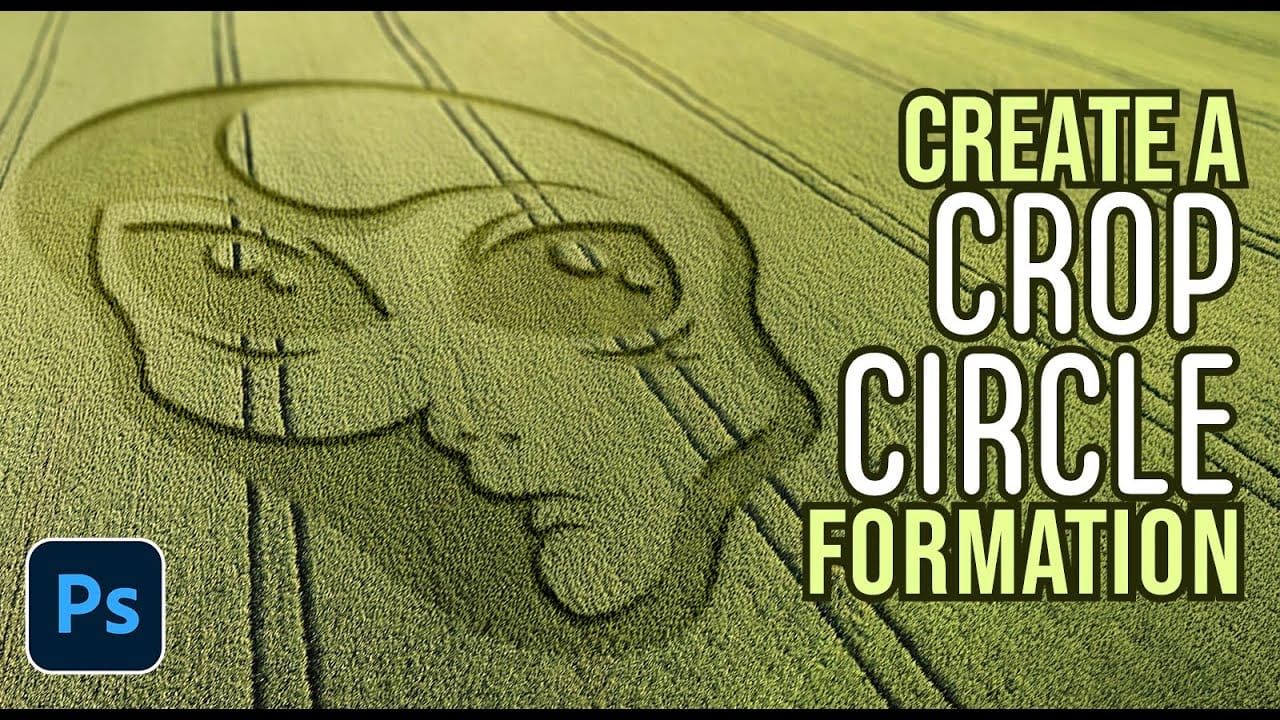
How to Create Realistic Crop Circles in Photoshop
Ancient mysteries meet modern design in the world of crop circles. These intricate patterns carved into fields have captured imaginations for decades, inspiring countless theories about their origins. The geometric precision and otherworldly appearance of crop circles make them compelling subjects for digital art projects.
This tutorial demonstrates how to transform any graphic, logo, or text into a convincing crop circle effect using Photoshop's layering and transformation tools.
Watch the T
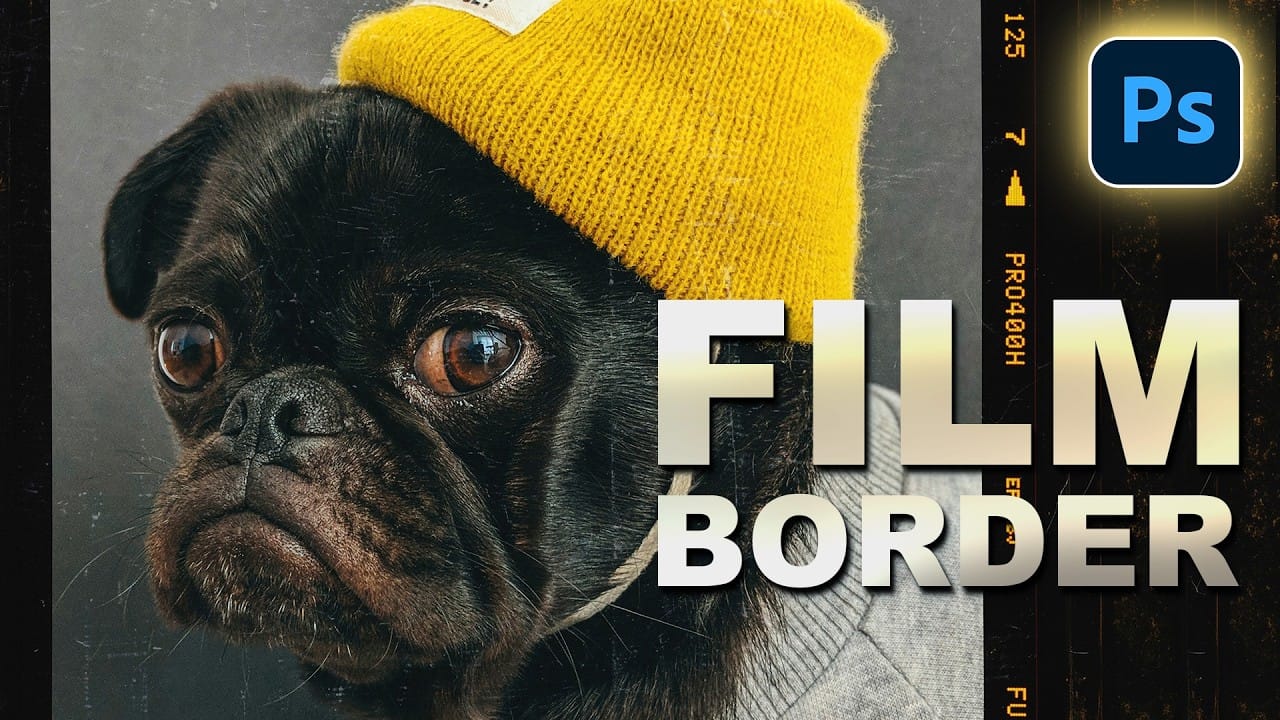
How to Add a Film Border to Any Image in Photoshop
Film borders add instant vintage character to digital photos, recreating the nostalgic feel of analog photography. This technique combines layer masking, texture overlays, and strategic positioning to seamlessly frame your images with realistic film edges that look naturally weathered and imperfect.
Watch the Video
Practical Tips
These essential techniques will help you create more convincing film border effects:
* Use the polygonal lasso tool to create slight variations along border edge
How Photoshop's Updated Frame Tool Simplifies Layer Cropping
Cropping individual layers in Photoshop has traditionally required multiple complex steps involving selections, layer masks, or clipping masks. The updated Frame Tool now offers a streamlined drag-and-drop approach that eliminates confusion and reduces workflow steps.
These improvements make layer cropping accessible to beginners while speeding up workflows for advanced users through custom shape integration and simplified image placement.
Watch the Tutorial
Essential Frame Tool Tips
* Ac
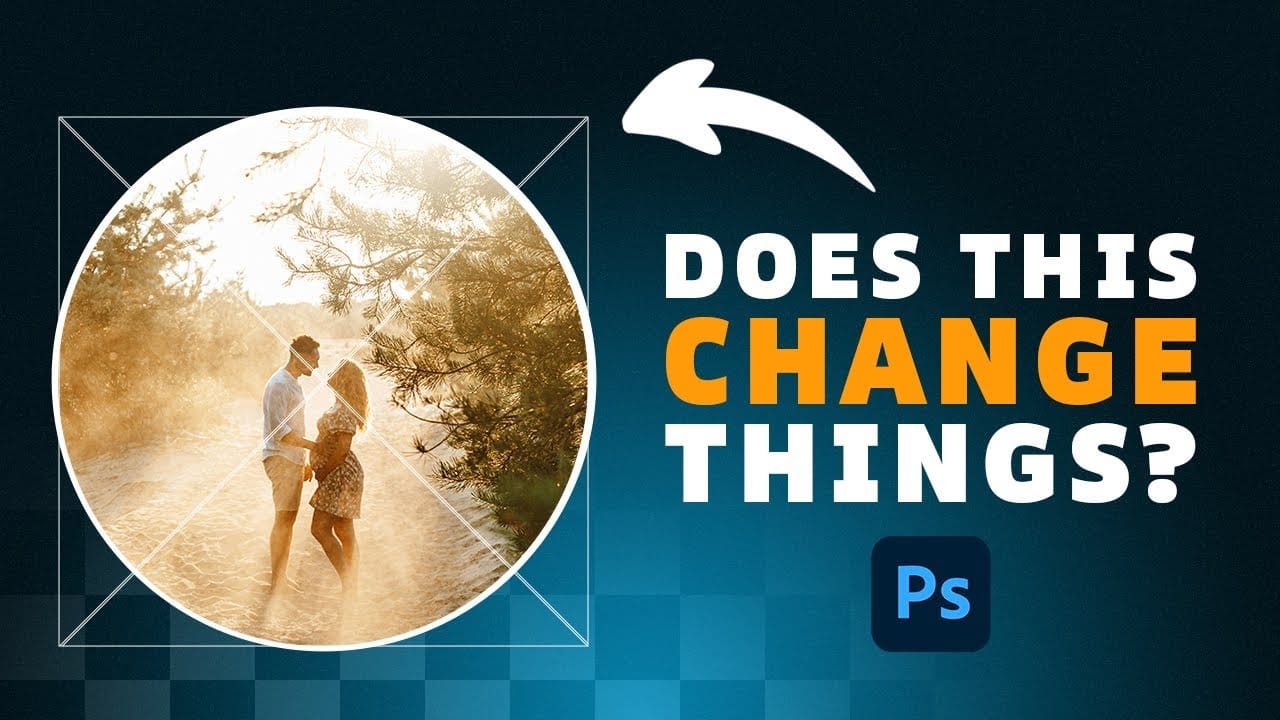
How to Create Circle Cropped Photos with Transparent Backgrounds in Photoshop
Circular cropping transforms standard photographs into clean, professional profile images perfect for websites, social media, and presentations. The frame tool method creates non-destructive crops with transparent backgrounds that export seamlessly across different platforms.
This streamlined workflow eliminates the need for complex selections or masks while maintaining full control over image positioning and styling options like custom borders.
Watch the Video
Practical Tips
Essential tec
Distressed Ink Bleed Text Effect in Photoshop
Street art and underground design aesthetics have a raw, rebellious quality that draws the eye and commands attention. The distressed ink bleed effect captures this energy by transforming clean typography into something that looks weathered, organic, and authentically gritty.
This technique combines blur effects with threshold adjustments to create text that appears to have bled and spread like ink on wet paper. The result is typography that feels alive and imperfect, perfect for urban-themed d
The 3 Easiest Ways To Cut Out Images In Photoshop
In this informative tutorial, author Brendan Williams shares three of the most effective techniques for image cropping in Photoshop. The guide covers the infamous Quick Selection Tool, the Channels method, and the highly versatile Pen Tool. Whether you're a newcomer to the program or a seasoned professional, these methods are sure to elevate your workflow and take your work to new heights.
The Quick Selection Tool, known for its intuitive and efficient selection capabilities, is explored in-dep
Grungy Ink Bleed Text Effect Tutorial in Photoshop
Street art and underground design capture attention through their raw, imperfect textures that feel authentic and rebellious. The ink bleed effect transforms clean typography into something that appears weathered and organic, as if ink has spread naturally on wet paper.
This technique combines blur effects with texture overlays to create text that looks genuinely distressed and handcrafted, perfect for urban-themed designs, band merchandise, or any project needing gritty character.
Watch the
Add A Transparent Text Area To An Image With Photoshop
In this tutorial, you will discover how to add cutout text on a transparent text area to an image using Photoshop. This technique is particularly useful for images that are too busy, making regular text hard to read.
You will start by selecting your image to work with, ensuring it has the right elements for your design. Then, you will create a text box and adjust its transparency. This allows the text to stand out without overwhelming the image.
The tutorial guides you step by step, making it

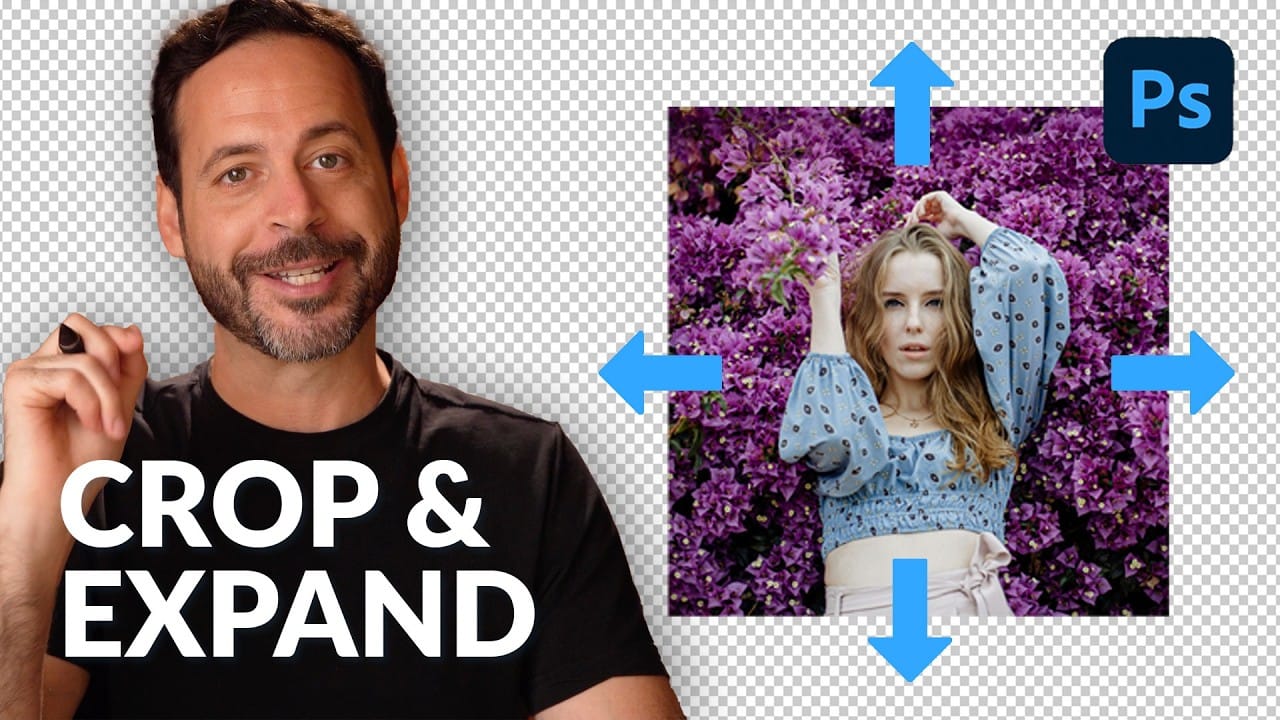
Crop to Any Ratio and Expand with AI in Photoshop
Digital images often require precise dimensions for various outputs, from print to social media. Achieving the perfect crop while maintaining visual integrity can be a challenge, especially when the desired ratio exceeds the original image boundaries.
This tutorial explores how to effectively crop images to specific aspect ratios in Photoshop, demonstrating techniques to not only adjust dimensions but also intelligently expand image content using AI when necessary.
Watch the Video
The Evolu
Create a Floral Typography Text Effect in Photoshop
Learn to create stunning floral typography in Photoshop. This tutorial teaches you to blend vibrant flowers with custom text, achieving a captivating visual that seamlessly integrates botanical elements with your design. Master techniques for realistic depth, perfect for unique posters, art, or personal projects.
Watch the Full Tutorial
Practical Tips for Crafting Floral Text Effects
* Convert masked images to Smart Objects early in the process to maintain editability of layer masks and tr