Ancient mysteries meet modern design in the world of crop circles. These intricate patterns carved into fields have captured imaginations for decades, inspiring countless theories about their origins. The geometric precision and otherworldly appearance of crop circles make them compelling subjects for digital art projects.
This tutorial demonstrates how to transform any graphic, logo, or text into a convincing crop circle effect using Photoshop's layering and transformation tools.
Watch the Tutorial
Video by Photoshop Arthouse. Any links or downloads mentioned by the creator are available only on YouTube
Practical Tips for Crop Circle Effects
- Use
Ctrl/Cmd + Lto open Levels and create pure black and white graphics by dragging input sliders toward the center - Apply perspective transforms by holding
Ctrl + Alt + Shift(Windows) orCmd + Option + Shift(Mac) while dragging corner handles - Set layer blend mode to Multiply at 50% opacity to create natural shadow effects in flattened crop areas
- Add Bevel & Emboss layer styles with Inner Bevel technique to simulate the raised edges where standing crops meet flattened areas
- Apply Tilt-Shift blur to the final composite to mimic aerial photography depth of field effects
More Tutorials about Digital Effects
Explore these resources for additional creative techniques and digital manipulation methods.
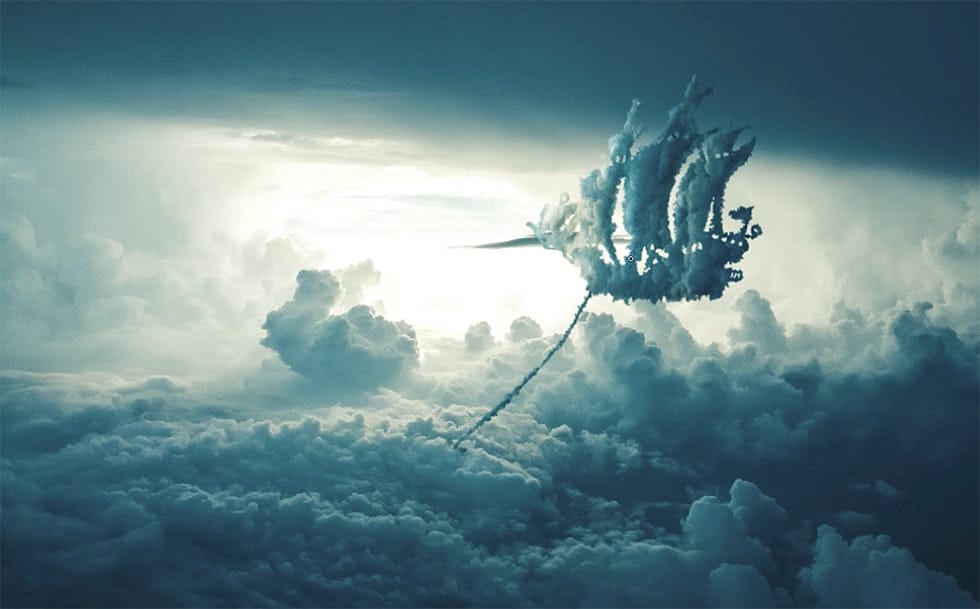
How to Create Any Cloud Shape in Photoshop
Nemanja Sekulic, a talented Serbian artist, shares a captivating tutorial on how to create any cloud shape in Photoshop. As a child, the artist reminisces about the joy of searching the sky for hidden shapes in the clouds. Now, with the power of photo retouching, Sekulic invites readers to bring those nostalgic moments back to life on their computer screens.
In this tutorial, Sekulic guides readers through the process of crafting any cloud shape they desire. By harnessing the tools and techniqu
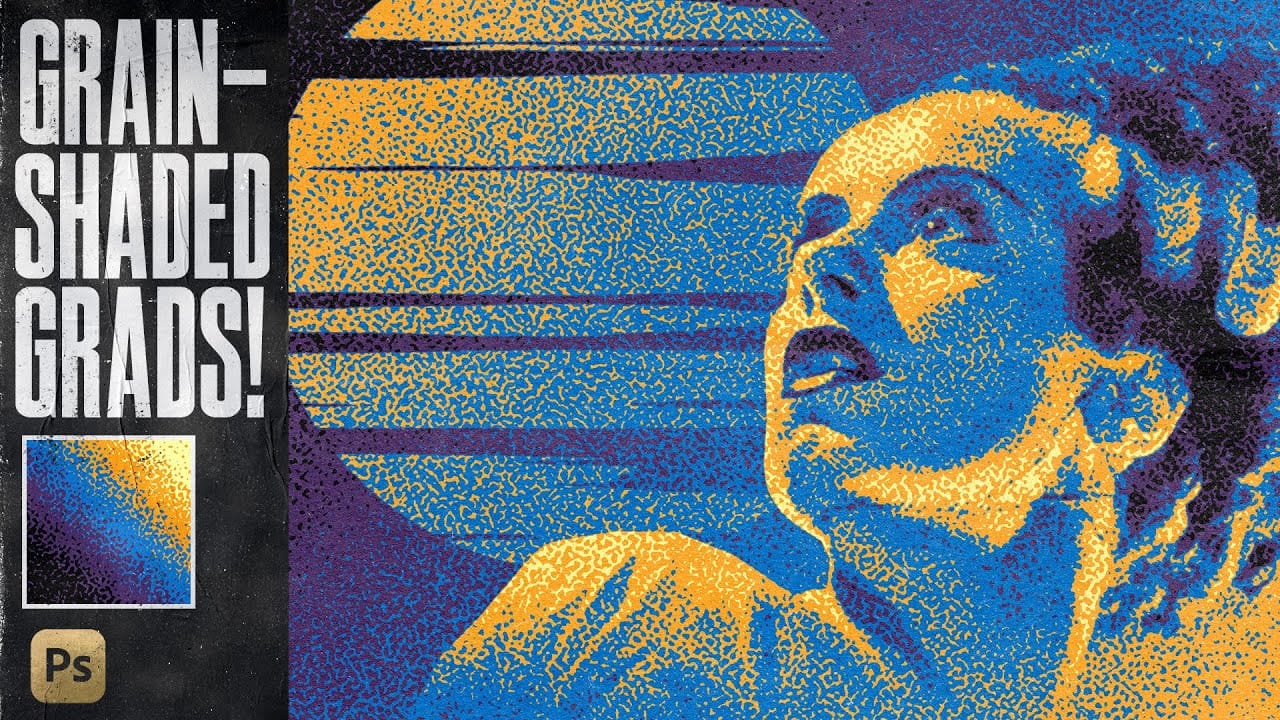
Revolutionary Technique: Photoshop's Grain Shaded Gradient Maps
In this tutorial, TextureLabs presents a revolutionary technique to enhance your Photoshop projects using grain-shaded gradient maps. This method offers a fresh approach to creating noise effects that can add depth and interest to your artwork.
By utilizing Adjustment Layers, along with specially designed noise patterns and custom gradient presets, you can achieve stunning results. The tutorial walks you through the essential steps to manipulate these elements effectively, allowing for greater
Add clouds to a sky in Photoshop
In this Photoshop tutorial by Phlearn, you'll learn how to replace the sky in an image, ensuring it complements the original photo in terms of color, contrast, and tone.
Start by using the Move Tool to drag and drop the new sky onto your image, then turn off the layer. Select the old sky using a selection tool like the Magic Wand Tool. Once the selection is refined, turn the new sky layer back on and click the Layer Mask button to mask in just the sky. Unlink the layer from its mask to position

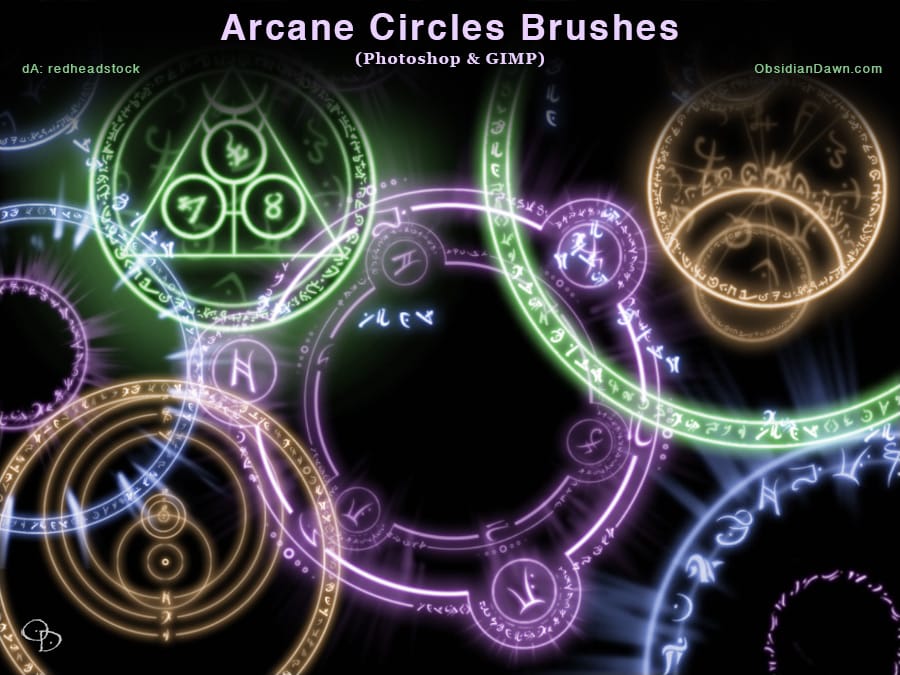
Arcane Circles-Symbols Photoshop and GIMP Brushes
Talented artist Stephanie Shimerdla has created a set of Photoshop brushes that feature a collection of arcane circles and symbols. These brushes are entirely original designs, crafted using the author's own arcane rune brushes. The designs have a distinct resemblance to various alchemy-inspired motifs, making them a versatile tool for use in fantasy-themed projects or any setting where a captivating runed symbol is required.
The brushes offer a wide range of possibilities for artists and desig