Distressed Ink Bleed Text Effect in Photoshop

Distressed Ink Bleed Text Effect in Photoshop

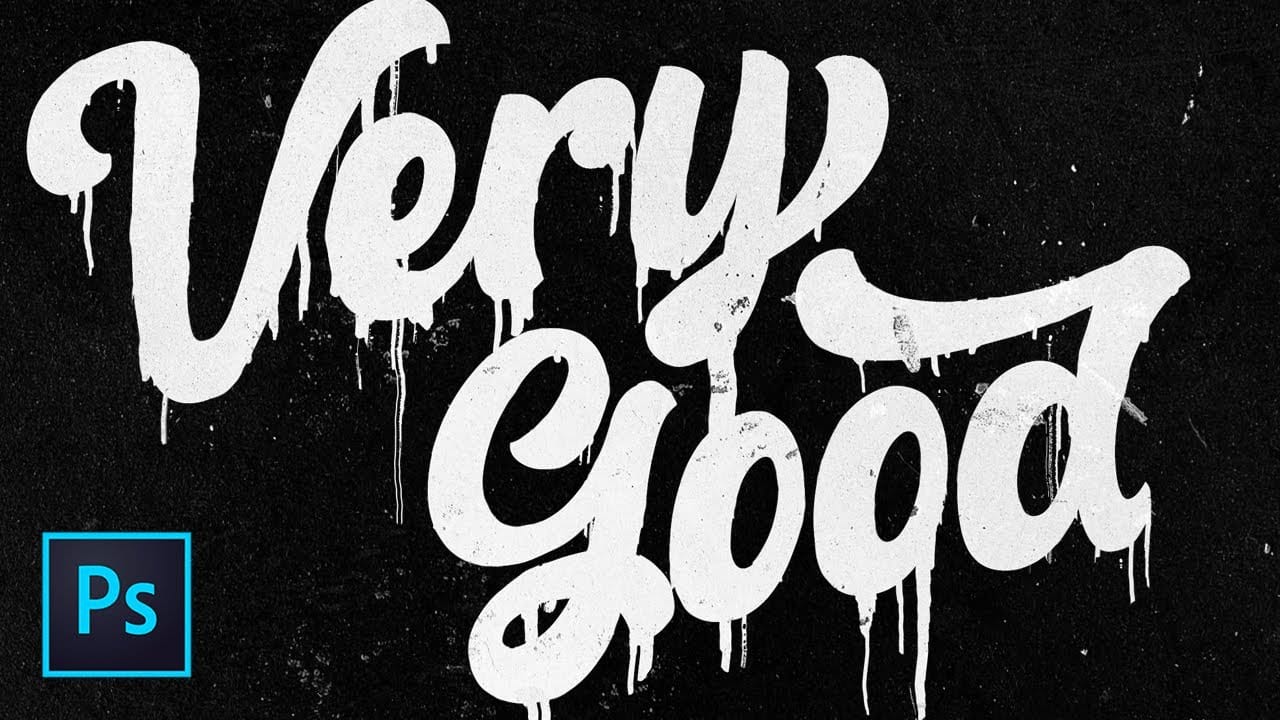
Street art and underground design aesthetics have a raw, rebellious quality that draws the eye and commands attention. The distressed ink bleed effect captures this energy by transforming clean typography into something that looks weathered, organic, and authentically gritty.

This technique combines blur effects with threshold adjustments to create text that appears to have bled and spread like ink on wet paper. The result is typography that feels alive and imperfect, perfect for urban-themed designs, concert posters, or any project that needs an edgy, authentic feel.

Watch the Tutorial

Video by P A N T E R. Any links or downloads mentioned by the creator are available only on YouTube

The Science Behind Ink Bleed Effects

Real ink bleeding occurs when liquid ink encounters absorbent surfaces or moisture, causing the pigment to spread beyond its intended boundaries. This natural phenomenon creates organic, unpredictable patterns that designers have long tried to replicate digitally. The appeal lies in the contrast between controlled design and chaotic natural forces.

Digital recreation of this effect relies on blur techniques combined with high-contrast adjustments. The gaussian blur softens edges to mimic ink dispersion, while threshold adjustments restore the sharp contrast between ink and paper. Field blur adds directional bleeding that mimics how gravity and surface texture affect real ink flow.

The underground aesthetic this effect represents emerged from necessity in street art culture, where materials were often improvised and imperfect. This authenticity translates powerfully to digital design, adding credibility and grit to contemporary typography.

Practical Tips for Distressed Ink Effects

  • Start with bold, expanded fonts like Akira Expanded for maximum impact and better blur results
  • Convert text to smart objects before applying filters to maintain editability throughout the process
  • Use multiple blur layers with different intensities to create varied bleeding patterns
  • Apply field blur selectively with pin points to control where the heaviest bleeding occurs
  • Add subtle noise to the final result to simulate paper texture and enhance the analog feel

More Tutorials about Distressed Text Effects

Explore additional techniques for creating weathered and artistic typography effects.
Colorful Slimy Drip Text Effect in Photoshop
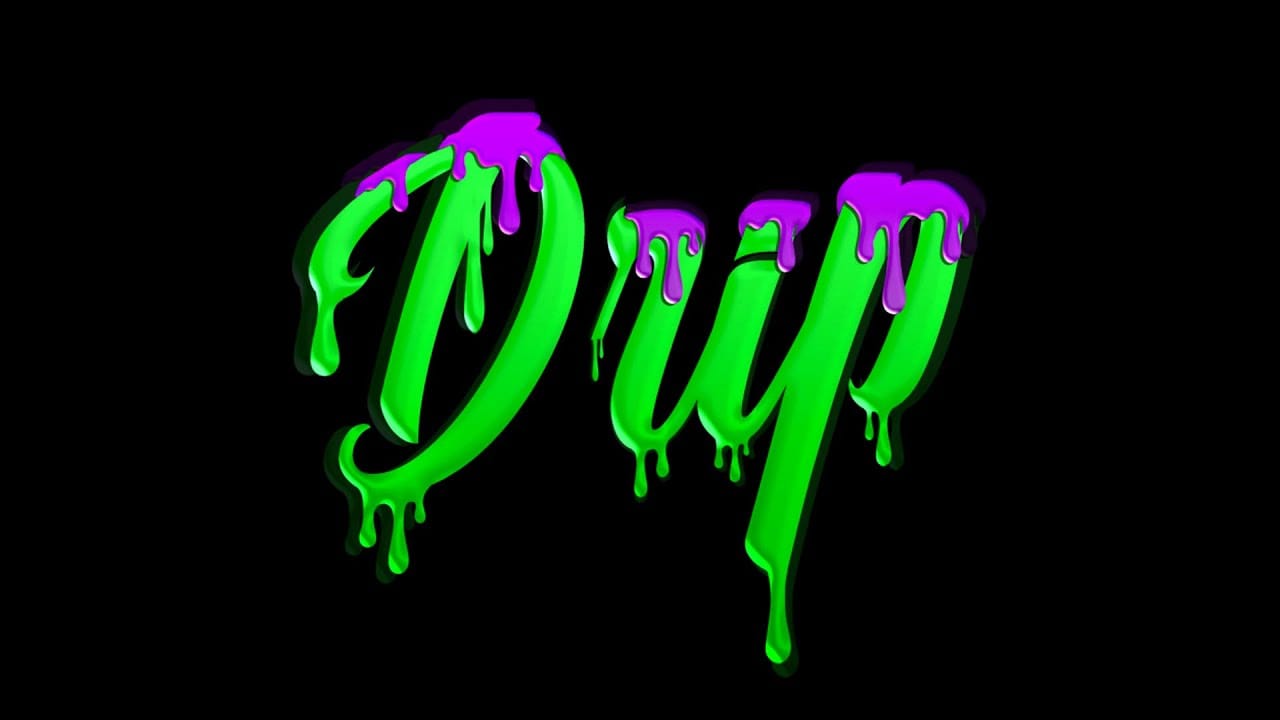
In this tutorial by Noyse Works, you'll learn how to create a striking drip text effect in Photoshop. The final image showcases a dynamic text with melting, paint-like drips, perfect for adding a creative, edgy touch to your designs. The tutorial covers techniques for blending, shading, and manipulating text to achieve a realistic dripping effect, making your text appear as if it's slowly melting away. This effect is ideal for creating eye-catching posters, social media graphics, or any projec
Dripping Paint Effect in Photoshop
In this tutorial from TextureLabs, Brady demonstrates how to create a dripping paint effect in Adobe Photoshop without any manual painting involved. Brady shares a methodical approach using filters in a specific step-by-step process. This technique allows anyone to easily apply the effect to various elements, achieving a realistic dripping paint appearance. Brady emphasizes that this technique is not standard in Photoshop manuals but rather a proprietary method developed through personal profe
Glowing Text Effect in Photoshop
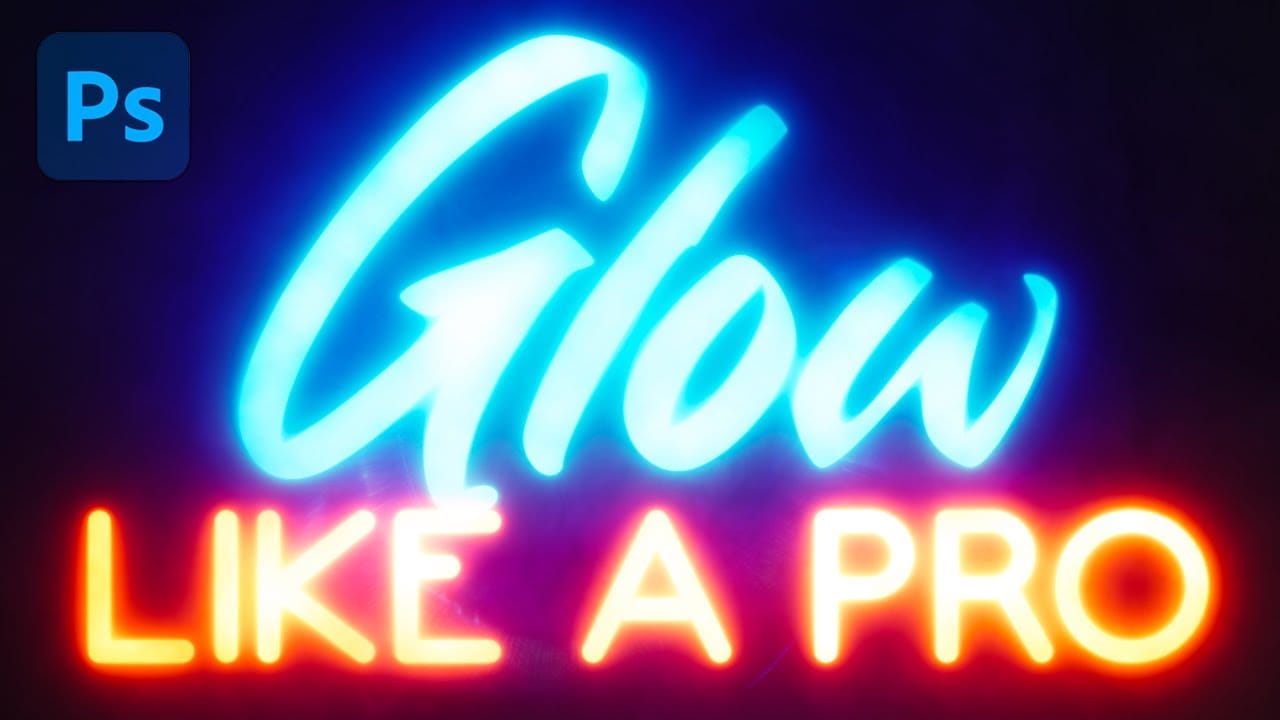
In this tutorial from TextureLabs, you'll learn a technique to enhance the Outer Glow effect in Photoshop for more realistic results on text and logos. The tutorial offers a straightforward approach to create a vibrant and lifelike glow that surpasses the traditional flat appearance. Additionally, TextureLabs encourages applying the same technique to photographs to achieve glowing effects, expanding the tutorial's application beyond text and logos. This tutorial is ideal for those looking to e
Colorful Graffiti Text Effect in Photoshop
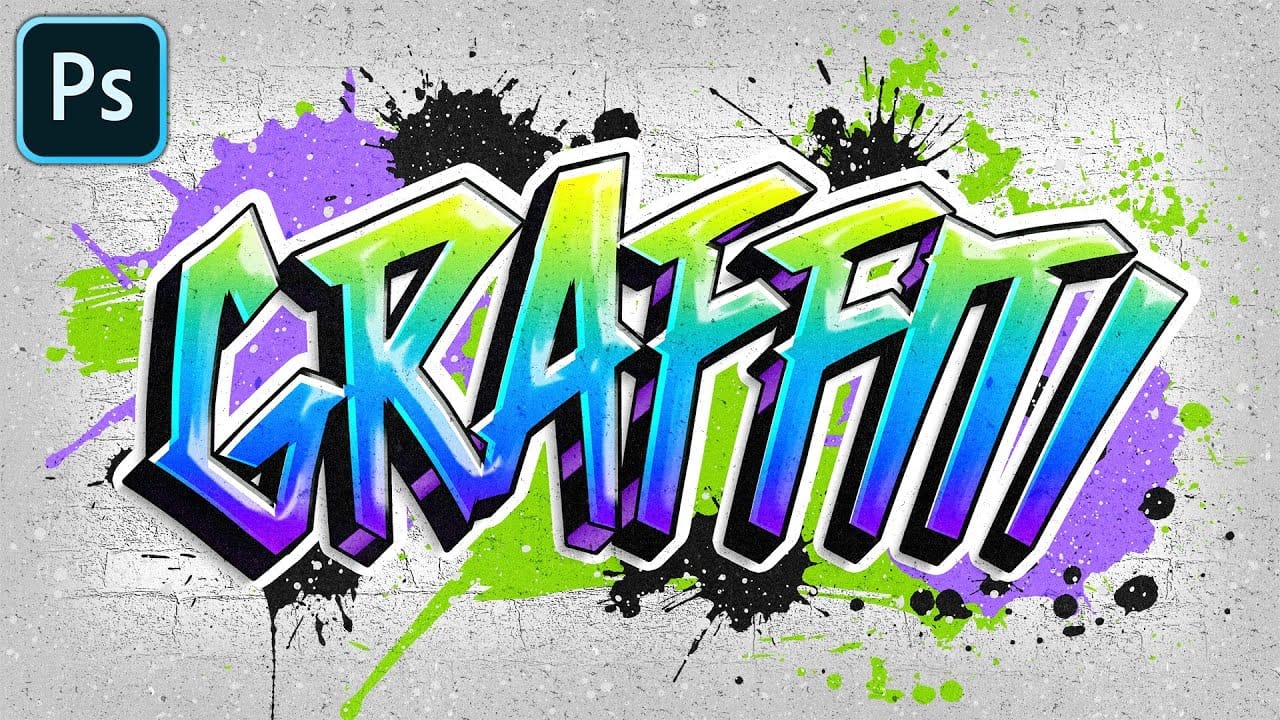
In this tutorial from PhoTuts, you'll learn to create a vibrant and editable graffiti text effect on a concrete wall using basic Photoshop techniques. Embracing an urban street art style, the tutorial guides you through transforming text into striking graffiti, complete with bold colors and realistic textures. Perfect for adding an edgy, contemporary flair to your designs, this tutorial offers insights into creating impactful digital art inspired by street culture. Watch tutorial

Get tutorials & freebies delivered to you.

Subscribe to the Photoshop Roadmap newsletter, a weekly roundup of new tutorials, insights and quality downloads, trusted by 6500+ readers.

You might also like

Professional Portrait Retouching with the B.S.T. Method in Photoshop

Professional portrait retouching requires artistic choices that automated tools can't make. The B.S.T. method breaks retouching into three focused steps: removing blemishes with precision, smoothing skin while preserving natural texture, and equalizing skin tones throughout the image. This systematic approach gives you complete control over every...

Create Motion Blur Light Effects in Photoshop

Transform ordinary portraits into dynamic, cinematic images by combining path blur effects with creative background textures. This technique creates the illusion of camera movement while maintaining focus on key elements like the subject's eyes, resulting in professional-looking motion blur effects that add energy and visual interest to static...

How to Paint Realistic Jewelry on Portraits in Photoshop

Adding painted jewelry to portraits transforms ordinary photos into fantasy portraits with ornate accessories that never existed. This digital painting technique uses careful layering, proper lighting, and realistic shadows to create convincing rings, earrings, and decorative headpieces. The method combines basic brush work with advanced blending techniques to build up...

How to Sharpen Images Using the High Pass Filter in Photoshop

The High Pass filter method remains one of the most versatile sharpening techniques in Photoshop, offering precise control over which image areas receive enhancement. This non-destructive approach works by identifying edge details and allowing you to selectively apply sharpening exactly where it's needed most. Unlike automated sharpening tools,...

How to Find Missing Actions in the New Photoshop Actions Panel

The redesigned Actions panel in Photoshop can catch users off guard when their custom actions seem to disappear. With the new tabbed interface, your previously created actions are still there—they're just located in a different tab than before. Understanding the new layout will help you quickly access...

Fast Portrait Retouching: Remove Stray Hairs, Clothing Wrinkles, and Fix Backgrounds

Every portrait photographer knows the feeling: you've captured a beautiful shot, but stray hairs, wrinkled clothing, and messy backgrounds turn editing into hours of tedious work. These common retouching challenges can drain your time and energy, especially when dealing with high-volume projects or tight deadlines. This tutorial demonstrates...

You’ve successfully subscribed to Photoshop Roadmap
Welcome back! You’ve successfully signed in.
Great! You’ve successfully signed up.
Success! Your email is updated.
Your link has expired
Success! Check your email for magic link to sign-in.