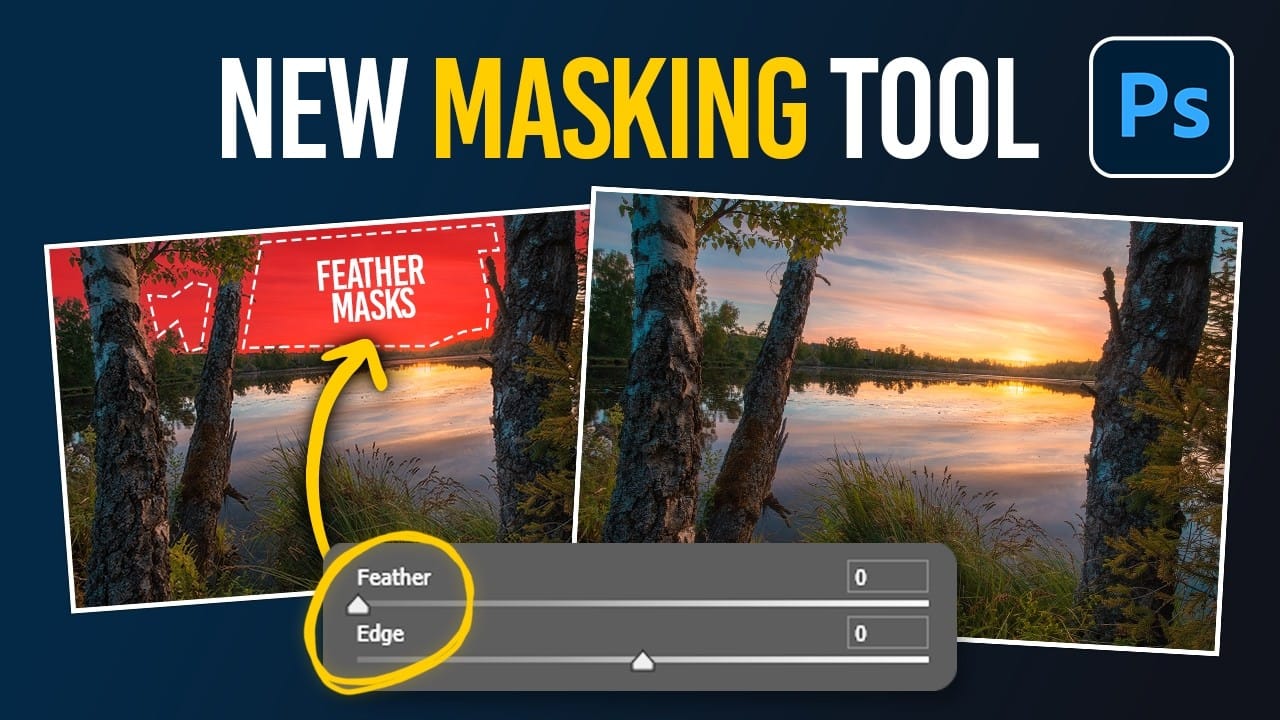
Camera Raw now lets you feather and expand AI-generated masks directly in the masking panel — a feature that makes it possible to create a convincing light bloom effect without any manual brush work. This tutorial covers the full editing process for a dark, underexposed landscape shot, with the feathered sky mask technique as its centerpiece.
Watch the Video
Video by Christian Möhrle - The Phlog Photography. Any links or downloads mentioned by the creator are available only on YouTube
Practical Tips
These techniques from the tutorial are directly applicable to landscape and nature editing workflows:
- Use the sky mask's feather and edge sliders to simulate a glow effect — increase feather to spill the mask into surrounding areas, then raise the edge slider to expand it further, avoiding the need for manual brush masking.
- Raise the blacks inside a feathered sky mask to create a light bloom — combining this with a negative dehaze value intensifies the glow without affecting the rest of the image.
- Switch to brush selection mode when using object masks on tree branches — painting loosely along branches is more effective than rectangle selection for irregular, detailed shapes.
- Apply the Fade command immediately after a Gaussian blur to add an autumn glow in Photoshop — use Screen blending mode at around 30% opacity, then use blend-if sliders to restrict the effect to brighter areas only.
- Use a color range mask to target and correct isolated color casts — click directly on the problem area, then subtract a radial gradient to protect areas that don't need adjustment.
Related Articles and Tutorials
Explore more tutorials on masking, color grading, and targeted adjustments in photo editing.
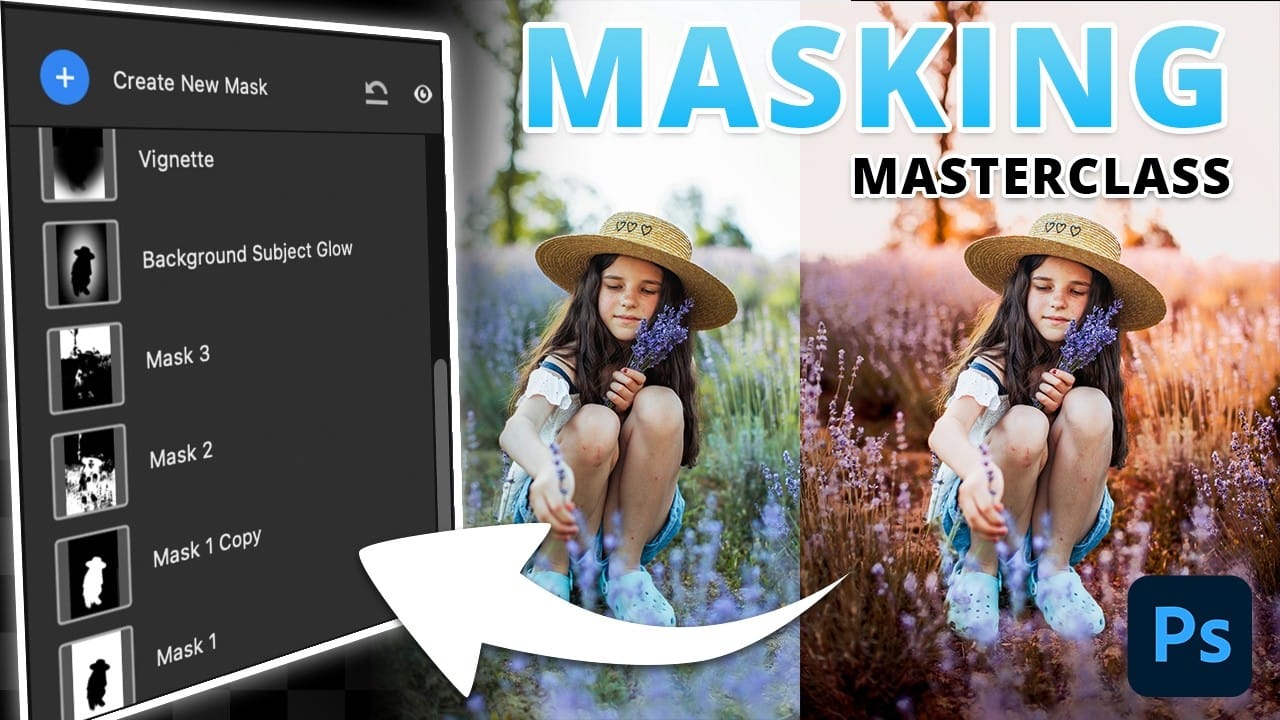
Transform Your Photos with These Photoshop Masks
Masking in Photoshop is a powerful technique to isolate and enhance different parts of an image. However, many users find it complicated and time-consuming, often sticking to basic masks or selections that limit creative control. This can make photo editing feel frustrating and slow, especially when trying to achieve subtle but impactful adjustments.
This tutorial introduces a structured masking workflow within Camera Raw that simplifies the process while giving you precise control over highlig
Photoshop auto masks, new feature no one is talking about
Making precise selections in Photoshop has historically been one of the most time-consuming and challenging aspects of image editing. From intricate hair strands to complex tree foliage, achieving a clean mask often required significant manual effort and advanced techniques. However, recent advancements in artificial intelligence are rapidly transforming this fundamental process.
The video demonstrates the groundbreaking improvements in Photoshop's auto-masking capabilities, specifically within

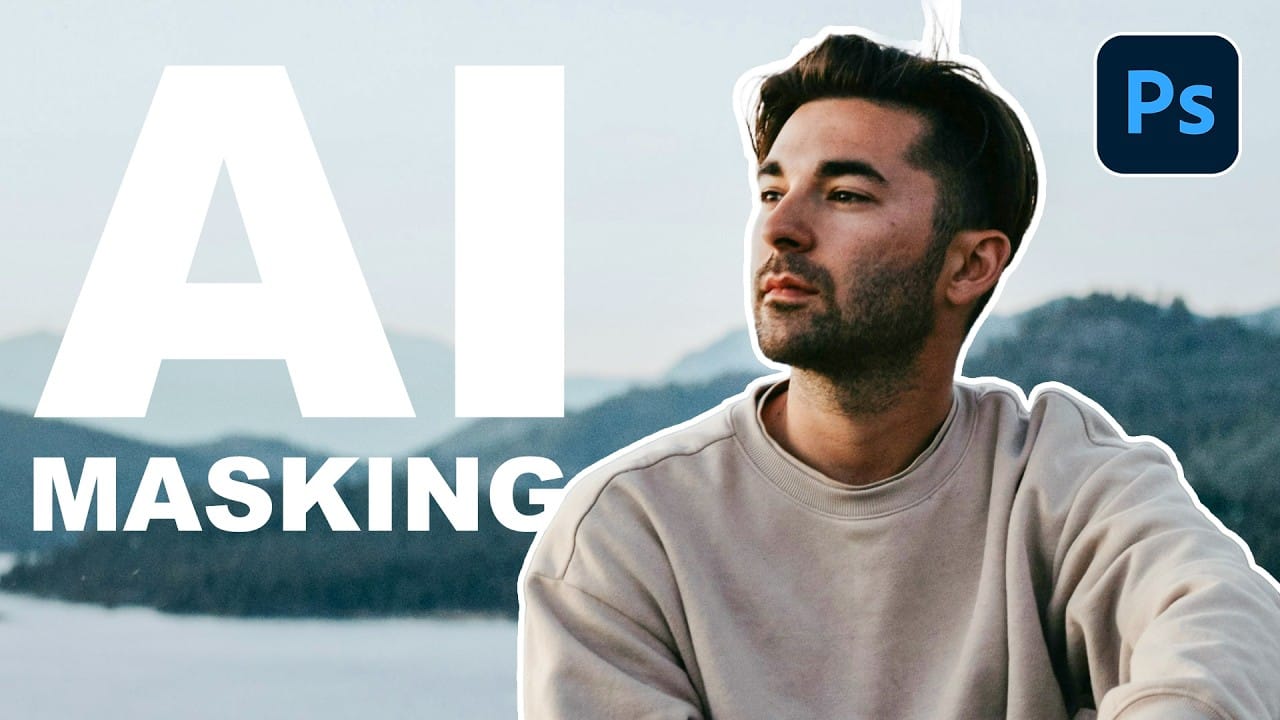
How to Use AI Masking in Adobe Camera Raw for Professional Photo Editing
Adobe Camera Raw's AI masking tools automatically detect subjects, backgrounds, skies, and landscapes, letting you make precise adjustments to specific areas of your photos. These intelligent masks eliminate the need for manual selection work, while allowing you to combine and refine them for complete creative control.
The technique works with any image format and preserves all your adjustments when using smart objects, making it perfect for non-destructive editing workflows that you can modify
How to Use Split Toning and Enhanced AI Masks in Camera Raw
Adobe's latest Camera Raw update brings two powerful enhancements that transform how photographers work with masks and color grading. Split toning is now available directly within individual masks, allowing precise color control over shadows, midtones, and highlights in specific image areas. Additionally, AI masks like landscape selection and select subject now include feather and edge controls, solving the persistent problem of harsh mask edges that could ruin heavy adjustments.
These features
How to Use AI Depth Masking in Photoshop for Targeted Subject and Background Editing
AI depth masking revolutionizes how you select and edit specific areas of your photos by analyzing three-dimensional space rather than shapes or colors. This powerful feature uses artificial intelligence to calculate depth layers, allowing you to brighten subjects while darkening backgrounds or apply targeted adjustments based on distance from the camera.
The technique works within Camera Raw Filter and preserves all your edits when using smart objects, making it perfect for non-destructive wor
How to Use the New Depth Mask in Adobe Camera Raw for Landscape Photography
Adobe's latest Camera Raw update introduces a powerful depth mask that works with any image, not just smartphone photos with depth data. This new masking tool analyzes distance information in your photos to create precise selections based on how far objects are from the camera.
The depth mask excels at targeting specific areas like distant mountains or foreground elements, making it particularly valuable for landscape photographers who need to enhance depth and atmosphere in their images.
Wat
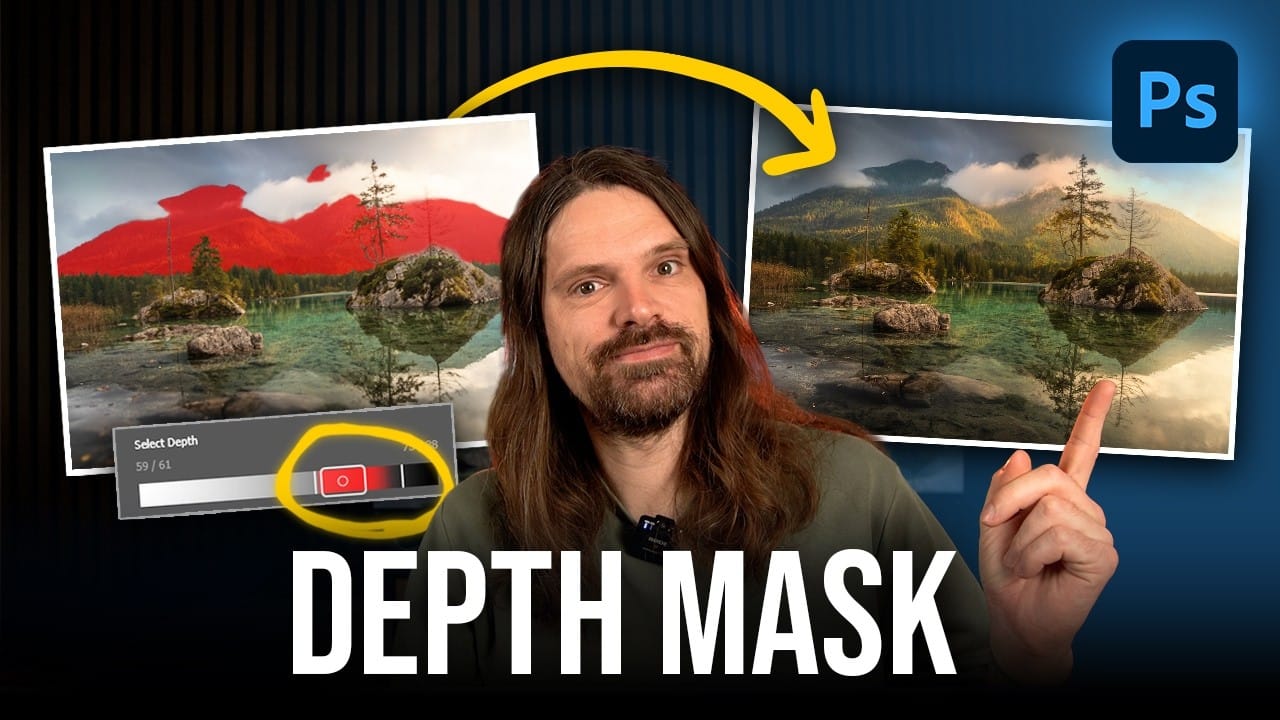
How to Use Depth Range Masking in Camera Raw
Adobe Camera Raw's depth range masking feature allows you to select and adjust specific depth layers in any photograph without needing special camera equipment. Unlike traditional subject and background masks that focus on shapes, depth range masking works with the spatial distance between elements in your image.
This AI-powered tool creates a depth map from any photo, letting you target foreground, midground, or background areas with precision. The technique works particularly well for atmosph
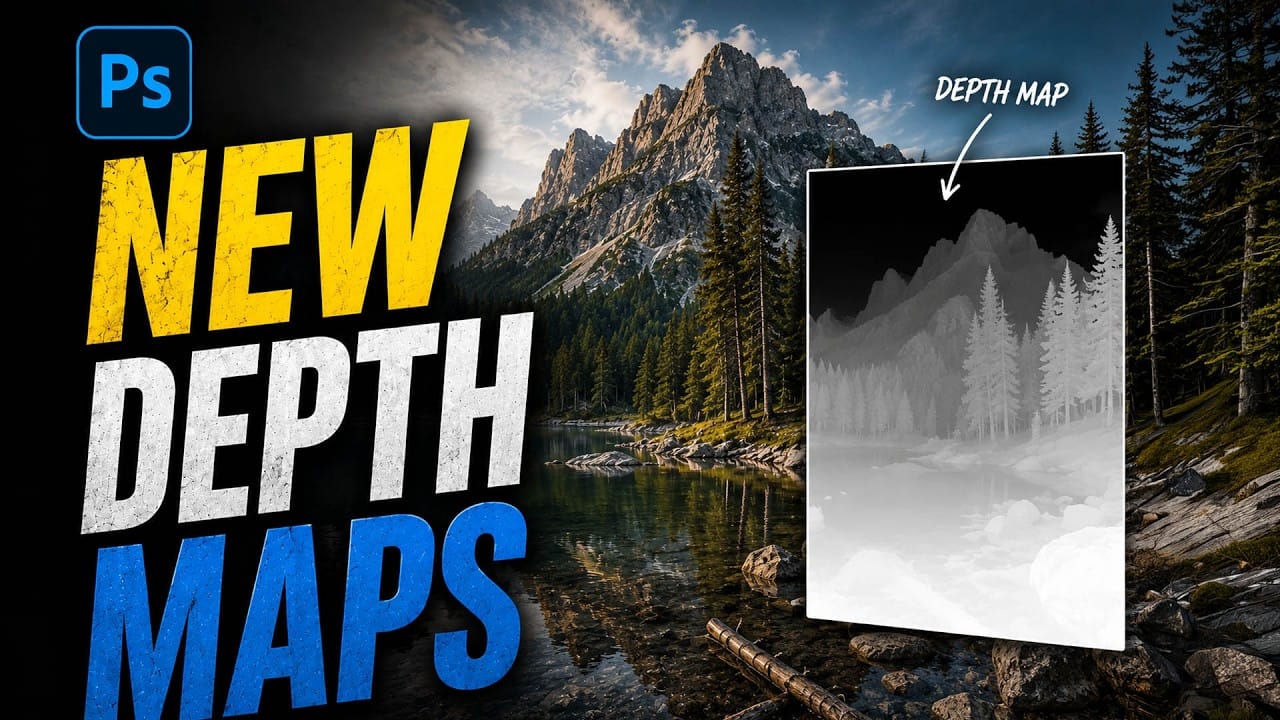
How to Use New Camera Raw Adjustment Layers in Photoshop Beta
Three new adjustment layers in Photoshop beta bring Camera Raw's most powerful tools directly into your layers panel. Color and Vibrance, Clarity and Dehaze, and Grain adjustments now work as standard adjustment layers, eliminating the need for smart objects while maintaining all the precision masking and blending capabilities you expect.
This breakthrough allows photographers to apply global-quality Camera Raw adjustments with local control, creating more efficient workflows without file bloat
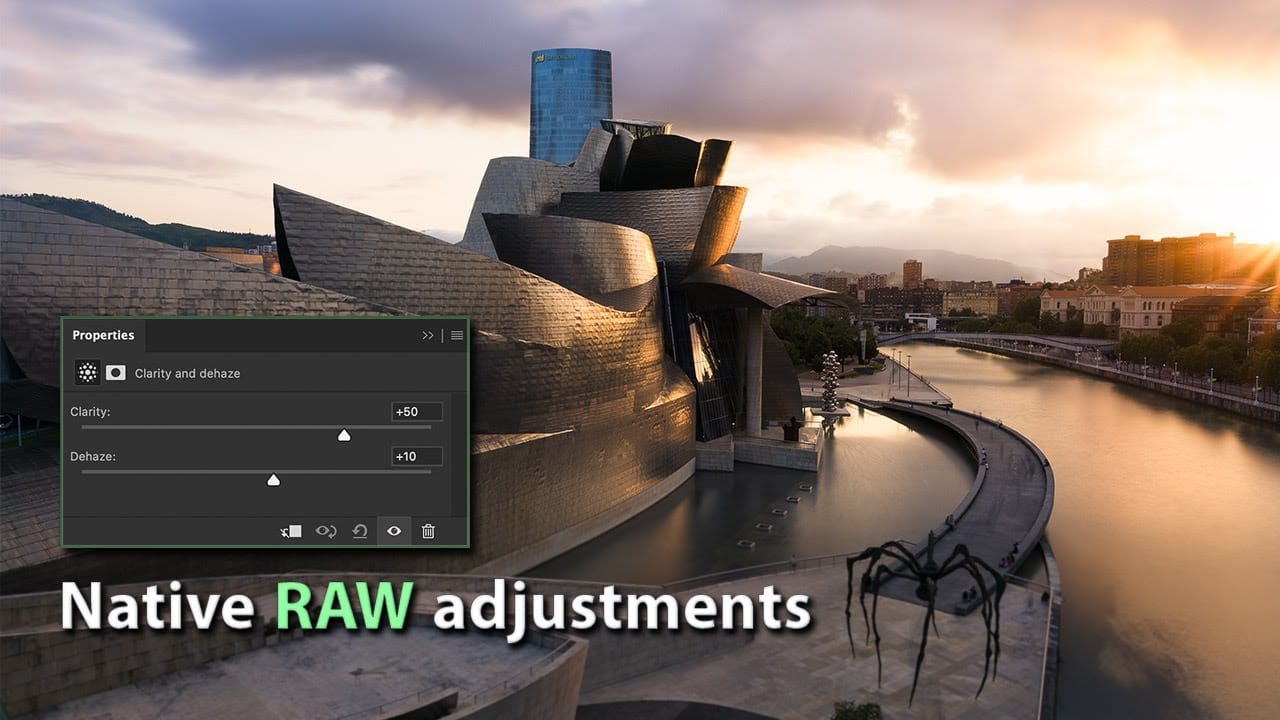
TOP New Features in Photoshop – May 2025 Update
Many Photoshop users frequently encounter common challenges such as time-consuming manual selections for complex objects, difficulties in achieving precise color adjustments across an image, or struggling with inconsistent results when removing unwanted elements like reflections. These hurdles often slow down the creative process, making it frustrating to achieve a desired professional look efficiently.
This guide explains how Photoshop's latest updates introduce powerful new functionalities, i

Professional hair masking technique in Photoshop
In this Photoshop tutorial, author Kevin Roodhorst provides a detailed guide on how to create a professional hair masking technique. The tutorial takes you through the step-by-step process of making the perfect hair mask.
The author explains the importance of masking hair in Photoshop, as it allows for precise selections and editing of individual strands. By following the instructions laid out in the tutorial, users can learn to isolate and refine the hair, enabling them to make seamless adjust