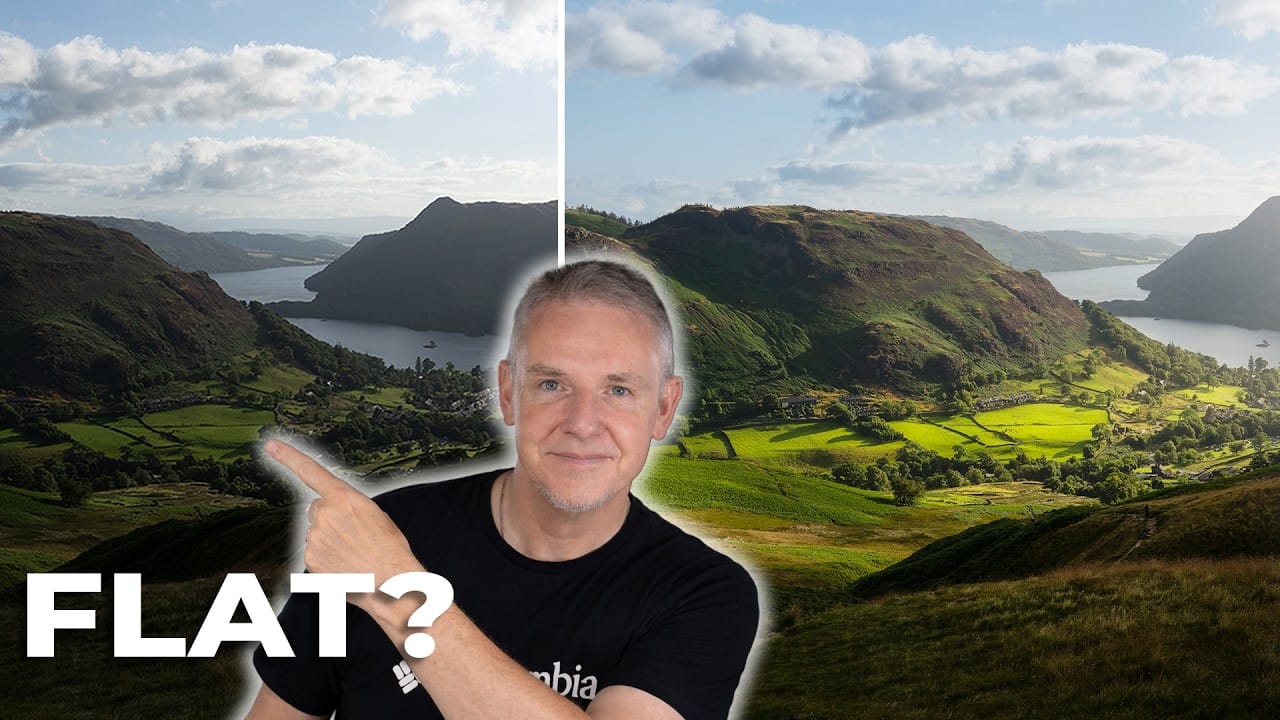
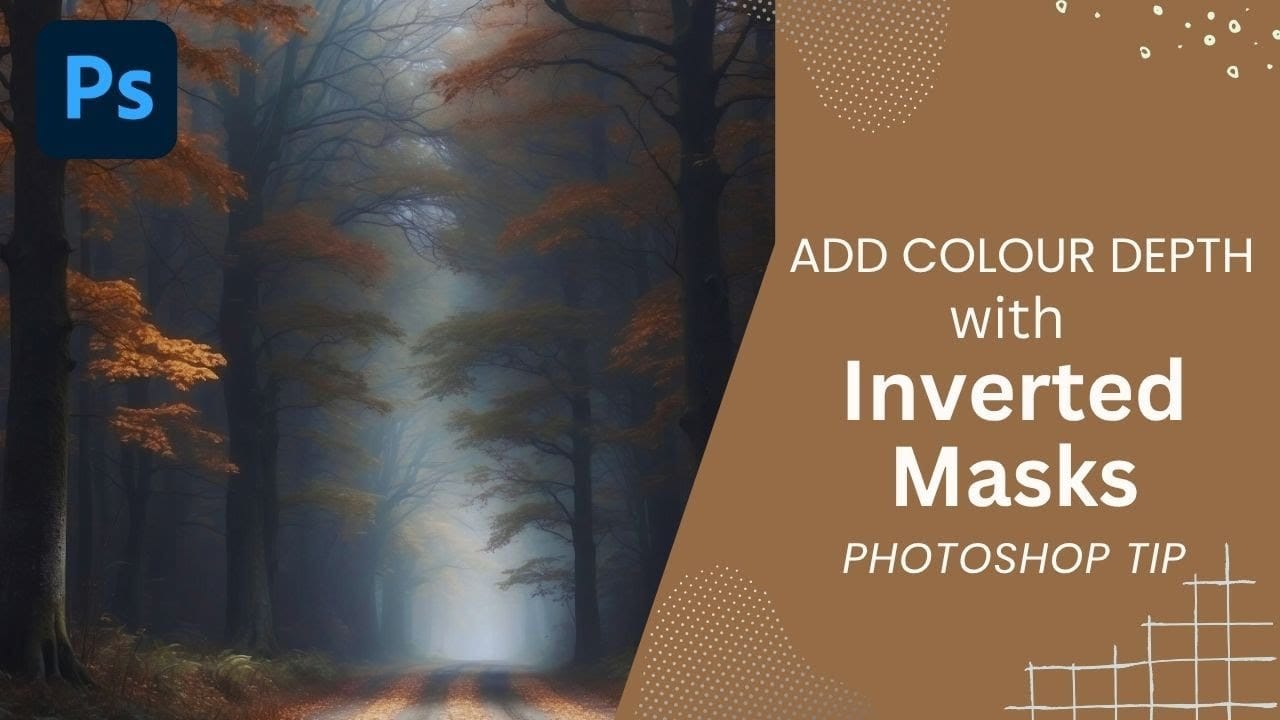
Adobe Camera Raw's depth range masking feature allows you to select and adjust specific depth layers in any photograph without needing special camera equipment. Unlike traditional subject and background masks that focus on shapes, depth range masking works with the spatial distance between elements in your image.
This AI-powered tool creates a depth map from any photo, letting you target foreground, midground, or background areas with precision. The technique works particularly well for atmospheric adjustments like reducing haze, warming distant elements, or creating natural-looking depth effects.
Watch the Video
Video by Matt Kloskowski. Any links or downloads mentioned by the creator are available only on YouTube
Practical Tips
Master depth range masking with these essential techniques for better results:
- Click different areas of your photo to preview how the depth map segments foreground, midground, and background elements
- Use the depth map preview to understand how the tool interprets spatial relationships before making adjustments
- Adjust the main anchor point first, then fine-tune the falloff sliders to control how much surrounding depth gets included
- Combine depth range masks with subtract masks (like sky selection) to refine areas that overlap depth boundaries
- Focus on atmospheric adjustments like dehaze, temperature, and exposure rather than trying to select specific objects
Related Articles and Tutorials
Explore more advanced masking and depth techniques to enhance your photo editing workflow: