The Object Selection tool lets you isolate parts of an image with a simple drag, and it becomes even more useful when paired with adjustment layers and layer masks. These techniques are practical for targeted color edits, texture work, and building selections that cover multiple elements like a flower, stem, and bud together.
Watch the Video
Video by SandraD Imagery. Any links or downloads mentioned by the creator are available only on YouTube
Practical Tips
These techniques from the tutorial will help you work more efficiently with selections and targeted adjustments.
- Draw your rectangle larger than the subject — Photoshop snaps the selection to the object's edges automatically when you release the mouse.
- Use the Add to Selection option to extend an existing selection to nearby elements, such as a stem or bud, without starting over.
- Enable Sample All Layers in the tool options bar when working on images with multiple layers to get consistent selection results.
- Add a layer mask before painting, then use the Object Selection tool to constrain your brush strokes — paint only affects the area inside the selection.
- Lower brush opacity when masking a texture overlay to retain a subtle effect rather than removing it completely.
Related Articles and Tutorials
Explore more tutorials covering selection methods and masking techniques for a range of editing workflows.
How to Use Photoshop's Select Subject Tool for One-Click Selections
Complex selections in Photoshop just became effortless. The Select Subject tool uses advanced AI to automatically identify and select main subjects in images, even those with intricate details like bicycle spokes or hair.
This tutorial demonstrates how to achieve professional-quality selections with a single click, saving hours of manual masking work.
Watch the Video
Practical Tips for Using Select Subject
* Access Select Subject through the Contextual Task Bar for quickest results - find
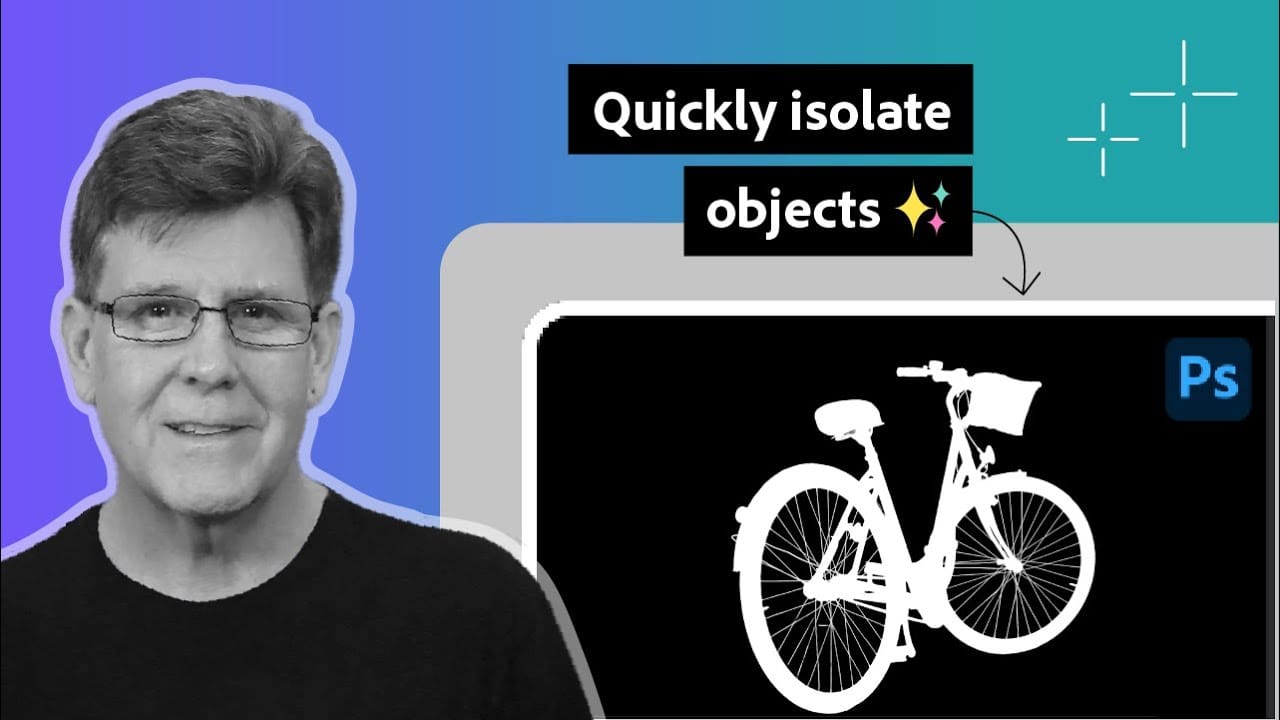
How to use the object selection tool for easy background removal in Photoshop
There are many different ways to cut out images and remove backgrounds in Photoshop, but one of the easiest options is with the object selection tool. This tool allows you to create accurate selections, remove backgrounds, and cut out images with very little effort. It's the perfect tool for both the beginner and advanced photoshop user.
In this video, you'll learn everything you need to know about how to use the object selection tool and how you can refine selections in both the rectangle and
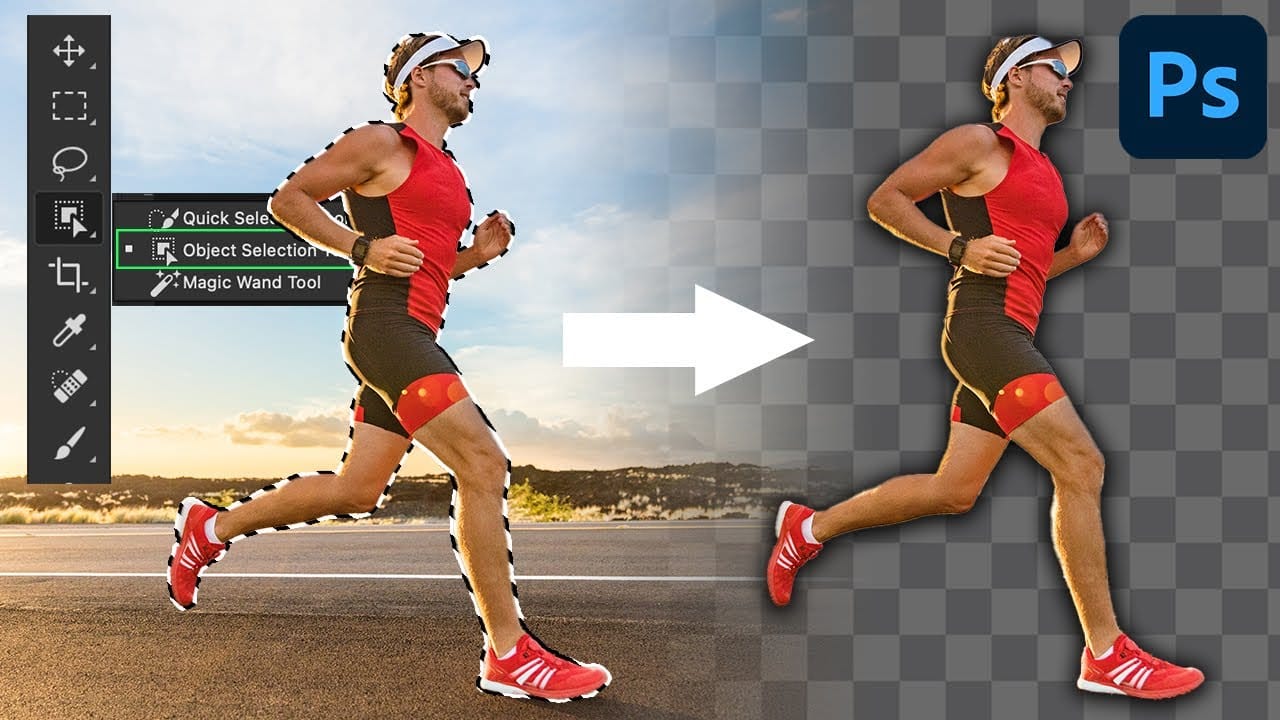
How to Use Object Selection, Remove Background, and the Selection Brush in Photoshop
Selections determine the quality and flexibility of almost every edit you make in Photoshop. Three modern tools — the Object Selection tool, Remove Background with Harmonize, and the Selection Brush — handle the most common selection tasks with far less manual effort, while keeping your original image intact through non-destructive layers.
Watch the Video
Practical Tips
These techniques from the tutorial will help you work more precisely and stay flexible throughout your edits.
* Use Shif
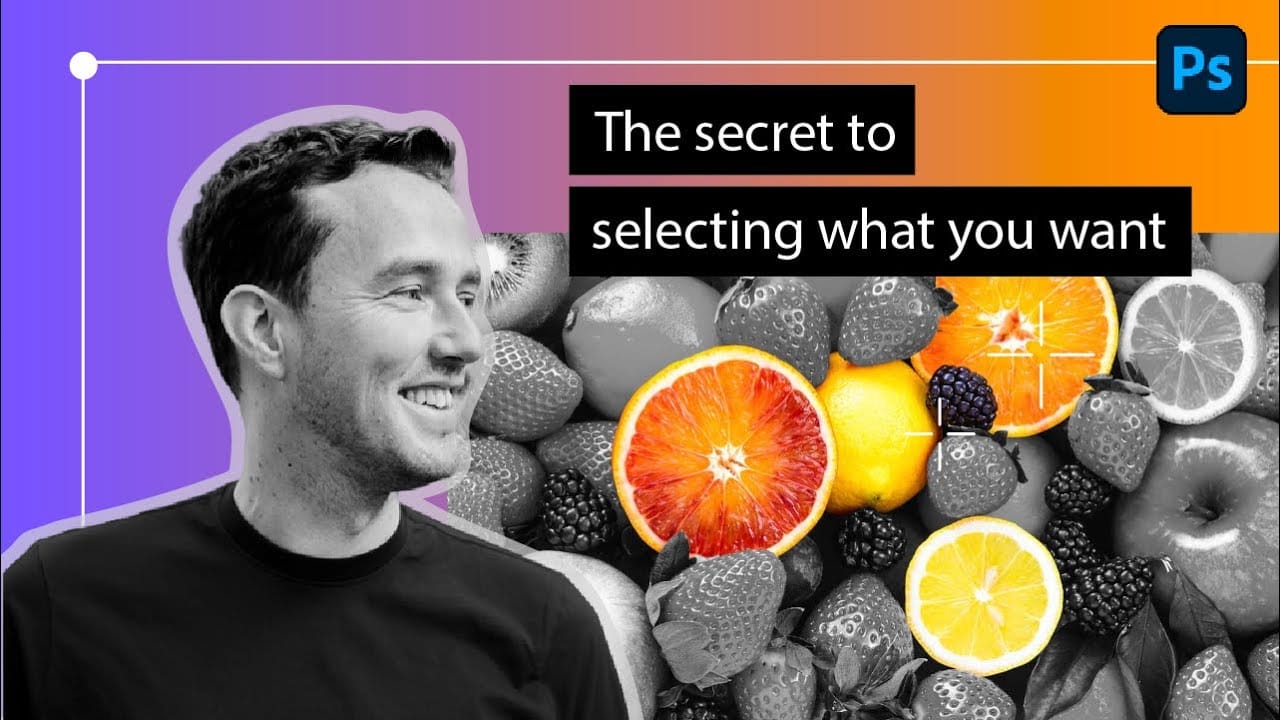
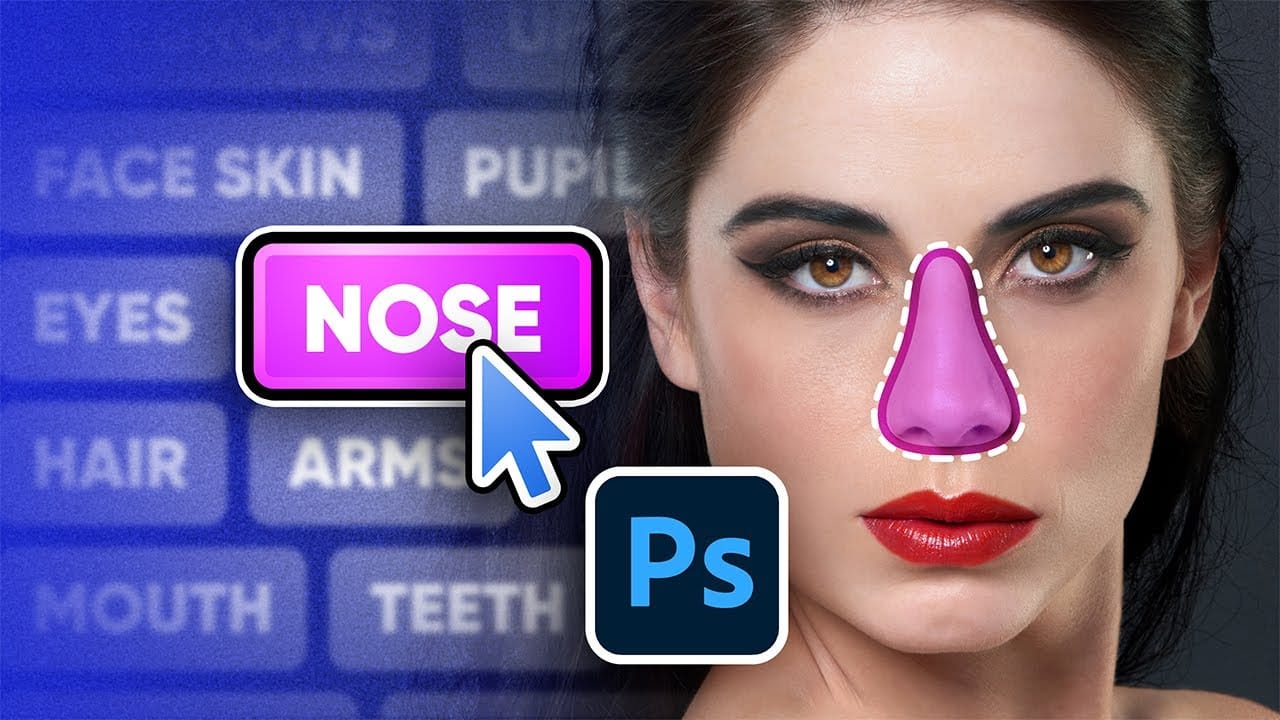
New Select Body Parts Feature in Photoshop
Achieving precise selections is fundamental to professional photo editing, enabling targeted adjustments and creative transformations. Traditionally, isolating intricate elements like individual body parts or clothing often required meticulous manual masking, a time-consuming and often challenging process, especially with complex subjects.
This tutorial introduces Photoshop's advanced "Select People" feature, a significant upgrade to the object selection tool. Viewers will learn how this intell
Photoshop Selection Tools: Quick Methods for Better Cutouts
Clean cutouts and precise selections form the foundation of professional composite work in Photoshop. The difference between amateur and polished results often comes down to mastering the right selection techniques for each situation.
Sandra demonstrates several quick selection methods that can streamline your workflow and improve your results. These techniques help you choose the most effective approach based on your specific image and project needs.
Watch the Tutorial
Understanding Select
How to make difficult selections easy in Photoshop
In this detailed Photoshop tutorial by TutVid, you will be guided through the process of making intricate selections within the software. The focus is on selecting a person and accurately cutting them out using the Select and Mask tool in a two-step approach. This method ensures precise selection edges, making it effective for both clean, straight lines and complex details such as hair.
The tutorial aims to equip users with comprehensive knowledge about making refined selections in Photoshop, e

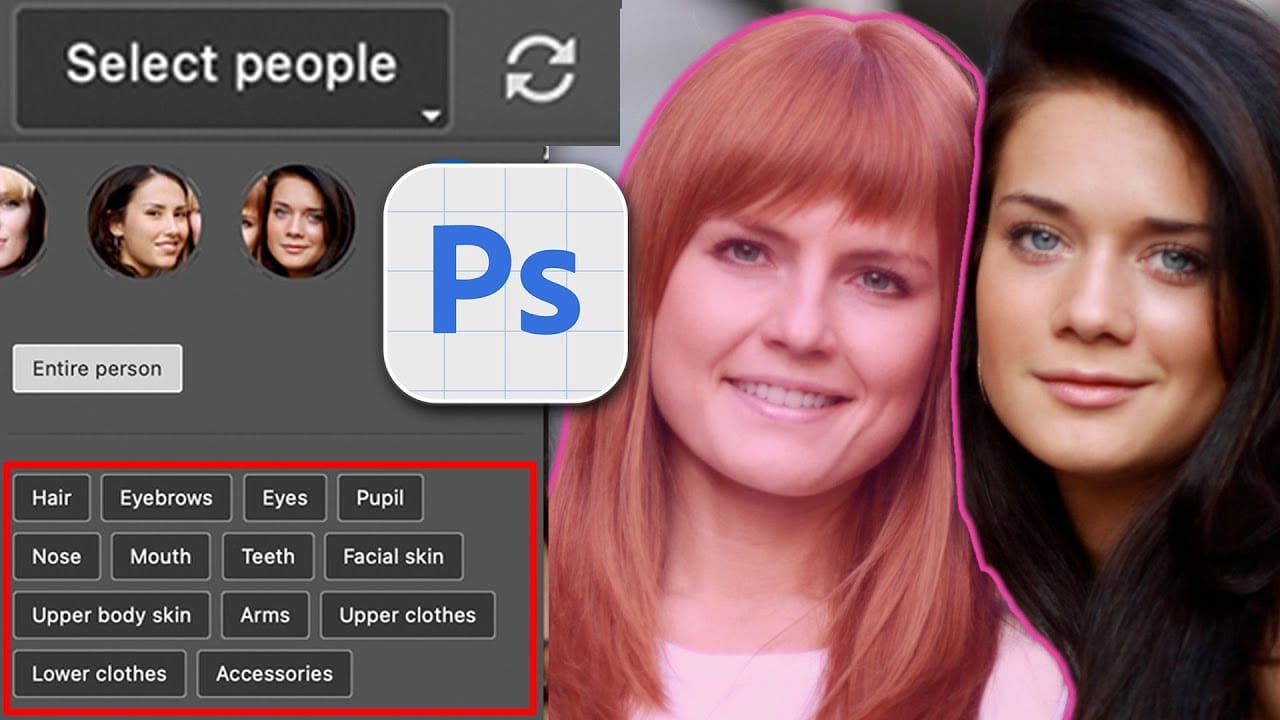
Select People, the most requested new photoshop feature
Achieving precise selections in image editing, especially when dealing with complex subjects like people, has historically been one of Photoshop's most time-consuming tasks. Manual masking of hair, intricate clothing, or multiple individuals often requires significant effort and a keen eye for detail, posing a common challenge for photographers and designers alike.
This video introduces a groundbreaking new feature in Photoshop that dramatically simplifies this process. Viewers will discover ho
Photoshop Object Removal: Remove Tool vs Contextual Remove Button Compared
Photoshop offers two main approaches for removing unwanted objects: the Remove Tool brush and the contextual Remove button that appears after making selections. Each method has distinct advantages depending on your image and workflow needs.
This comparison explores both techniques across multiple real-world examples to help you choose the most effective approach for different removal scenarios.
Watch the Tutorial
Key Techniques for Object Removal
* Use the Remove Tool for faster selection
5 Essential Pen Tool Tips for Better Photoshop Selections
Perfect selections separate amateur work from professional results in Photoshop. When quick selection tools fail on complex subjects with curves and intricate edges, the Pen Tool becomes your most precise option for creating flawless cutouts.
These five essential techniques transform the intimidating Pen Tool into a reliable selection method. Master these fundamentals to handle any subject, from smooth curves to sharp corners, with confidence and accuracy.
Watch the Tutorial
Understanding P
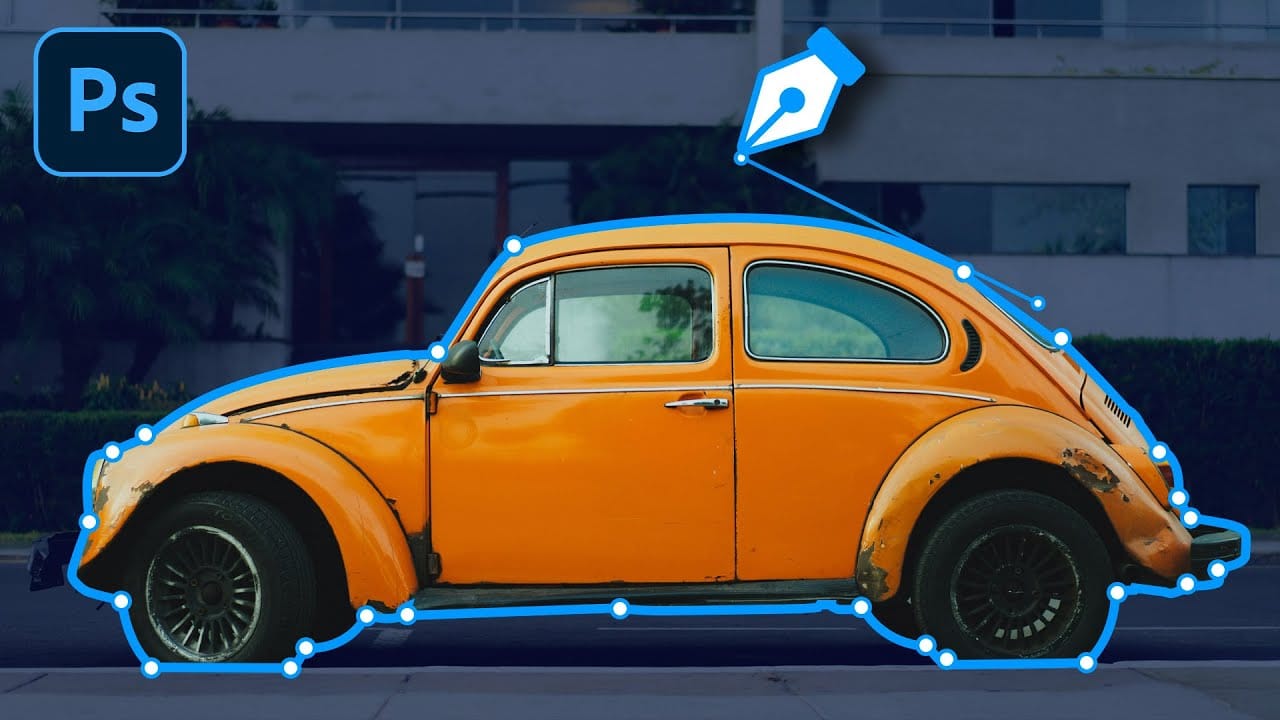
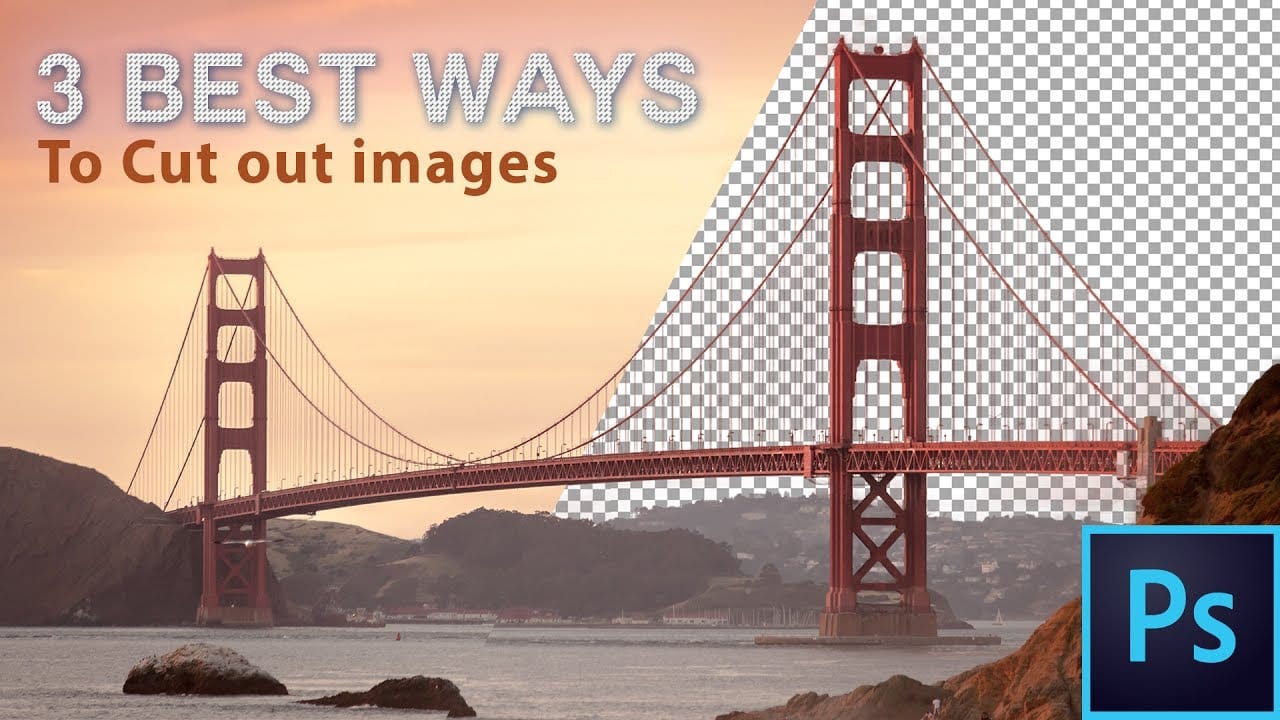
The 3 Easiest Ways To Cut Out Images In Photoshop
In this informative tutorial, author Brendan Williams shares three of the most effective techniques for image cropping in Photoshop. The guide covers the infamous Quick Selection Tool, the Channels method, and the highly versatile Pen Tool. Whether you're a newcomer to the program or a seasoned professional, these methods are sure to elevate your workflow and take your work to new heights.
The Quick Selection Tool, known for its intuitive and efficient selection capabilities, is explored in-dep