Transform Your Photos with These Photoshop Masks

Transform Your Photos with These Photoshop Masks

Masking in Photoshop is a powerful technique to isolate and enhance different parts of an image. However, many users find it complicated and time-consuming, often sticking to basic masks or selections that limit creative control. This can make photo editing feel frustrating and slow, especially when trying to achieve subtle but impactful adjustments.

This tutorial introduces a structured masking workflow within Camera Raw that simplifies the process while giving you precise control over highlights, shadows, colors, and lighting. Learning these methods improves your editing efficiency and helps create professional, polished photos with greater ease.
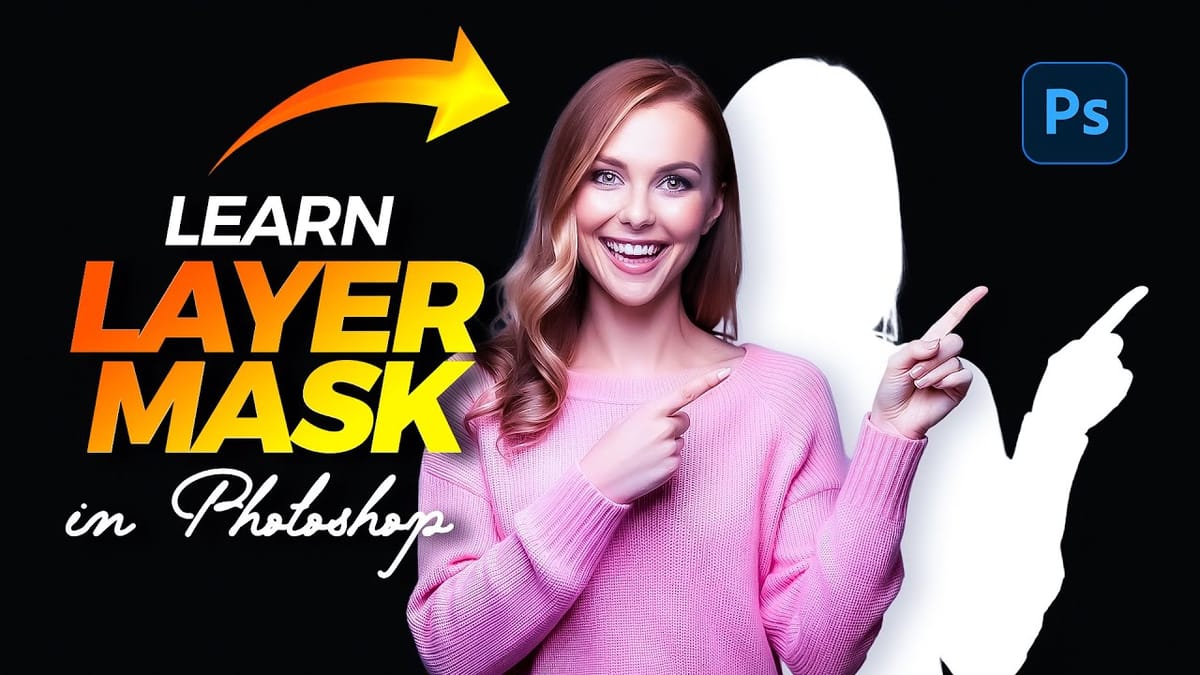
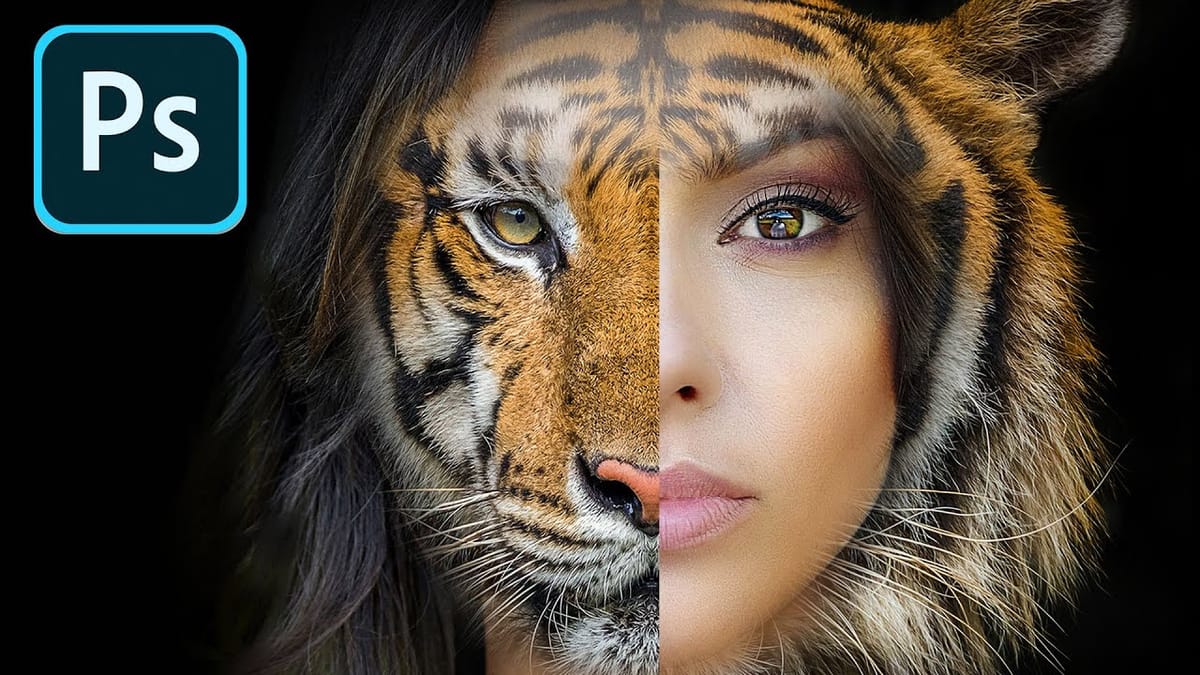
Watch the Video

Any links or downloads mentioned by the creator are available only on YouTube

Understanding the Power of Masking for Photo Stylization

Masking goes beyond just selecting parts of an image; it’s about controlling where and how adjustments apply with precision. By layering masks that target specific tones, colors, or areas, editors can shape the mood and depth of an image without affecting unwanted parts. This selective editing creates more natural and sophisticated results than global adjustments.

One of the reasons masking feels complex is the variety of tools and modes available, such as luminance range masks, color overlays, and gradients. These allow for refined edits that respond to exposure levels or color tones. The layering of masks with varying transparency and feathering creates a smooth transition between edited and non-edited areas, avoiding harsh lines.

Key concepts to consider when approaching masking:

  • Range Masks allow adjustments only on specified brightness or color ranges, refining detail.
  • Smart Objects preserve edit flexibility by enabling non-destructive adjustments.
  • Combining Masks (add, subtract) tailors effects precisely where needed.

Practical Tips for Masking in Photoshop Camera Raw

  • Convert layers to Smart Objects to keep all mask edits editable later in your workflow.
  • Use subject and background automatic masks as a first step to separate major areas quickly.
  • Leverage luminance range masks to target adjustments only on highlights, midtones, or shadows for finer control.
  • Apply gradients (radial or linear) to create natural lighting effects such as vignettes or subject glows.
  • Use the subtract mask option to exclude areas like the subject or sky when applying overall adjustments, maintaining focus.

Explore more resources to deepen your understanding of Photoshop’s masking capabilities and enhance your photo editing skills.

How to Create and Use Layer Masks in Photoshop
Layer masks are an essential tool for any Photoshop user and can take your editing skills to the next level. In this tutorial, you will learn how to create and use layer masks effectively. The guide covers fundamental techniques for isolating specific elements in your images, allowing you to make
Illuminate your photos with Luminosity Masks
Join photographer and workshop leader Joe Reardon for an in-depth session on using Topaz plugins with luminosity masking in Photoshop. Joe will be demonstrating his creative workflow and how he interprets the captured light in a photograph. More
Unlocking the Power of Layer Masks in Photoshop
Layer masks are a fundamental feature in Photoshop that allow for greater control over images. They enable you to hide or reveal portions of a layer without permanently altering the original content. This non-destructive editing approach is beneficial for making precise adjustments to your designs. You can use layer masks
How to use Photoshop layer masks for beginners
You will learn the basics of working with Layer Masks in this Photoshop tutorial at a beginners pace. Colin Smith shows you exactly how Photoshop Layer masks work. Learn fundamentals, then see it in practice and learn lots of tips. Even experienced users will learn something new. More

Get tutorials & freebies delivered to you.

Subscribe to the Photoshop Roadmap newsletter, a weekly roundup of new tutorials, insights and quality downloads, trusted by 6500+ readers.

You might also like

Professional Portrait Retouching with the B.S.T. Method in Photoshop

Professional portrait retouching requires artistic choices that automated tools can't make. The B.S.T. method breaks retouching into three focused steps: removing blemishes with precision, smoothing skin while preserving natural texture, and equalizing skin tones throughout the image. This systematic approach gives you complete control over every...

Create Motion Blur Light Effects in Photoshop

Transform ordinary portraits into dynamic, cinematic images by combining path blur effects with creative background textures. This technique creates the illusion of camera movement while maintaining focus on key elements like the subject's eyes, resulting in professional-looking motion blur effects that add energy and visual interest to static...

How to Paint Realistic Jewelry on Portraits in Photoshop

Adding painted jewelry to portraits transforms ordinary photos into fantasy portraits with ornate accessories that never existed. This digital painting technique uses careful layering, proper lighting, and realistic shadows to create convincing rings, earrings, and decorative headpieces. The method combines basic brush work with advanced blending techniques to build up...

How to Sharpen Images Using the High Pass Filter in Photoshop

The High Pass filter method remains one of the most versatile sharpening techniques in Photoshop, offering precise control over which image areas receive enhancement. This non-destructive approach works by identifying edge details and allowing you to selectively apply sharpening exactly where it's needed most. Unlike automated sharpening tools,...

How to Find Missing Actions in the New Photoshop Actions Panel

The redesigned Actions panel in Photoshop can catch users off guard when their custom actions seem to disappear. With the new tabbed interface, your previously created actions are still there—they're just located in a different tab than before. Understanding the new layout will help you quickly access...

Fast Portrait Retouching: Remove Stray Hairs, Clothing Wrinkles, and Fix Backgrounds

Every portrait photographer knows the feeling: you've captured a beautiful shot, but stray hairs, wrinkled clothing, and messy backgrounds turn editing into hours of tedious work. These common retouching challenges can drain your time and energy, especially when dealing with high-volume projects or tight deadlines. This tutorial demonstrates...

You’ve successfully subscribed to Photoshop Roadmap
Welcome back! You’ve successfully signed in.
Great! You’ve successfully signed up.
Success! Your email is updated.
Your link has expired
Success! Check your email for magic link to sign-in.