Fast Portrait Retouching: Remove Stray Hairs, Clothing Wrinkles, and Fix Backgrounds

Fast Portrait Retouching: Remove Stray Hairs, Clothing Wrinkles, and Fix Backgrounds

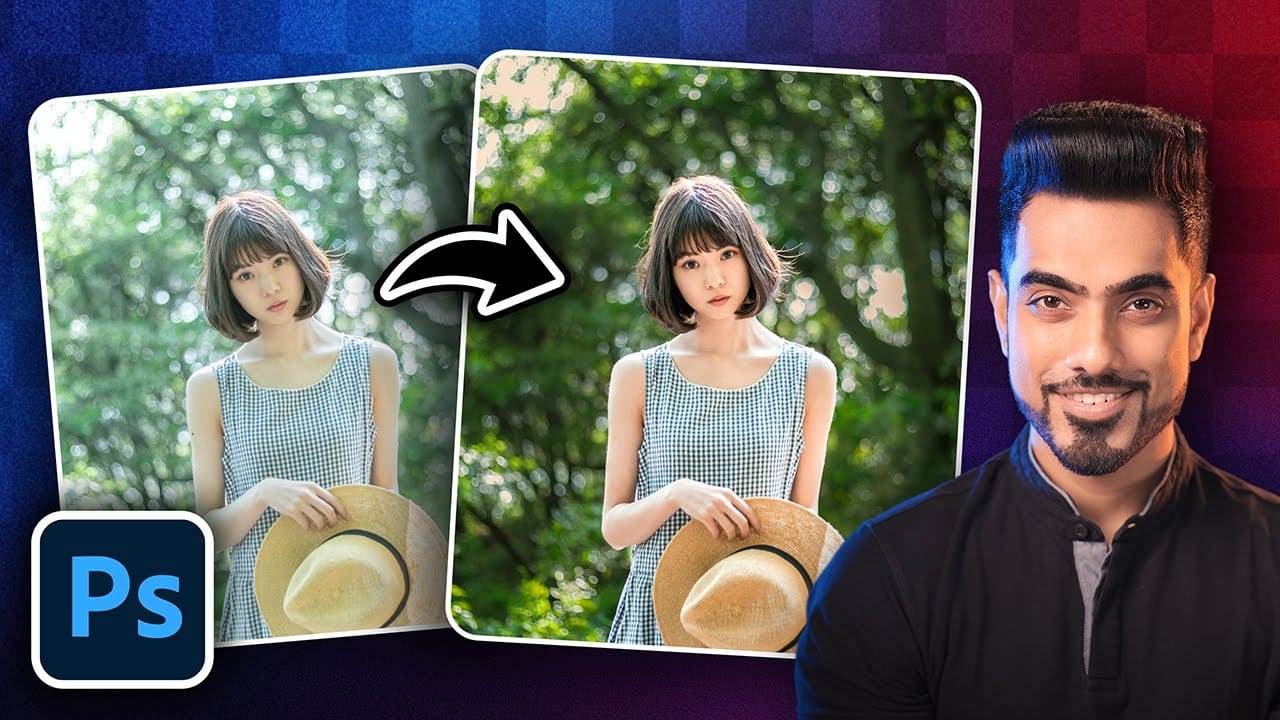
Every portrait photographer knows the feeling: you've captured a beautiful shot, but stray hairs, wrinkled clothing, and messy backgrounds turn editing into hours of tedious work. These common retouching challenges can drain your time and energy, especially when dealing with high-volume projects or tight deadlines.

This tutorial demonstrates how to tackle the three most time-consuming portrait retouching tasks using AI-powered tools that deliver professional results in seconds rather than hours.

Watch the Video

Video by Kayleigh June. Any links or downloads mentioned by the creator are available only on YouTube

Practical Tips

Here are the key techniques for speeding up your portrait retouching workflow:

  • Use the stray hair removal slider to eliminate flyaways instantly, then adjust settings to preserve intentional wispy details around the face
  • Select clothing type presets (male, female, children) before applying wrinkle removal for more accurate results
  • Clean backgrounds by first using the backdrop cleaning tool, then apply lighting unification to balance shadows and highlights
  • Combine multiple background adjustment sliders for comprehensive fixes: clean backdrop, unify lighting, and color banding removal work together
  • Use background replacement with reduced opacity to maintain natural lighting while correcting poorly lit backdrops

Explore more portrait retouching techniques and workflow improvements with these comprehensive guides.

A Definitive Guide to Portrait Beauty Retouching in Photoshop
Mastering beauty retouching gives you the ability to take any portrait further, fixing what the camera couldn’t, refining what the light missed, correcting the natural imperfections that skin always carries, and delivering results that hold up at any size and in any context. That range is wider than it seems.
5 Essential Photoshop Techniques for Better Portrait Editing
Portrait editing often feels overwhelming, especially when trying to balance natural-looking results with professional polish. Many photographers struggle with where to start and which adjustments will have the biggest impact on their images without making them look over-processed. This tutorial covers five fundamental Photoshop techniques that will immediately improve any portrait. From creating better subject focus to color correction and skin retouching, these methods provide a solid foundat
Add Quick Dreamy Effects to Portraits in Photoshop
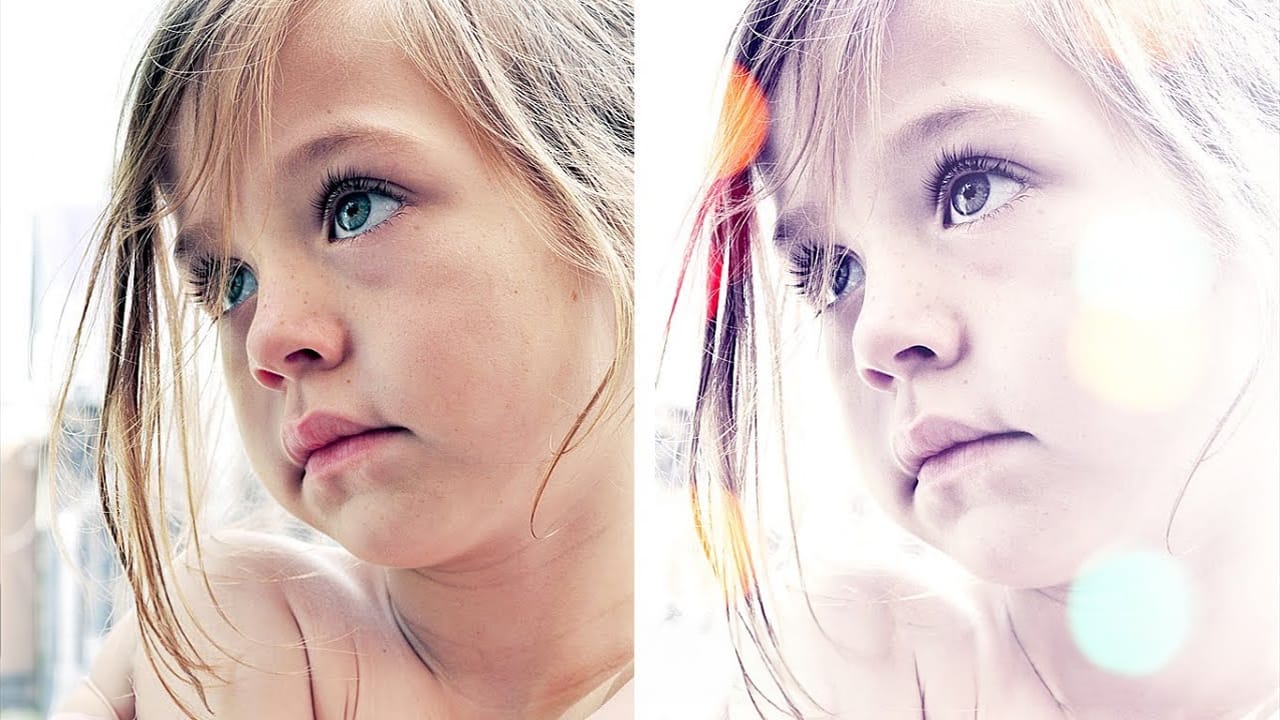
In this tutorial by Andrei Oprinca from PsdBox you are going to learn how to make some quick edits on a personal photo without doing anything complicated. The author explains very clearly how to add nice effects to your portraits without the need of years of Photoshop experience. This technique should work in Adobe Elements and of course on previous Photoshop versions like CS5, CS4, or CS3. Watch tutorial
15 Fantastic Photoshop Portrait Effects You'll Want to Slap on Every Selfie Right Now
Sure, the title says you'll want to slap these effects on every selfie (that was me trying to grab your attention 😅) — but let's be honest: these aren't one-tap filters. Every tutorial here is built on real Photoshop craftsmanship — lighting, masking, blending, and a good dose of creative intuition. What makes these effects worth your time is how they walk that fine line between eye-catching and professional. They grab attention without looking cheap, they feel bold without going overboard, an
Aperty: The Portrait Editor That Actually Understands Faces
Portrait editing has a problem. You can spend hours perfecting skin texture, removing blemishes, and adjusting facial features—only to end up with results that look artificial or overdone. Traditional tools treat every pixel the same way, leaving you to manually mask and adjust each element of a face individually. Aperty takes a different approach. Developed in collaboration with renowned photographer Julia Trotti, this specialized portrait editor uses AI to recognize facial features and apply
6 exciting portrait effects you can do in Photoshop
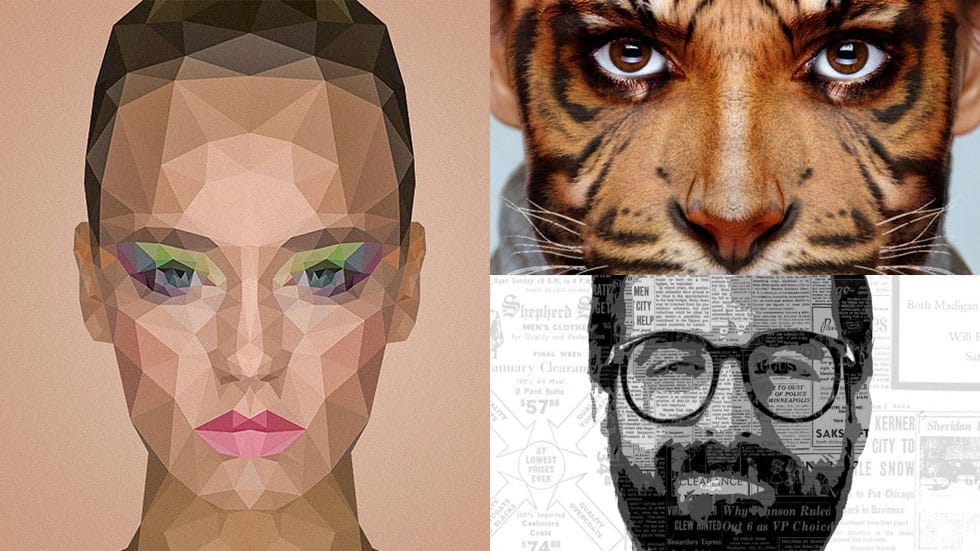
Thanks to Snapchat app, you can easily swap faces with a friend or add funny animal masks to your face in a second. Hilarious! But what about quality? Portrait retouching in Photoshop is not limited to high-end, professional retouching for magazines or photo books. You can also create some creative artistic portraits. Yeah, I bet you knew that. But do you know how to do it? In this guide I will share 6 excellent Photoshop portrait effects tutorials from artists and instructors such as Marty Ge
How to Use Photoshop's Liquify Tool for Non-Destructive Portrait Retouching
Clothing wrinkles, hair that lacks volume, and awkward fabric bunching can distract from an otherwise great portrait. Photoshop's Liquify tool offers a powerful solution for smoothing out these issues while preserving the natural look of your subject. This tutorial demonstrates how to use the Liquify tool non-destructively with smart objects, focusing on clothing adjustments and hair enhancement while maintaining ethical retouching practices. Watch the Tutorial Essential Liquify Tool Tips
Flawless 1-Min Skin Retouch Action in Photoshop
In this tutorial, you will learn a fast and effective technique for retouching skin using Photoshop. This method focuses on creating smooth, beautiful skin in under a minute. You'll discover how to generate a brand new skin texture from scratch and apply advanced blurring techniques. The goal is to achieve smooth and even skin without any blemishes, all while preserving the natural skin texture. By following these steps, you can quickly transform your photos without losing detail. Additionally
Skin Retouching Photoshop Actions
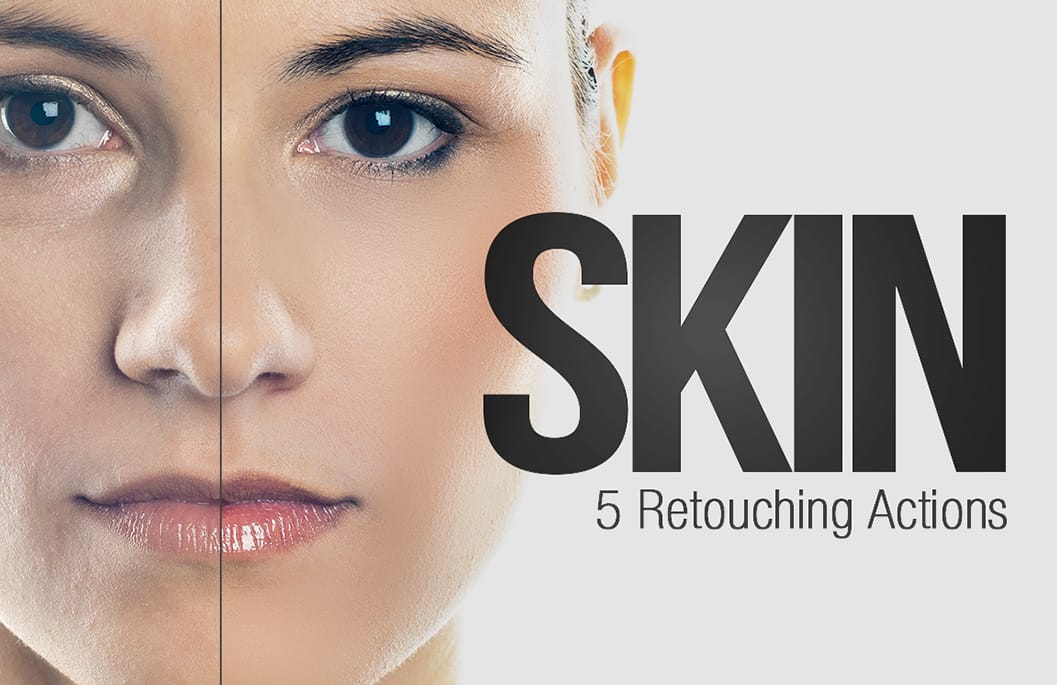
Discover how to retouch skin effortlessly with a collection of Photoshop actions designed for easy use. These actions allow you to heal, mattify, and airbrush skin with just one click, streamlining your editing process. In addition to skin retouching, this set includes specific actions for brightening eyes and enhancing contrast. The eye brightening action is particularly effective; it reduces redness while significantly boosting brightness. Meanwhile, the contrast enhancement action improves d
Natural outdoor portrait retouching in Photoshop
This tutorial guides you through the complete process of achieving a natural outdoor portrait retouch in Adobe Photoshop. You will learn essential techniques to enhance your portraits while maintaining their authentic feel. Starting with fixing hair, you'll discover how to tidy up those stray strands effectively. The tutorial then moves on to smoothing skin, teaching you to use frequency separation, which helps preserve texture while improving the overall look. You'll also explore methods for

Get tutorials & freebies delivered to you.

Subscribe to the Photoshop Roadmap newsletter, a weekly roundup of new tutorials, insights and quality downloads, trusted by 6500+ readers.

You might also like

How to Use the Relight Layer in Photoshop Beta

Photoshop's new Relight Layer brings AI-powered directional lighting into the compositing workflow, filling the gap left by the deprecated Lighting Effects tool. You can place up to three independent light sources, control their color, intensity, diffusion, and distance, and blend them with the image's original...

How to Use the Automatic Blemish Removal Tool in Adobe Camera Raw

Adobe Camera Raw's blemish removal tool scans a portrait and cleans skin imperfections in seconds, without any manual selection. The workflow stays entirely non-destructive when the layer is converted to a smart object first, and a fade slider lets you control how much retouching is actually applied...

How to Use a Grey Layer to Spot and Fix Mask Edges in Photoshop

Edge halos and stray artifacts are easy to miss when masking a subject, especially with AI-generated selections. Placing a neutral grey layer beneath your masked subject forces those problem areas into plain view, making cleanup faster and more precise. Practical Tips These steps cover the core workflow shown in...

How to Use the Light Adjustment Layer in Photoshop Effectively

Photoshop's Light adjustment layer brings Camera Raw-style tonal controls — exposure, contrast, highlights, shadows, whites, and blacks — directly into a non-destructive layer workflow. The real value isn't in what the sliders do individually, but in how you sequence them to expand dynamic range and reveal...

Photoshop’s Big 5: The Features That Actually Mattered This Year So Far

Photoshop updates land continuously throughout the year, but not every new addition reshapes how we actually work. While some releases bring minor UI polish or experimental tools, a handful of recent additions stand out as genuine upgrades to daily creative production. Rather than sifting through endless release notes, here is...

You’ve successfully subscribed to Photoshop Roadmap
Welcome back! You’ve successfully signed in.
Great! You’ve successfully signed up.
Success! Your email is updated.
Your link has expired
Success! Check your email for magic link to sign-in.