How to Sharpen Images Using the High Pass Filter in Photoshop

How to Sharpen Images Using the High Pass Filter in Photoshop

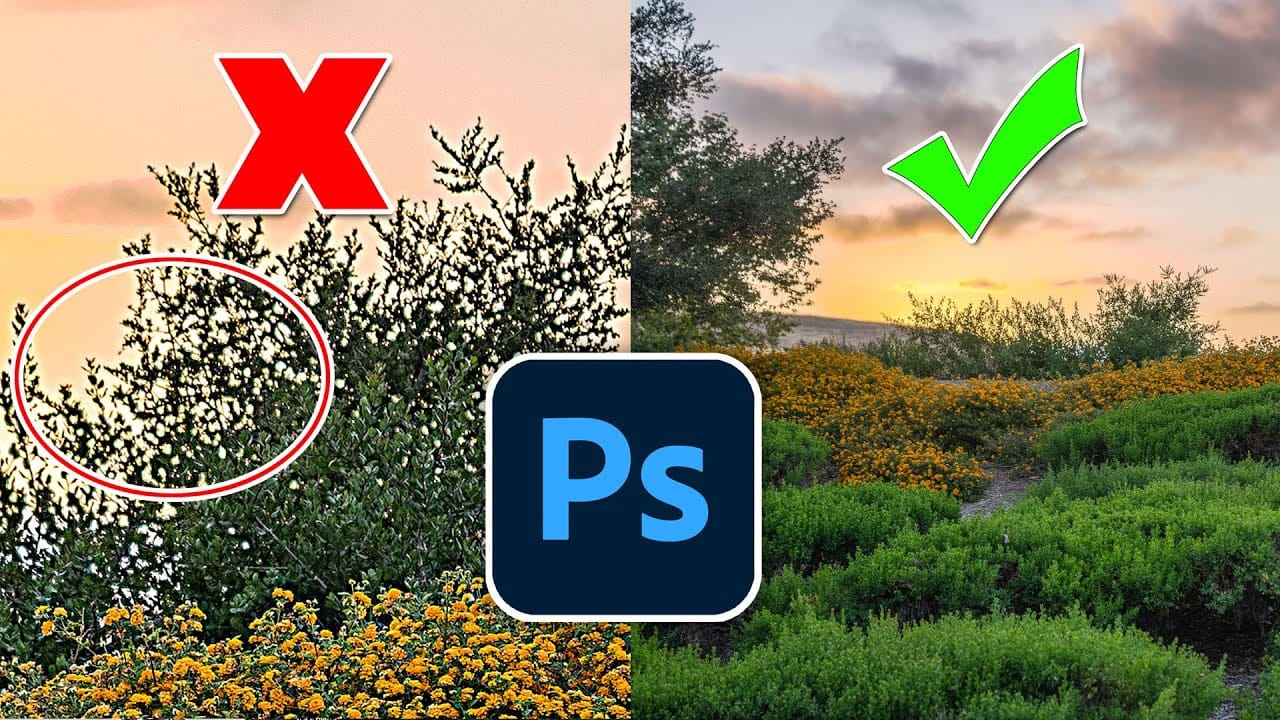
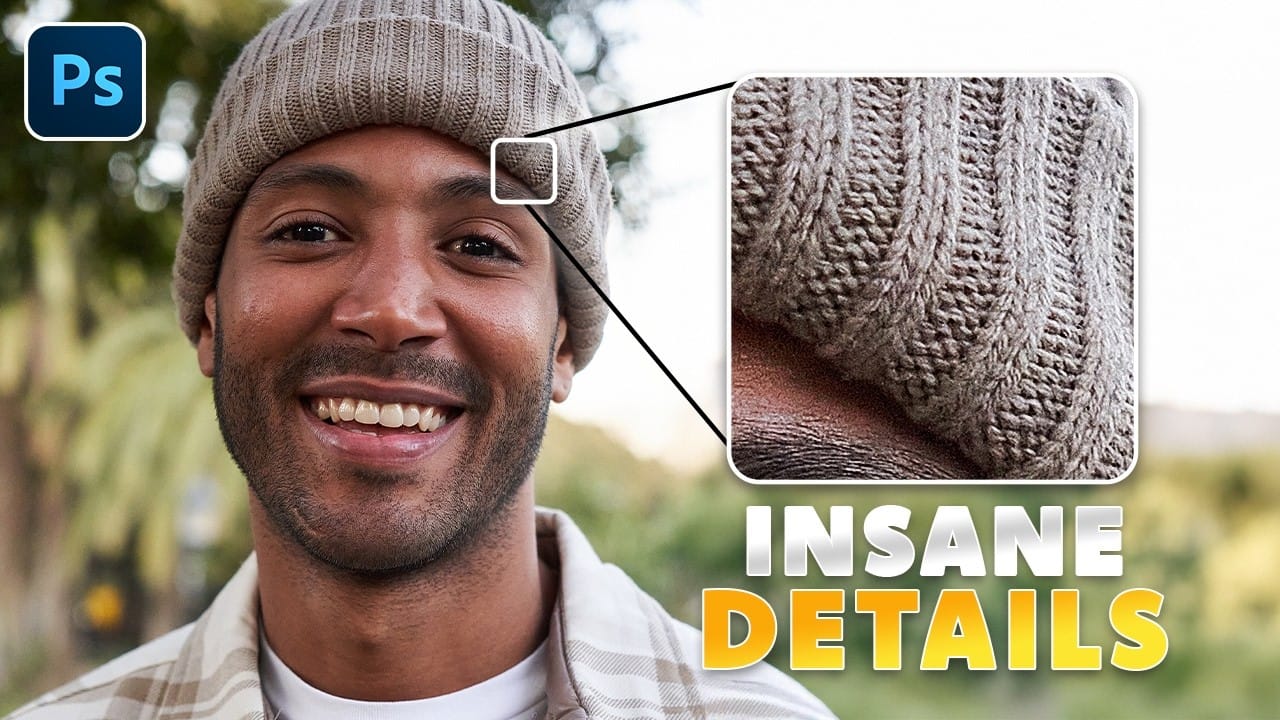
The High Pass filter method remains one of the most versatile sharpening techniques in Photoshop, offering precise control over which image areas receive enhancement. This non-destructive approach works by identifying edge details and allowing you to selectively apply sharpening exactly where it's needed most.

Unlike automated sharpening tools, this technique gives you complete control over the intensity and placement of your sharpening effects through blend modes and layer masks.

Watch the Video

Video by Zenzdesign. Any links or downloads mentioned by the creator are available only on YouTube

Practical Tips

Here are essential techniques for getting the best results with the High Pass sharpening method:

  • Always duplicate your layer before applying the High Pass filter to maintain non-destructive editing
  • Set the radius carefully to show subtle edge highlights without excessive gray areas
  • Use Overlay blend mode for natural results or Linear Light for more aggressive sharpening
  • Create a layer mask and invert it, then paint back the effect with white to target specific areas
  • Add a Curves adjustment layer to enhance contrast between highlights and shadows for a sharpened appearance

Explore more comprehensive sharpening methods and advanced techniques for enhancing image clarity.
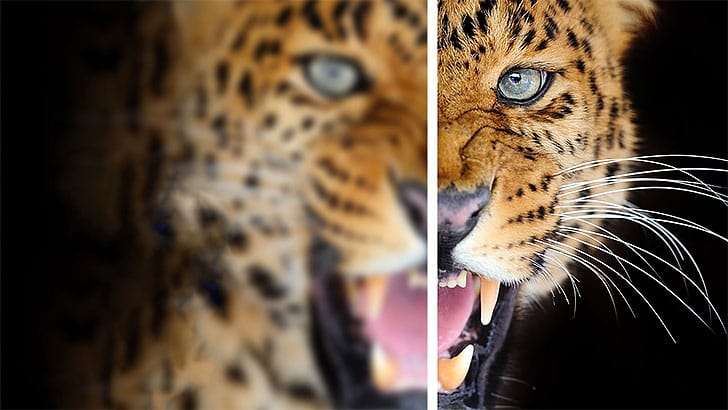
Learn how to sharpen images properly in Photoshop
The article provides a step-by-step guide on how to properly sharpen images in Photoshop. It explains a non-destructive method that allows users to beautifully enhance their images with just a few simple steps. The tutorial walks the reader through the process of sharpening an image in Photoshop. It outlines the key techniques and settings to use in order to achieve the desired level of sharpness without damaging the original file. The article emphasizes the importance of using a non-destructiv
How to Sharpen Images in Photoshop
In this tutorial by kelvin Pimont from Kelvin Designs, you will learn a few ways to sharpen your images and photos in Photoshop. From Unsharp Mask, to High Pass filter, to sharpen tool and using Camera Raw. Many ways to sharpen images in Photoshop! There's a bunch of different ways to sharpen an image using different tools and different filters. The biggest challenge is to know when and why should you use some over others or sometimes mix them. In this tutorial, Kelvin goes over a few differen
Hidden trick to perfectly sharpen photos in Photoshop
In this detailed tutorial, Colin Smith from Photoshop Cafe uncovers a sophisticated technique for achieving impeccable sharpening results in Photoshop. He dives deep into three essential sharpening methods: Smart Sharpen, High Pass, and Unsharp Mask, each of which offers distinct advantages depending on your editing needs. Colin's approach goes beyond basic sharpening techniques, incorporating a clever twist that enhances the effectiveness of these tools. He demonstrates how to leverage Smart S
The only Photohop Sharpening Tool You Need
Achieving sharp, detailed images is a common goal for photographers and designers, yet many find the process frustrating. Traditional sharpening tools can often lead to over-processed results, introducing halos, noise, or an unnatural appearance. The challenge lies in enhancing clarity without sacrificing image quality or introducing unwanted artifacts. This tutorial reveals a powerful and often overlooked technique for precise image sharpening in Photoshop. By mastering the application of the
How to Use Photoshop 2026's New AI Upscale, Sharpen, and Denoise Filters
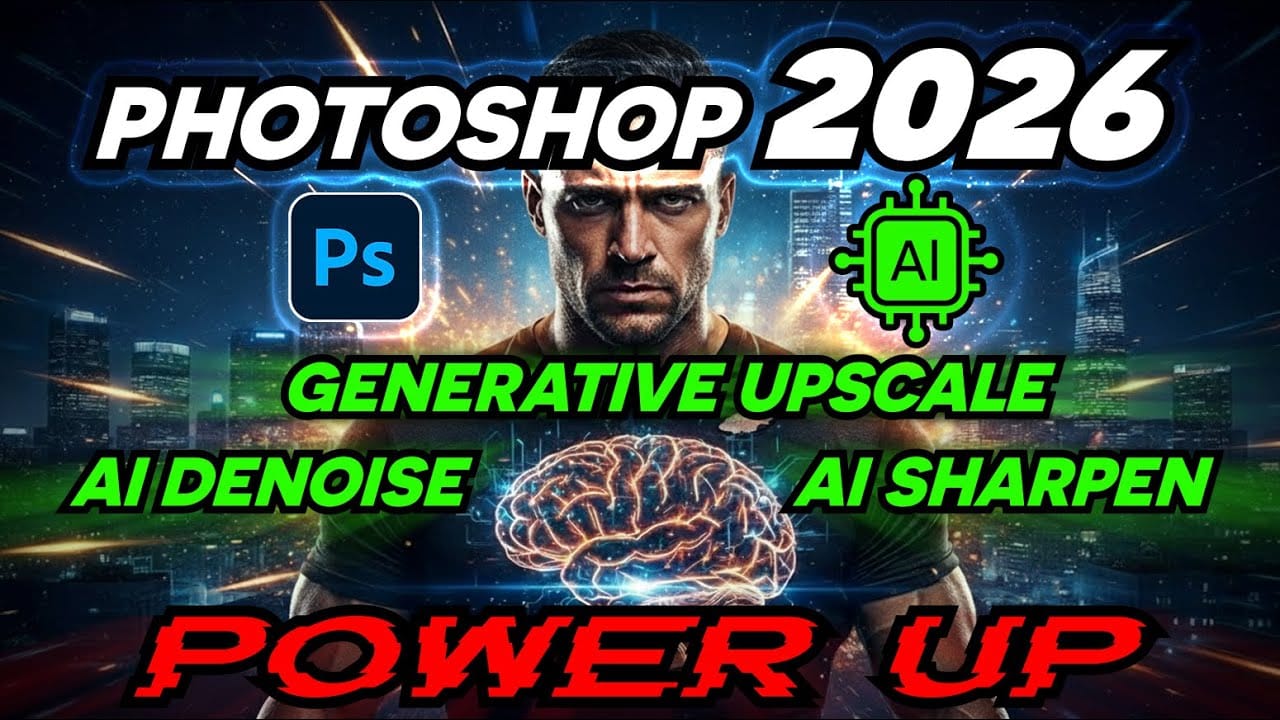
Photoshop 2026 introduces three powerful AI filters that transform low-quality images into crisp, professional results. These tools tackle common photo problems: pixelated enlargements, soft details, and grain from low-light conditions. Each filter uses advanced AI models to enhance different aspects of your images, with options ranging from standard to premium quality depending on your Creative Cloud plan. Watch the Tutorial Key Tips for AI Image Enhancement * Choose Topaz Gigapixel for
How to Use Photoshop's AI Sharpen Filter and When It's Worth the Cost
Photoshop's new AI Sharpen filter promises one-click sharpening powered by advanced algorithms. This tool uses technology from Topaz Labs to enhance image details without manual adjustments, but it comes with a significant cost in credits. Understanding when to use this automated approach versus traditional methods like the High Pass filter can save you both time and credits while achieving the sharpening results you need. Watch the Video Practical Tips Here are essential tips for making t
How to Color, Brighten and Sharpen Eyes in Photoshop
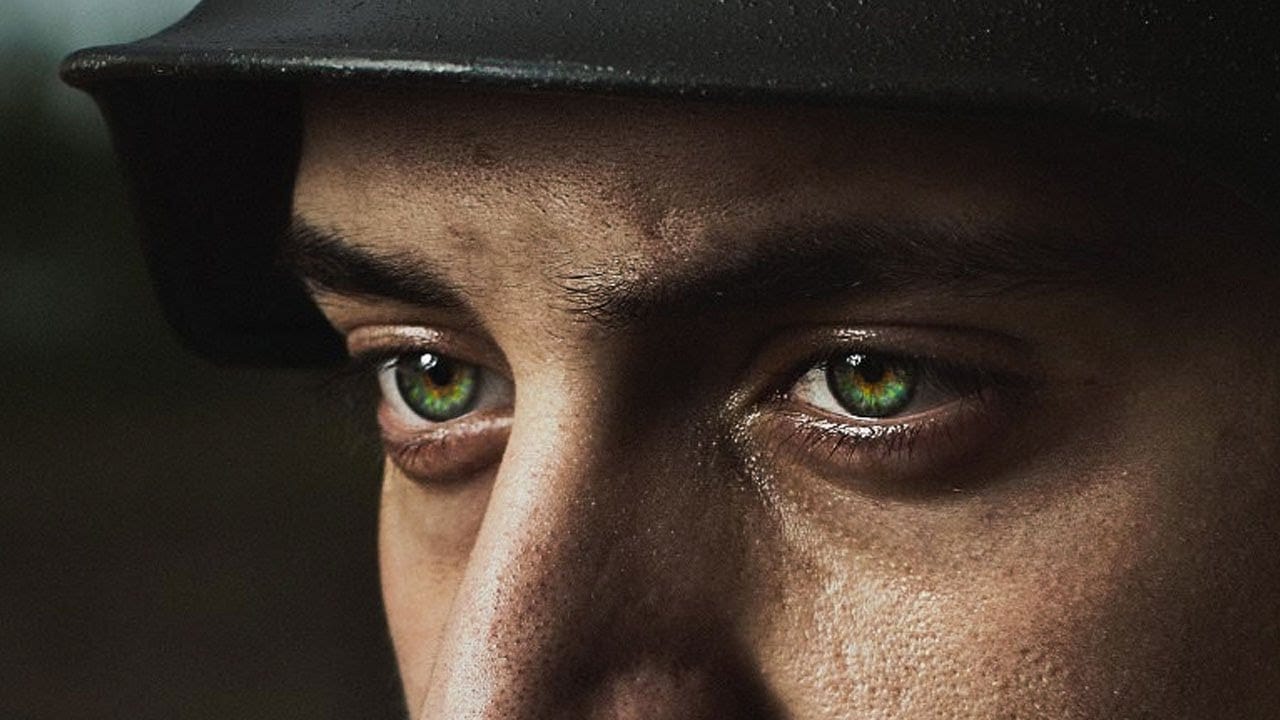
Eyes are often the focal point of portrait photography, but they don't always capture attention in their natural state. This comprehensive tutorial demonstrates how to transform ordinary eyes into captivating features through strategic color enhancement, precise lighting adjustments, and professional sharpening techniques. The method focuses on enhancing existing eye colors rather than completely changing them, creating natural-looking results that draw viewers into the portrait. You'll learn t
5 tips to make your photos better in Photoshop
Colin Smith from Photoshop Cafe shares a comprehensive tutorial on five essential tips to rapidly enhance your photos using Photoshop. These tips are designed to help both beginners and experienced users elevate the quality of their images with ease. One key aspect Smith covers is improving exposure. He demonstrates how to adjust brightness and contrast effectively to bring out the best in your photos, ensuring they are well-lit and visually appealing. Sharpening details is another crucial tip,
How to Create Sharp Halftone Effects in Photoshop
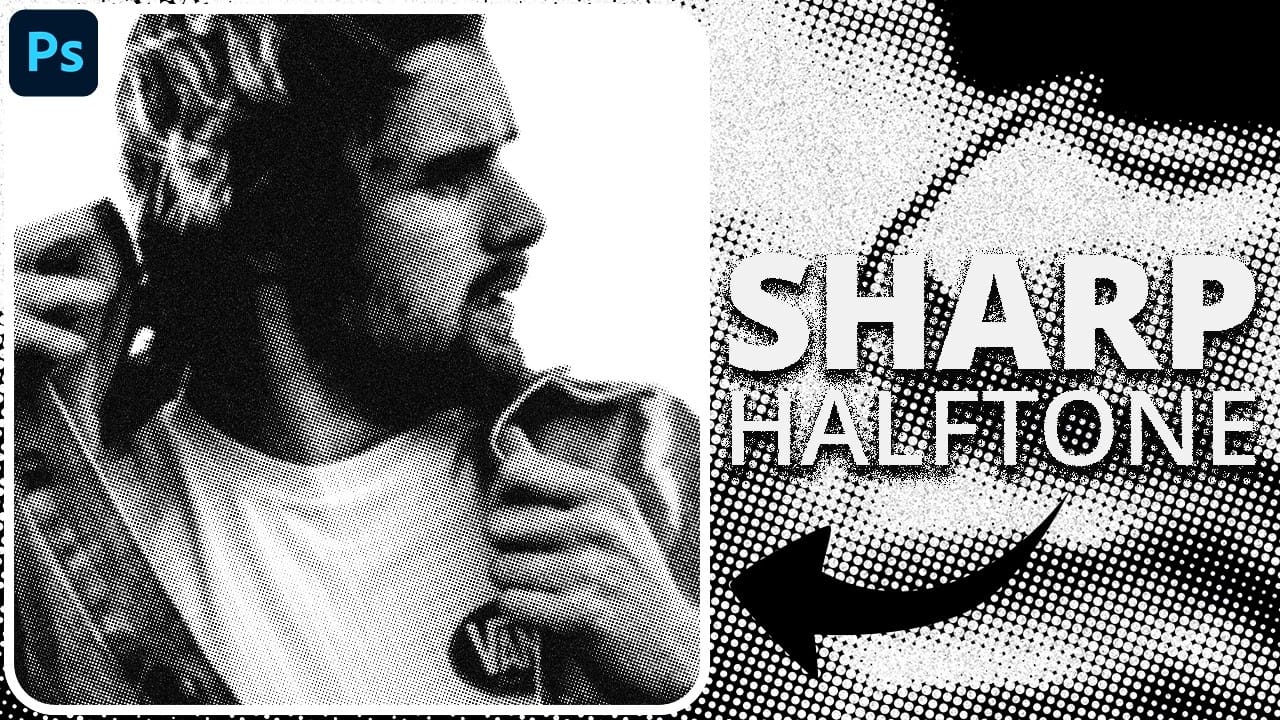
Traditional halftone effects in print media created depth through visible dot patterns that gave images character and texture. While Photoshop's built-in Filter Gallery offers a quick halftone option, it produces blurry results that lack the crisp definition of professional halftone work. This technique uses the Color Halftone filter combined with smart objects and noise textures to create sharp, adjustable halftone effects. The method allows for complete control over dot size and contrast whil

Get tutorials & freebies delivered to you.

Subscribe to the Photoshop Roadmap newsletter, a weekly roundup of new tutorials, insights and quality downloads, trusted by 6500+ readers.

You might also like

How Photoshop's Enhance Edge Feature Removes Hair Masking Halos

Hair masking has long been one of the most tedious tasks in photo compositing — especially when switching between dark and light backgrounds reveals unwanted halos along the edges. Photoshop's new Enhance Edge feature, available in beta 27.11, offers an AI-powered approach to this problem by generating...

How to Use Quick Compare and Dynamic Layers in Photoshop Beta

Photoshop Beta's latest update introduces two tools worth knowing: a Quick Compare toggle for instant before/after previews, and a Dynamic Layer feature that lets you control AI-generated effects with a simple slider. Together, they streamline how you review edits and apply prompt-based changes like adding...

Retouching Pet Portraits in Photoshop: Cleaning Fur, Eyes, and Fine Details

Pet photos rarely arrive perfectly clean — staining around the eyes, discolored fur near the mouth, and stray hairs are common problems that need fixing before any serious portrait work begins. This workflow covers how to remove those distractions manually using overpaint and fur brushes, then finish with eye enhancement techniques...

Before and After View Plus Dynamic Layers in Photoshop Beta

Photoshop Beta currently includes two features that work quite differently from each other. The first adds a straightforward before-and-after comparison tool directly into the editing workspace — something that sounds simple but solves a real problem when a file already has multiple layers. The second, Dynamic Layers, uses AI...

How to Blend Multiple Exposures for Car Light Trails in Photoshop

Stacking multiple exposures of a night scene lets you capture far more light trail detail than any single shot can deliver. This technique uses the Lighten blending mode to combine a bright base image with several car light trail frames, keeping only the brightest pixels from each layer for a...

You’ve successfully subscribed to Photoshop Roadmap
Welcome back! You’ve successfully signed in.
Great! You’ve successfully signed up.
Success! Your email is updated.
Your link has expired
Success! Check your email for magic link to sign-in.