How to Use Split Toning and Enhanced AI Masks in Camera Raw

How to Use Split Toning and Enhanced AI Masks in Camera Raw

Adobe's latest Camera Raw update brings two powerful enhancements that transform how photographers work with masks and color grading. Split toning is now available directly within individual masks, allowing precise color control over shadows, midtones, and highlights in specific image areas. Additionally, AI masks like landscape selection and select subject now include feather and edge controls, solving the persistent problem of harsh mask edges that could ruin heavy adjustments.

These features address real workflow challenges, particularly for landscape photographers who need selective color grading and cleaner AI-generated selections. While these updates aren't yet available in Lightroom, they represent significant improvements to Camera Raw's masking capabilities.

Watch the Video

Video by Christian Möhrle - The Phlog Photography. Any links or downloads mentioned by the creator are available only on YouTube

Practical Tips

Master these new masking features with these essential techniques:

  • Access split toning within masks through the Color Grading panel below the Effects section for targeted color adjustments
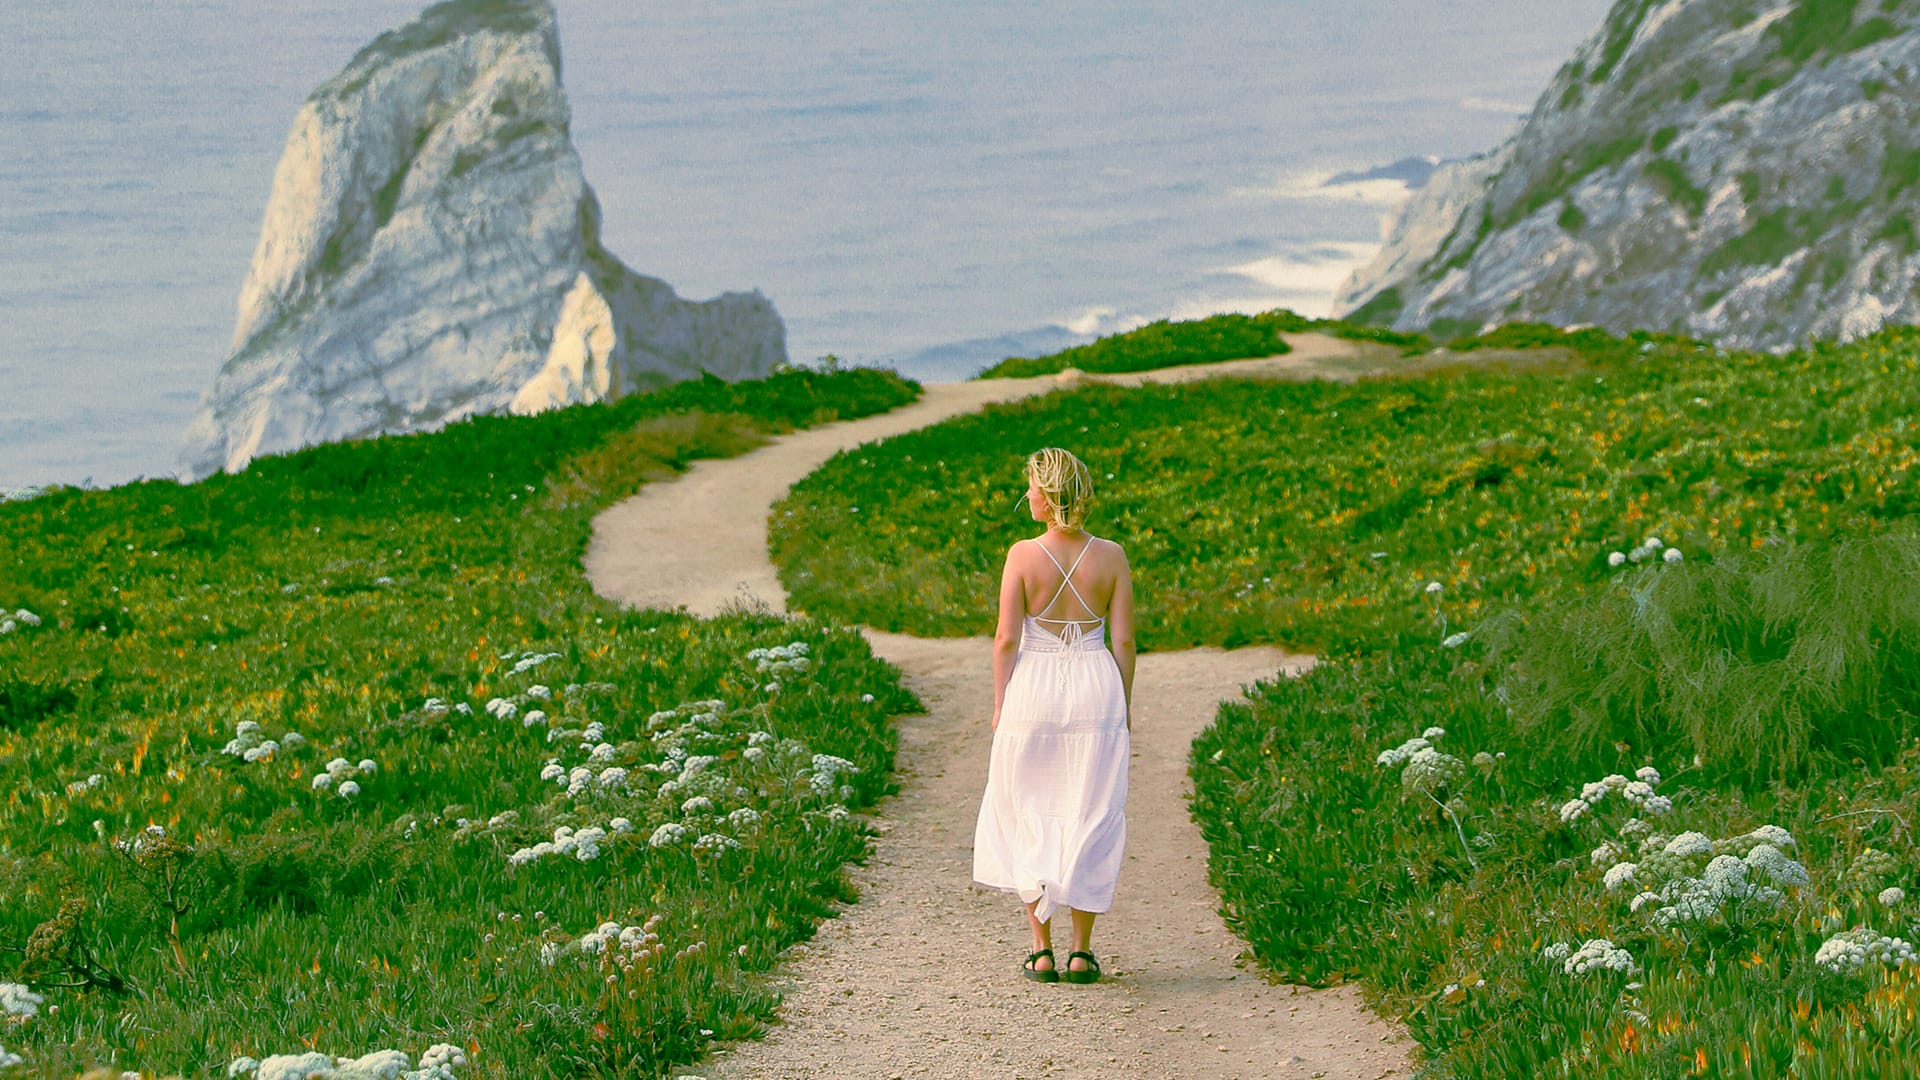
  • Use radial gradients over bright areas and apply warm tones to highlights only, avoiding the midtones and shadows
  • Combine feather and edge sliders on AI masks to eliminate harsh lines around fine details like grass and leaves
  • Contract the mask edge first, then increase feather to create smooth transitions into neighboring areas
  • Experiment with luminance controls in split toning for additional contrast adjustments within specific tonal ranges

Explore these comprehensive guides for advanced editing techniques and workflow improvements.

New Camera Raw Adjustment Layers in Photoshop: Color Grading, Clarity, and Grain
Working with multiple layers in Photoshop traditionally required complex workarounds to apply Camera Raw adjustments. The old process involved merging layers, converting to smart objects, and losing the flexibility that makes adjustment layers so powerful. Three new adjustment layers bring Camera Raw's most useful tools directly into your layers panel. These additions eliminate the need for destructive editing while maintaining all the masking and blending capabilities you expect from adjustmen
How to Use the New Color, Clarity, Dehaze, and Grain Adjustment Layers in Photoshop
Three powerful new adjustment layers bring Camera Raw's most popular tools directly into your layers panel. Color and Vibrance, Clarity and Dehaze, and Grain adjustments now work as standard adjustment layers with full masking capabilities and non-destructive editing. These tools eliminate the need for smart objects when applying these specific adjustments, creating cleaner workflows while maintaining the precision control photographers expect from professional editing software. Watch the Vid
How to Color Correct Photos in Adobe Camera Raw
The Camera Raw filter brings professional color grading tools directly into Photoshop, offering the same powerful controls found in Lightroom. This non-destructive workflow allows you to enhance your photos with cinematic color effects while preserving your original images through smart objects. Color grading transforms ordinary photos by adding warmth to landscapes, creating mood in portraits, and applying professional film-like effects. The process involves adjusting shadows, midtones, and hi
How to Add Selective Contrast and Clarity Using Camera Raw Filter
Many photos lack the visual impact they could have simply because contrast and clarity are applied uniformly across the entire image. The key to professional-looking results lies in selectively enhancing specific areas that deserve attention while leaving others untouched. This approach uses the Camera Raw filter's histogram controls and masking features to target contrast adjustments precisely where they matter most, creating depth and visual interest without over-processing your photographs.
How to Create Cinematic Color Grading Using Camera Raw Filter in Photoshop
Color grading transforms ordinary photos into cinematic masterpieces by adding mood and visual depth. The Camera Raw filter built into Photoshop provides professional-level color grading tools that rival dedicated editing software, allowing you to adjust shadows, midtones, and highlights with precision. This technique uses smart filters to ensure non-destructive editing, letting you experiment freely while maintaining the ability to adjust or remove effects at any time. Watch the Video Prac
How to Use the New Depth Mask in Adobe Camera Raw for Landscape Photography
Adobe's latest Camera Raw update introduces a powerful depth mask that works with any image, not just smartphone photos with depth data. This new masking tool analyzes distance information in your photos to create precise selections based on how far objects are from the camera. The depth mask excels at targeting specific areas like distant mountains or foreground elements, making it particularly valuable for landscape photographers who need to enhance depth and atmosphere in their images. Wat
14 New Features in Photoshop 27.6 You Need to Know
Photoshop 27.6 brings significant updates that enhance workflow efficiency and creative possibilities. From improved reflection removal tools to smarter AI models, these features address real challenges photographers and designers face daily. This comprehensive overview covers 14 key additions, including enhanced distraction detection, new AI capabilities, and improved workspace organization tools that can streamline your editing process. Watch the Video Practical Tips Key techniques to ma
How to Create Perfect Black and White Photos Using Camera Raw Filter in Photoshop
Camera Raw's black and white mixer transforms color photos into striking monochrome images with precision control. The built-in adjustment tool lets you click and drag directly on your image to lighten or darken specific tones. This non-destructive method preserves your original photo while giving you complete creative control over contrast and tonal balance. Watch the Tutorial Essential Tips for Black and White Conversion * Convert your layer to a Smart Object first by choosing Filter >
How to Use Harmonize to Automatically Match Lighting in Photoshop Composites
Creating seamless composites traditionally requires hours of manual color correction and lighting adjustments. The new Harmonize tool changes this by automatically analyzing your background and matching your subject's lighting, shadows, and color tones with a single click. This AI-powered feature eliminates the need for complex adjustment layers and advanced color theory knowledge, making professional-quality compositing accessible to editors at any skill level. Watch the Video Practical Ti

Get tutorials & freebies delivered to you.

Subscribe to the Photoshop Roadmap newsletter, a weekly roundup of new tutorials, insights and quality downloads, trusted by 6500+ readers.

You might also like

How to Use Photoshop's New Offline AI Remove Tool (No Credits Required)

Photoshop's latest update introduces an offline AI-powered Remove tool that works without internet connectivity or generative credits. This on-device feature processes a 4-5GB AI model locally, enabling fast object removal while maintaining complete privacy since your images never leave your computer. The tool requires high system specifications but...

How to Use the Harmonize Tool for Advanced Photo Compositing in Photoshop 2026

The Harmonize tool transforms compositing by automatically adjusting lighting, color, and shadows to blend objects seamlessly into new backgrounds. This AI-powered feature analyzes both your subject and background, then creates realistic color bleed, reflections, and contact shadows with a single click. While the tool delivers impressive results instantly, combining it...

How to Use Harmonize and Rotate Object Tools for Better Composites in Photoshop

Creating believable composites traditionally required hours of manual perspective adjustments and color matching. Two new AI-powered tools in Photoshop change this workflow dramatically. The Rotate Object tool lets you adjust positioning and perspective with interactive 3D controls, while the Harmonize tool automatically matches lighting, shadows, and color tones to blend...

Camera Raw Feathering and Color Grading Features (May 2026 Update)

Adobe Camera Raw's latest update introduces two powerful masking features that solve common editing problems. The new feather and edge controls help create cleaner selections around complex shapes like trees, while color grading within masks allows for precise adjustments without affecting the entire image. These tools work exclusively...

Create an Old Masters Painting Effect from a Studio Portrait in Photoshop

Old Masters paintings capture drama and character through rich textures, dramatic lighting, and warm color palettes. By combining strategic dodging and burning with selective color adjustments and composite backgrounds, you can transform a simple studio portrait into a classical painterly masterpiece. This technique focuses on enhancing natural textures rather than...

How to Use AI Depth Masking in Photoshop for Targeted Subject and Background Editing

AI depth masking revolutionizes how you select and edit specific areas of your photos by analyzing three-dimensional space rather than shapes or colors. This powerful feature uses artificial intelligence to calculate depth layers, allowing you to brighten subjects while darkening backgrounds or apply targeted adjustments based on distance from the...

You’ve successfully subscribed to Photoshop Roadmap
Welcome back! You’ve successfully signed in.
Great! You’ve successfully signed up.
Success! Your email is updated.
Your link has expired
Success! Check your email for magic link to sign-in.