How to Add Selective Contrast and Clarity Using Camera Raw Filter

How to Add Selective Contrast and Clarity Using Camera Raw Filter

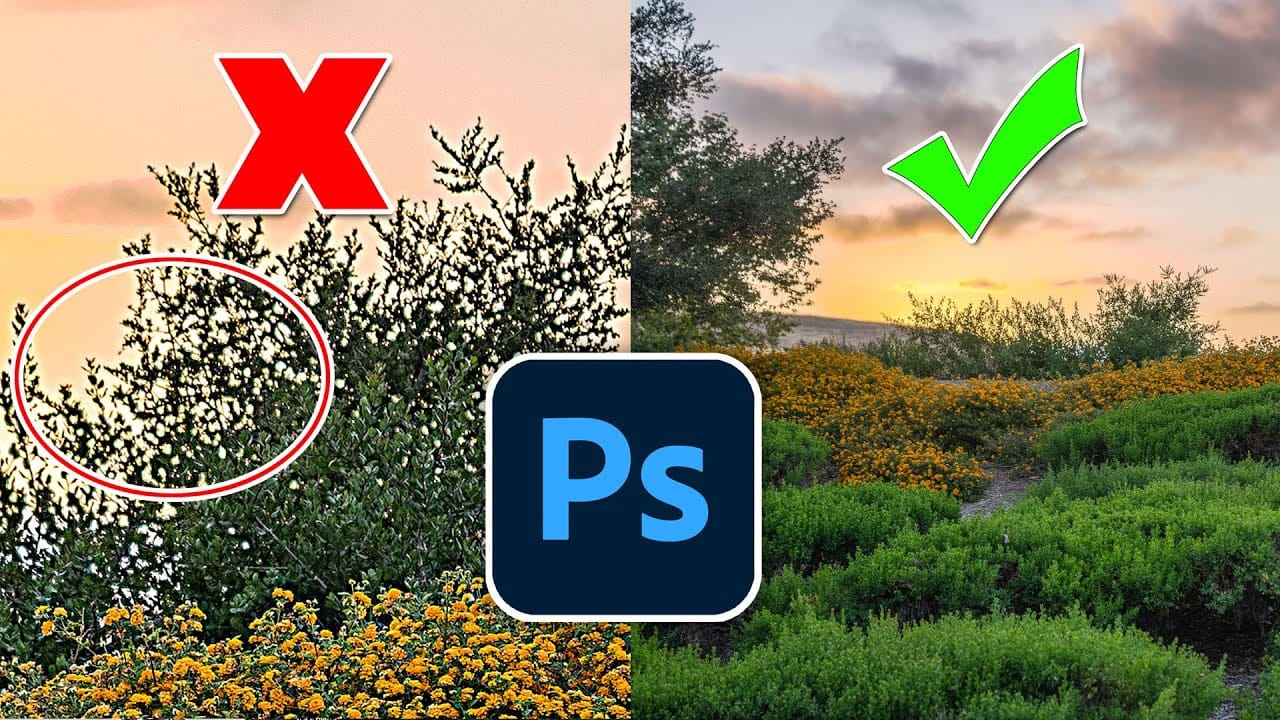
Many photos lack the visual impact they could have simply because contrast and clarity are applied uniformly across the entire image. The key to professional-looking results lies in selectively enhancing specific areas that deserve attention while leaving others untouched.

This approach uses the Camera Raw filter's histogram controls and masking features to target contrast adjustments precisely where they matter most, creating depth and visual interest without over-processing your photographs.

Watch the Video

Video by PHLEARN. Any links or downloads mentioned by the creator are available only on YouTube

Practical Tips

Here are the key techniques for applying selective contrast and clarity:

  • Convert your layer to a Smart Object first using Filter > Convert for Smart Filters to make all adjustments reversible
  • Drag directly on the histogram sections (blacks, shadows, exposure, highlights, whites) instead of using sliders for more intuitive control
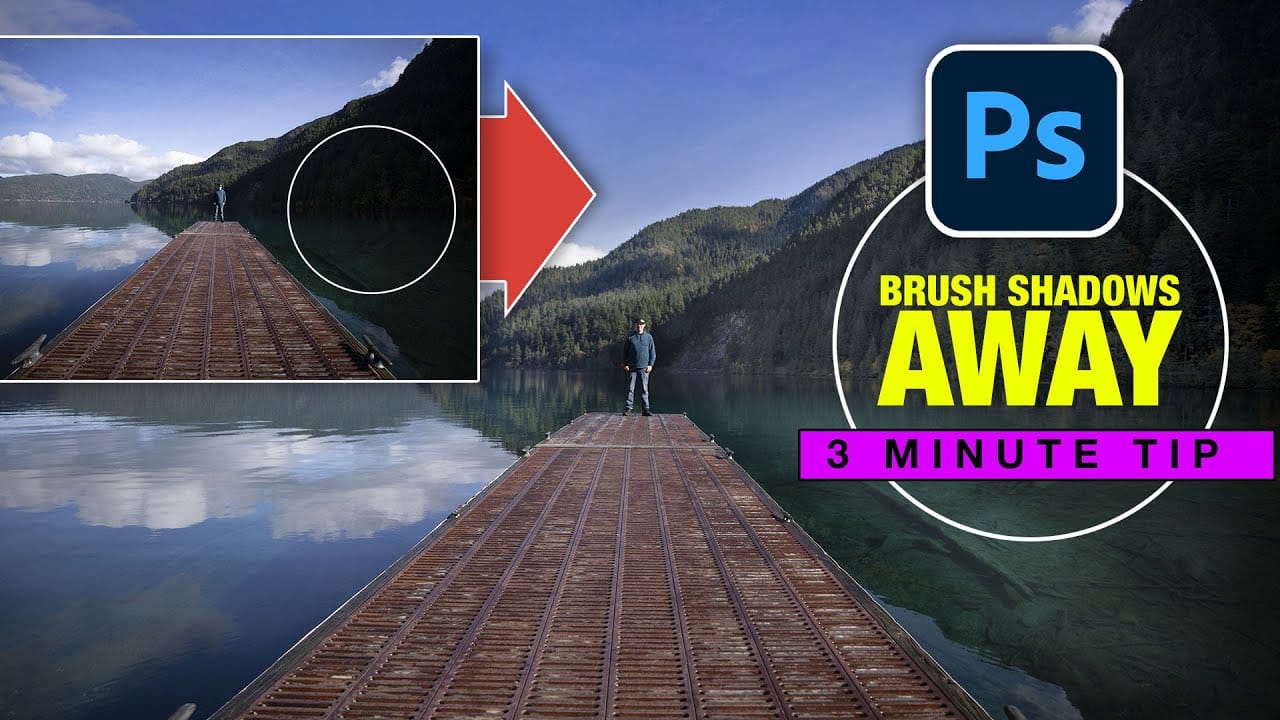
  • Use automatic landscape masking to separate sky, water, ground, and subject areas for targeted adjustments
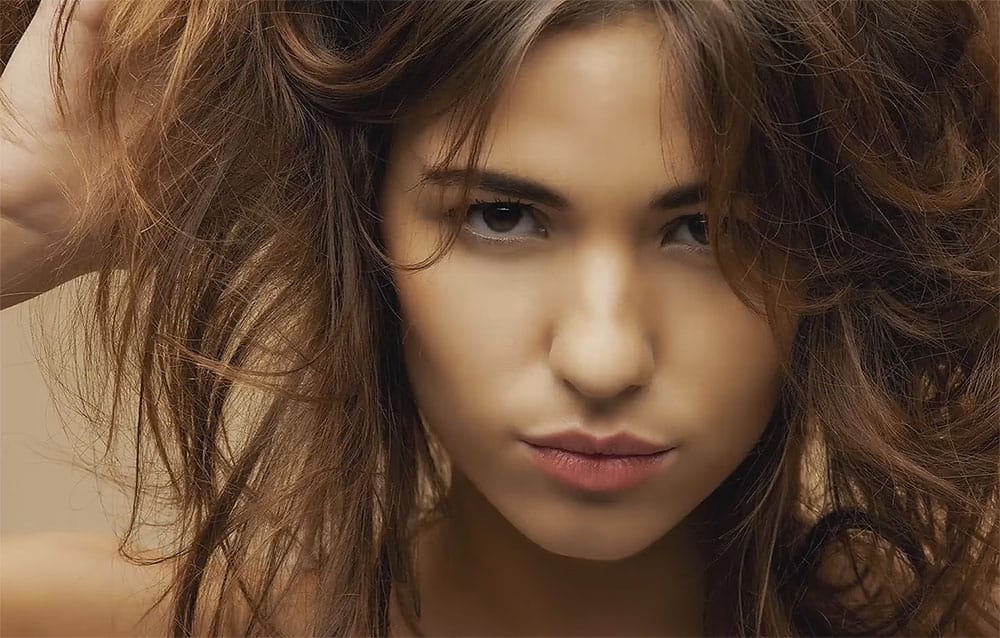
  • Apply clarity only to foreground elements and subjects, never to the entire image to avoid an over-processed look
  • Combine texture and clarity adjustments on masked areas to enhance detail without affecting the background

Explore more advanced techniques for enhancing photos and working with selective adjustments.

Hidden trick to perfectly sharpen photos in Photoshop
In this detailed tutorial, Colin Smith from Photoshop Cafe uncovers a sophisticated technique for achieving impeccable sharpening results in Photoshop. He dives deep into three essential sharpening methods: Smart Sharpen, High Pass, and Unsharp Mask, each of which offers distinct advantages depending on your editing needs. Colin's approach goes beyond basic sharpening techniques, incorporating a clever twist that enhances the effectiveness of these tools. He demonstrates how to leverage Smart S
10 hidden and obscure Photoshop tools and features you probably didn't know
In this Adobe Photoshop tutorial, Nathaniel Dodson will do a quick 45 minute rundown of 10 features (and one bonus trick) that are relatively unknown or obscure in the world of Photoshop. You'll learn about a trick to cut out hair and then making edges looks smoother and more perfect. You'll learn about an amazing color grading technique and replacing colors and even targeting very specific color across a photo–even when that color is very hard to select. You'll also learn about creating graphi
The Single Best Color Tool in Photoshop
In this tutorial, you will uncover the often-overlooked capabilities of Photoshop's Selective Color Adjustment Layer. This powerful tool allows you to perform both subtle and dramatic color grading, giving your images a polished look similar to fine art. You'll learn techniques to intensify colors, separate various hues for added depth, and achieve better overall color balance in your work. This ensures that your images maintain their vibrancy without the risk of over-saturation. The tutorial
The only Photohop Sharpening Tool You Need
Achieving sharp, detailed images is a common goal for photographers and designers, yet many find the process frustrating. Traditional sharpening tools can often lead to over-processed results, introducing halos, noise, or an unnatural appearance. The challenge lies in enhancing clarity without sacrificing image quality or introducing unwanted artifacts. This tutorial reveals a powerful and often overlooked technique for precise image sharpening in Photoshop. By mastering the application of the
7 easy Photoshop tips to make your composites more realistic
In this tutorial, Jesus Ramirez shares seven essential Photoshop tips and tricks to help you create more realistic composites. If you're struggling to make your composites look convincing, this video is a must-watch. Jesus covers a range of techniques designed to enhance the realism of your composite images. These tips include how to match lighting and shadows, blend edges seamlessly, and use adjustment layers effectively. You'll also learn about color matching and the importance of perspective
Recover completely lost details in highlights in Photoshop
In the tutorial by PiXimperfect, the author explores a simple Photoshop trick to "recover" details in an image with overexposed and blown-out highlights. The tutorial focuses on using two key ingredients: a reference texture image and a blend mode. The author explains that by utilizing a reference texture and applying the Multiply blend mode, you can effectively cover up the areas with no visible details, effectively "saving the day" and restoring the lost information. The tutorial provides a s
How to make any photo look better in seconds in Photoshop
Many photographs, despite good composition, can often lack that captivating polish or depth. Achieving a professional and visually appealing aesthetic often seems like a complex or time-consuming endeavor for photographers and digital artists. This tutorial introduces a simple yet powerful Photoshop technique, sometimes referred to as the "euro glow" or "euro tint," designed to quickly elevate the quality of any image. Readers will learn how a few clicks can add contrast, vibrance, and a subtle
7 Photo Mistakes You Can Easily Fix in Photoshop
Even experienced photographers struggle with certain technical challenges that can ruin an otherwise perfect shot. Motion blur from camera shake, missed focus on key subjects, overexposed highlights, or unwanted color casts are frustrating problems that happen to everyone—and sometimes they're impossible to avoid in-camera. This comprehensive tutorial demonstrates seven essential Photoshop techniques for rescuing imperfect photos. From advanced sharpening methods to selective color correction,
Instantly Recover details in photos with Photoshop
In this tutorial, Colin Smith reveals an effective technique for recovering hidden details in photos using Photoshop. The focus is on a method known as reverse dodge and burn, which allows you to selectively enhance shadow and highlight areas to bring out fine details. Colin demonstrates how to paint over shadows and highlights in a realistic manner, blending the adjustments seamlessly into the image. This approach helps to restore lost details and improve the overall dynamic range of your phot

Get tutorials & freebies delivered to you.

Subscribe to the Photoshop Roadmap newsletter, a weekly roundup of new tutorials, insights and quality downloads, trusted by 6500+ readers.

You might also like

Using Foliage Brushes for Photo Enhancement and Digital Art

Transforming ordinary photographs into whimsical, romantic scenes often requires replacing or enhancing natural environments. Foliage brushes offer photographers and digital artists a powerful way to overpaint backgrounds, create dimensional leaf structures, and build entirely new environmental elements that feel both surreal and believable. The key to realistic foliage work lies...

How to Add a Film Border to Any Image in Photoshop

Film borders add instant vintage character to digital photos, recreating the nostalgic feel of analog photography. This technique combines layer masking, texture overlays, and strategic positioning to seamlessly frame your images with realistic film edges that look naturally weathered and imperfect. Watch the Video Practical Tips These essential techniques will...

How to Create Double Exposure Portraits in Photoshop

Double exposure portraits blend two images into one artistic composition, creating striking visuals where a silhouette merges with landscapes, textures, or abstract elements. This technique transforms ordinary portraits into compelling artwork by layering the second image inside the dark areas of your subject. The process relies on high contrast between...

How to Remove Glasses Reflections with Firefly Image Model 5 in Photoshop

Glasses reflections can ruin otherwise perfect portraits, obscuring your subject's eyes and creating distracting bright spots. While traditional AI models can remove these reflections, they often alter facial features and frame details in the process. Photoshop's new Firefly Image Model 5 changes this by preserving facial...

How to Create Realistic Specular Highlights Using Basic Brush Techniques

Specular highlights bring objects to life by simulating how light reflects off surfaces. These bright spots of reflected light add dimension and realism to your digital artwork, making flat surfaces appear three-dimensional and convincing. This technique uses simple brush strokes combined with strategic blending modes to create professional-looking highlights that...

How to Create a Wood Engraving Effect from Photos in Photoshop

Wood engravings capture the timeless aesthetic of traditional printmaking, transforming ordinary photographs into artwork that resembles hand-carved illustrations. This technique combines the rustic charm of wood textures with the precise detail of engraved lines, creating images that feel both historical and artistic. The process uses non-destructive editing methods and smart...

You’ve successfully subscribed to Photoshop Roadmap
Welcome back! You’ve successfully signed in.
Great! You’ve successfully signed up.
Success! Your email is updated.
Your link has expired
Success! Check your email for magic link to sign-in.