The Petzval lens, invented in 1840, creates a distinctive swirling, dreamlike blur that transforms ordinary photographs into vintage masterpieces. This unique optical effect features sharp central focus with rapidly falling sharpness toward the edges.
Recreating this coveted vintage aesthetic in Photoshop allows photographers to achieve the same romantic, spiraling bokeh without investing in expensive historical lenses.
Watch the Video
Video by Photoshop Arthouse. Any links or downloads mentioned by the creator are available only on YouTube
Practical Tips for Petzval Lens Effects
- Convert your image to a smart object before applying effects to maintain non-destructive editing capabilities throughout the process.
- Use Photoshop's AI-powered Depth Blur neural filter to create realistic depth of field on photos where both foreground and background are sharp.
- Apply two separate radial blurs: first a spin blur with amount set to 2, then a zoom blur with amount set to 1 for natural blending.
- Create the signature Petzval focus falloff using a radial gradient mask at 50% opacity, dragging from center outward.
- Sharpen the central focus area with a large soft brush (1000px, 0% hardness) painted once in the center of your composition.
More Tutorials about Vintage Photo Effects
Explore additional techniques for creating nostalgic and aged photo effects.
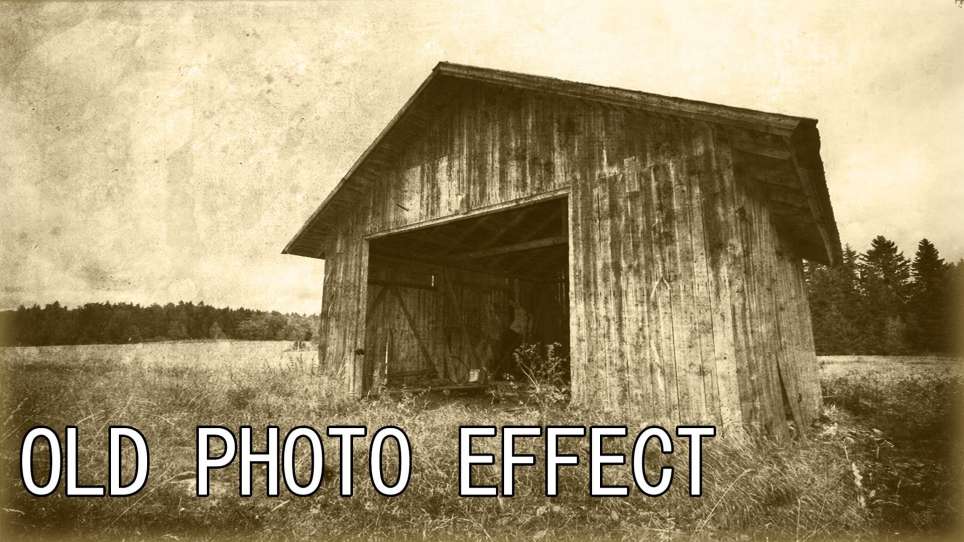
Create an Old Photo Effect in Photoshop
The author, Photoshop Pro Help, provides a tutorial on how to create an old photo effect in Photoshop. They explain that if you have ever admired the style of vintage photos and wanted to give your modern photos a similar look, this tutorial will show you how to apply an old photo style with a torn and damaged brown vintage effect. This can transform your photos to look as if they were taken straight from a history book.
The tutorial guides the user through the process of achieving this retro a
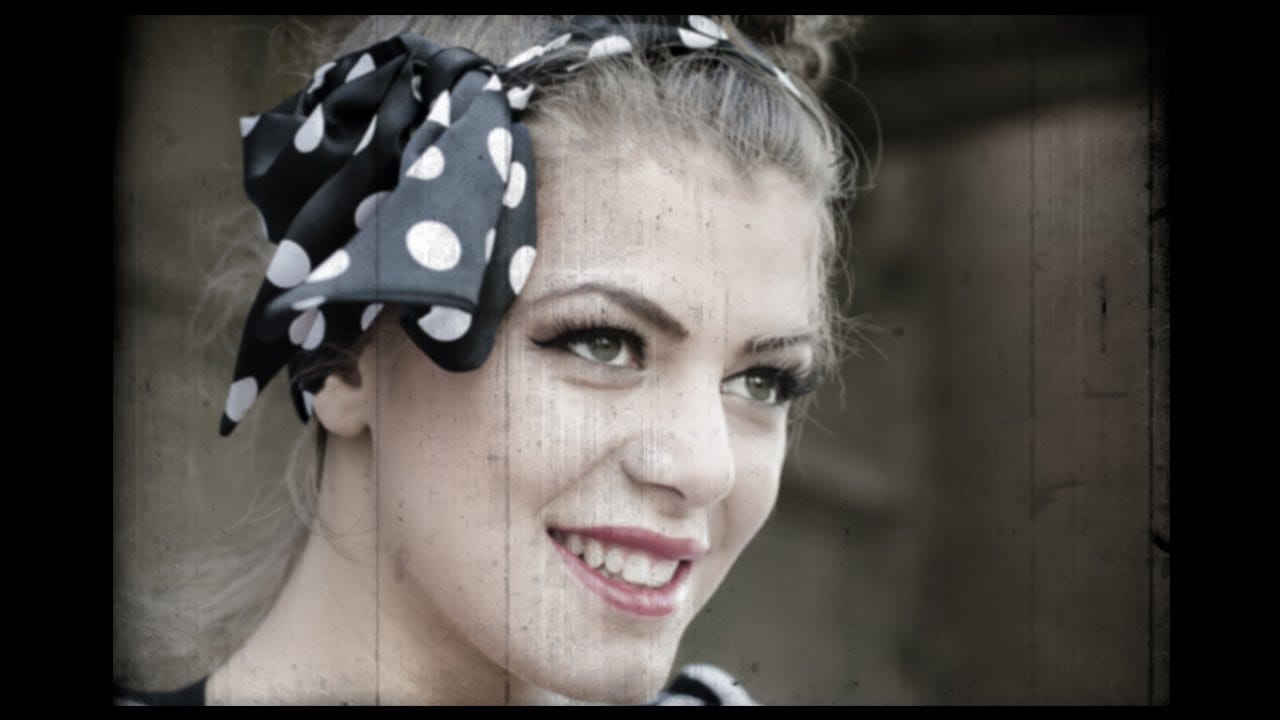
Create a vintage movie effect from a photo
Transforming modern digital photographs into nostalgic, vintage-style images is a popular creative pursuit in photo editing. This technique allows you to evoke the aesthetic of bygone eras, adding character and a unique artistic flair to your contemporary shots.
In this tutorial, you will learn how to apply the distinctive look of an 8mm movie still frame to any color photograph using Adobe Photoshop. The process involves subtle adjustments to color, blur, and the integration of a specialized t
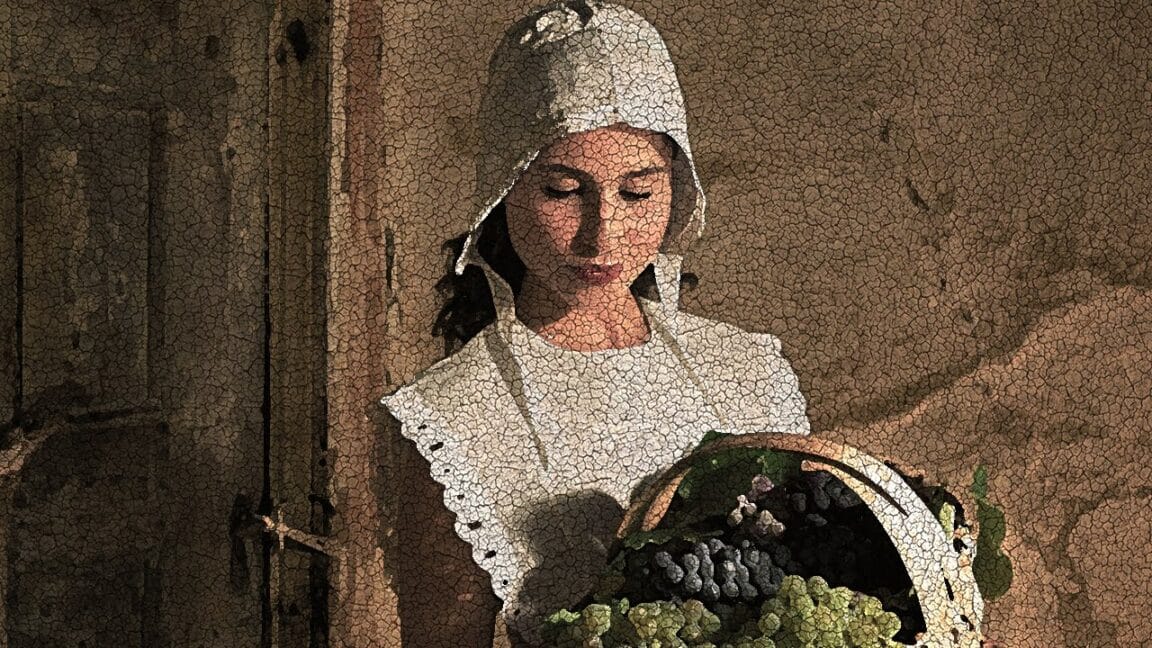
How to Transform a Photo into an Antique, Oil Painting Photoshop
This tutorial explores a fascinating method to transform digital photographs into timeless antique oil paintings. It focuses on techniques that emulate the classic appearance of aged art, adding character and depth to modern images.
Viewers will discover how to apply artistic effects within Photoshop, including specific color adjustments, textural overlays, and brushstroke simulations, to achieve a convincing vintage aesthetic reminiscent of historical artworks.
Watch the Video
Crafting the
How to Create a Vintage Postcard in Photoshop
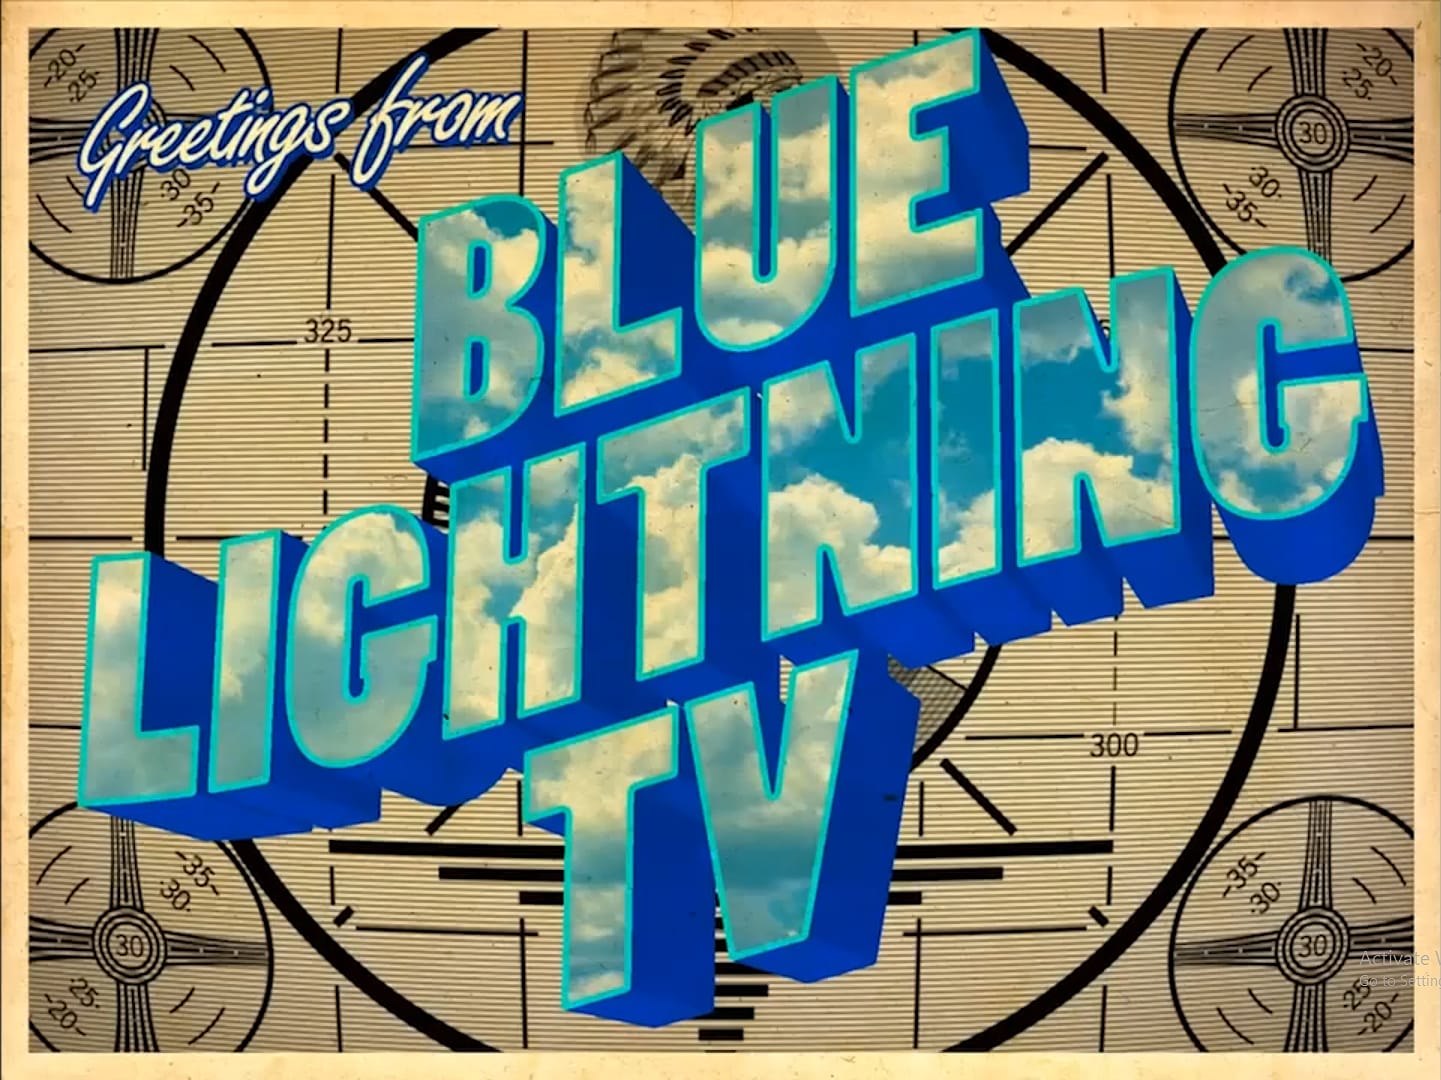
Learn to transform ordinary digital photos into stunning vintage tourism postcards using Adobe Photoshop. The video covers cropping, color adjustments, adding textures, and stylized text, ensuring your photos capture the essence of classic travel mementos.
Watch the Video
Practical Tips for Vintage Postcard Effects
* Crop your photo to a 6x4 aspect ratio to match the standard vintage postcard size.
* Convert your photo to a Smart Object. This allows for non-destructive editing, enabling y