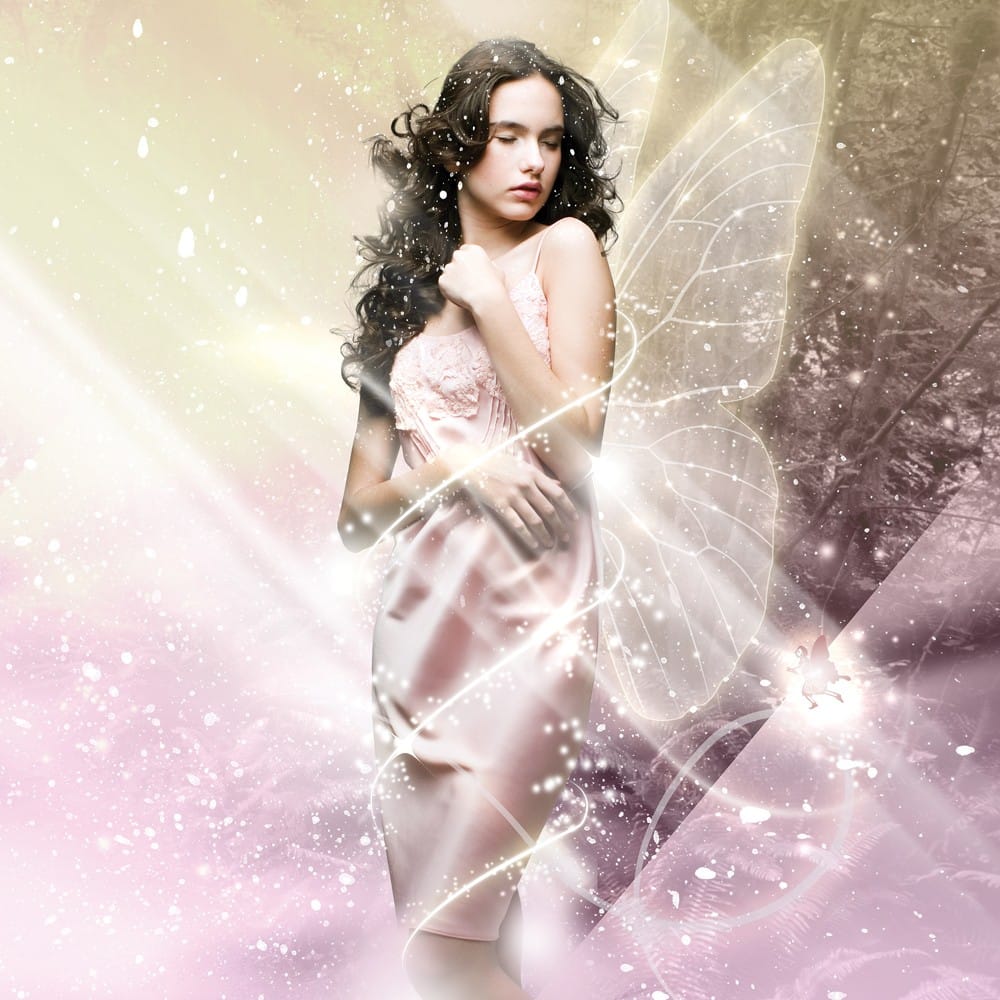
Bringing different elements together in Photoshop requires more than just careful selection and placement; it demands mastery of lighting to achieve true realism. When composing an image, the way light interacts with each object determines its perceived depth, form, and how seamlessly it integrates into the scene. Neglecting proper lighting can make even the most detailed composite look flat and artificial.
This tutorial demystifies Photoshop's powerful lighting effects, showing how to transform a flat image into a dynamic, integrated scene. You will learn to use various light types, adjust their properties, and incorporate texture, culminating in a professional-grade composite that truly blends with its environment.
Watch the Full Tutorial
Integrating Objects with Realistic Illumination
When artists combine disparate photographic elements into a single composite, one of the greatest challenges involves harmonizing the lighting. An object placed into a new environment often carries its original lighting, which can clash dramatically with the ambient and directional light of the new scene. Photoshop's lighting effects provide a robust solution, allowing for the precise manipulation of light sources directly onto the composite layer.
This process transforms a flat, "pasted" look into a natural integration, creating the illusion that the object has always been part of the photograph. By understanding how different light types—such as point light, spotlight, and infinite light—mimic real-world illumination, artists can sculpt the perception of depth and texture. Moreover, integrating light with an object's surface texture, often based on color channels, adds a crucial layer of realism, allowing highlights and shadows to react naturally as if the object were truly three-dimensional within the scene.
Beyond basic illumination, these effects also allow for fine-tuning of material properties like gloss and metallic sheen. This control over light interaction with surfaces, combined with strategic use of ambient light, ensures that the composite object not only receives light but also reflects it in a manner consistent with its supposed material and surrounding environment. It elevates a simple overlay to a believable addition, critical for high-quality digital art and photography.
Practical Tips for Using Lighting Effects
- Match light types (spot, point, infinite) to the original scene's illumination for believable results.
- Adjust intensity and hotspot carefully to sculpt light without blowing out highlights, preserving image detail.
- Utilize texture channels (red, green, blue) to create realistic highlights and shadows that react to the light source.
- Combine lighting effects with layer styles like Bevel & Emboss and Drop Shadow for enhanced 3D realism.
- Ensure Global Light is active when using layer styles to maintain consistent lighting angles across all effects.
Related Articles and Tutorials about Lighting Effects
Explore more techniques for creating stunning light effects in Photoshop with these related guides and tutorials.