Pop art transforms ordinary portraits into bold, graphic statements using simplified colors and high contrast. This distinctive style, popularized by artists like Andy Warhol, reduces complex images to their essential elements while maintaining visual impact through strategic color choices.
The stencil approach creates clean separations between color areas, producing artwork that feels both modern and timeless. This technique works particularly well for portraits, where facial features become graphic elements that define the composition.
Watch the Tutorial
Video by P A N T E R. Any links or downloads mentioned by the creator are available only on YouTube
Practical Tips for Pop Art Stencils
- Choose high-contrast source images with clear facial features and good lighting separation
- Apply multiple Oil Paint filters gradually rather than using extreme settings in one pass
- Use Select and Mask to clean subject edges before starting the color separation process
- Record gradient map color stop positions and Black & White adjustment values for consistent results
- Add layer masks to selectively restore important details like eyes and teeth after stylization
Related Pop Art and Stencil Tutorials
Explore more creative approaches to transforming photos into stylized artwork.
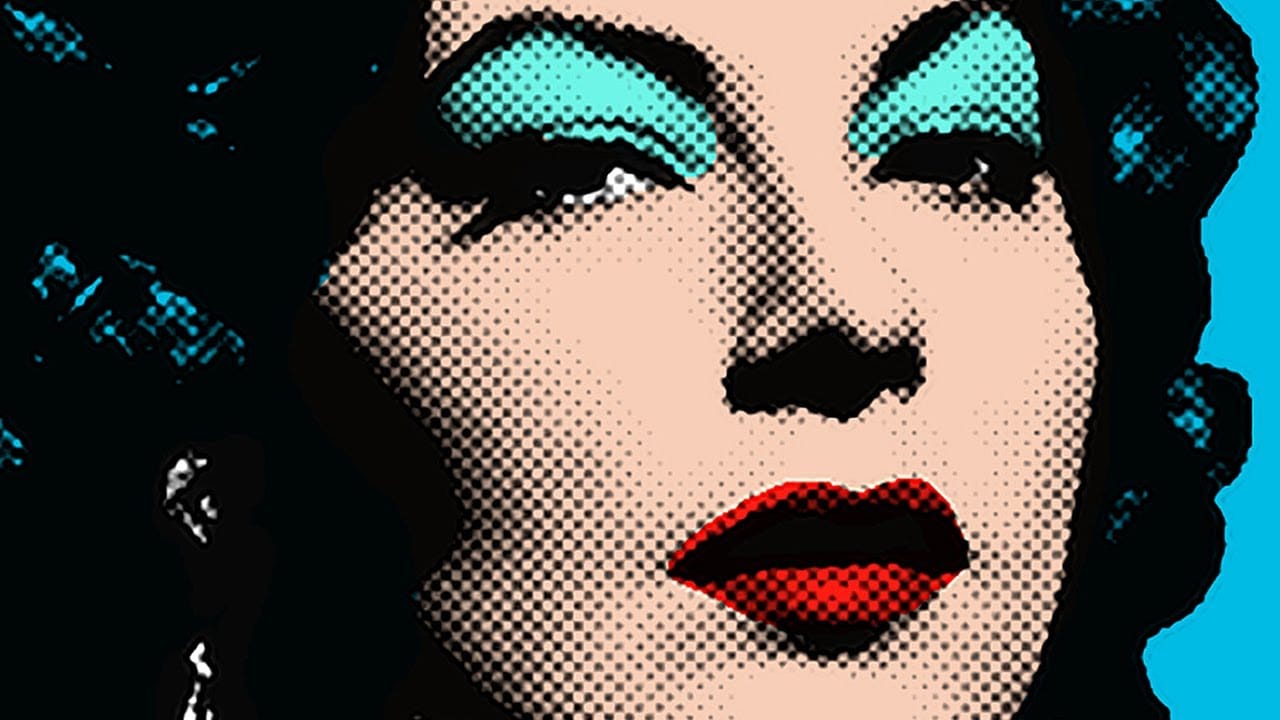
Learn how to make a Pop Art portrait from a photo in Photoshop
This tutorial explores a simplified method for transforming an ordinary photograph into a vibrant pop art portrait. It draws inspiration from the iconic celebrity silkscreens popularized by Andy Warhol, offering a distinct aesthetic that combines photography with graphic art.
Viewers will learn efficient Photoshop techniques to convert a photo into a halftone dot pattern, isolate the subject, and apply bold, flat colors, ultimately creating a striking visual piece reminiscent of classic pop art
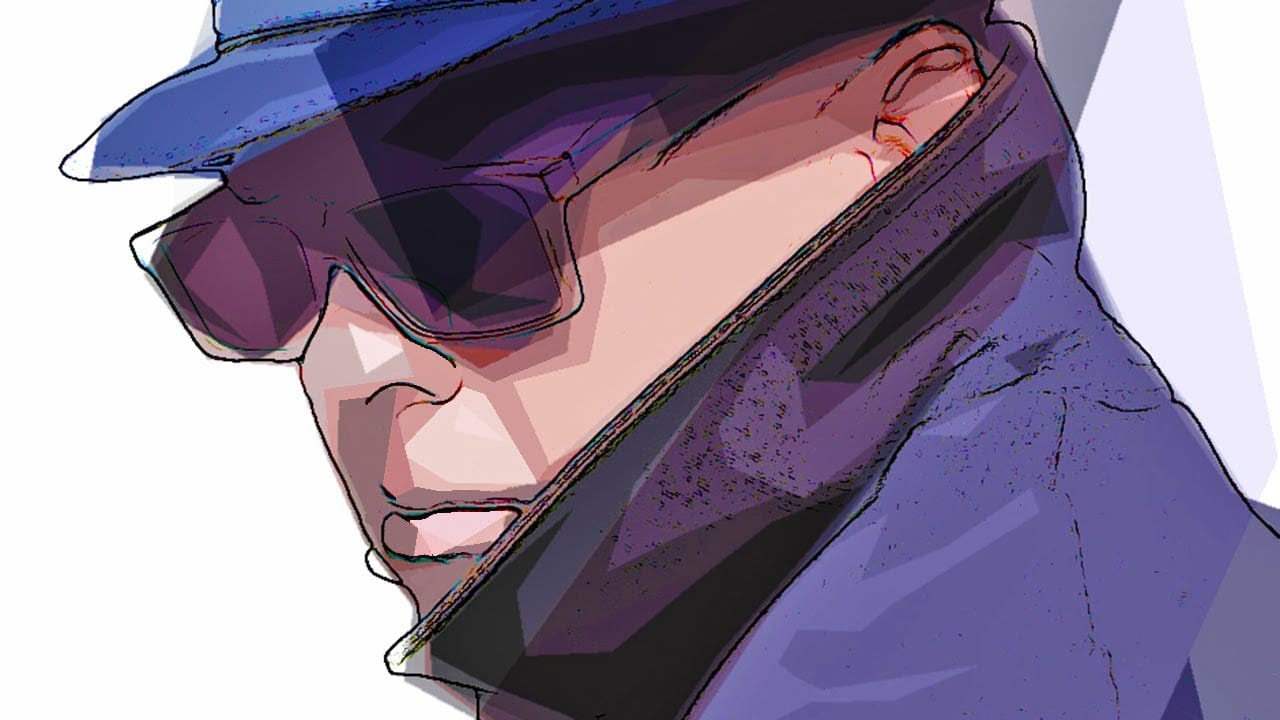
How to make a stylish pop art portrait from a photo in Photoshop
This video explores a creative approach to transforming ordinary photographs into vibrant pop art portraits using Adobe Photoshop. It offers a practical method for achieving a distinctive artistic effect that can be applied to various images.
Viewers will learn a streamlined process for applying artistic filters and adjustments, enabling them to achieve a bold pop art style. The tutorial also emphasizes efficient workflow, demonstrating how to replace the source photo without having to redo all
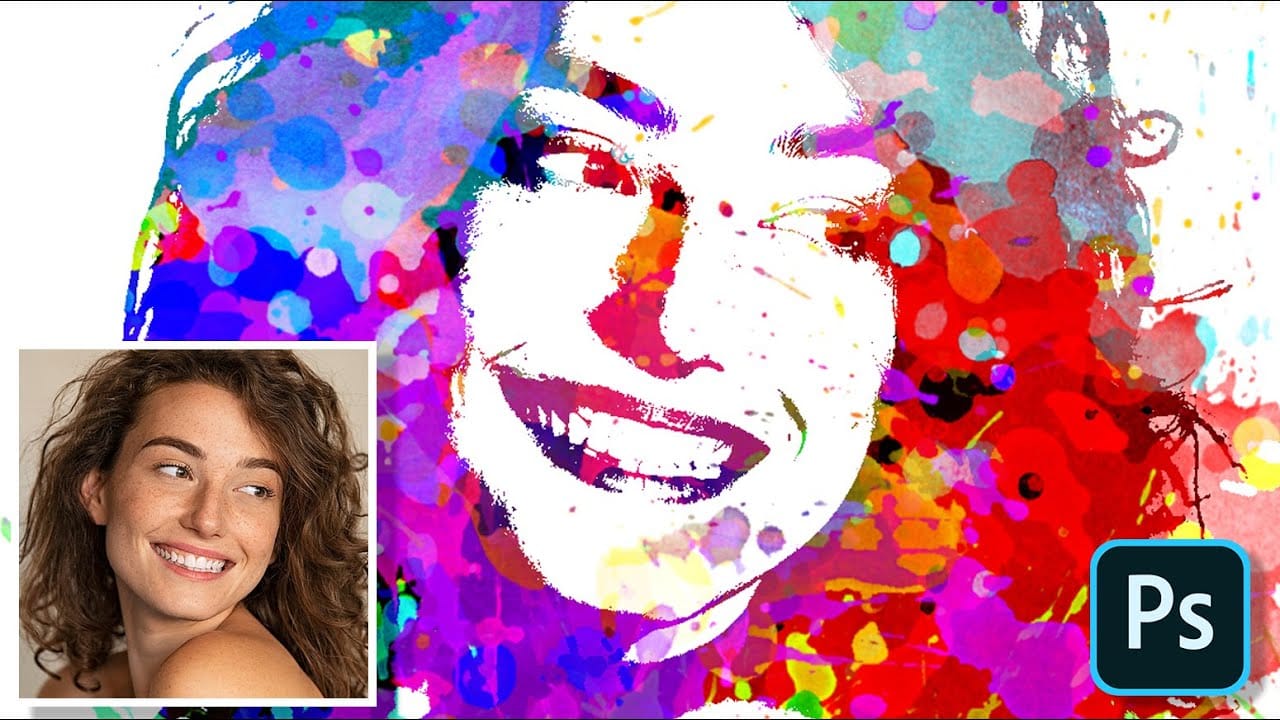
Create Paint Splatter Pop Art Portraits from Photos in Photoshop
Transforming ordinary photographs into vibrant, stylized artworks offers a unique avenue for creative expression in digital imaging. This process allows artists and designers to infuse personal style and abstract elements into conventional portraits, pushing the boundaries of traditional photography.
In this tutorial, you will learn a comprehensive workflow for converting a standard photo into a dynamic paint splatter pop art portrait using Adobe Photoshop. The video demonstrates key techniques
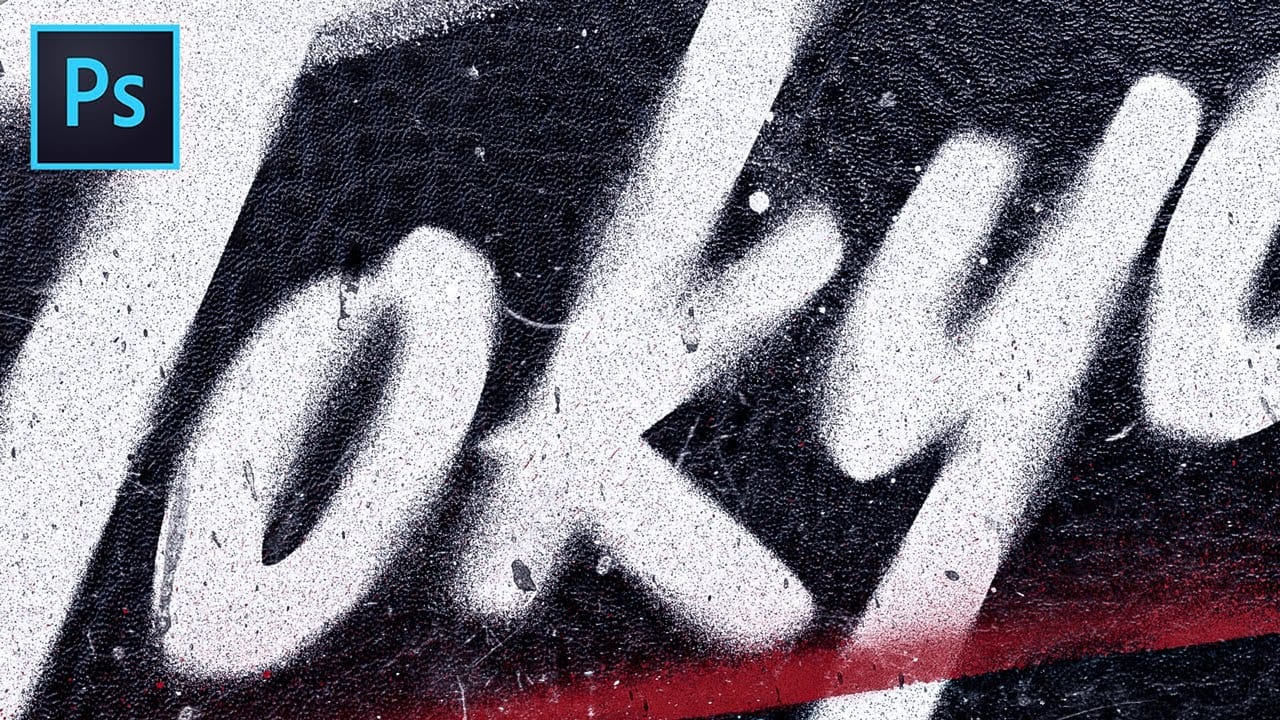
Spray Painted Stencil Text Effect in Photoshop
In this detailed tutorial from Texturelab, you'll learn a straightforward method to create a lifelike spray painted stencil effect for text and logos on black leather using Adobe Photoshop.
The tutorial emphasizes achieving realistic results without the complexity of custom painting techniques. Texturelab also introduces a complimentary "Spray Anything" Action, available for free download, which instantly transforms the basic effect into a next-generation version with enhanced features.
This r