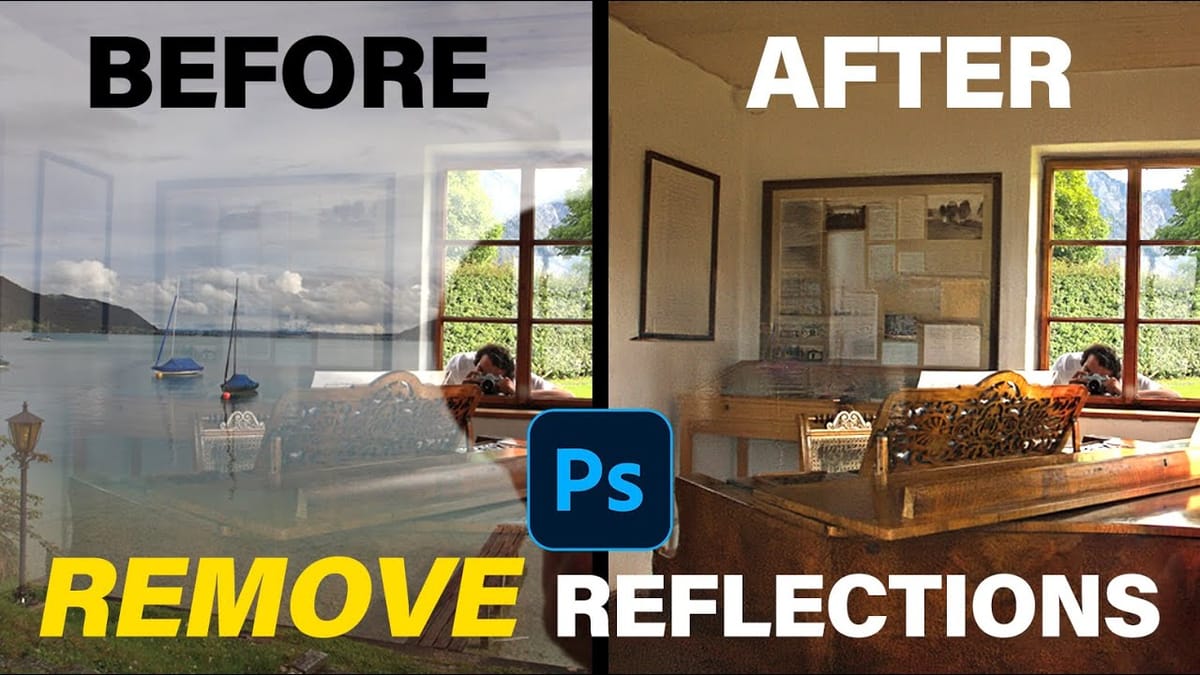
Photoshop's AI-powered object removal tools can eliminate unwanted distractions from your photos with minimal effort. The Remove Tool and Generative Fill feature automated detection for common distractions like people and wires, plus manual painting options for custom removals.
These tools work on separate layers, preserving your original image while giving you complete control over what gets removed and how the final result looks.
Watch the Video
Video by PHLEARN. Any links or downloads mentioned by the creator are available only on YouTube
Practical Tips
These key techniques will help you get better results when removing objects from your photos:
- Always check "Create New Layer" in the Remove Tool settings to preserve your original image and make adjustments reversible
- Use "Find Distractions" for automatic detection of people or wires rather than manually painting over each element
- Choose Generative Fill over the Remove Tool when you need multiple variations to pick from for complex removals
- Uncheck "Remove after each stroke" to paint over multiple areas before processing them all at once
- Select "Auto" mode with Firefly Image 3 for the most advanced AI processing when using Generative Fill
Related Articles and Tutorials
Explore more advanced AI techniques for photo editing and creative image manipulation:
Essential Guide to Generative Fill: Remove, Add, and Replace Objects in Photos
Generative Fill has transformed how photographers handle object removal, additions, and replacements in their images. This comprehensive tutorial demonstrates four practical applications using real examples—from cleaning up unwanted graffiti to adding garden gnomes and creating custom sunflower boots. You’ll learn to work with both Adobe’s Firefly Image 3 and
 Phlearn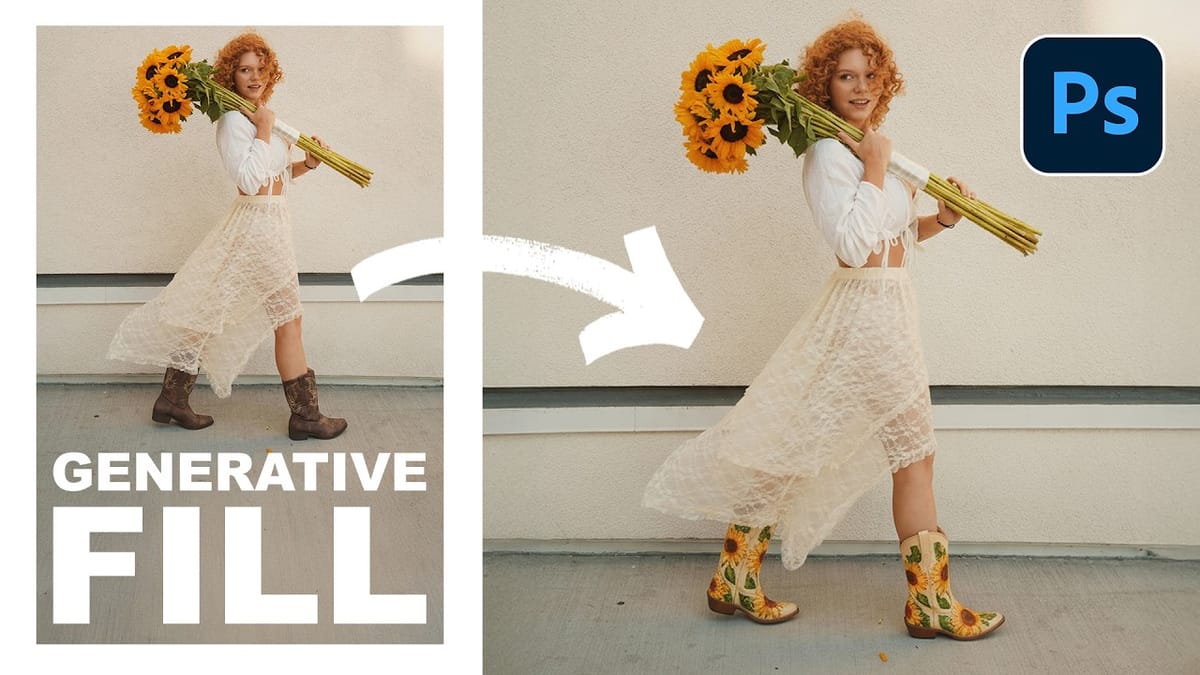
How to Remove Objects from Photos Using Photoshop’s Remove Tool and Clean Plate Technique
Professional photo editing often requires removing unwanted objects while maintaining natural-looking results. The challenge lies in creating seamless edges and realistic backgrounds, especially around complex subjects like hair or intricate details. This tutorial demonstrates both basic object removal using Photoshop’s Remove Tool and an advanced “clean plate” technique used in
 PTC Photoshop Training Channel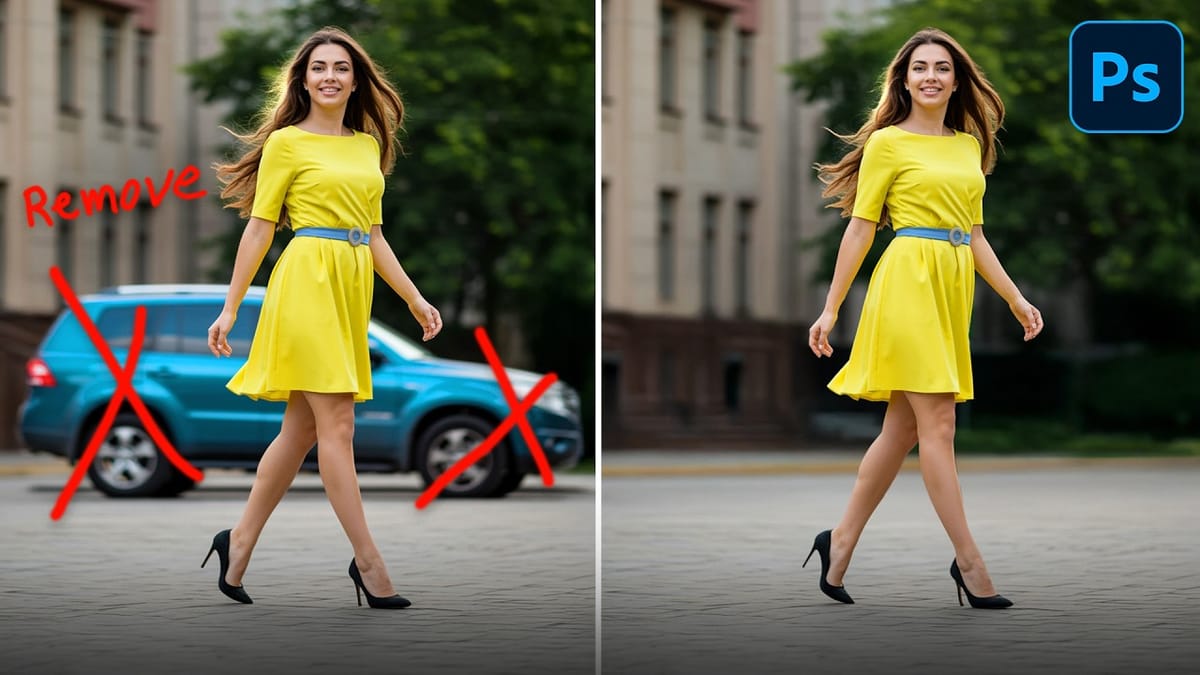
How to Remove Backgrounds in Photoshop: 5 Essential Tools
Background removal can make or break your image editing workflow. The right tool depends on your specific image: solid backgrounds need different approaches than complex hair details or high-contrast scenes. This tutorial covers five powerful Photoshop tools that handle different background removal challenges, from simple graphics to intricate details. Watch
 Brendan Williams
How to Remove Reflections from Photos Using Photoshop’s AI Tool
Glass surfaces create some of photography’s most persistent challenges. Windows, storefronts, and displays often produce unwanted reflections that obscure subjects and compromise image clarity. Photoshop’s latest AI-powered reflection removal tool addresses this common problem with automated detection and removal capabilities. This video demonstrates the complete workflow for eliminating reflections while
 Photoshop Arthouse